C6 Corvette: How to Install Rear Subwoofer
A subwoofer is the way to go when you just aren't satisfied with the mediocre depth and bass that comes with factory speakers. But where do you begin? By checking out our handy DIY guide for subwoofer installation, of course!
This article applies to the C6 Corvette (2005-2013).
Subwoofers are an increasingly common option, or even standard equipment on cars, because they are a necessary component of a good sound system. There are almost endless options when it comes to adding a subwoofer in your car, but in most cases you will need to add an amplifier as well. No matter what route you choose, installation is generally the same. The easiest way to go is with a self-contained system that is essentially a box with the subwoofer and amplifier already built in and wired up. But if you want to stick a slew of giant subs in your trunk, by all means, go for it.

Materials Needed
- Flathead screwdriver
- Phillip's head screwdriver
- Wire crimps/cutters
- Wire hanger
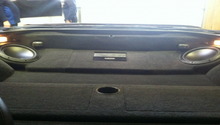
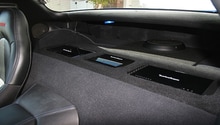
Step 1 – Lay out your system
The first thing you want to do is determine where you want to place your subwoofer, box and amplifier. This is where a slim, self-contained setup shines because they take up minimal trunk space. They are able to be placed out of the way while retaining usable space, which is a big premium on a car like the C6 Corvette. You will be running a power wire from the battery, as well as a remote wire from the stereo, so take note of this as you choose a location.

Step 2 – Run power and ground wire
To get the power wire from the battery to your amplifier, you will need to find the big rubber grommet in the firewall, which is located in the passenger kick panel area. Remove the grommet with a flathead screwdriver, and route your power wire through using a wire hanger. Run the wire through the passenger compartment to your amplifier by lifting up the carpet and placing it underneath. You can typically ground the amplifier to any solid metal surface, but in the C6 a good spot is a seat bolt. Don't hook the power wire up to the battery until you are finished.

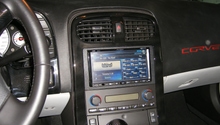
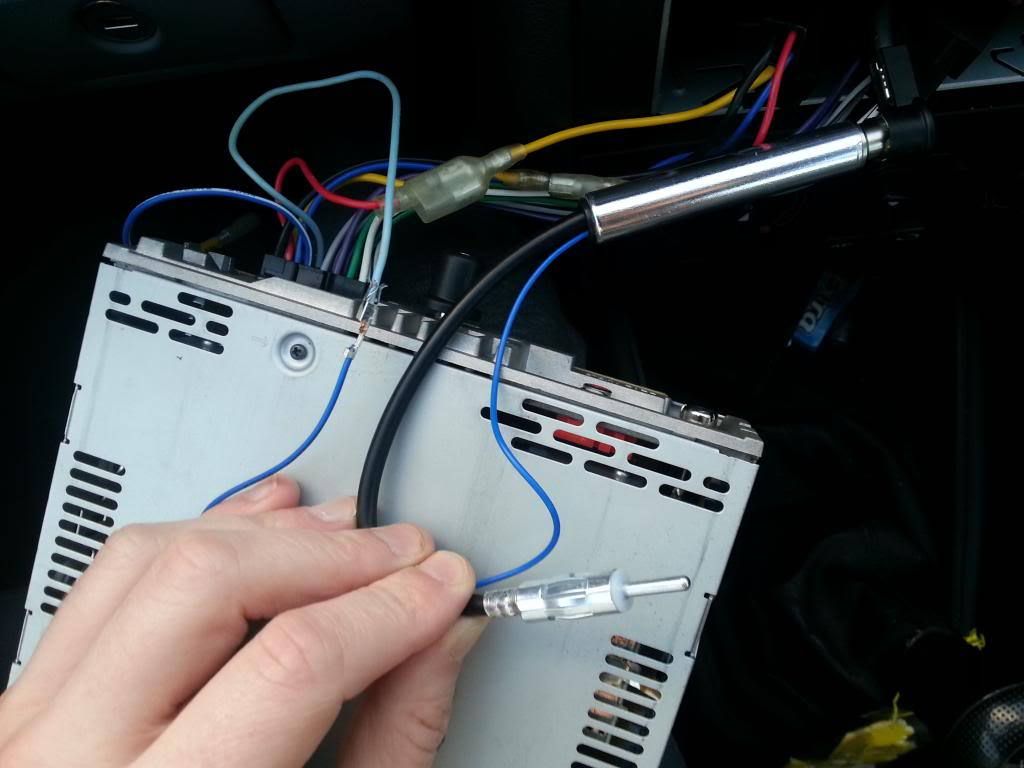
Step 3 – Install remote wire and RCA cables
Depending on whether you have an aftermarket or factory stereo, this step will vary, so consult the guide for your particular stereo. Typically, the remote wire on the back of a radio is blue, but not always. This wire turns on your amplifier when the stereo is turned on, which will save it from draining the battery when not in use. You will also find dual RCA cable inputs in the back of the stereo, which transfers signal from your radio to the amplifier.
Step 4 – Test and tune
Once you have run all the wires, hook the power wire up to the car's battery. Turn on your stereo and make sure everything works. At this point, most amplifiers have a "gain" dial on them. Start with the dial at the lowest position and turn your radio up 3/4's to maximum volume. Turn the gain up slowly until you hear distortion, then back off a little. At this point, you can re-install the carpet and anything else that needs to be buttoned up.
Related Discussions and Video
- Sound System Install with Subwoofer - CorvetteForum.com
- How to Replace Rear Subwoofer Assembly - CorvetteForum.com
- Installing an Amplifier and Subwoofer - YouTube.com