C6 Corvette: How to Remove Ignition Lock Cylinder from Ignition Switch
Replacing the ignition switch and lock cylinder is easier than it sounds and takes a little time. Learn how to do so here.
This article applies to the C6 Corvette (2005-2013).
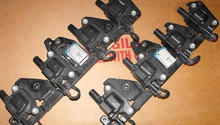
Are you looking for a new ignition switch for your Corvette? Perhaps you are working on a rebuild or restoration project or just have a bad one that needs replacing. By now you have probably realized that new ignition switches do not come with new cylinder locks. When you remove your old switch, you can remove the cylinder lock and re-install it onto your new ignition switch. You will save a good deal if you take the time to do this job yourself. These instructions assume that you have already verified you have a bad ignition switch and have gained access through the instrument panel, knee panel, and are ready for ignition switch removal.

Materials Needed
- Car Key
- Small flat head screwdriver
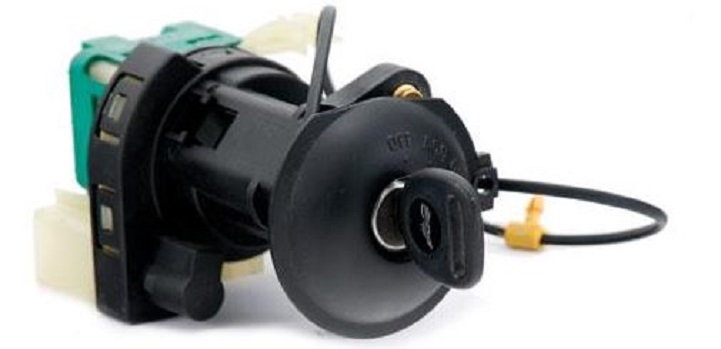
- New ignition switch
Step 1 – Disconnect negative battery cable
This should have already been done, but it's a step that's important enough to repeat. It will be a nightmare if any electrical components get fried during this procedure.

Step 2 – Remove electrical connector
After you have removed the console and ignition switch, there will be a retaining tab on the side of the ignition switch that holds the cylinder lock's electrical connector. Remove the connector from the tab.

Pro Tip
Pay attention to the way in which the lock cylinder wire is wrapped about the base of the ignition switch. You will have to replicate this on the new ignition switch.
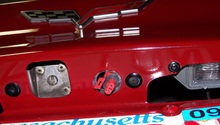
Step 3 – Remove the ignition switch bezel
Be careful when pulling the switch bezel. It will unsnap, but don't yank or crank hard on it.

Step 4 – Remove hazard warning wiring harness
The ignition switch retainer also holds the wiring harness for the hazard warning switch. Carefully remove the harness.

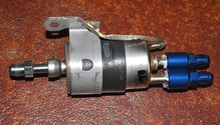
Step 5 – Remove the ignition switch
Remove the ignition switch retaining bolts and pull the switch.
Step 6 – Install the new ignition switch
Replace the ignition switch retaining bolts and torque to 49 in/lb (~4 lb/ft.).
Pro Tip
If you need to replace any fasteners, make sure to use the correct part number for that particular fastener. There are many in this project as you have seen. Pay attention to the instructions that come with the particular fastener for proper thread locking compounds or sealants, and do not use any lubricants or anything else on these fasteners unless specifically stated in the instructions.
Step 7 – Re-install the lock cable and electrical connections
Put the key into the new ignition and turn it to the ON position. The cable lock should easily clip back into the retaining tab on the bottom of the switch. Reconnect the ignition switch electrical connections.
Step 8 – Reconnect the hazard warning wiring harness and bezel
Remember to wrap the ignition lock cylinder wire around the base of the bezel in the same fashion as the old one that you removed. Make sure that you have lined up the bezel slots to match the lock cylinder pins, and push in until it snaps back into place. Reconnect the lock cylinder electrical connector and replace it in the retaining tab.
Related Discussions and Site
- How to Remove Ignition Cylinder Lock from Ignition - CorvetteForum.com
- C5 Ignition Switch Repair - CorvetteForum.com
- Replace Ignition Switch - Justanswer.com