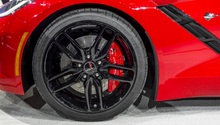
Corvette: How to Paint your Brake Calipers
This DIY paint job is simple and costs less than you'd think. Best of all, you can complete these steps in about an hour, although you'll need to let the calipers dry overnight. Learn how here.
This article applies to the C5, C6 and C7 Corvette (1997-current).
Gone are the days of expensive auto paint jobs. Now you can customize your Corvette using low-cost auto paint kits that are available at local auto parts stores for less than the cost of a tank of gas. Some auto paint kits are even designed specifically for certain parts, such as the calipers. When using an auto paint kit, you always want to follow the manufacturer's instructions and work in a well-ventilated area. Best of all, auto paint kits come packaged with everything you'll need to complete the job.

Materials Needed
- Dupli-Color caliper paint kit, (includes caliper cleaner, applicator, brush cleaner, and caliper paint)
- Floor jack and jack stands
- Open wrench
- Microfiber towel
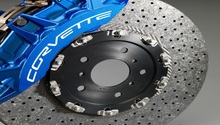
Step 1 – Choose a Dupli-Color paint
Choose the color option that best fits your needs. Dupli-Color caliper paint kits are available in a wide variety of colors.
Pro Tip
Dupli-Color caliper paint kits typically range in price between $20 and $25. You can purchase online or through a local auto parts store or national retailers such as Walmart. Each kit is designed to paint two brake calipers.
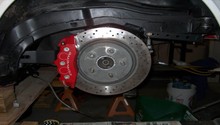
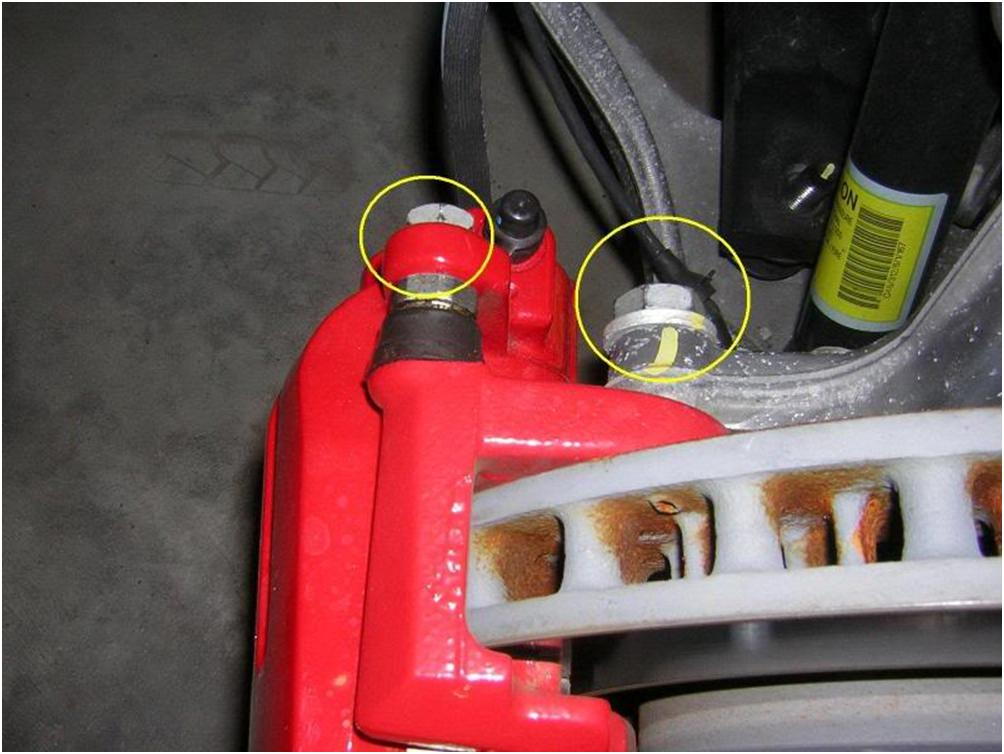
Step 2 – Raise the car and remove the caliper
Raise the car using the floor jack, then secure it using the jack stands. Remove the retaining bolt/nut combo found on the top and bottom of each caliper. Loosen the caliper with an open wrench, but do not remove completely. Although one method entails simply painting the caliper as is, it's recommended to remove them to prevent unwanted paint from getting onto the brake rotors.
(Related Article: How to Jack Up Your Vette - CorvetteForum.com)
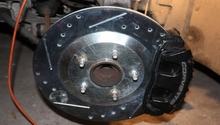
Step 3 – Clean the caliper
Spray cleaner liberally over the entire caliper, allowing the product to flow down, wetting the part from top to bottom. Wait several minutes for the product to dissolve any grit or grime that has become lodged along the surface of the caliper. Wipe the caliper clean, and then allow it to dry completely, utilizing a microfiber cloth to assist.
Step 4 – Prep the paint and begin the first application
Stir the paint as directed by the manufacturer. This will ensure all of the ingredients are completely mixed before use. Apply the paint using the applicator brush, taking special care to perform slow, even strokes along the surface of the caliper. Using a side to side motion versus up and down is best.

Pro Tip
Take your time. You will need to apply at least two coats.
Step 5 – Cure the paint
Place the caliper on a clean, even surface and allow it to cure for 24 hours. It is essential that the caliper is not disturbed in this period, meaning no new applications should be added, and the paint should not be touched.
Related Discussion
- Caliper Painting - CorvetteForum.com