When you click on links to various merchants on this site and make a purchase, this can result in this site earning a commission. Affiliate programs and affiliations include, but are not limited to, the eBay Partner Network.
Once the axles are removed from the axle housing, it is very easy to replace the bearings------------------------ALTHOUGH, you do need a press.
Because of their age, MANY of today's mechanics do not have a clue how to replace the bearings on these old Vettes and Chevys. They were last used on 62 Vettes and 64 pass cars.
First, remove the wheel and brake drum.
Remove the 4 nuts on the back side of the brake backing plate. An axle puller is very helpful for poping out the axle.
Once the axle is out, place the axle shaft in a vice with the lock ring resting on the vice jaws.
DO NOT, DO NOT, DO NOT press off the bearing and lock ring together!!!
Then use a chisel and heavy hammer to make a deep gouge in the lock ring (it is NOT necessary to completely split the lock ring).
This will loosen the lock ring enough for it to slip off.
NOW, press off the bearing by itself.
Next, press on the new bearing-------------followed by the NEW lock ring (new lock rings are included with every new bearing)----------------------DO NOT FORGET TO SLIP THE BEARING RETAINER ONTO THE AXLE BEFORE PRESSING ON THE BEARING! PRESS THE BEARING AND LOCK RING ON SEPARATELY!!! This is exactly how the shop manual shows to do it.
When pressing on the bearing, I like to partially press it on, relieve the pressure, rotate the axle about 90deg, press some more, relieve the pressure, rotate again, and continue doing so until the bearing is completely seated. Then do the same with the lock ring. This is how I was taught by a factory trained Chev mechanic (my uncle) about 50yrs ago.
Once an axle is removed from the housing, I can replace a bearing in 10-15min with this method----------------------------and ya, ya, ya, ya, ya, I admit, I've been doing this for over 50yrs.
Oops, couldn’t find what I was looking for there, but the procedure is pretty straightforward. Remove the 4 bolts holding the axle flange on then you’ll need a sliding hammer axle puller. I took my axle to a machine shop to have the bearing removed & reinstalled. Glad I did because even then they had a difficult time.
DZAuto May have a written procedure, can’t remember, but he helped me a lot.
Last edited by 59BlueSilver; 02-27-2018 at 08:25 AM.
Once the axles are removed from the axle housing, it is very easy to replace the bearings------------------------ALTHOUGH, you do need a press.
Because of their age, MANY of today's mechanics do not have a clue how to replace the bearings on these old Vettes and Chevys. They were last used on 62 Vettes and 64 pass cars.
First, remove the wheel and brake drum.
Remove the 4 nuts on the back side of the brake backing plate. An axle puller is very helpful for poping out the axle.
Once the axle is out, place the axle shaft in a vice with the lock ring resting on the vice jaws.
DO NOT, DO NOT, DO NOT press off the bearing and lock ring together!!!
Then use a chisel and heavy hammer to make a deep gouge in the lock ring (it is NOT necessary to completely split the lock ring).
This will loosen the lock ring enough for it to slip off.
NOW, press off the bearing by itself.
Next, press on the new bearing-------------followed by the NEW lock ring (new lock rings are included with every new bearing)----------------------DO NOT FORGET TO SLIP THE BEARING RETAINER ONTO THE AXLE BEFORE PRESSING ON THE BEARING! PRESS THE BEARING AND LOCK RING ON SEPARATELY!!! This is exactly how the shop manual shows to do it.
When pressing on the bearing, I like to partially press it on, relieve the pressure, rotate the axle about 90deg, press some more, relieve the pressure, rotate again, and continue doing so until the bearing is completely seated. Then do the same with the lock ring. This is how I was taught by a factory trained Chev mechanic (my uncle) about 50yrs ago.
Once an axle is removed from the housing, I can replace a bearing in 10-15min with this method----------------------------and ya, ya, ya, ya, ya, I admit, I've been doing this for over 50yrs.
Thanks, DZ. The first repair I had to do to my '61 was replace the axle bearing. I was young and stupid (age 17 with a similar IQ, and old Corvettes were inexpensive at the time) and I did a u-turn clutchdump/burnout and slid the *** end sideways into the curbing in the process. Limped home with a bent wheel and pulled the axle out the next day. I dropped the axle and a new bearing off at a local machine shop soon afterward. I wasn't at the shop during the work, so I wasn't aware of the process. I appreciate your detailed post here.
When pressing the bearing off be sure to wrap a heavy towel around the bearing. If a lot of pressure is needed I have seen these explode. I recall a parts guy who turned himself into a pirate when a wheel bearing broke in the press.l
What is the axle housing gasket part number? The closest thing I could find is a Felpro 5188?
RTV it... the bearing is sealed anyway and the gasket doesn't really 'seal' anything as there is a birdsmouth channel at the bottom of the flange to keep any leakage from getting to the brakes.
One thing I have found that really makes taking off the lock ring a snap, is drill part way through the lock ring, using a drill press, then use a cold chisel on the drilled spot to expand it it. It doesn't take much of a hit.
If you have snap ring eliminator kits with teh thick rings on a 12 bolt, drill and chisel is about the only way without beating the snot out of the chisel.
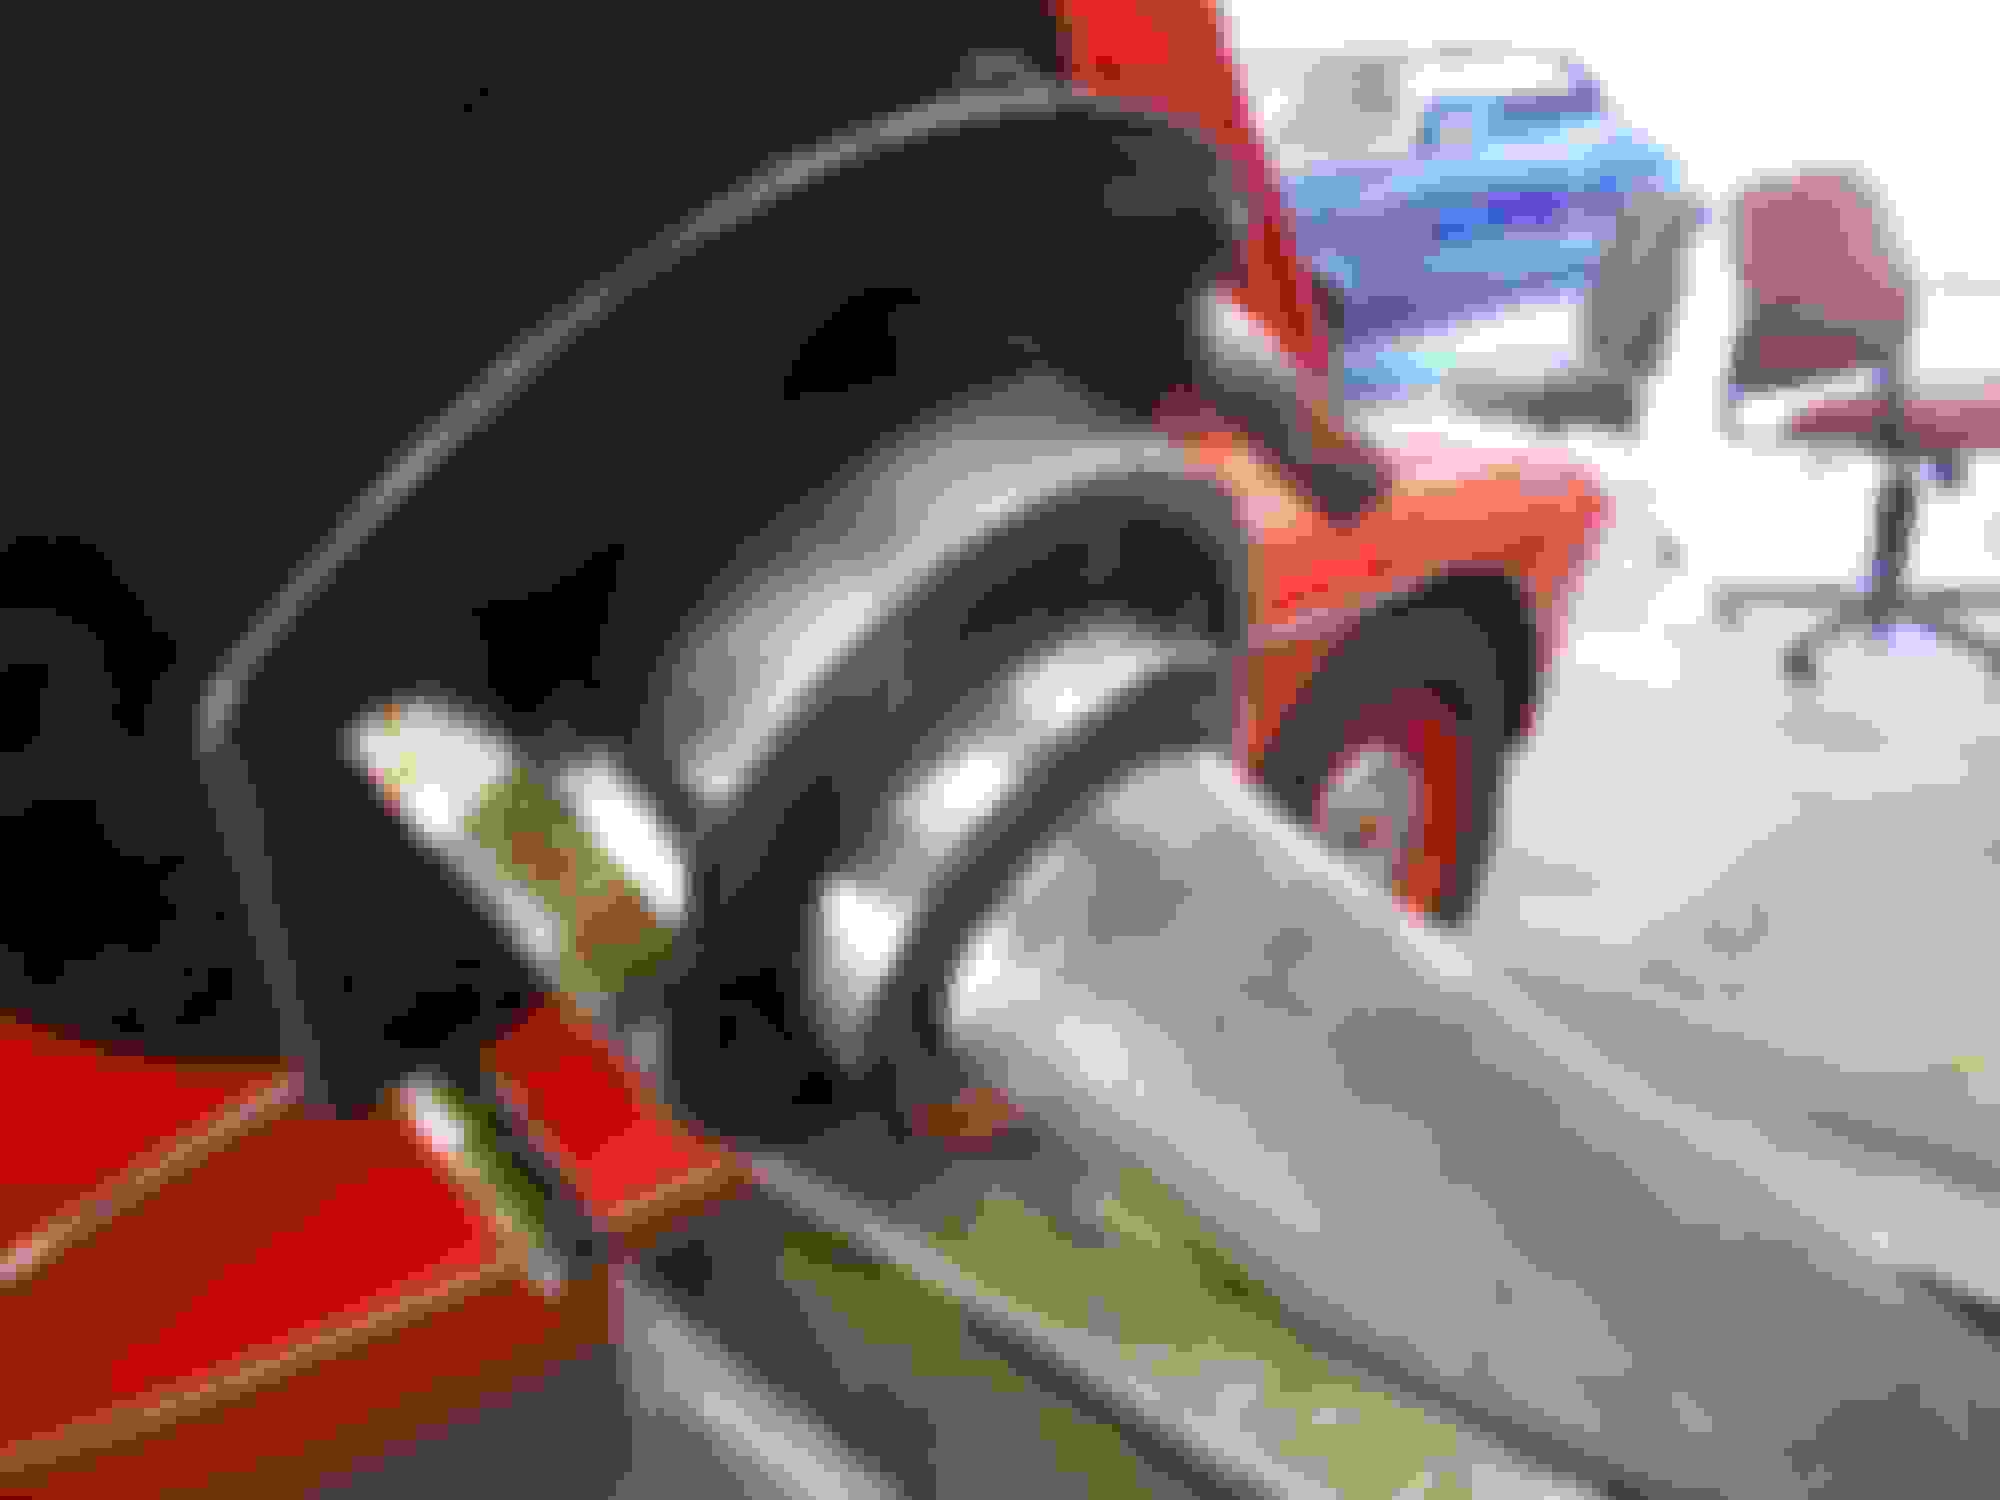
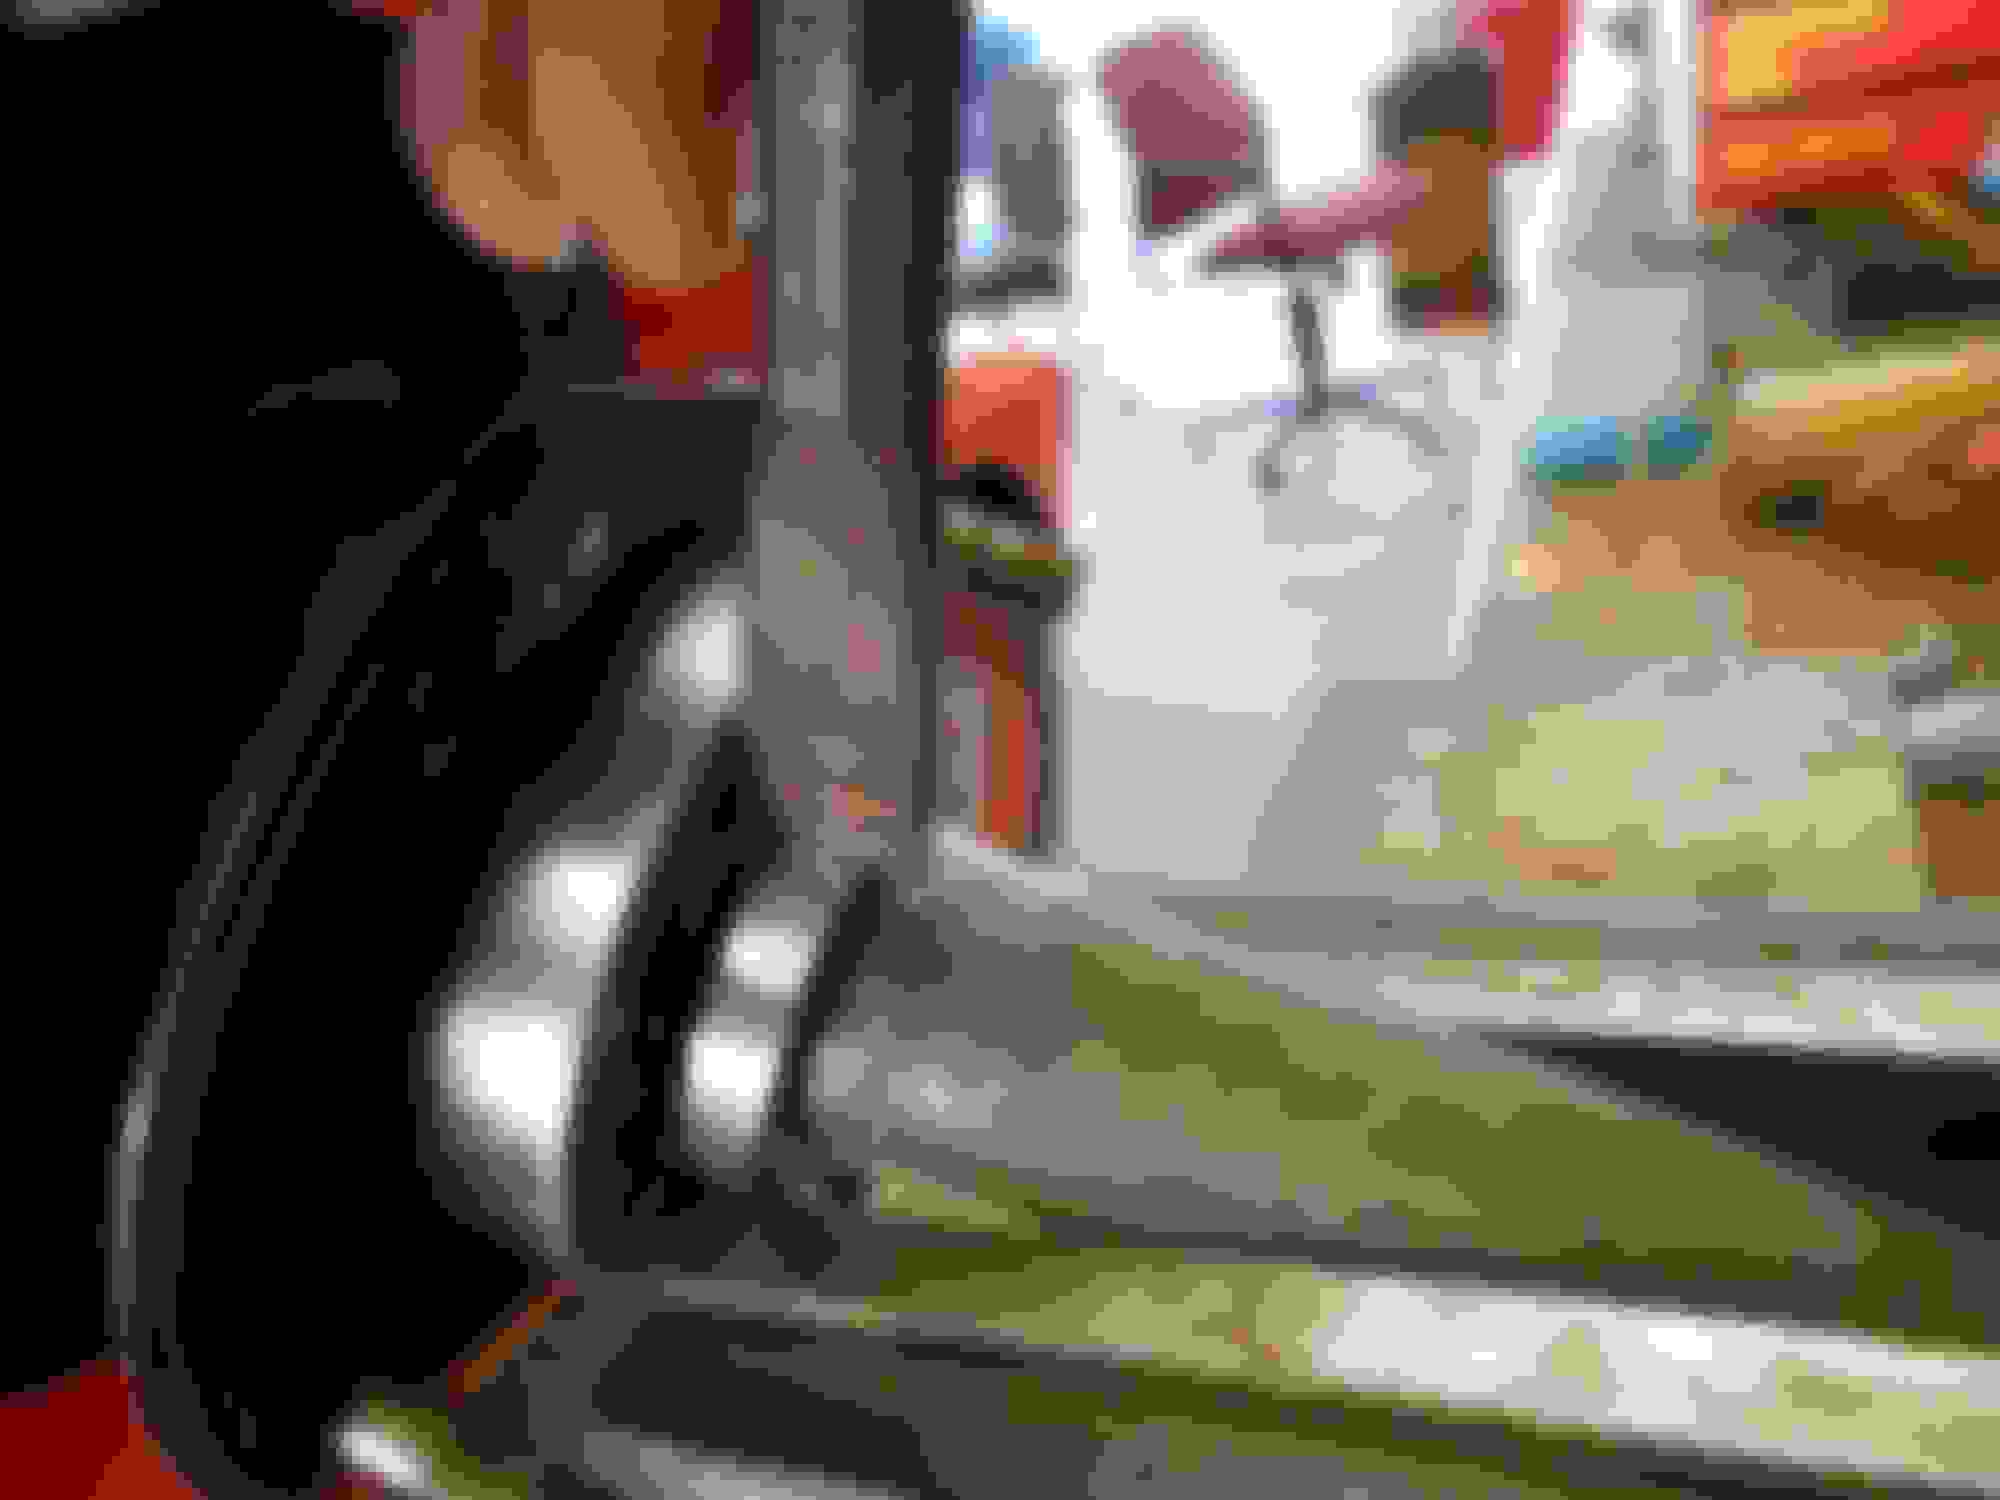
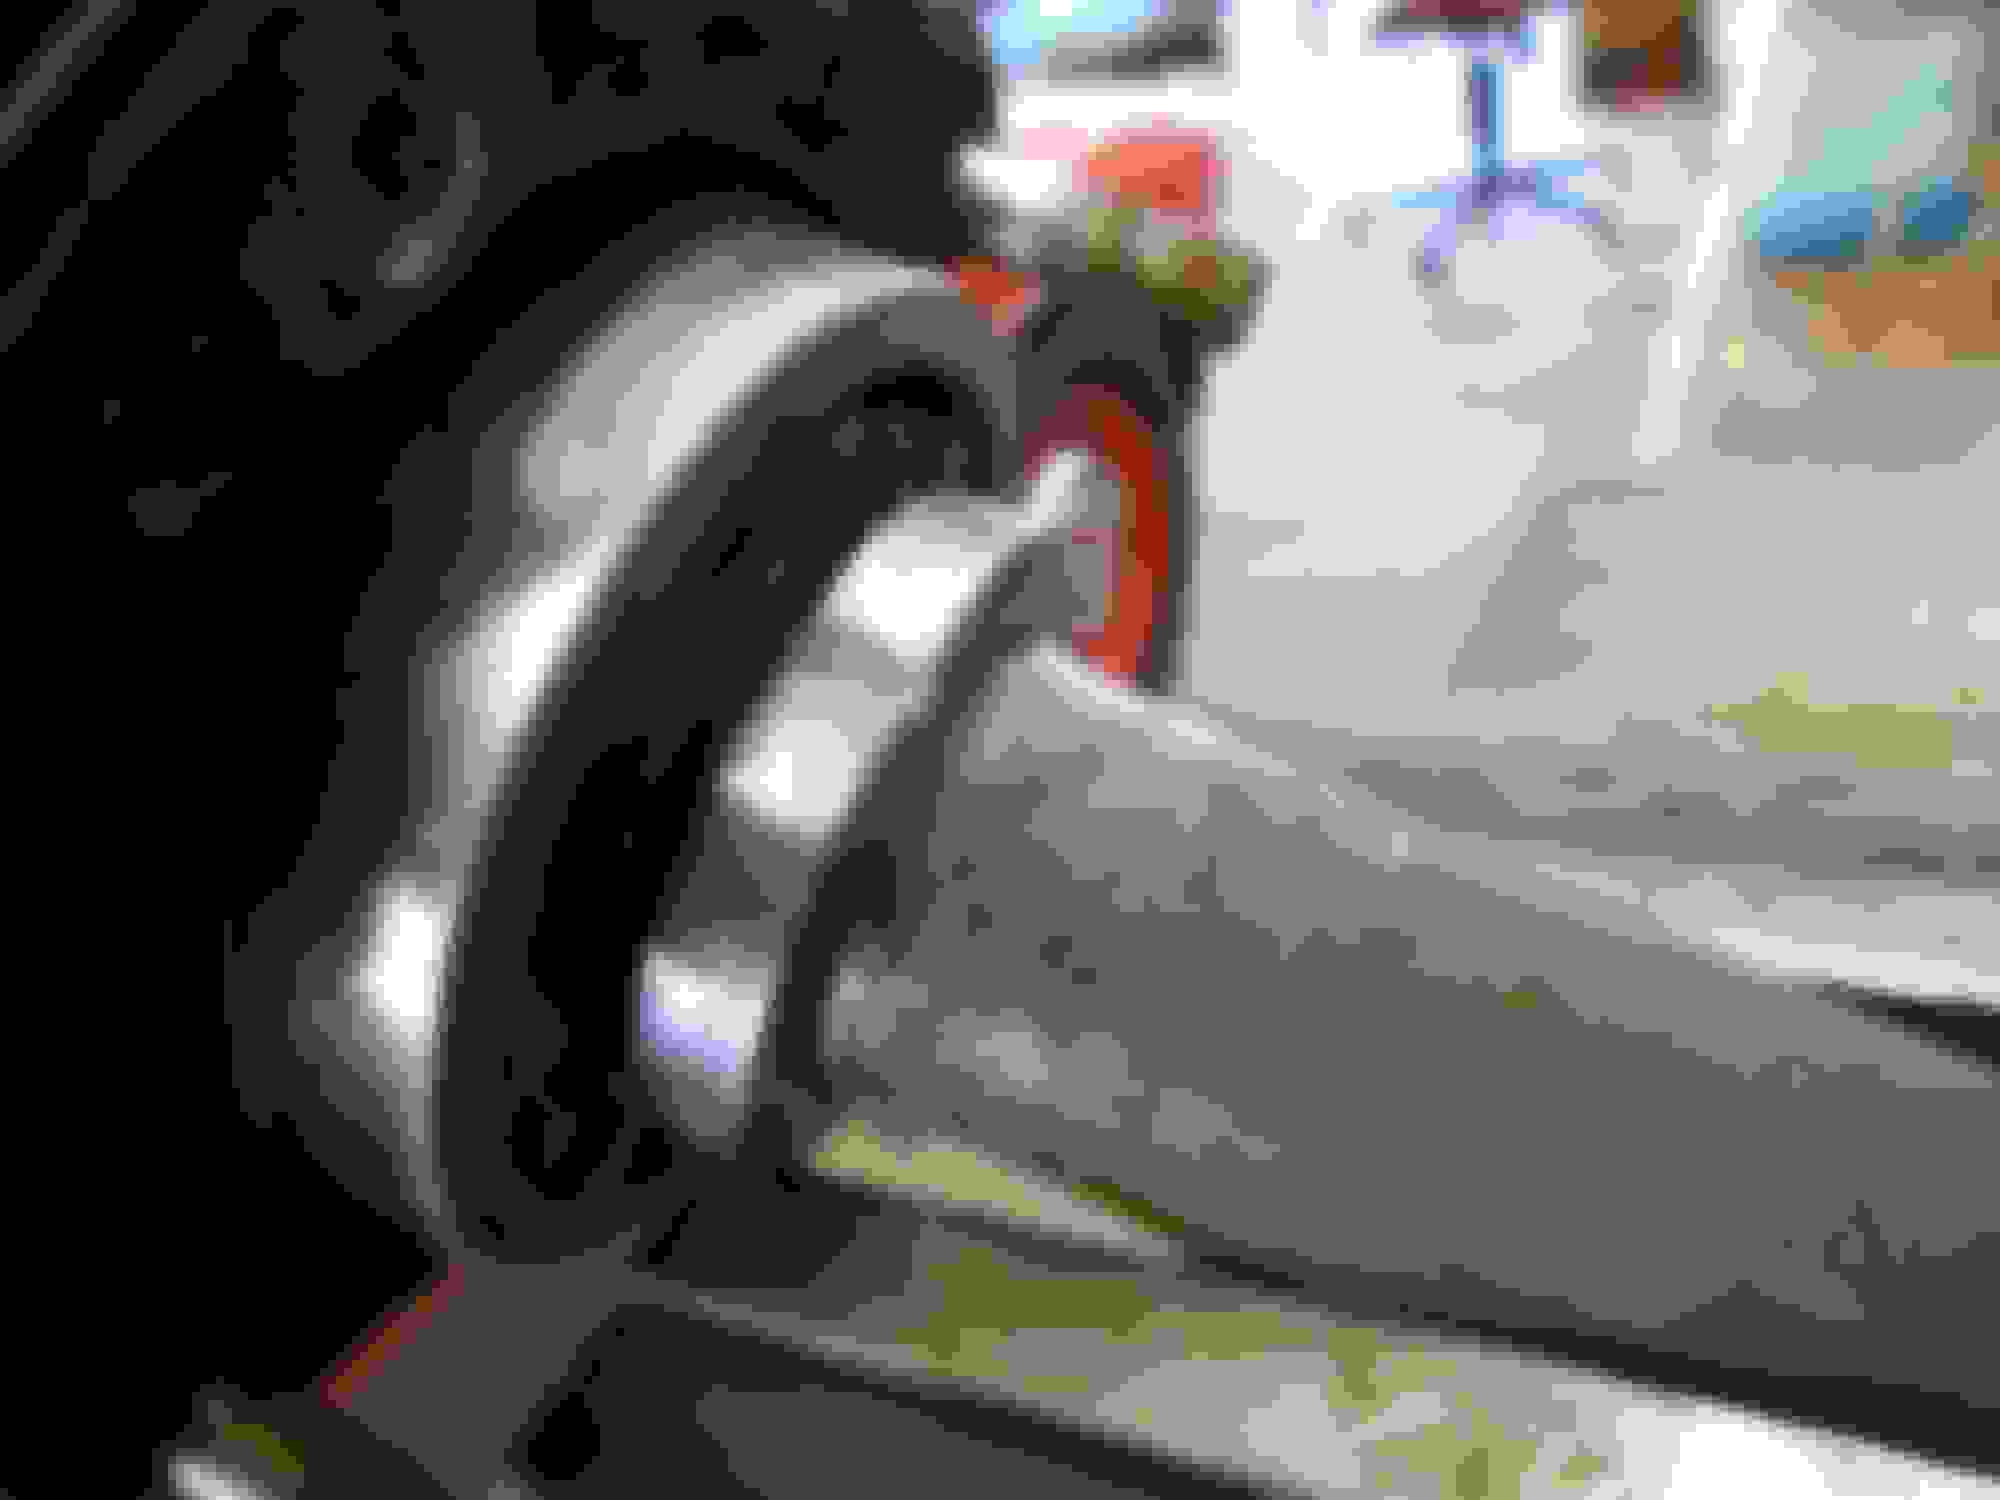
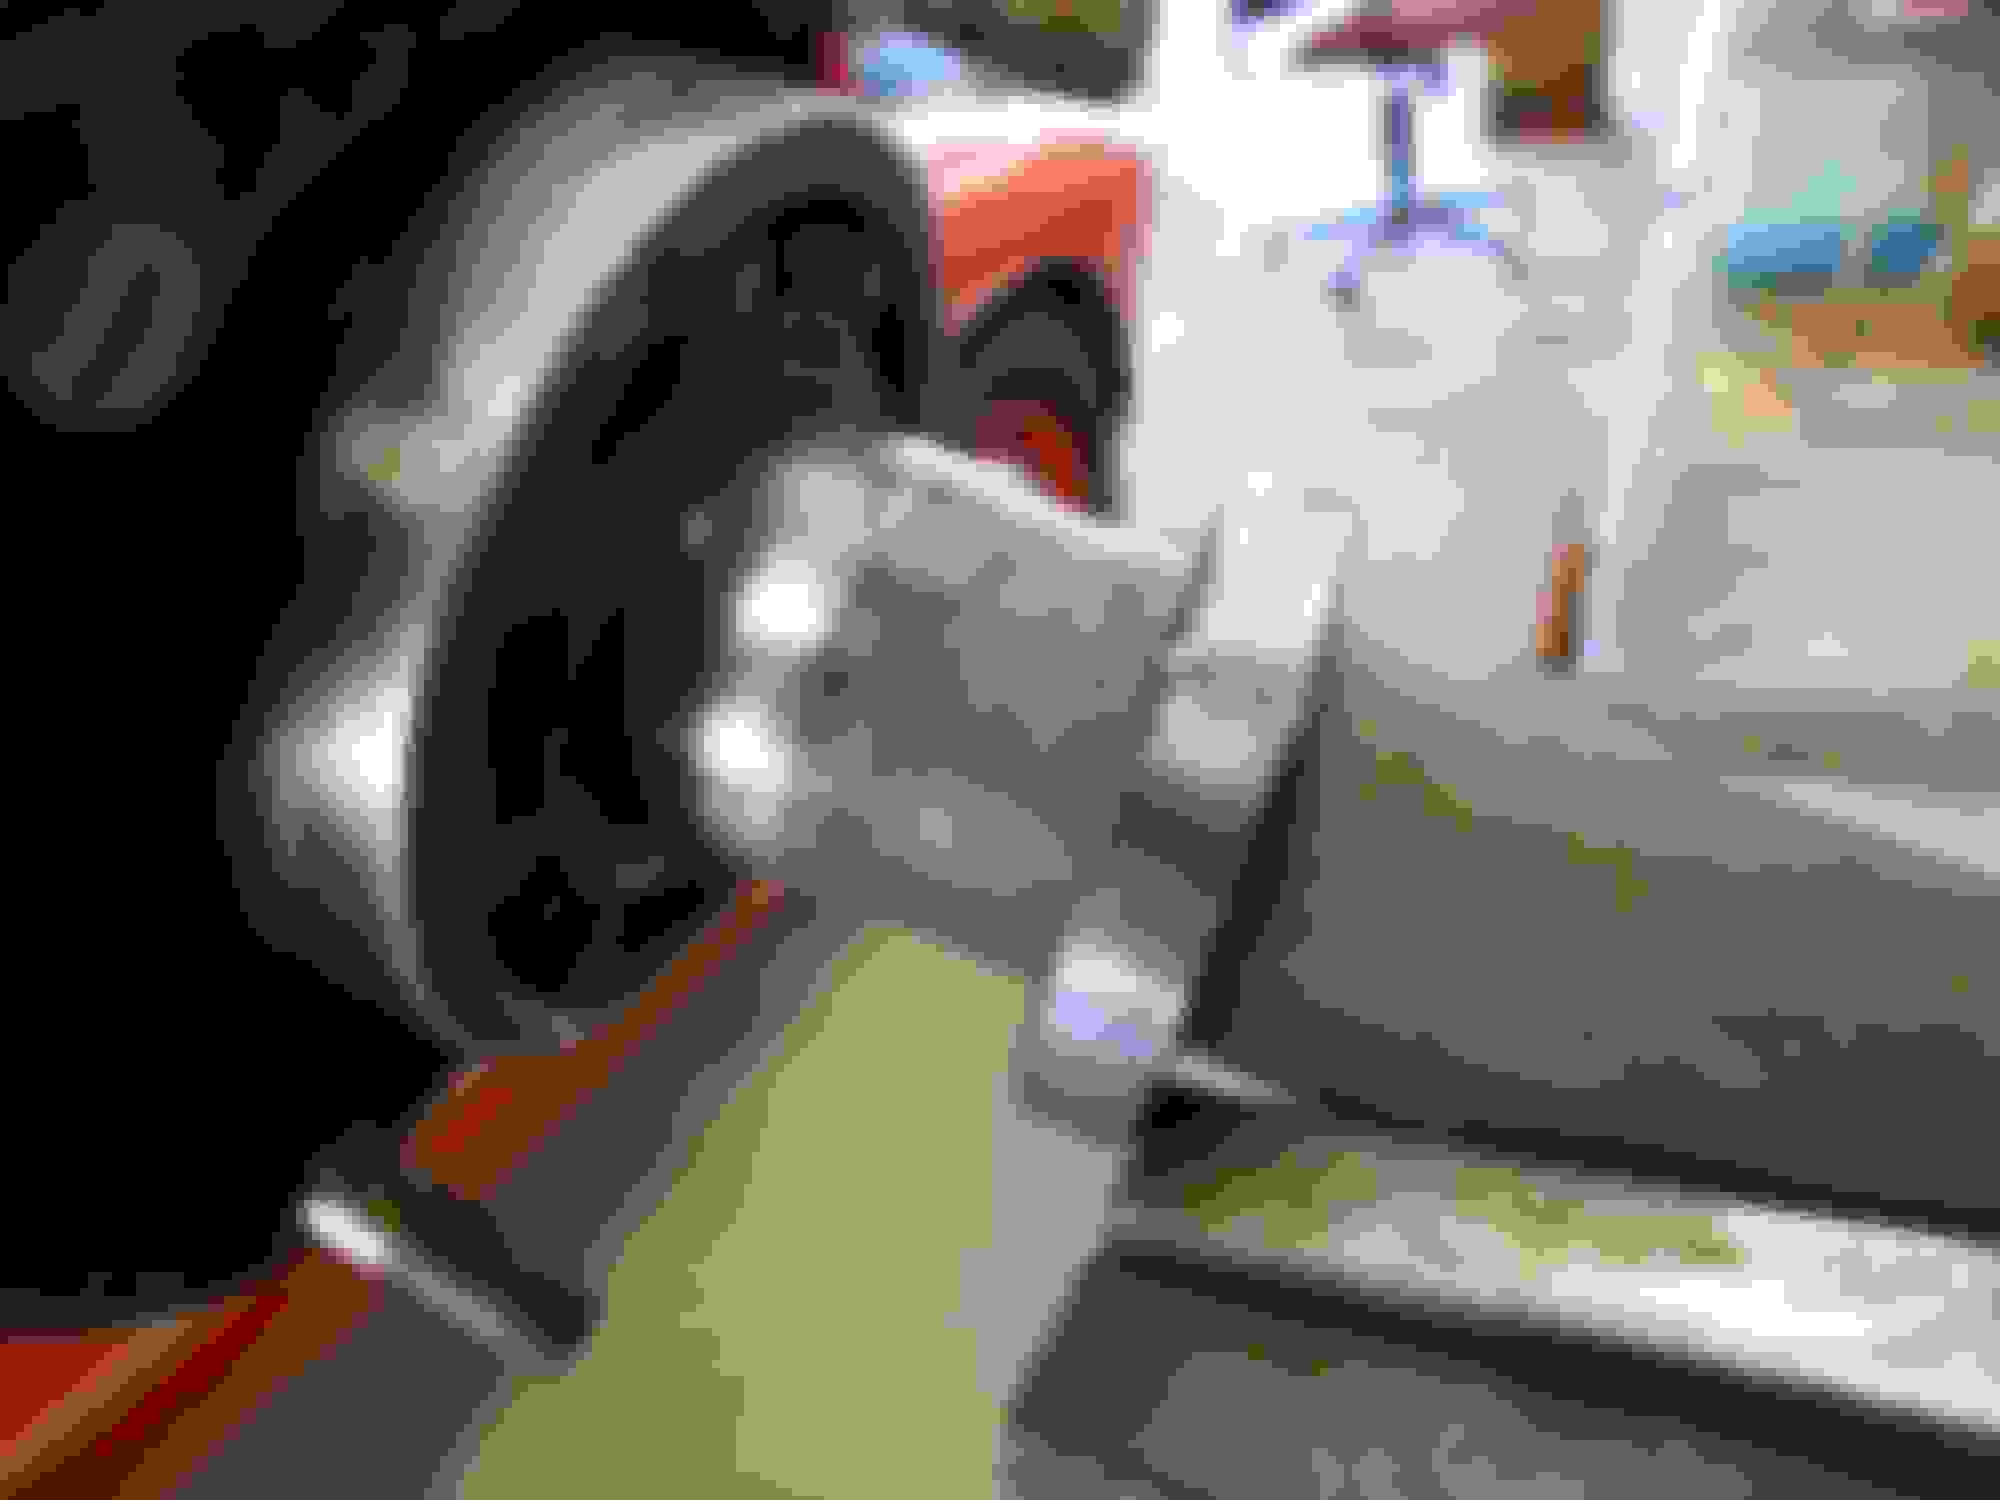
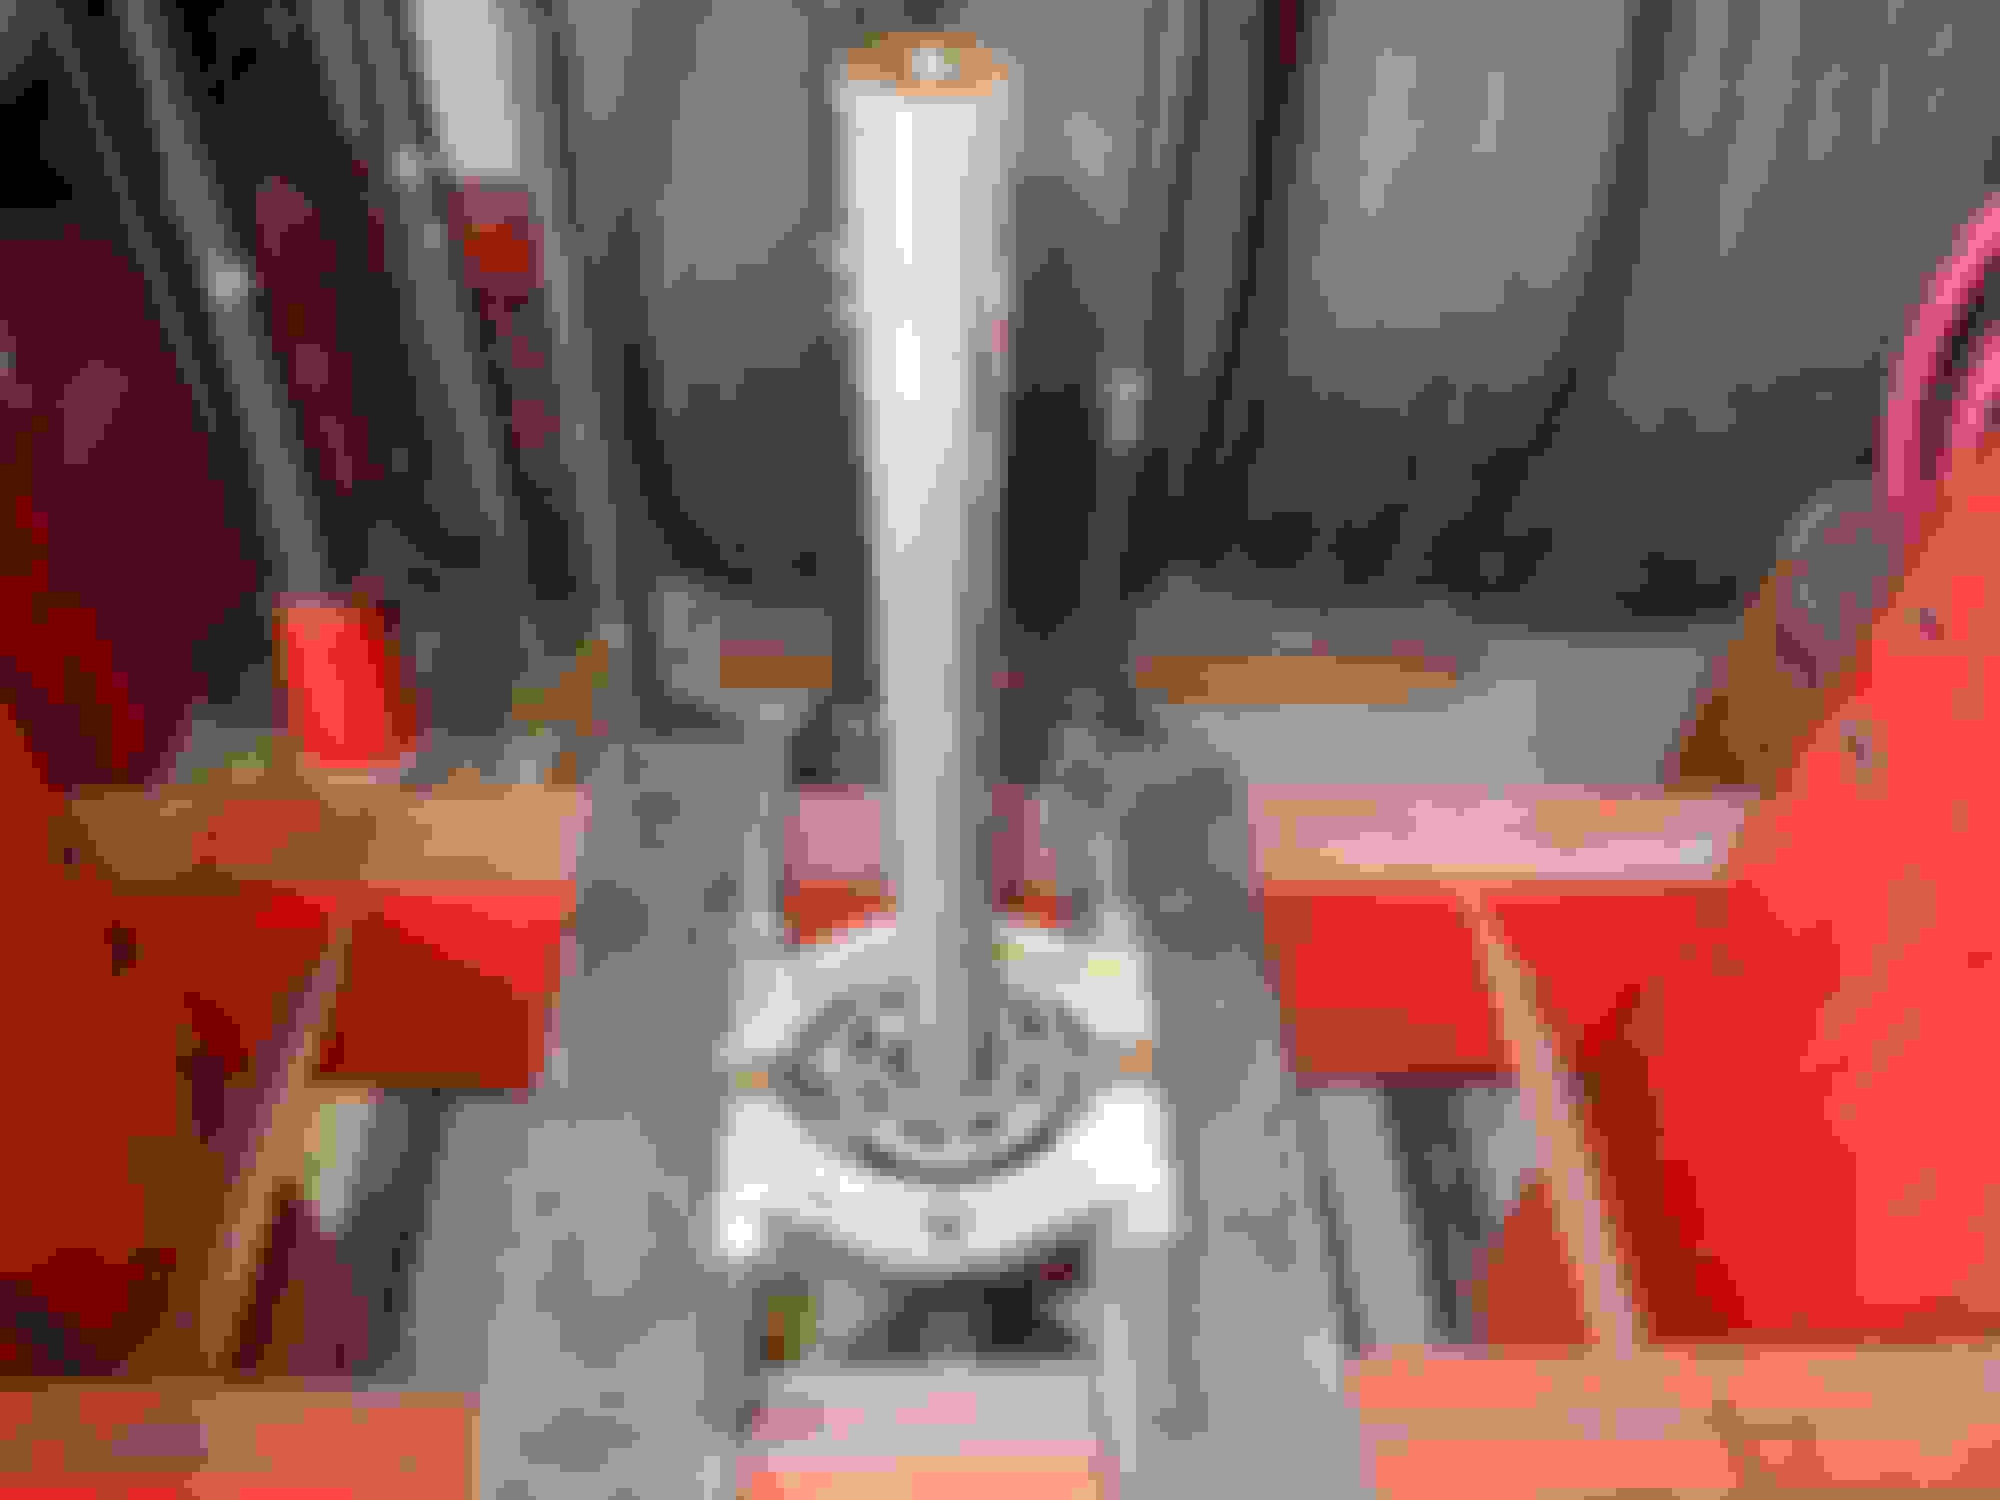
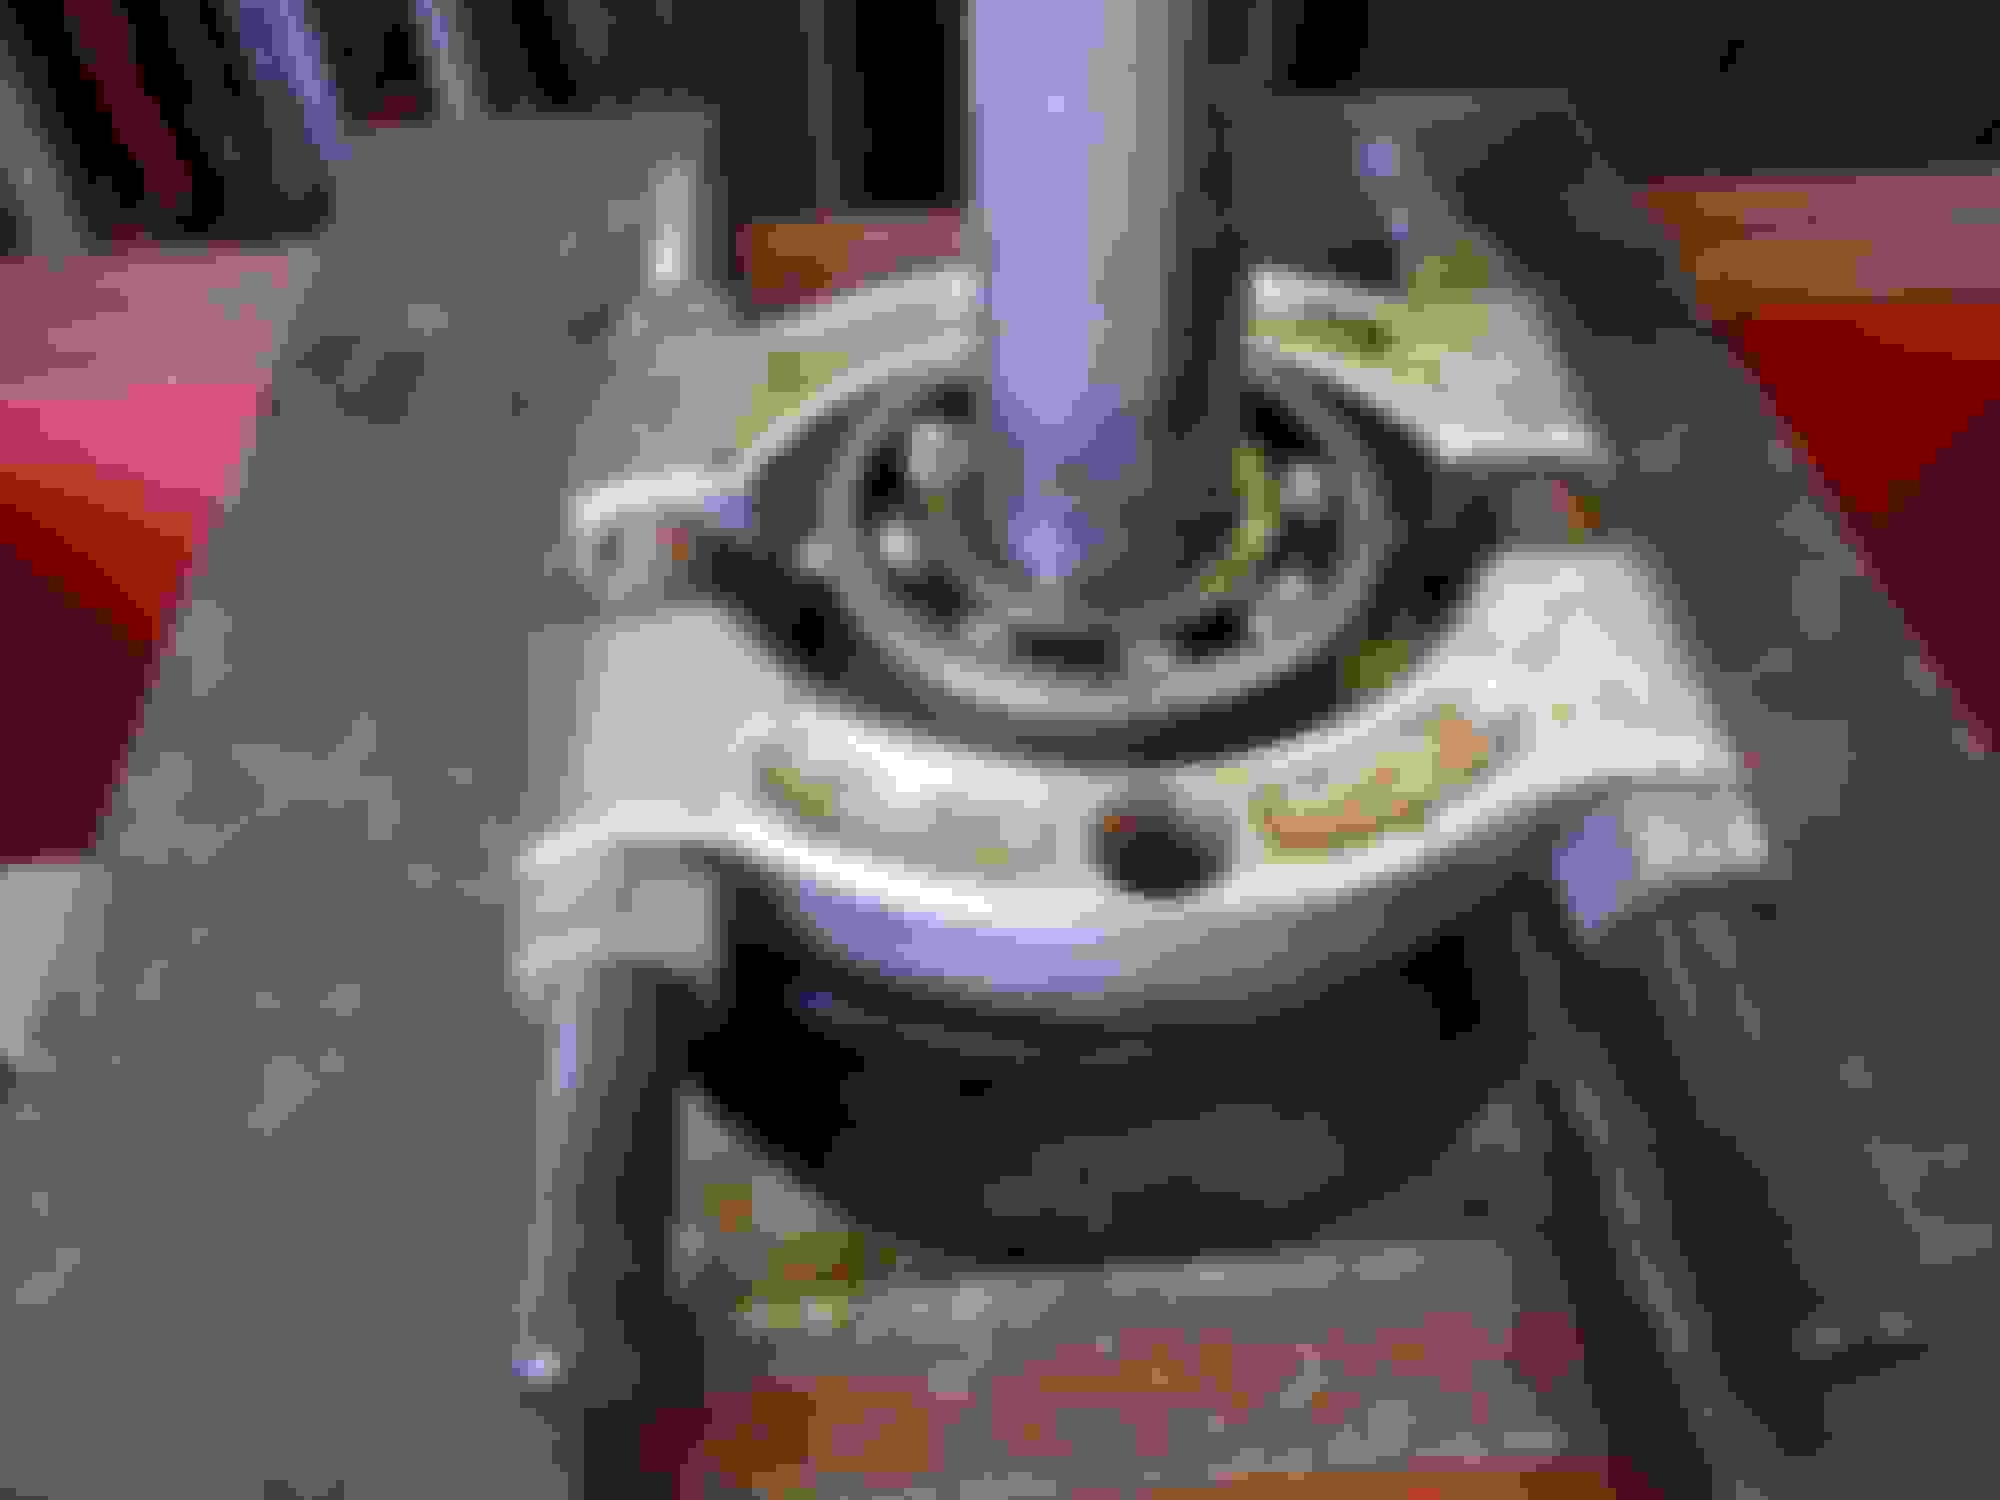
I bought replacement bearings and lock ring. These are the sealed bearings like shown in the picture. Question is do I need the seal as shown in the second picture too?
I bought replacement bearings and lock ring. These are the sealed bearings like shown in the picture. Question is do I need the seal as shown in the second picture too?
Don�t know why it�s in there, no place to put it. If that bearing has an open face (don�t remember), be sure it faces the differential when you install it.
 02-27-2018, 06:19 AM