


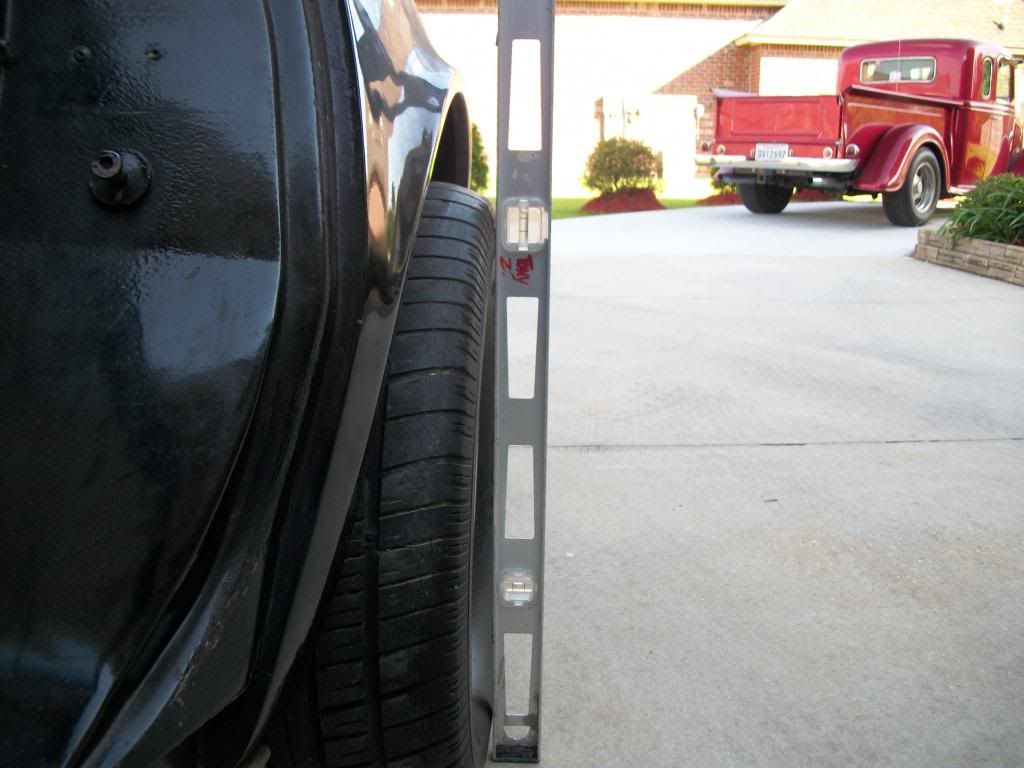
do all c3 door jambs look like hell?
Burning Brakes

Joined: Aug 2004
Posts: 856
Likes: 2
From: Tyler Texas
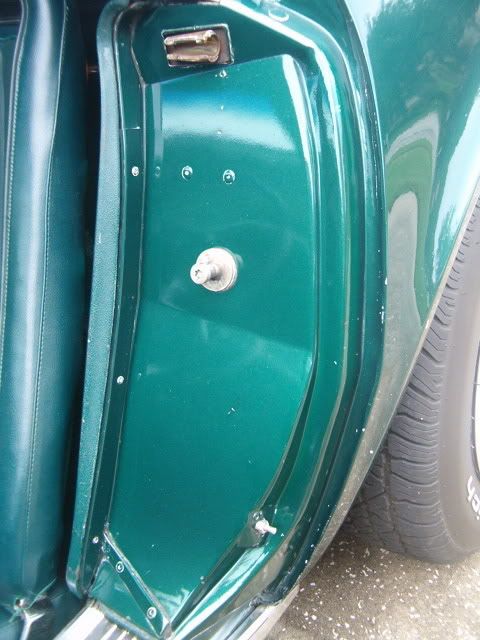
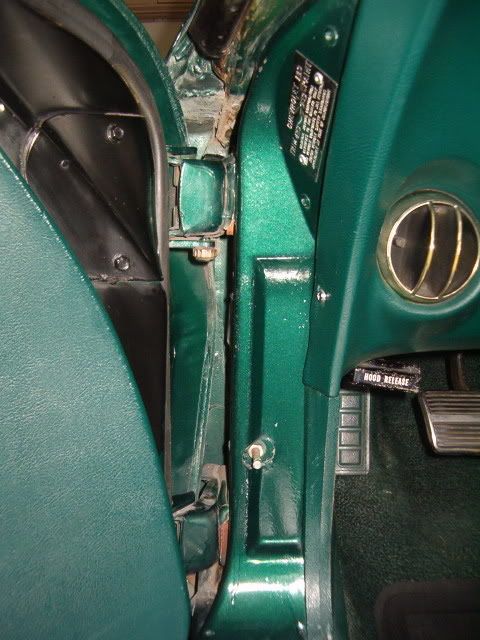
The "roughest" door jam area on a C3 is in the upper forward jam area--that portion above where the door hinges are located. This is characteristic of all 68-82 models. The rear door jams look great by comparison.
Melting Slicks


Joined: Nov 1999
Posts: 2,461
Likes: 354
From: Madison Alabama
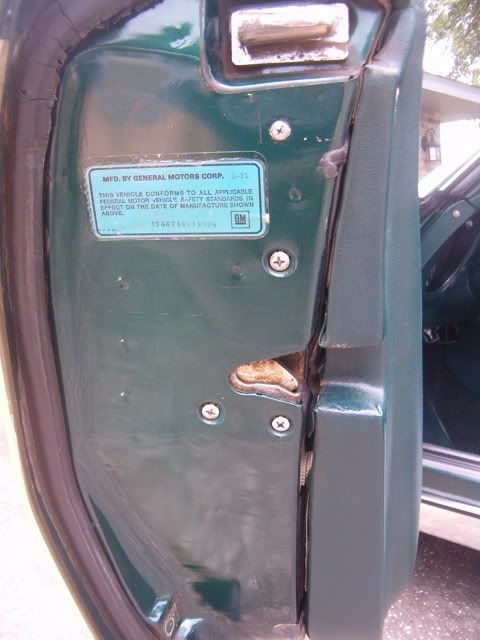
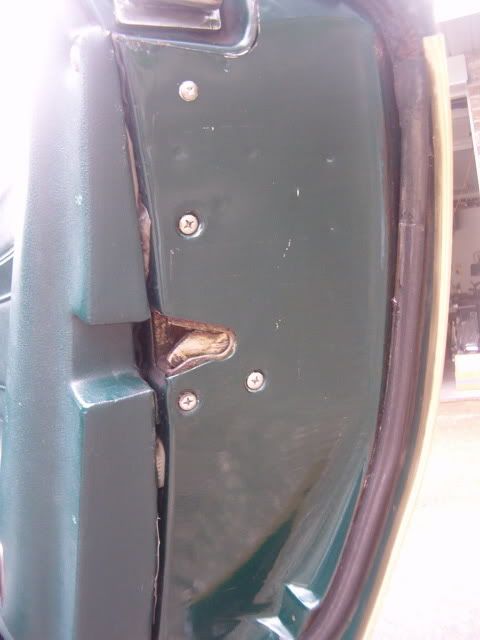
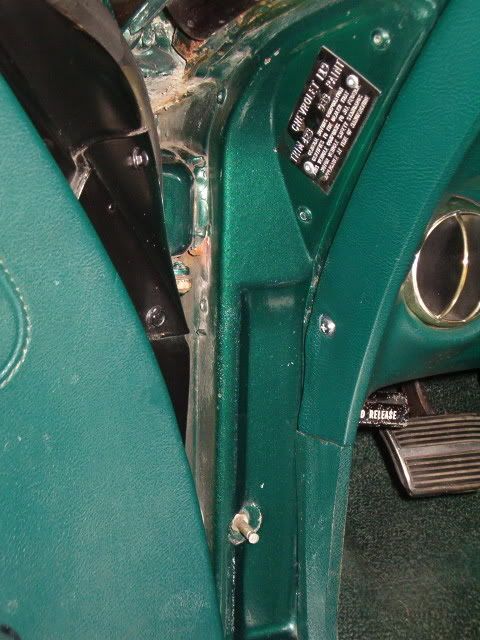
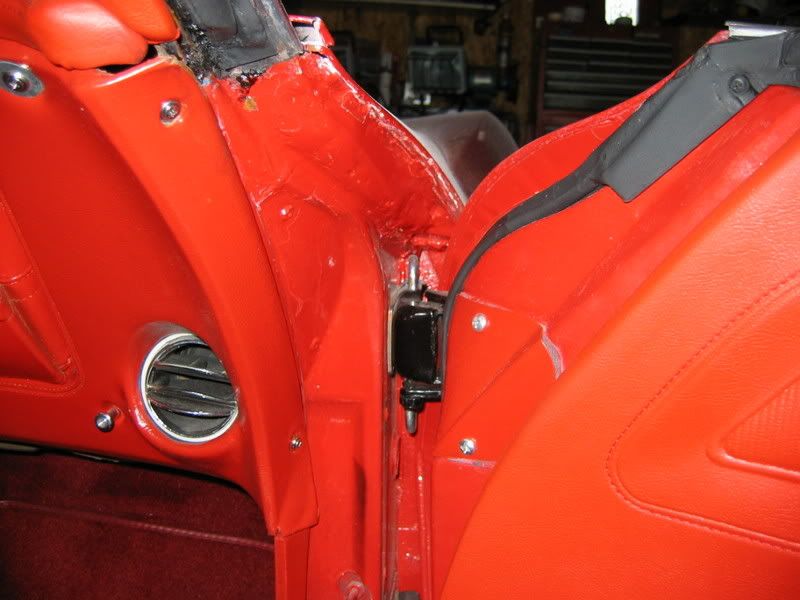
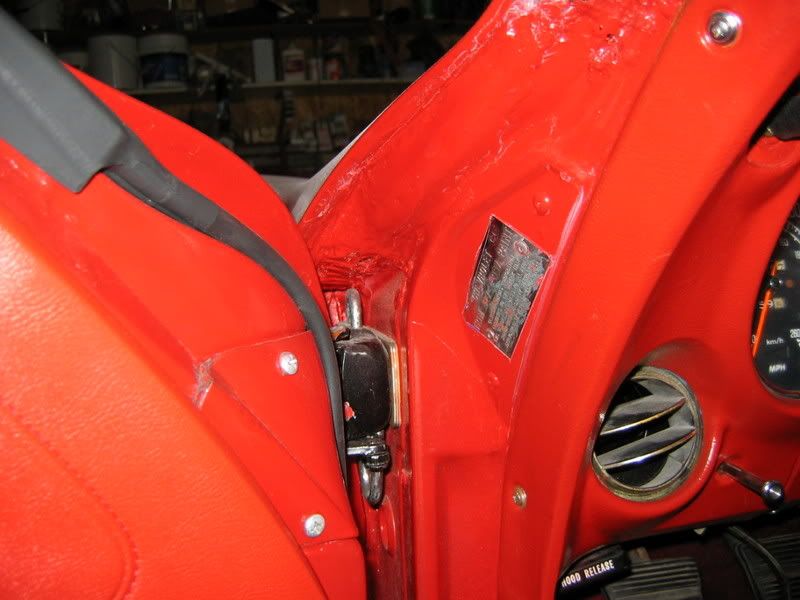
Neat topic. Here are a couple of pics from 2TONE82. I always thought it was neat how GM carried the two-tone and pinstripe inside the car/door jabs. I've cleaned/waxed them a little...on the second picture note the yellowed sticker that is lower right. It has a date of 2-19-82 and the number 11 circled. The car was built 2-14-82 so I'm assuming that was put on by the original dealer...maybe he received 11 cars that day. Also, the bar code sticker at lower left...anyone ever seen one of those before? I can't match the number to anything on the car or the build sheet or any paperwork for that matter. May have been a dealer thing as well.


Last edited by 2TONE82; Jul 24, 2007 at 07:35 PM.
The ORIGINAL and bestest


Joined: Oct 2000
Posts: 10,009
Likes: 240
From: Toronto Ontario
Toronto Events Coordinator

I think the front jamb is the area the original poster was talking about.
Le Mans Master


Joined: Jun 2006
Posts: 6,400
Likes: 1,226
From: Tampa Florida
Corvette Stories
The Best of Corvette for Corvette Enthusiasts

Top 10 Most Expensive Corvettes Ever Sold on Bring A Trailer
Brett Foote
10 Things Every Corvette Owner Needs (2026 Edition)
Michael S. Palmer
8 Most "Only Corvette Owners Understand" Quirks and Problems
Pouria Savadkouei
10 Reasons the C6 Z06 is Still A Performance Benchmark After 20 Years
Joe Kucinski
How Much Horsepower Every Corvette Engine "LOST" in 1972
Joe Kucinski
Top 10 DOs and DON'Ts for Protecting Your Convertible Top!
Michael S. Palmer
Top 10 Most Explosive Corvettes Ever Made: Power-to-Weight Ratio Ranked!
Joe Kucinski
150 hp to 1,250 hp: Every Corvette Generation Compared by the Specs That Matter
Joe Kucinski
8 Coolest Corvette Pace Cars (and Replicas) of All Time
Verdad GallardoBurning Brakes

Joined: Nov 2005
Posts: 1,137
Likes: 51
From: Cartersville GA
I have the brass/plastic rub strips on my early 69. I read somewhere they stopped using them in late 69 as they really didn't affect anything.

Melting Slicks


Joined: Apr 2002
Posts: 3,268
Likes: 2
From: Minnesota in the summer, Las Vegas in the winter
One of the first projects I did was to clean up the "armpits" on my 72. I took the doors off and installed new springs, cleaned and painted the hinges, and fixed the ugly areas with glass filler. I was pleased with the results, but they are certainly not professional. But the budget was right...


Burning Brakes


Joined: Oct 2009
Posts: 1,066
Likes: 57
One of the first projects I did was to clean up the "armpits" on my 72. I took the doors off and installed new springs, cleaned and painted the hinges, and fixed the ugly areas with glass filler. I was pleased with the results, but they are certainly not professional. But the budget was right...
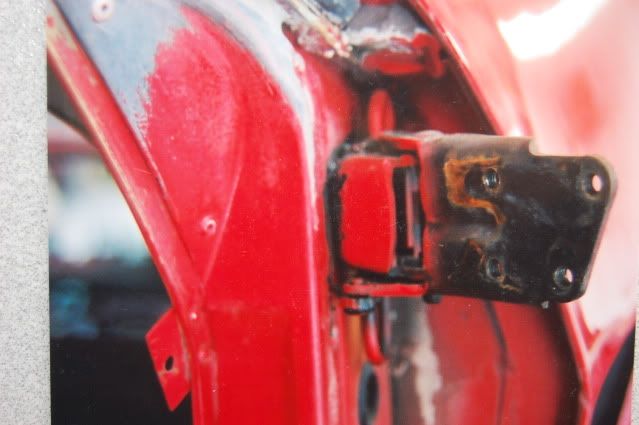
My '71 has cracks in the seams where the fender meet the 'pit'. Do they all do that?
Thanks
2026 Loser of the Year


Joined: Sep 2013
Posts: 36,600
Likes: 7,046
From: New Or-leens Loo-z-anna
"I have reviewed this resurrected post and I approve."
There is absolutely nothing here that you guys can harass Mike Ward about.....so forget it.
Besides, I was wondering why the door jambs on my basket case look as though they were sprayed with "thinned undercoating"!
There is absolutely nothing here that you guys can harass Mike Ward about.....so forget it.
Besides, I was wondering why the door jambs on my basket case look as though they were sprayed with "thinned undercoating"!
Last edited by doorgunner; Dec 3, 2014 at 07:21 AM.
Team Owner


Joined: Sep 2006
Posts: 31,283
Likes: 4,373
From: Westminster Maryland
Hi drs,
The top rear of the fender while bonded to the cowl was separate from the fiberglass 'cover' pop-riveted to the birdcage hinge pillar.
There was some attempt to fill and smooth the joints but it was half-hearted at best.
There was never an attempt to fill and smooth the joint between the fender and the cover.
I think in this area 'less is better'. Remove the excess fillers, reapply small amounts of filler to give the area a finished look, and paint.
Regards,
Alan
Administrator

Joined: Jul 2000
Posts: 53,988
Likes: 6,212
From: About 1100 miles from where I call home.
