1977 Corvette Body Off
Thread Starter
Racer


Joined: Feb 2009
Posts: 495
Likes: 5
From: Lexington KY
More progress...
Cleaned out the concrete like dirt from the TA pocket drains in preparation for blasting -

Blasted the frame with Black Beauty -

Etched with Metal Ready -

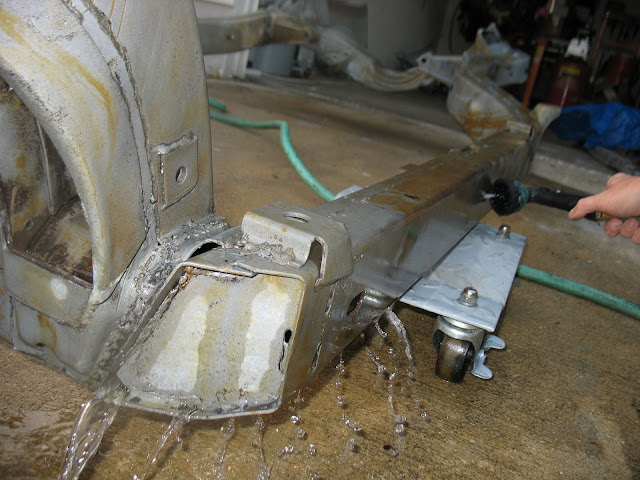
Rinsed out the inside of the frame profusely and cleared the drains -
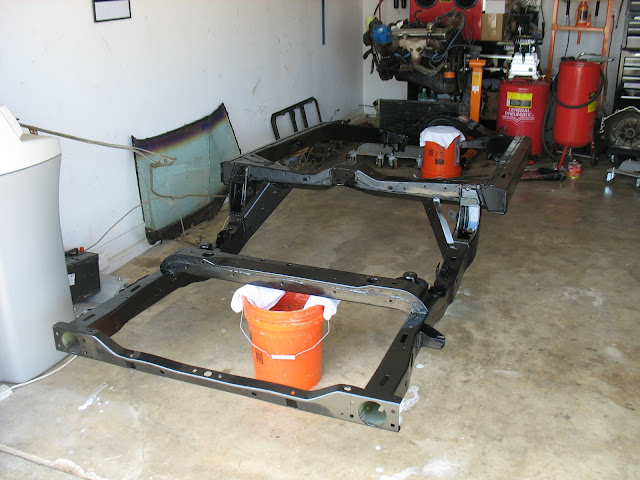
After a few days of drying I got started with the painting. Eastwood's Internal Frame coating first then externally with two coats of POR-15 semi-gloss -

Since the internal coating drips through the holes in the frame I used the excess in the #2 and #3 body mounts with a small brush. This still allows the cage nut to move freely when dry.


This is how it looked after the second coat of POR. It's shiny because it's still wet.
Next step is to prep and apply the Chassis Cote.
Cleaned out the concrete like dirt from the TA pocket drains in preparation for blasting -
Blasted the frame with Black Beauty -
Etched with Metal Ready -
Rinsed out the inside of the frame profusely and cleared the drains -
After a few days of drying I got started with the painting. Eastwood's Internal Frame coating first then externally with two coats of POR-15 semi-gloss -
Since the internal coating drips through the holes in the frame I used the excess in the #2 and #3 body mounts with a small brush. This still allows the cage nut to move freely when dry.
This is how it looked after the second coat of POR. It's shiny because it's still wet.
Next step is to prep and apply the Chassis Cote.
Last edited by wan2run; Mar 1, 2011 at 10:12 PM.
Race Director


Joined: Jan 2001
Posts: 16,221
Likes: 118
From: Matthews NC
Great pictures of your progress, interesting to see the grease pencil and stencil marks on the frame. Did your Dad buy it new and do you have any pictures of it before it was put in the barn?
Keep the pictures coming!
Keep the pictures coming!
Thread Starter
Racer
Joined: Feb 2009
Posts: 495
Likes: 5
From: Lexington KY
Here's what it looked like when he first bought it -

He painted it like this some time after -

Finally he painted it back to its original color as it sits now...
Thanks for the interest!
Last edited by wan2run; Jun 20, 2011 at 09:48 AM.
Thread Starter
Racer
Joined: Feb 2009
Posts: 495
Likes: 5
From: Lexington KY
I am re-using as much as I can to keep costs down and to maintain fit. The original tank cleaned up nicely. The bladder was still good, just replaced the sending unit sock.


Painted with Metal Mask, mounted on new pads, and new hoses hooked up

Rear bumper after initial cleaning


Tank shield and bumper cleaned and repainted

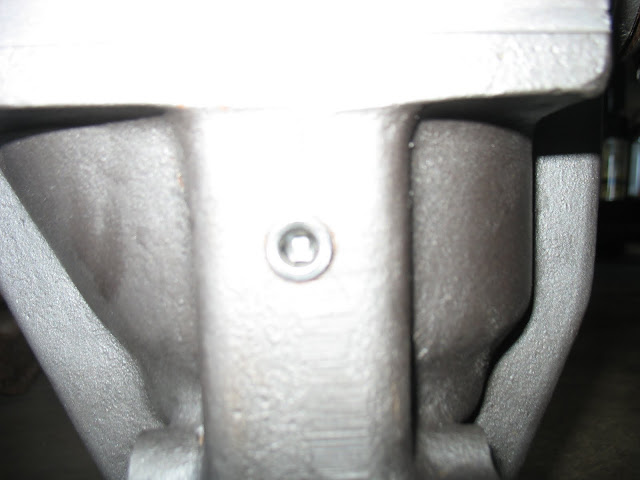
Differential


Looked good inside so I put in Amsoil 75w-90 and limited slip additive.

I also added a drain for ease of future fluid changes.
Metal Ready on the diff, RustBullet on the spring


Control Arms/spring before

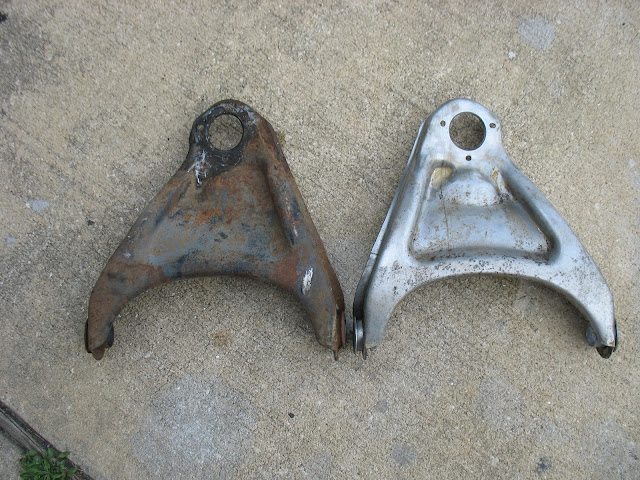
The same springs and control arms with new bushings and balljoints


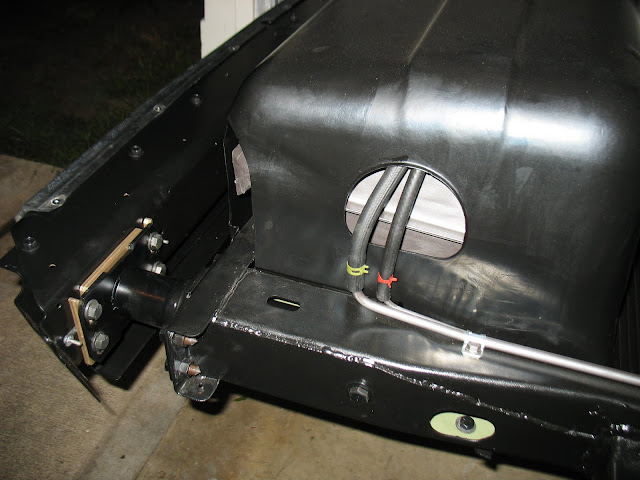
Steering


TA pockets

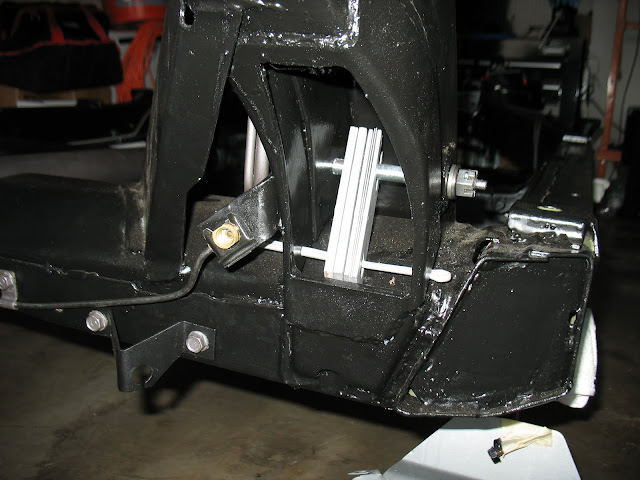
I reapplied the frame markings, LOL...

Next are the TA's and the front spindles
Painted with Metal Mask, mounted on new pads, and new hoses hooked up
Rear bumper after initial cleaning
Tank shield and bumper cleaned and repainted
Differential
Looked good inside so I put in Amsoil 75w-90 and limited slip additive.
I also added a drain for ease of future fluid changes.
Metal Ready on the diff, RustBullet on the spring
Control Arms/spring before
The same springs and control arms with new bushings and balljoints
Steering
TA pockets
I reapplied the frame markings, LOL...
Next are the TA's and the front spindles
Instructor
Joined: Apr 2009
Posts: 219
Likes: 0
From: Missouri
WOW! That's impressive, I don't think I could do a frame off. It's been rough just gutting my interior and swapping from a small block to a big block and 7654r trans swap and upgrading the suspension to some steeroids stuff.
Hat's of to you man!

Hat's of to you man!
Thread Starter
Racer
Joined: Feb 2009
Posts: 495
Likes: 5
From: Lexington KY
Slow to update, but still working a bunch. 
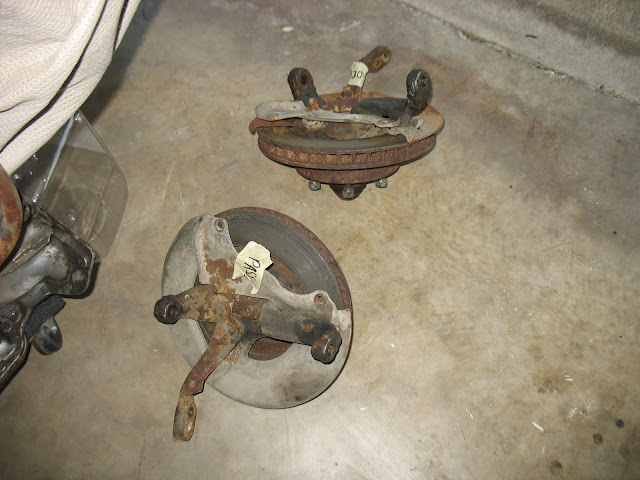
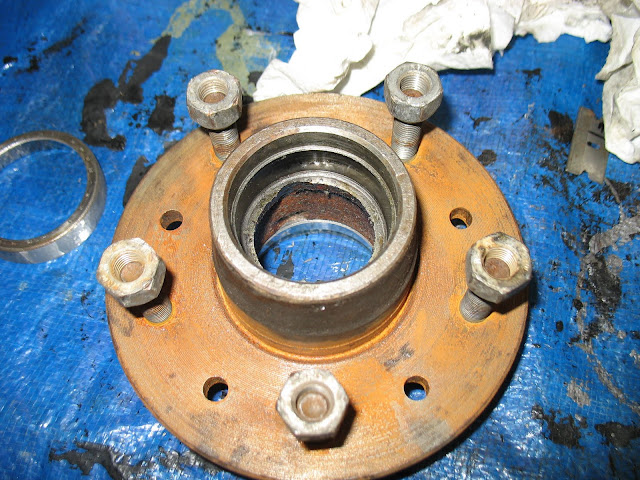
One of the front rotors was below spec so I drilled them out. Not as bad a task as I thought. Took about 30 minutes per side.
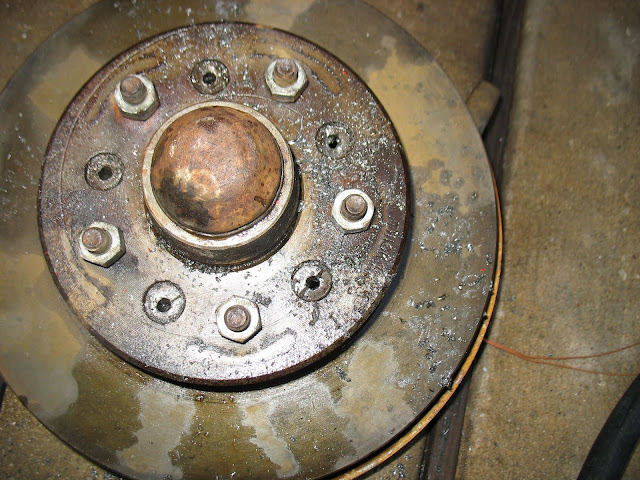
Also replaced the front wheel bearings.

Jumped over to the body for a change of pace. Pulled out everything from the engine bay and the rest of the wiring (inside and out). Found a screwdriver in the coolant overflow and a set of keys in the defroster.

Firewall prep -

Pulled the rad support, luckily it was in good shape. POR-15 and good as new. Used the Krylon 1613 on the firewall and engine bay.

More to come...
One of the front rotors was below spec so I drilled them out. Not as bad a task as I thought. Took about 30 minutes per side.
Also replaced the front wheel bearings.
Jumped over to the body for a change of pace. Pulled out everything from the engine bay and the rest of the wiring (inside and out). Found a screwdriver in the coolant overflow and a set of keys in the defroster.
Firewall prep -
Pulled the rad support, luckily it was in good shape. POR-15 and good as new. Used the Krylon 1613 on the firewall and engine bay.
More to come...
Last edited by wan2run; Aug 2, 2011 at 12:50 AM.
Corvette Stories
The Best of Corvette for Corvette Enthusiasts

Every 2027 Corvette Engine Explained
Joe Kucinski
Designer Imagines A Corvette That Looks More Like a Corvette Than the Corvette
Verdad Gallardo
10 Ugly Corvettes That We Still Kinda Love
Joe Kucinski
Top 10 Most Expensive Corvettes Ever Sold on Bring A Trailer
Brett Foote
10 Things Every Corvette Owner Needs (2026 Edition)
Michael S. Palmer
8 Most "Only Corvette Owners Understand" Quirks and Problems
Pouria Savadkouei
10 Reasons the C6 Z06 is Still A Performance Benchmark After 20 Years
Joe Kucinski
How Much Horsepower Every Corvette Engine "LOST" in 1972
Joe Kucinski
Top 10 DOs and DON'Ts for Protecting Your Convertible Top!
Michael S. Palmer

Thread Starter
Racer
Joined: Feb 2009
Posts: 495
Likes: 5
From: Lexington KY
Lots of work has been progressing...just not a lot of updating.
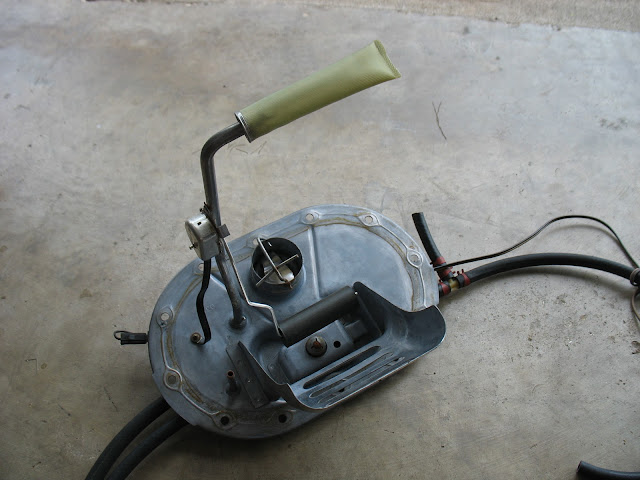
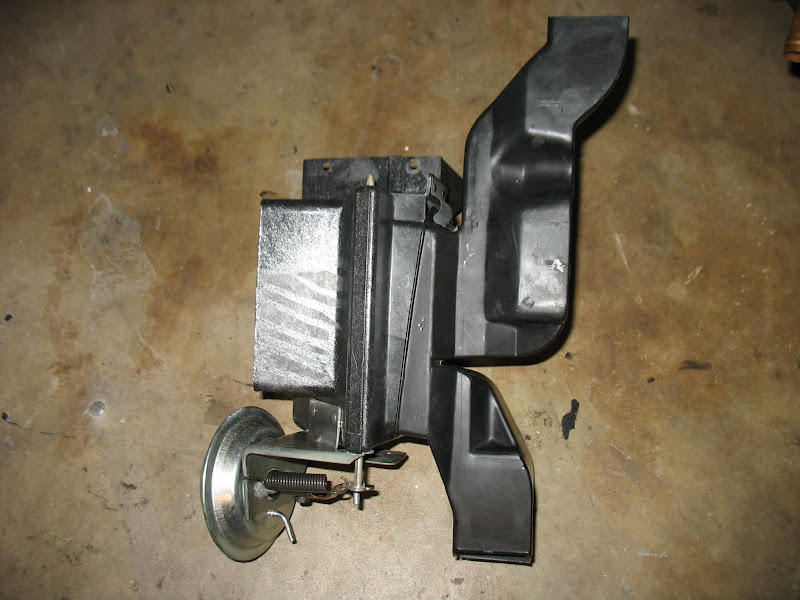
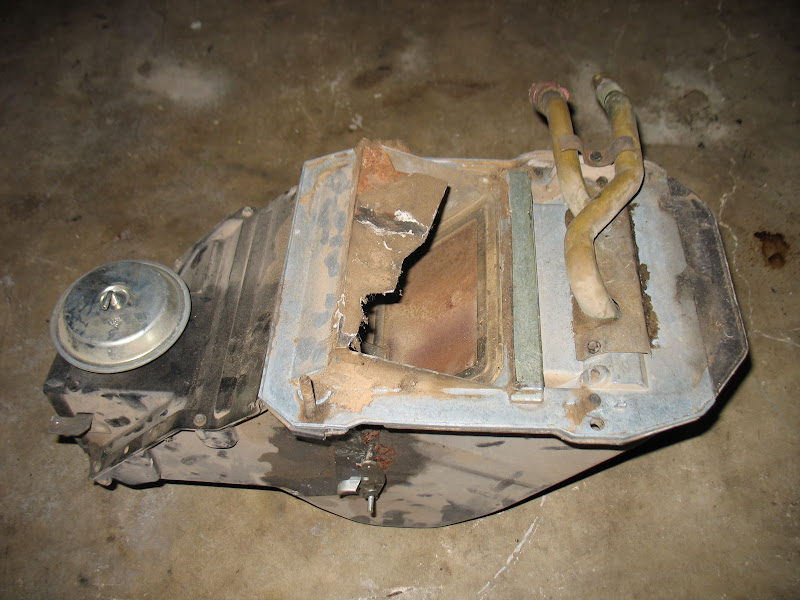
Heater box rebuild


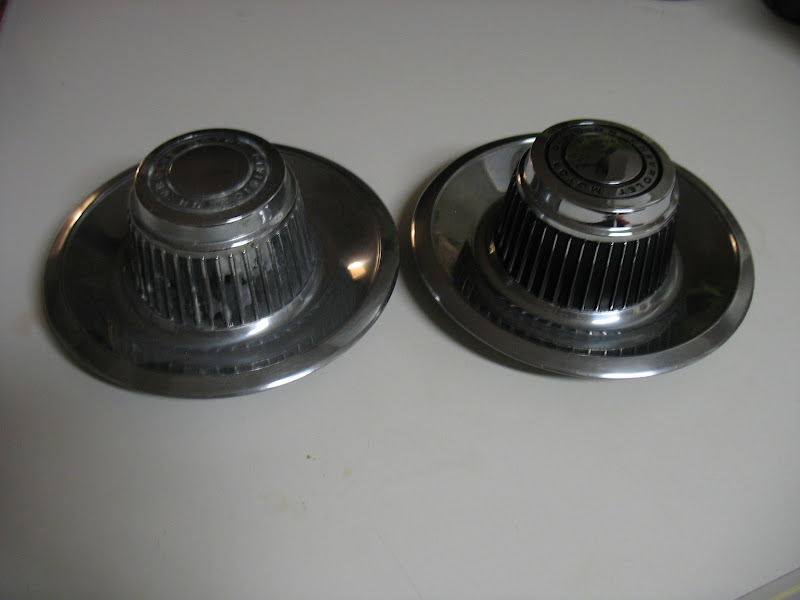
Picked up a used set of 17x8 Rally knockoffs in perfect condition

and started restoring the derby caps (left is before/right is after)
Cleaning up the underside of the body


and applied Hippo Liner


Painted the underside of the hood and added new insulation

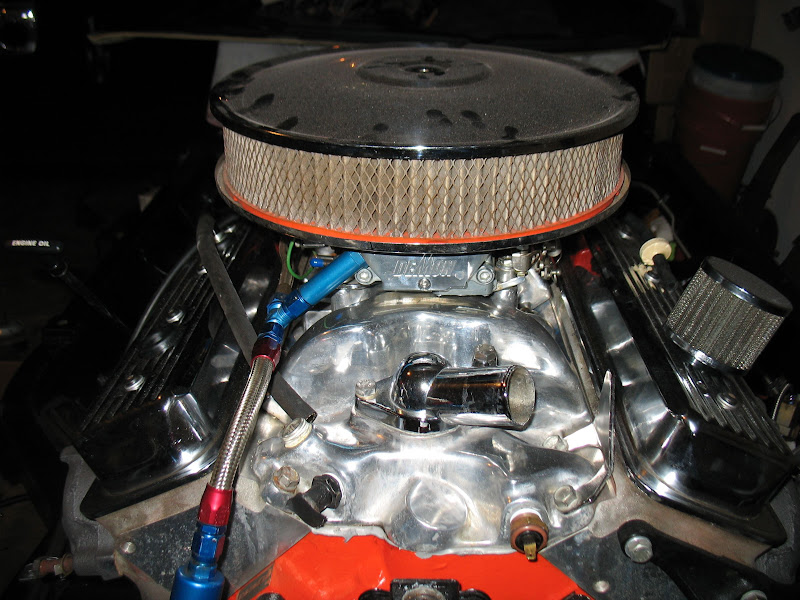
and finally for now a 6K mile Chevy ZZZ crate motor I picked up from another forum member attached to my rebuilt TH350 with Transgo shift kit and 2400 stall mounted.

Heater box rebuild
Picked up a used set of 17x8 Rally knockoffs in perfect condition
and started restoring the derby caps (left is before/right is after
)Cleaning up the underside of the body
and applied Hippo Liner
Painted the underside of the hood and added new insulation
and finally for now a 6K mile Chevy ZZZ crate motor I picked up from another forum member attached to my rebuilt TH350 with Transgo shift kit and 2400 stall mounted.

Thread Starter
Racer
Joined: Feb 2009
Posts: 495
Likes: 5
From: Lexington KY

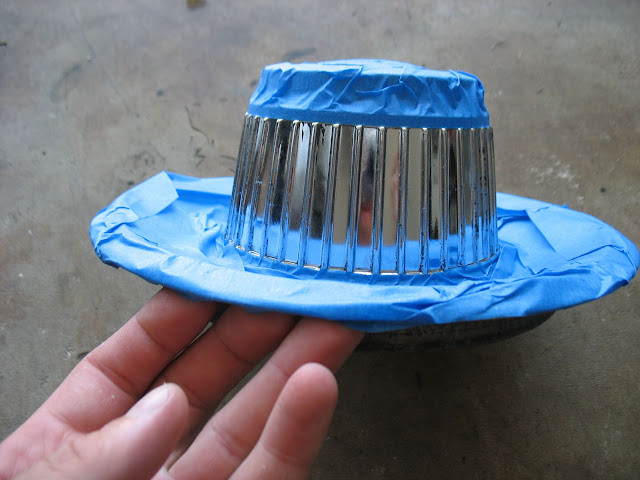
Spray it -


Remove the tape and you should have this -

Finally, just run a razor blade down the lines on the sides and over the wording to remove the excess paint, polish it up, and you're done...
Last edited by wan2run; Nov 25, 2011 at 01:17 PM.
TheCorvetteBen


Joined: Feb 2007
Posts: 4,987
Likes: 144
From: Van Alstyne, TX
Hey Ben...I first start by removing what's left of the old black paint with aircraft remover and then tape off everything except the wording and sides -
Spray it -
Remove the tape and you should have this -
Finally, just run a razor blade down the lines on the sides and over the wording to remove the excess paint, polish it up, and you're done...
Spray it -
Remove the tape and you should have this -
Finally, just run a razor blade down the lines on the sides and over the wording to remove the excess paint, polish it up, and you're done...
Thread Starter
Racer
Joined: Feb 2009
Posts: 495
Likes: 5
From: Lexington KY

Next is going to be shocks (either Koni, Bilstein, or Edelbrock), rotors, and trailing arms. While I'm saving the money for those things I'll continue working on the small stuff. I'm currently working on the passenger side flapper and kick panel door. Will post pics soon.


Thread Starter
Racer
Joined: Feb 2009
Posts: 495
Likes: 5
From: Lexington KY
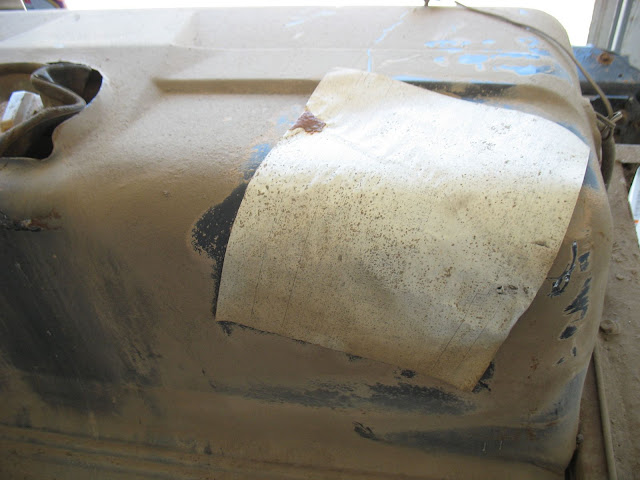
These pics will show the fresh air door in the passenger kick panel.
Before -
Here you can see that half of the foam that seals the door is gone
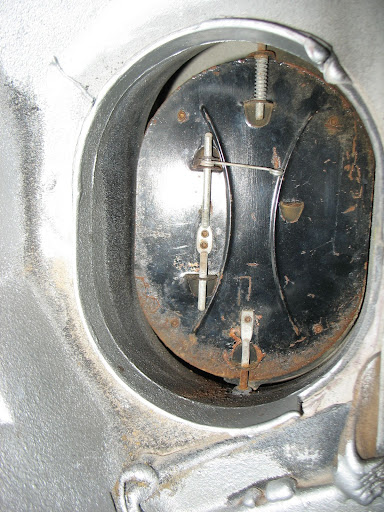


Dismantled -

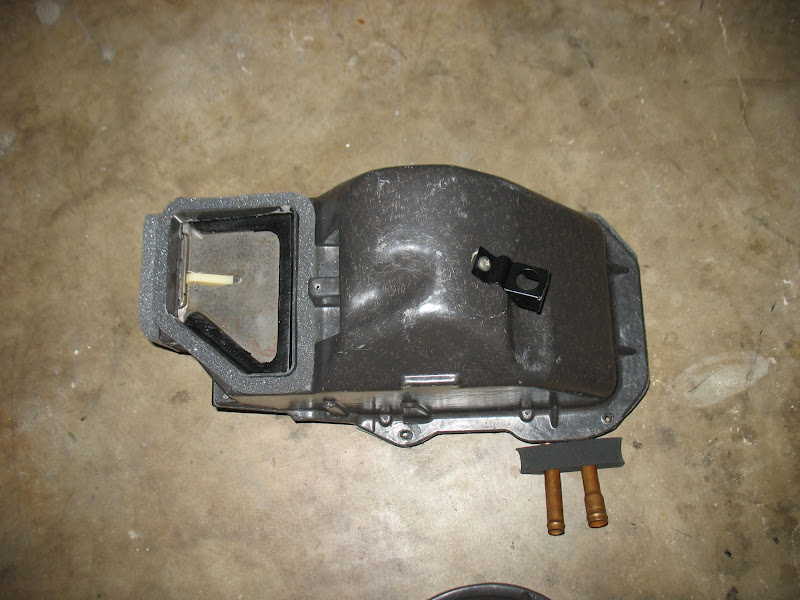
After -


Next up...headlights.

Before -
Here you can see that half of the foam that seals the door is gone
Dismantled -
After -
Next up...headlights.
Le Mans Master


Joined: Mar 2000
Posts: 9,127
Likes: 2,327
From: Pottsville, PA. USA Home Of America's Oldest Brewery Yuengling