



How to remove dash?
Thread Starter
Racer


Joined: Nov 2001
Posts: 326
Likes: 19
From: Napa CA
 How to remove dash?
What is the process for removing the dash out of my 69?
I am redoing my interior with new carpets, seat covers and door panels and will be sprucing up the center column and installing new gauges. My dash has a big ol crack in it and my buddy is going to cover it in black leather.
I also need a new windshield, should I remove the old windshield and leave it out until I am done with the dash?
And if it seems simple to some of you, please note that I had a hard time getting the seats out because my tracks were stuck and my last big project the EFI conversion took me over three years!!!
Eric.
I am redoing my interior with new carpets, seat covers and door panels and will be sprucing up the center column and installing new gauges. My dash has a big ol crack in it and my buddy is going to cover it in black leather.
I also need a new windshield, should I remove the old windshield and leave it out until I am done with the dash?
And if it seems simple to some of you, please note that I had a hard time getting the seats out because my tracks were stuck and my last big project the EFI conversion took me over three years!!!
Eric.

Drifting

Joined: Feb 2008
Posts: 1,560
Likes: 4
From: Arlington texas
Pretty straight forward removal, just fits tight. The windshield out might help reinstalling it. I pulled my windshield and am waiting to replace it last. Removing the dash will be fairly simple once you disconnect everything since you don't have to worry about damaging it unless you are just putting a cap on it and reusing the old dash. I bought a new dash for mine. It had already been capped before

Melting Slicks


Joined: Apr 2007
Posts: 3,189
Likes: 111
From: Tolland CT
I've done this at least 4 times with my 70 over the last 26 years. Not a fun job... The wiring behind the driver side dash is a tight fit on the 70, think it's the same for the 69.
Here's a rough outline..
Start with removing the passenger side dash panel. Three screws on the top, two on the outside and two (or three?) and the gauge panel.
Once removed you'll have access to the brace which holds the top of the dash in place.
Remove screws which fasten the center console to the dash top and three screws which fasten the driver's side panel to the top.
To remove the dash top you'll need to remove the trim from the windshield pillars. You'll need to bow the dash top a bit to get it to clear the pillars. Bow only as much as needed...
I think you'll need to remove the nuts from the studs which fasten the center gauge panel to the console. I'm not sure which gives better access, from the sides or from under the console (remove the console top).
If you're going all the way with the dash...
For the drivers side it's easiest if you remove the steering column. If not you'll have to at least remove the bolts supporting it and let it drop a bit for clearance. Best to disconnect the rag joint.
Same screws need to be removed for the driver's side as were for the passenger. Pull the panel back and disconnect the speedometer and tach cables. A spring clip retains them on 70, not sure if 69 is the same or if 69 used threaded collars. Disconnect wiring and vacuum hoses, making note of where they went. The color code for the wiring are stamped on the back of the speedo and tach, nice if you forget to tag wires.
Here's a rough outline..
Start with removing the passenger side dash panel. Three screws on the top, two on the outside and two (or three?) and the gauge panel.
Once removed you'll have access to the brace which holds the top of the dash in place.
Remove screws which fasten the center console to the dash top and three screws which fasten the driver's side panel to the top.
To remove the dash top you'll need to remove the trim from the windshield pillars. You'll need to bow the dash top a bit to get it to clear the pillars. Bow only as much as needed...
I think you'll need to remove the nuts from the studs which fasten the center gauge panel to the console. I'm not sure which gives better access, from the sides or from under the console (remove the console top).
If you're going all the way with the dash...
For the drivers side it's easiest if you remove the steering column. If not you'll have to at least remove the bolts supporting it and let it drop a bit for clearance. Best to disconnect the rag joint.
Same screws need to be removed for the driver's side as were for the passenger. Pull the panel back and disconnect the speedometer and tach cables. A spring clip retains them on 70, not sure if 69 is the same or if 69 used threaded collars. Disconnect wiring and vacuum hoses, making note of where they went. The color code for the wiring are stamped on the back of the speedo and tach, nice if you forget to tag wires.
Thread Starter
Racer
Joined: Nov 2001
Posts: 326
Likes: 19
From: Napa CA
I've done this at least 4 times with my 70 over the last 26 years. Not a fun job... The wiring behind the driver side dash is a tight fit on the 70, think it's the same for the 69.
Here's a rough outline..
Start with removing the passenger side dash panel. Three screws on the top, two on the outside and two (or three?) and the gauge panel.
Once removed you'll have access to the brace which holds the top of the dash in place.
Remove screws which fasten the center console to the dash top and three screws which fasten the driver's side panel to the top.
To remove the dash top you'll need to remove the trim from the windshield pillars. You'll need to bow the dash top a bit to get it to clear the pillars. Bow only as much as needed...
I think you'll need to remove the nuts from the studs which fasten the center gauge panel to the console. I'm not sure which gives better access, from the sides or from under the console (remove the console top).
If you're going all the way with the dash...
For the drivers side it's easiest if you remove the steering column. If not you'll have to at least remove the bolts supporting it and let it drop a bit for clearance. Best to disconnect the rag joint.
Same screws need to be removed for the driver's side as were for the passenger. Pull the panel back and disconnect the speedometer and tach cables. A spring clip retains them on 70, not sure if 69 is the same or if 69 used threaded collars. Disconnect wiring and vacuum hoses, making note of where they went. The color code for the wiring are stamped on the back of the speedo and tach, nice if you forget to tag wires.
Here's a rough outline..
Start with removing the passenger side dash panel. Three screws on the top, two on the outside and two (or three?) and the gauge panel.
Once removed you'll have access to the brace which holds the top of the dash in place.
Remove screws which fasten the center console to the dash top and three screws which fasten the driver's side panel to the top.
To remove the dash top you'll need to remove the trim from the windshield pillars. You'll need to bow the dash top a bit to get it to clear the pillars. Bow only as much as needed...
I think you'll need to remove the nuts from the studs which fasten the center gauge panel to the console. I'm not sure which gives better access, from the sides or from under the console (remove the console top).
If you're going all the way with the dash...
For the drivers side it's easiest if you remove the steering column. If not you'll have to at least remove the bolts supporting it and let it drop a bit for clearance. Best to disconnect the rag joint.
Same screws need to be removed for the driver's side as were for the passenger. Pull the panel back and disconnect the speedometer and tach cables. A spring clip retains them on 70, not sure if 69 is the same or if 69 used threaded collars. Disconnect wiring and vacuum hoses, making note of where they went. The color code for the wiring are stamped on the back of the speedo and tach, nice if you forget to tag wires.
Does anyone have any pics of where all these bolts are that I should be looking for?
Eric

Team Owner


Joined: Jun 2000
Posts: 38,923
Likes: 1,482
From: Southbound
Cruise-In II Veteran
Purchase the assembly instruction manual (AIM). It helps. Take a look at how the dash was installed at the factory. Knowing how it went in is helpful when taking it out. The steering column mount bolts are also shown in the AIM.
I have always found it easier to start on the passenger's side and work my way left. Installation is the opposite; start on the driver's side and work your way right.
Go back to work on your seat mount bolts. Dash work is easier if the seats are out of the car.
Good luck.

I have always found it easier to start on the passenger's side and work my way left. Installation is the opposite; start on the driver's side and work your way right.
Go back to work on your seat mount bolts. Dash work is easier if the seats are out of the car.
Good luck.

Team Owner


Joined: Sep 2006
Posts: 31,315
Likes: 4,418
From: Westminster Maryland
Hi Eric,
I agree with Mike! I wouldn't touch the dash with out the 69 AIM.
It's very serious in there. Remember, you're dealing with 40 year old vinyl, hard plastic, pot metal castings, vacuum hoses and electrical wiring.
You can break something in an instant that will cost hundreds of $ to replace. (For example the center gauge bezel.)
Good Luck!
Regards,
Alan

I agree with Mike! I wouldn't touch the dash with out the 69 AIM.
It's very serious in there. Remember, you're dealing with 40 year old vinyl, hard plastic, pot metal castings, vacuum hoses and electrical wiring.
You can break something in an instant that will cost hundreds of $ to replace. (For example the center gauge bezel.)
Good Luck!
Regards,
Alan

Team Owner
Joined: Aug 1999
Posts: 30,995
Likes: 99
From: Ontario
Corvette Stories
The Best of Corvette for Corvette Enthusiasts

5 Best & 5 Worst Corvette Daily Drivers
Joe Kucinski
The Headlights of Every Corvette Generation Explained
Joe Kucinski
5 Best & 5 Most Overrated Corvette Track Packages of All Time!
Joe Kucinski
Every 2027 Corvette Engine Explained
Joe Kucinski
Designer Imagines A Corvette That Looks More Like a Corvette Than the Corvette
Verdad Gallardo
10 Ugly Corvettes That We Still Kinda Love
Joe Kucinski
Top 10 Most Expensive Corvettes Ever Sold on Bring A Trailer
Brett Foote
10 Things Every Corvette Owner Needs (2026 Edition)
Michael S. Palmer
8 Most "Only Corvette Owners Understand" Quirks and Problems
Pouria Savadkouei

Thread Starter
Racer
Joined: Nov 2001
Posts: 326
Likes: 19
From: Napa CA
I purchased my interior from Wilcox, and they are going to recover my seats.
If (when) I buy the AIM from Wilcox, do they pull my dash???
I did get my seat bolts out, but I still can't find my drop light and I think I am going to need it along with a garage heater (it does drop down to the low 40s here!)
Eric.
If (when) I buy the AIM from Wilcox, do they pull my dash???
I did get my seat bolts out, but I still can't find my drop light and I think I am going to need it along with a garage heater (it does drop down to the low 40s here!)
Eric.
Team Owner
Joined: Aug 1999
Posts: 30,995
Likes: 99
From: Ontario

Burning Brakes

Joined: Nov 2008
Posts: 998
Likes: 0
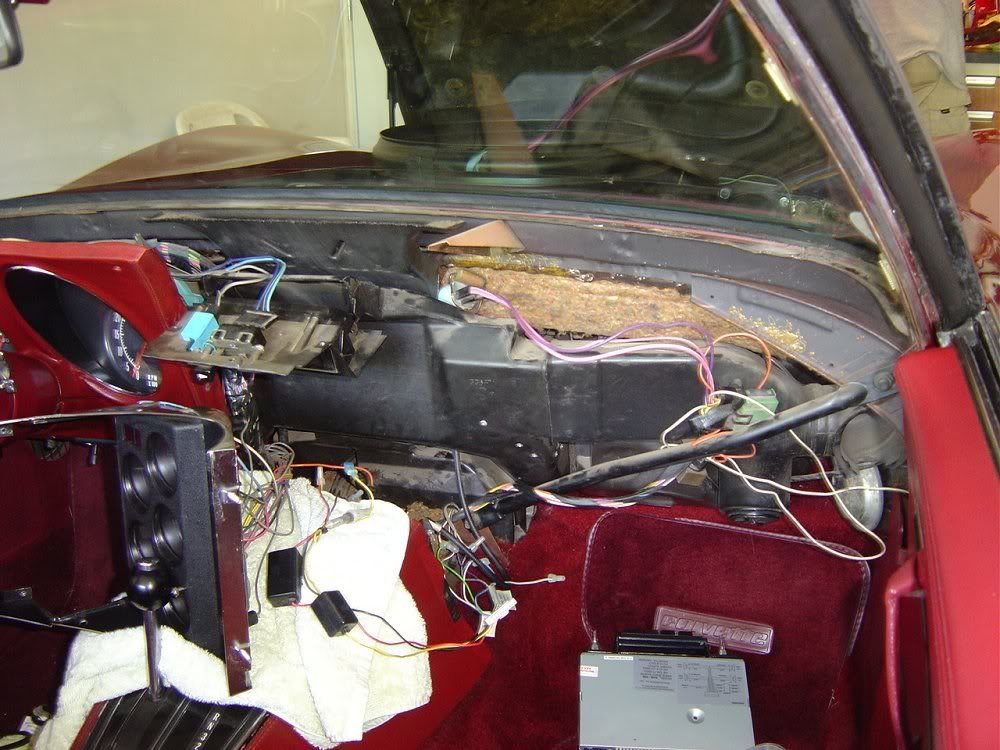
i just broke mine in the exact spot. im searching now to just make sure that i AM going to have to bow this dash up to remove it from around my pillars. SUCKS
Team Owner
Joined: Sep 2006
Posts: 31,315
Likes: 4,418
From: Westminster Maryland
Hi ZB,
The bezel was designed to break at that point in the event of a body or head hitting it during a crash.
The top dash pad does need to be humped up in the middle to get it out.
Be extremely careful!
Regards,
Alan
The bezel was designed to break at that point in the event of a body or head hitting it during a crash.
The top dash pad does need to be humped up in the middle to get it out.
Be extremely careful!
Regards,
Alan


Intermediate
Joined: Jun 2015
Posts: 34
Likes: 1
From: Illinois