





 Impressive indeed!!
 you have a lot done...and it's not even winter yet.

My 2012 winter project

Thread Starter
Burning Brakes


Joined: Mar 2011
Posts: 969
Likes: 1
From: NJ

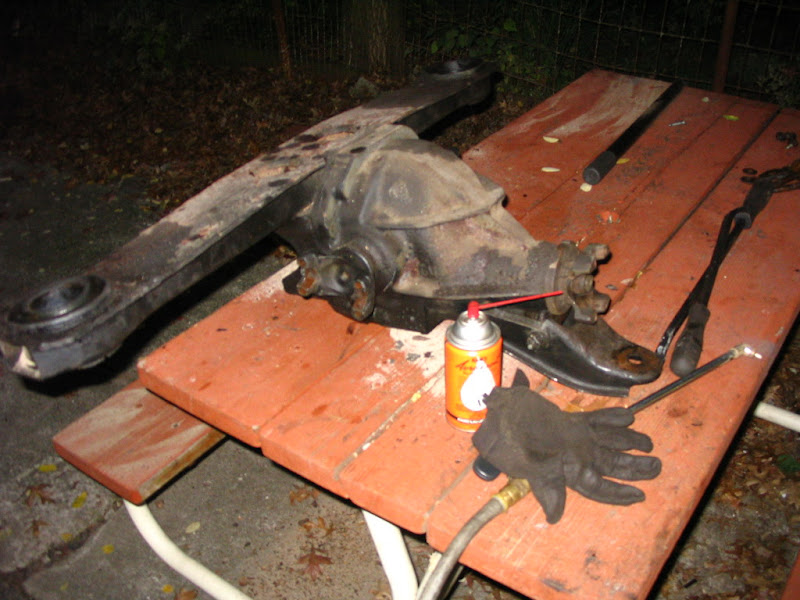
Dropped the rear end today. Soaked the bushings in Kroil for a few days now, looked like gravity was taking over but still had to use a 2 arm puller to pop them out. The crossmember bolt heads had a lot of rust around them but came right out...go figure


UPDATE:
Opened and cleaned. 40 year old guts look excellent. Only clutch packs, bearings, and seals will be replaced.


Back together, ready for prime and paint. Everything is tight. Absolutely no in/out movement on the side yokes.
*****Also, the clunk sound mystery has been solved. The front mounting bracket was a little loose.


UPDATE:
Opened and cleaned. 40 year old guts look excellent. Only clutch packs, bearings, and seals will be replaced.
Back together, ready for prime and paint. Everything is tight. Absolutely no in/out movement on the side yokes.
*****Also, the clunk sound mystery has been solved. The front mounting bracket was a little loose.
Last edited by rafalc; Nov 27, 2012 at 08:45 PM.
Thread Starter
Burning Brakes
Joined: Mar 2011
Posts: 969
Likes: 1
From: NJ
Thread Starter
Burning Brakes
Joined: Mar 2011
Posts: 969
Likes: 1
From: NJ
Maybe add a shut off valve to keep it a bit cooler in the summer?
Thread Starter
Burning Brakes
Joined: Mar 2011
Posts: 969
Likes: 1
From: NJ
Thanks Alan, for some reason I just dont trust jack stands 100%. There is something about that small surface area of the top of the jack holding up a 40 year old frame that doesnt sit well with me.
Safety Car


Joined: Sep 1999
Posts: 4,930
Likes: 11
From: AnyTown NJ
St. Jude Donor '08-'09-'10-'11-'12-'13-'14-'15
Thread Starter
Burning Brakes
Joined: Mar 2011
Posts: 969
Likes: 1
From: NJ
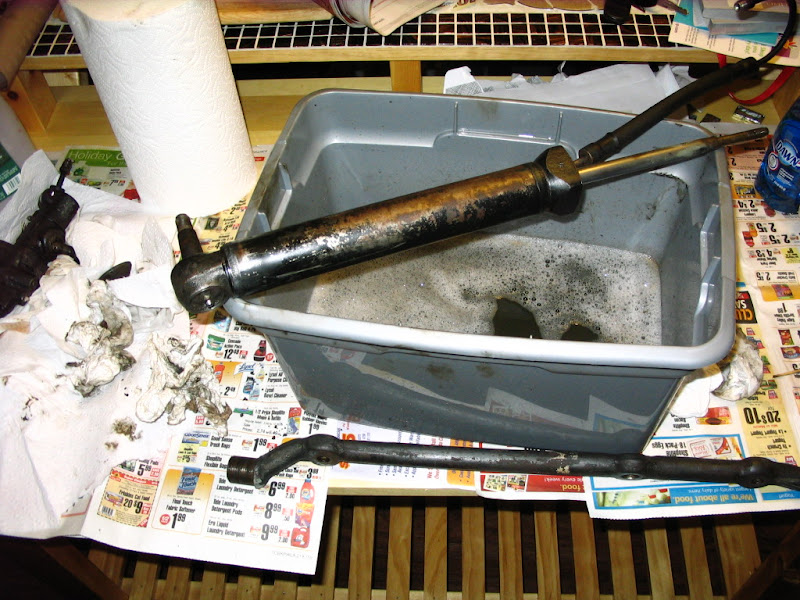
Took down the final PS components. The valve popped right off after using this HF tool:
http://www.harborfreight.com/3-4-qua...tor-99849.html
It popped free in a few seconds, although I did spray Kroil in there a few days ago.
Nothing was leaking so I am not going to rebuild the valve. Everything is getting cleaned, threads were cleaned, new grease, valve will get a new boot and strap. Everything will be finished off with a light touch of black paint. New tie rods and linkages will be installed.



http://www.harborfreight.com/3-4-qua...tor-99849.html
It popped free in a few seconds, although I did spray Kroil in there a few days ago.
Nothing was leaking so I am not going to rebuild the valve. Everything is getting cleaned, threads were cleaned, new grease, valve will get a new boot and strap. Everything will be finished off with a light touch of black paint. New tie rods and linkages will be installed.
Last edited by rafalc; Nov 27, 2012 at 08:47 PM.
Advanced

Joined: Oct 2012
Posts: 92
Likes: 1
From: buckhorn Ontario
nice job,i have similar stuff going on with my 76. mine will have to wait till april though,car is in storage. winter starts early here-120 miles northeast of toronto. i block my car the same as you do the 6x6 offcuts work great. jack stands are ok for working outside the car but for aggressive work under the car i don't trust them. hope you get further before the weather sets in. doug
Corvette Stories
The Best of Corvette for Corvette Enthusiasts

Top 10 Most Explosive Corvettes Ever Made: Power-to-Weight Ratio Ranked!
Joe Kucinski
150 hp to 1,250 hp: Every Corvette Generation Compared by the Specs That Matter
Joe Kucinski
8 Coolest Corvette Pace Cars (and Replicas) of All Time
Verdad Gallardo
Top 10 Corvette Engines RANKED by Peak Torque (70+ Years of Muscle!)
Joe Kucinski
Corvette ZR1X Will Be Pacing the Indy 500, And Could Probably Race, Too!
Verdad Gallardo
Top 10 Corvettes Coming to Mecum Indy 2026!
Brett Foote
Top 10 C9 Corvette MUST-HAVES to Fix These C8 Generation Flaws!
Michael S. Palmer
10 Revolutionary 'Corvette Firsts' Most People Don't Know
Joe Kucinski
5 Reasons to Upgrade to an LS6-Powered Corvette; 5 Reasons to Stay LT2
Michael S. Palmer
Thread Starter
Burning Brakes
Joined: Mar 2011
Posts: 969
Likes: 1
From: NJ
nice job,i have similar stuff going on with my 76. mine will have to wait till april though,car is in storage. winter starts early here-120 miles northeast of toronto. i block my car the same as you do the 6x6 offcuts work great. jack stands are ok for working outside the car but for aggressive work under the car i don't trust them. hope you get further before the weather sets in. doug
Thread Starter
Burning Brakes
Joined: Mar 2011
Posts: 969
Likes: 1
From: NJ
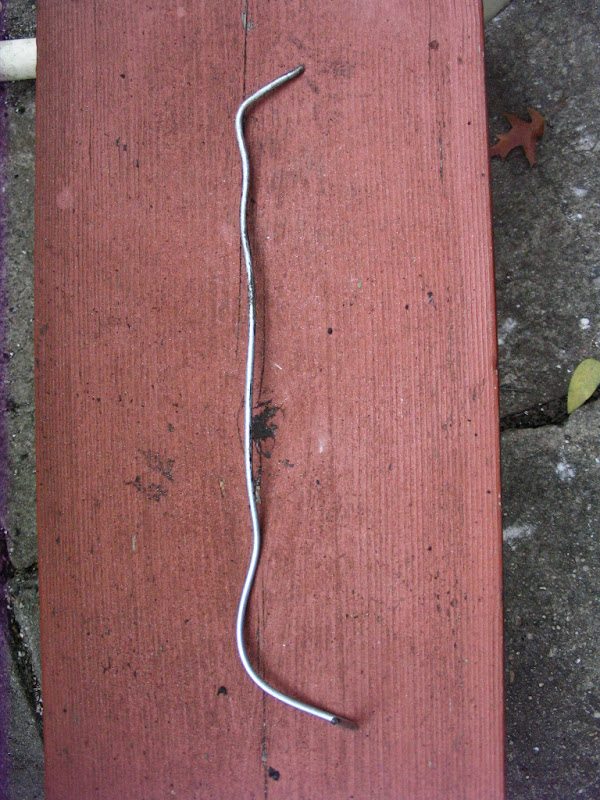
I went back to give the inside rails another brushing/cleaning before spraying the Eastwood product. One thing I forgot about before were the tarm bolt pockets and now with the diff crossmember off the car,I was able to get on top of the #4 crossmember and on top of the crossmember frame gussets. If anyone is planning on cleaning/painting the insides... do not skip these 3 things - there was plenty of lose rust. A brush did not do such a great job so I just cut some regular chain link fence wire, bent it and gave the gussets a good scraping through the small openings followed by some pressured air to push everything out.

Again, this was very helpful:
UPDATE:
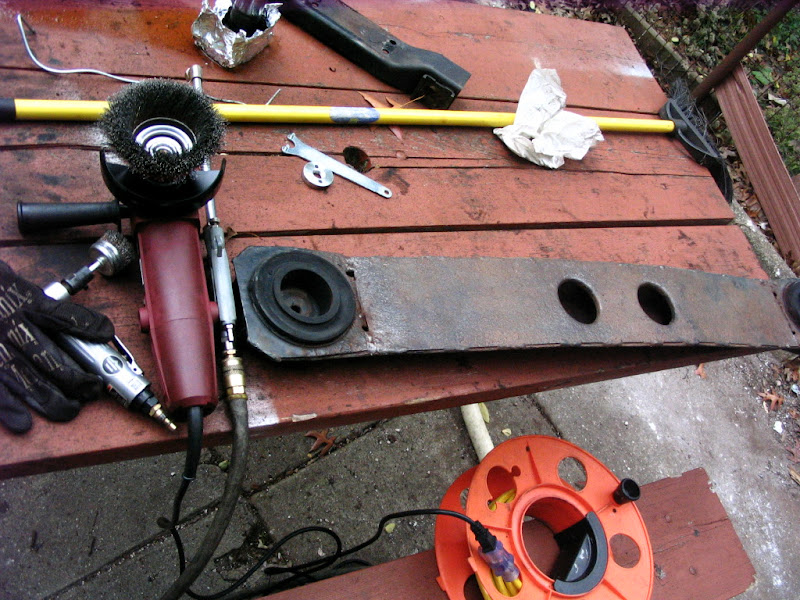
After hurricane Sandy slowed me down for a few days I went back to work. For anyone cleaning and painting the inside of the frame rails..... brush/scrape/clean 3 or 4 times. Every time you think the inside is clean enough, you later end up finding more rust flakes, dirt, etc. I must say cleaning the inside of the rails has been the most involved part of the project so far. In my case there was a ton of blast media that just kept falling out of the rails. I guess its a good thing, tells me the previous owner did the job right before applying rubberized coating all over the frame.
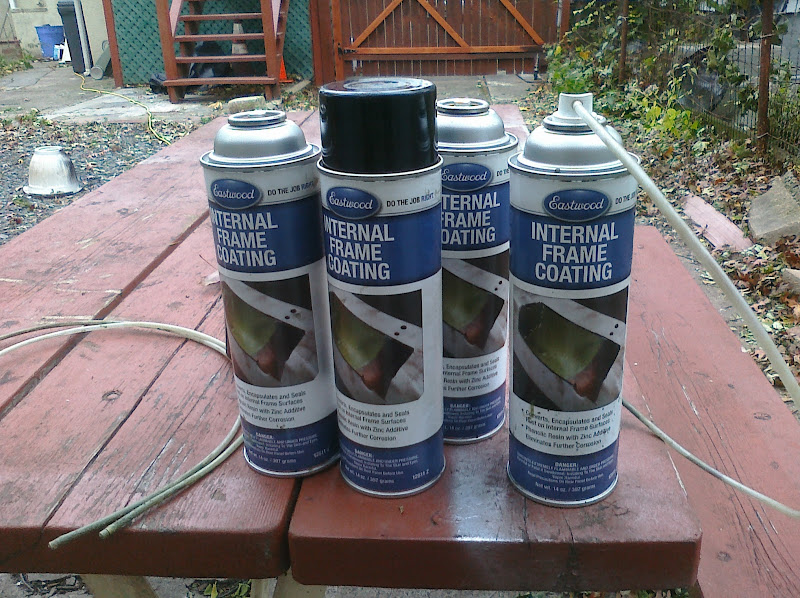
The Eastwood product is a little tricky to apply. It is very watery, will drip through the smallest of openings. The wand is also small enough to leave the frame rail through some openings in the back or on top of the frame and spray on the outside. I would also recommend marking the wand close to the end so that when pulling it out you know when to stop spraying. Even though the end is designed to spray in 360 degrees, some hard to reach parts will not be completely covered after the first coat. I had to go back and double up in almost all areas (used up 4.5 cans). Don't forget to spray on top of the gussets where the diff crossmember attaches to the frame. I was going to take more pics but its hard to see the green through the small frame openings.

Again, this was very helpful:
UPDATE:
After hurricane Sandy slowed me down for a few days I went back to work. For anyone cleaning and painting the inside of the frame rails..... brush/scrape/clean 3 or 4 times. Every time you think the inside is clean enough, you later end up finding more rust flakes, dirt, etc. I must say cleaning the inside of the rails has been the most involved part of the project so far. In my case there was a ton of blast media that just kept falling out of the rails. I guess its a good thing, tells me the previous owner did the job right before applying rubberized coating all over the frame.
The Eastwood product is a little tricky to apply. It is very watery, will drip through the smallest of openings. The wand is also small enough to leave the frame rail through some openings in the back or on top of the frame and spray on the outside. I would also recommend marking the wand close to the end so that when pulling it out you know when to stop spraying. Even though the end is designed to spray in 360 degrees, some hard to reach parts will not be completely covered after the first coat. I had to go back and double up in almost all areas (used up 4.5 cans). Don't forget to spray on top of the gussets where the diff crossmember attaches to the frame. I was going to take more pics but its hard to see the green through the small frame openings.
Last edited by rafalc; Nov 27, 2012 at 08:52 PM.
Thread Starter
Burning Brakes
Joined: Mar 2011
Posts: 969
Likes: 1
From: NJ
Went ahead and installed the seals on the radiator support and shroud. I gotto say, it was pretty trivial and the AIM was not much help. Good thing I had the old radiator support with the old seals still attached, I just followed the old one.
I had to drill a few holes for the clips that help keep the seals in place. Also the 2 top holes which were already there were too small (3/16 instead of 1/4) in order for the clips to go in.
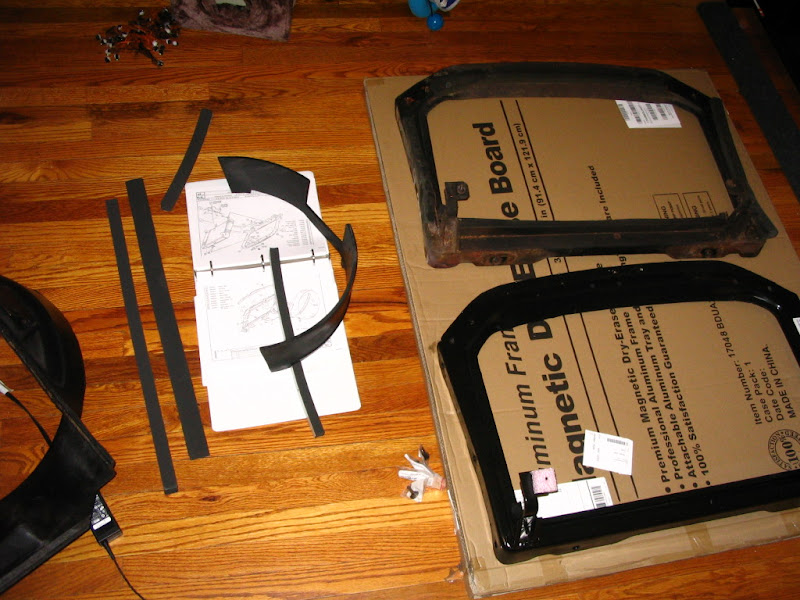


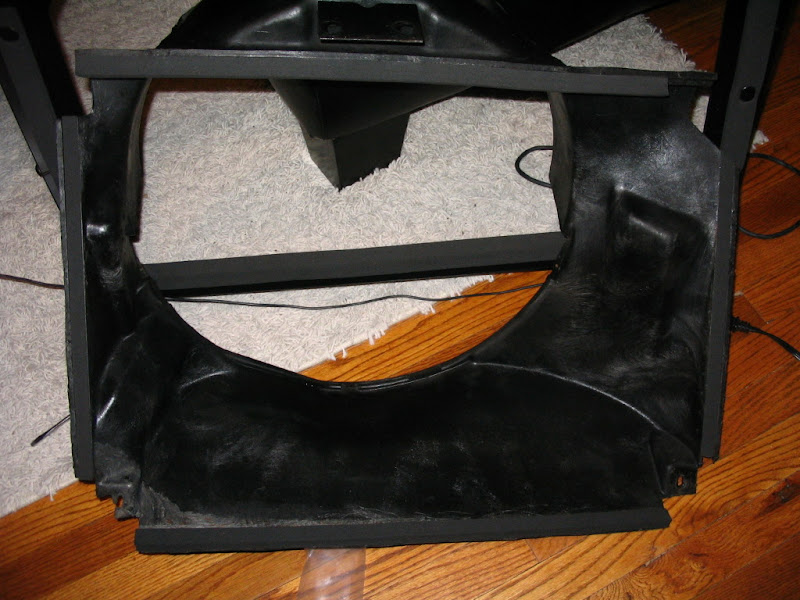
I had to drill a few holes for the clips that help keep the seals in place. Also the 2 top holes which were already there were too small (3/16 instead of 1/4) in order for the clips to go in.
Last edited by rafalc; Nov 27, 2012 at 08:55 PM.


Thread Starter
Burning Brakes
Joined: Mar 2011
Posts: 969
Likes: 1
From: NJ
Thanks
Advanced
Joined: Oct 2012
Posts: 92
Likes: 1
From: buckhorn Ontario
i would not use any sealer on the hoses. they can be a real bear to remove later even without sealant. when i was in the marine business we removed hoses to do proper winterizing,sometimes they were quite a challenge,and that was on a yearly basis. you are really making some progress there. makes me envious,i am itching to get back at mine but april is a looong way off.
Thread Starter
Burning Brakes
Joined: Mar 2011
Posts: 969
Likes: 1
From: NJ
Whatever hardware I may reuse got a 2 day bath in rust dissolver followed by wd40 and a clean with thread restorer/cleaner. About 90% of the hardware will be new.


Last edited by rafalc; Nov 27, 2012 at 08:58 PM.
Thread Starter
Burning Brakes
Joined: Mar 2011
Posts: 969
Likes: 1
From: NJ
Looks like this weekend may be the last warm weekend this year so I decided to use this opportunity to apply Lizard Skin on the undercarriage. First thing is a major cleaning. I got to say, this was the part I disliked the most so far (worse than the stuck flange bolt and about as bad as cleaning the rails inside). Went over the floor, the tranny tunnel as much as I could, the driveshaft tunnel, rear end area, oil pan and bell housing with a wire wheel to loosen dry dirt. Then came the industrial degreaser/scrubbing, pressurized simple green, water rinse, careful wiping and spot drying with a heat gun. Had to be very careful not to let any fluids into the frame rails. The car only up on a total of 17"-18" blocks...the job was very dirty and wet...if I was to do it again - I WOULD NOT unless car is on a lift.

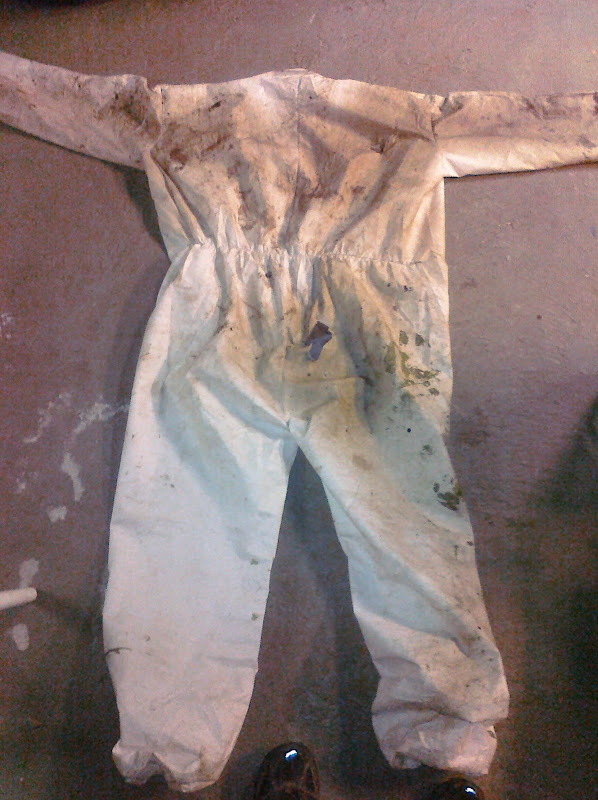
Oil pan and bell housing will be primed and painted after Lizard Skin is on and dry.


Camera picked up the green frame rail coating through the frame holes


Also cleaned the ttops, Lizard Skin will be sprayed inside.

Oil pan and bell housing will be primed and painted after Lizard Skin is on and dry.
Camera picked up the green frame rail coating through the frame holes
Also cleaned the ttops, Lizard Skin will be sprayed inside.
Last edited by rafalc; Nov 27, 2012 at 09:13 PM.
Thread Starter
Burning Brakes
Joined: Mar 2011
Posts: 969
Likes: 1
From: NJ
Differential open and cleaned out - update in post #22
In the meantime did some more cleaning and painting:
Will use a 1972 alt bracket due to headers. $35 on ebay
New Moog tie rods and linkages

New PS valve boot and strap

Tightened the side mirror as per the write up found on this forum

In the meantime did some more cleaning and painting:
Will use a 1972 alt bracket due to headers. $35 on ebay
New Moog tie rods and linkages
New PS valve boot and strap
Tightened the side mirror as per the write up found on this forum
Last edited by rafalc; Nov 27, 2012 at 09:15 PM.
Thread Starter
Burning Brakes
Joined: Mar 2011
Posts: 969
Likes: 1
From: NJ
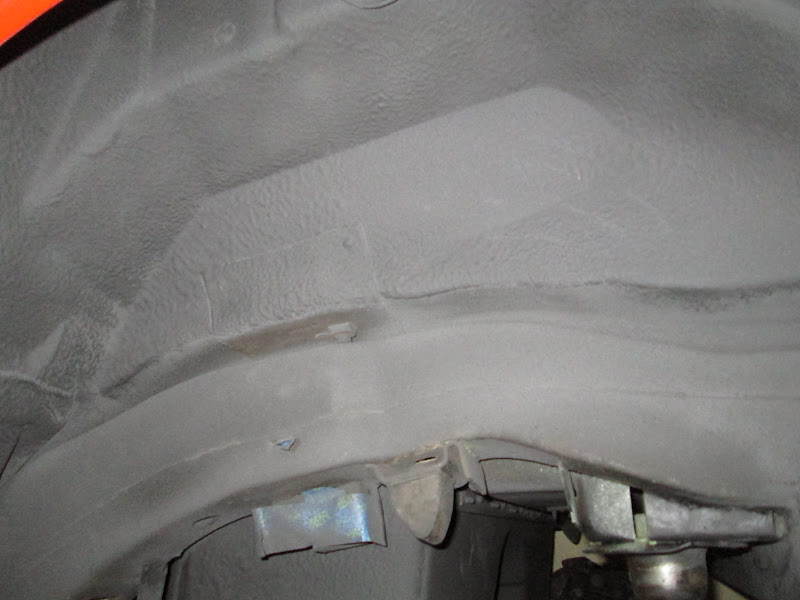
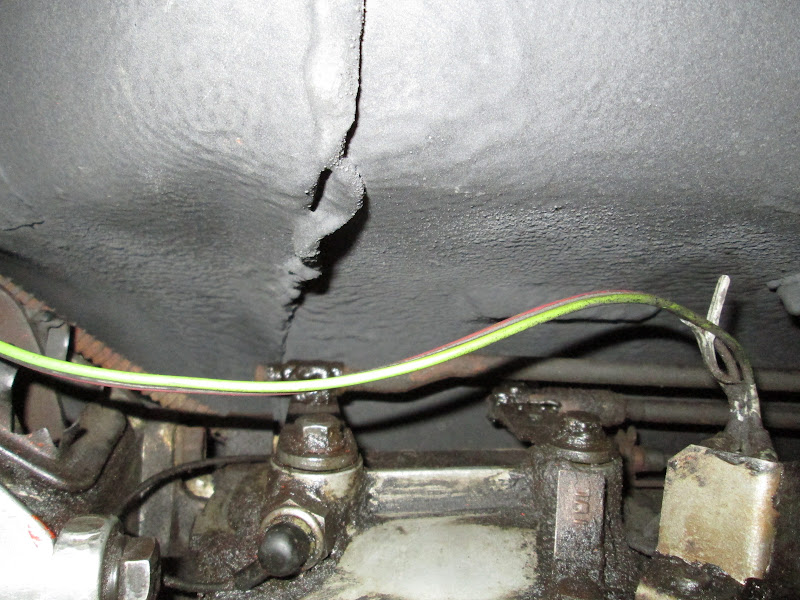
Lizardskin done. I used up almost 3 gallons, did 3 coats. If I was to do this again I would definitely make my own "lizardskin" ..... this stuff gets expensive.
I plan on using satin black on the floors (unless I find a semi-gloss gray that reflects natural fiberglass) and semi-black on the frame.
Masked everything off. Wrapped the suspension in foil since I planned on spraying as far up as I could up the tunnel. Worked out well, the tunnel is covered:


Rear:

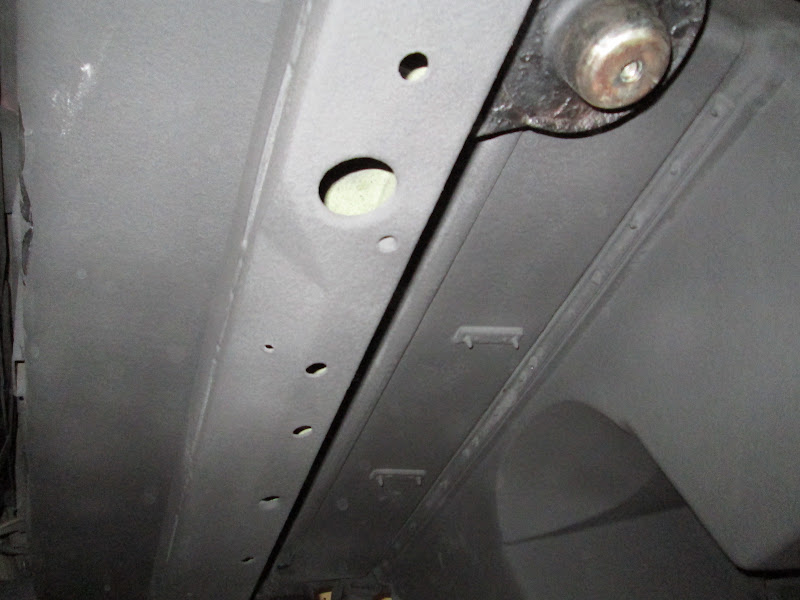
Rear and front wheel wells:

Over the transmission:

Floor boards:


And probably unnecessary but did the ttops:

I plan on using satin black on the floors (unless I find a semi-gloss gray that reflects natural fiberglass) and semi-black on the frame.
Masked everything off. Wrapped the suspension in foil since I planned on spraying as far up as I could up the tunnel. Worked out well, the tunnel is covered:
Rear:
Rear and front wheel wells:
Over the transmission:
Floor boards:
And probably unnecessary but did the ttops:
Last edited by rafalc; Nov 27, 2012 at 09:27 PM.
Thread Starter
Burning Brakes
Joined: Mar 2011
Posts: 969
Likes: 1
From: NJ
Halfshafts and driveshaft painted and with new ungreaseable Spicers. I am considering repainting them with cast blast along with the differential but it would be much easier to just go black on the diff and be done.
Suggestions? Suggestions with pictures?


Suggestions? Suggestions with pictures?
Last edited by rafalc; Nov 27, 2012 at 09:28 PM.