



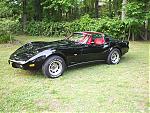


My 2012 winter project

Melting Slicks


Joined: Aug 2012
Posts: 3,487
Likes: 83
From: Titusville Florida

Doing some good work there  can you post more pics of the tunnel heat shield install, if you have them that is... I'm curious as to how and where the clips (for a lack of better word), are mounted. I really think I need to do that.
thanks and keep up the good work...
can you post more pics of the tunnel heat shield install, if you have them that is... I'm curious as to how and where the clips (for a lack of better word), are mounted. I really think I need to do that.thanks and keep up the good work...

Thread Starter
Burning Brakes

Joined: Mar 2011
Posts: 969
Likes: 1
From: NJ
Doing some good work there can you post more pics of the tunnel heat shield install, if you have them that is... I'm curious as to how and where the clips (for a lack of better word), are mounted. I really think I need to do that.
thanks and keep up the good work...
can you post more pics of the tunnel heat shield install, if you have them that is... I'm curious as to how and where the clips (for a lack of better word), are mounted. I really think I need to do that.thanks and keep up the good work...
Way I mounted the insulation was I test fit it, cut slits for the "clips", once these clips go through the slits you just bend them and thats it.
I do not have any additional pictures....just get under the car and im sure you'll find them, unless they were rusted at which point they might have fallen off or will fall off when you try bending them.
Thread Starter
Burning Brakes
Joined: Mar 2011
Posts: 969
Likes: 1
From: NJ
Before installing anything else I wanted to make sure the motor starts. At first I had the wires plugged in out of order. Once fixed, the motor started right up, new mini starter sure makes a difference.
Open heads - enjoy:
Open headers, nice idle:
I may need to move the wire plugs around a bit or put on some boot shields.


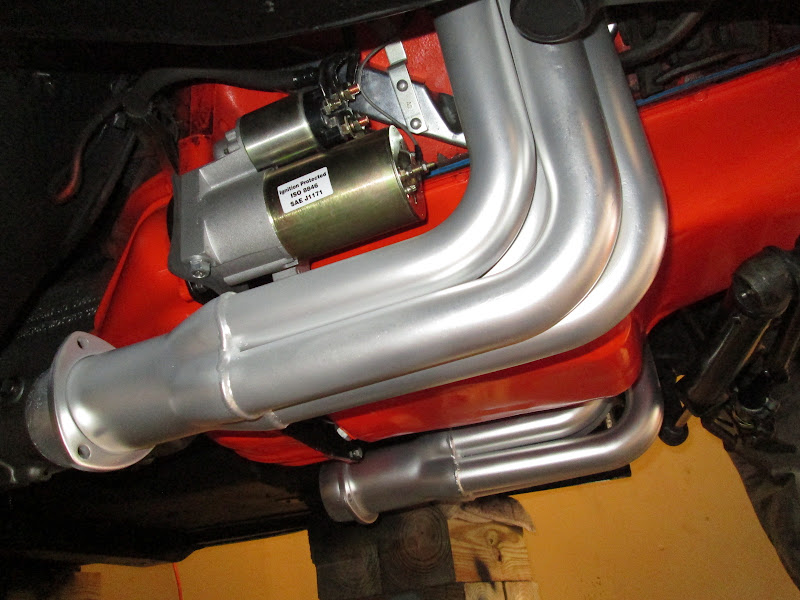
Open heads - enjoy:
Open headers, nice idle:
I may need to move the wire plugs around a bit or put on some boot shields.
Le Mans Master

Joined: Dec 2012
Posts: 6,196
Likes: 58
From: Denton, Texas
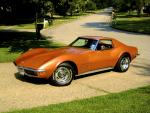
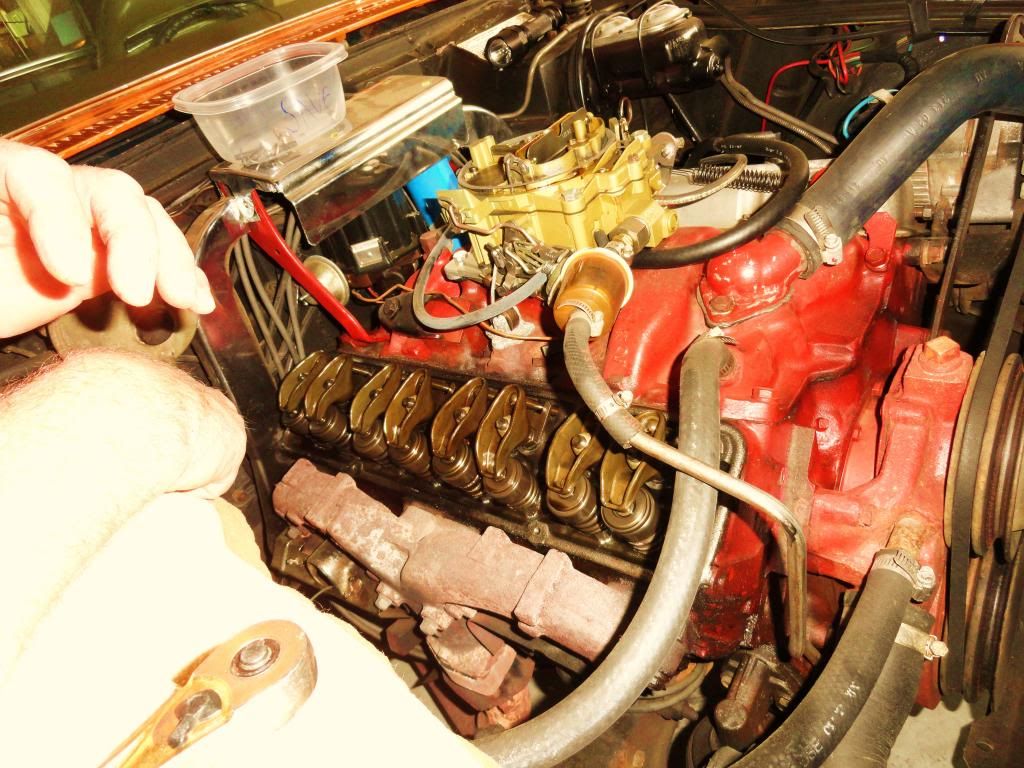
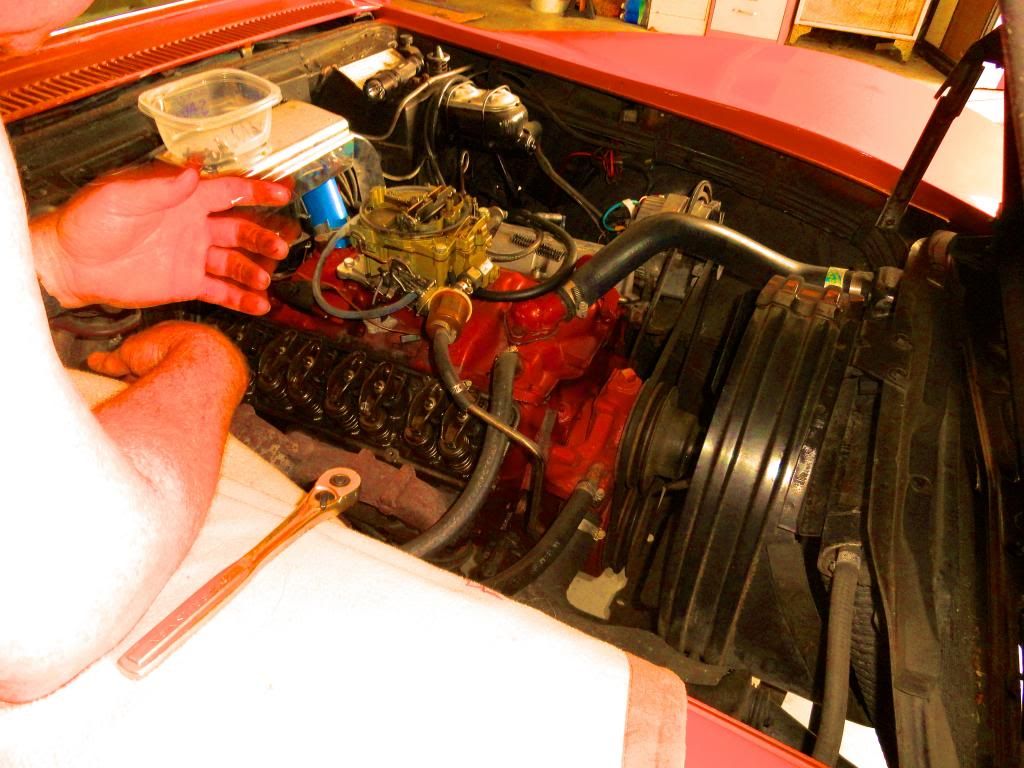
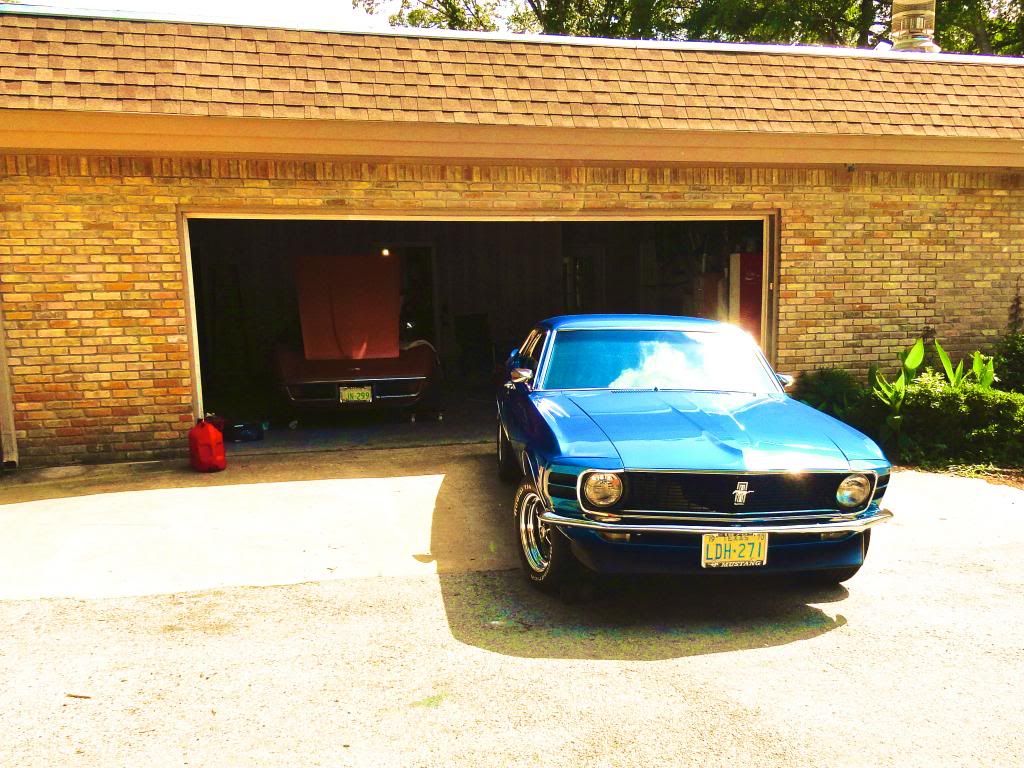
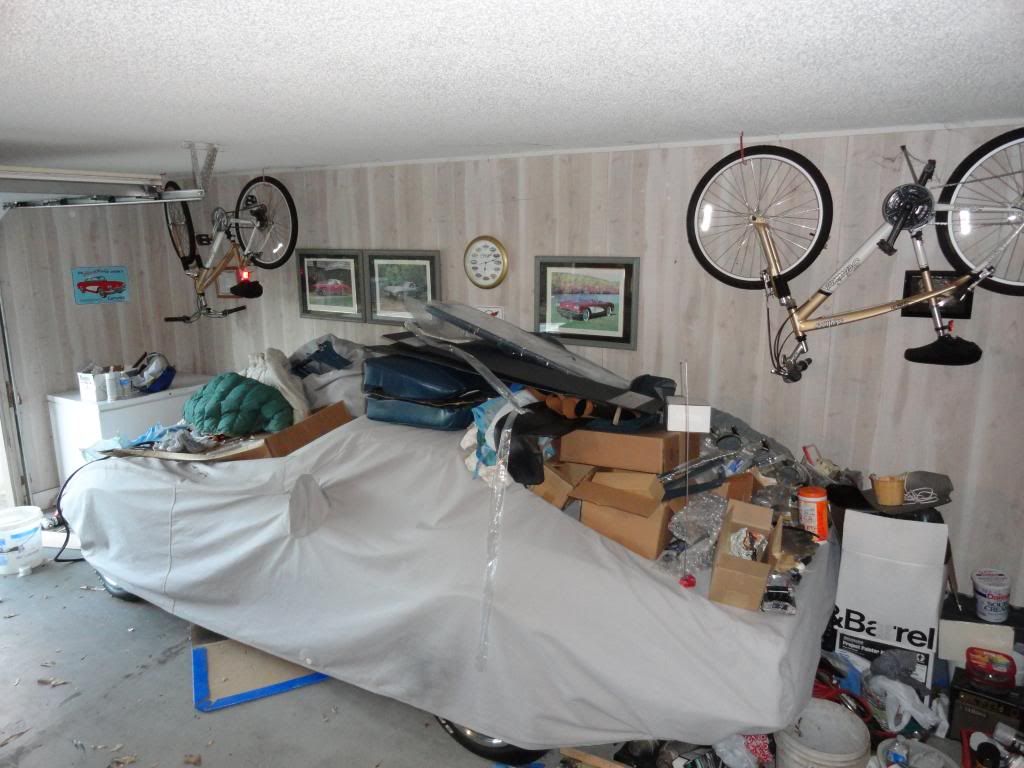
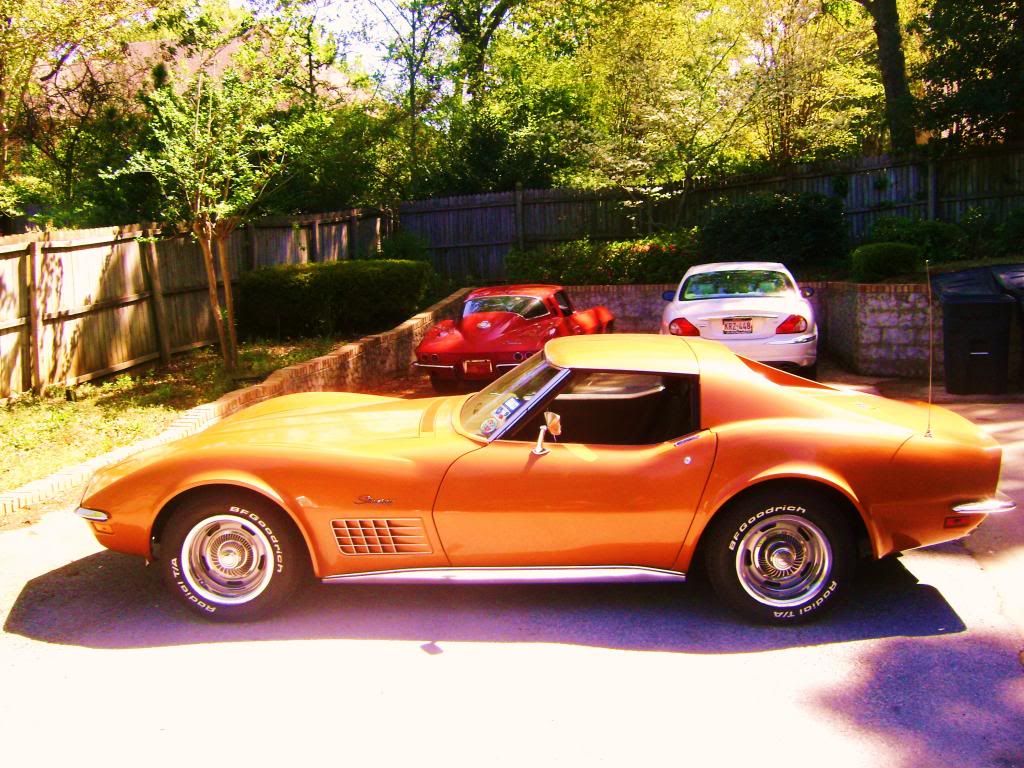
You have done a great job restoring your Vette. I have an original 1972 orange/saddle, 350/4-speed. 49,778 miles that has sat since 2010 due to an engine knock. I have been building a 1970 428 Mustang for the past 4-5 years that has kept me from touching it. In the next few weeks I plan to unbury my car and get busy rebuilding my motor and repairing all that is needing attention. It is original from paint, motor, papers,interior to the factory spare tire with tags, stickers and rubber ****. I have missed my 72 and I just sold a 1975 that had been sitting since 1977 a day or two ago. Seeing your progress really has me excited and anxious to tear apart my car.

Thread Starter
Burning Brakes
Joined: Mar 2011
Posts: 969
Likes: 1
From: NJ
Corvette Stories
The Best of Corvette for Corvette Enthusiasts

10 Reasons the C6 Z06 is Still A Performance Benchmark After 20 Years
Joe Kucinski
How Much Horsepower Every Corvette Engine "LOST" in 1972
Joe Kucinski
Top 10 DOs and DON'Ts for Protecting Your Convertible Top!
Michael S. Palmer
Top 10 Most Explosive Corvettes Ever Made: Power-to-Weight Ratio Ranked!
Joe Kucinski
150 hp to 1,250 hp: Every Corvette Generation Compared by the Specs That Matter
Joe Kucinski
8 Coolest Corvette Pace Cars (and Replicas) of All Time
Verdad Gallardo
Top 10 Corvette Engines RANKED by Peak Torque (70+ Years of Muscle!)
Joe Kucinski
Corvette ZR1X Will Be Pacing the Indy 500, And Could Probably Race, Too!
Verdad Gallardo
Top 10 Corvettes Coming to Mecum Indy 2026!
Brett Foote
Thread Starter
Burning Brakes
Joined: Mar 2011
Posts: 969
Likes: 1
From: NJ
You have done a great job restoring your Vette. I have an original 1972 orange/saddle, 350/4-speed. 49,778 miles that has sat since 2010 due to an engine knock. I have been building a 1970 428 Mustang for the past 4-5 years that has kept me from touching it. In the next few weeks I plan to unbury my car and get busy rebuilding my motor and repairing all that is needing attention. It is original from paint, motor, papers,interior to the factory spare tire with tags, stickers and rubber ****. I have missed my 72 and I just sold a 1975 that had been sitting since 1977 a day or two ago. Seeing your progress really has me excited and anxious to tear apart my car.



Thread Starter
Burning Brakes
Joined: Mar 2011
Posts: 969
Likes: 1
From: NJ
Tightened and greased the PS components the other day and I have to agree with a few other threads I came across about this......grease the valve while car and PS pump is running. With it off it was almost impossible to push grease into the valve, once its ON, went in easily. As more grease went in, the entire assembly was moving to the left. Then after moving the steering wheel from end to end, some of the grease came out from under the boot.....I guess you should put enough grease just until the valve starts moving on its own.
Same with PS fluid, when measuring the level, make sure your steering wheel is dead center as I noticed the fluid level changes as you turn the wheel from side to side.
In the end with steering wheel centered, when turning the car on, it stays put and doesn't move so I guess I'm lucky enough to not have to adjust the valve.
Same with PS fluid, when measuring the level, make sure your steering wheel is dead center as I noticed the fluid level changes as you turn the wheel from side to side.
In the end with steering wheel centered, when turning the car on, it stays put and doesn't move so I guess I'm lucky enough to not have to adjust the valve.
Thread Starter
Burning Brakes
Joined: Mar 2011
Posts: 969
Likes: 1
From: NJ
Now that the weather is getting nicer I'm back at it. Have not been looking forward to this part.....TArms...
Been soaking the caliper bolts and the TArm bolts with PB Blaster and a 50/50 mix of acetone and ATF. Calipers came off fine. Going to clean them up, looks like the previous owner changed the pads before I bought the car. Plenty of rotor left as well.


Been soaking the caliper bolts and the TArm bolts with PB Blaster and a 50/50 mix of acetone and ATF. Calipers came off fine. Going to clean them up, looks like the previous owner changed the pads before I bought the car. Plenty of rotor left as well.
Thread Starter
Burning Brakes
Joined: Mar 2011
Posts: 969
Likes: 1
From: NJ
Even thought the TArm bolts have been soaking for over a week now, still no give so I went in with a cut off tool and cut the nut off little by little until I could move it with a wrench.


Tried hammering the bolt in but no luck. Going to soak it some more and try other methods later. Hopefully I can hammer it in and not have to go with the sawzall....


Tried hammering the bolt in but no luck. Going to soak it some more and try other methods later. Hopefully I can hammer it in and not have to go with the sawzall....
Thread Starter
Burning Brakes
Joined: Mar 2011
Posts: 969
Likes: 1
From: NJ
About 5-6 hours and they're out. People were not kidding by saying this is one of the worse jobs to do on a C3. It was just as bad as a rounded halfshaft spindle flange bolt earlier. Used 8 blades. Started off with Lenox Demolition blades but soon realized they are too thick with not enough TPI for this application. Then turned to Milwaukee Torch blades, went through 5, finished the job with a Lenox "thick metal" blade.
Once the arms were out I also had a hard time getting whatever is left of the bolts out. One side would not budge with heat, PB, air chisel...finally carefully drilling through it at an angle did the job.


No wonder I couldn't pull the shims out, they were not the ones with the open slots.
Once the arms were out I also had a hard time getting whatever is left of the bolts out. One side would not budge with heat, PB, air chisel...finally carefully drilling through it at an angle did the job.
No wonder I couldn't pull the shims out, they were not the ones with the open slots.



Thread Starter
Burning Brakes
Joined: Mar 2011
Posts: 969
Likes: 1
From: NJ
I finally got around to rebuilding the rear caliper with a broken dust boot. Cleaned up and painted. Used break fluid on the inside walls and the lip seal to make it go down smoother but it still was a pain to get in:


While fixing one, I noticed the boot on the other half looked a little funny and this is what I found:


While fixing one, I noticed the boot on the other half looked a little funny and this is what I found:
