When you click on links to various merchants on this site and make a purchase, this can result in this site earning a commission. Affiliate programs and affiliations include, but are not limited to, the eBay Partner Network.
With a little encouragement I decided to take a shot at doing a build thread on my new project, a 1981 C3. Hopefully I can put the time in to make it interesting. I like reading them, so I guess I can try to contribute by documenting my build on here. It's been awhile since my last, what I would call, Hot Rod, but now that the kids have grown, my interest is back on to cars again. So we will break it down and give you a little idea on what I hope to accomplish.
History - the car was purchased from a small dealer in Ohio. The previous owners took pretty good care of this one. Everything was up to snuff, good tires, good brake, good exhaust, excellent interior. You can tell by the condition it was pretty nice before the accident. So not know it, they accidentally left the key switch in the run position, without the car running. The distributor got hot and then caught on fire. Pretty much every thing that was either plastic, or rubber is gone. The car was insured to 20K, and the owner took the cash when the insurance company totaled it. It went to auction and a small dealer in Ohio purchased it with the hopes of fixing the damage and driving it. Another project came along and this one never happened so he decided to sell. The picture is how it looked sitting in the yard when I picked it up.
Budget - right now the budget is slim. Most of the funding for the project will come from the sale of my FJR motorcycle and a couple of older jet ski's we don't use anymore. This will be what I would call a low budget build, so saving money without sacrificing the outcome is important.
Engine - found this article on the web, and will most likely try to stay close to these specs, except it will most likely be a 383, not a 355. But availability and cost may decide the outcome.
Body - we will certainly maintain the color yellow, just not sure if I will use the stock color or not. I have plans on some minor modifications to the body, nothing outrageous, more like enhancing what is already there. The goal is to have it look stock to everyone but the C3 enthusiast, they should be able to pick out the subtle changes.
Interior - will keep this stock. New seat covers if money leftover from the build.
Wheels - aftermarket. No clear wheel picked out yet, but will be 18"s on back and 17"s on front. Stance is important so car will be lowered also, nothing aggressive because I still want to maintain a nice ride.
Timeline - 16 months, or maybe more. Not in a hurry, and it needs to be done right, so it will be done when it's done. Unfortunately I can't spend a lot of time on the car, especially in the winter months. So if you don't see any updates, probably not much happening. My goal is to have everything ready for assembly by next winter, and then spend the winter putting it back together.
Bottom line is I want a mechanically reliable car that I can drive anywhere, in any weather, except snow of course. And it has to be somewhat unique and certainly a very sharp looking car. I plan on taking it to some shows, along with some local cruise nights, and an occasional weekend trip, like up to the U.P in Michigan.
Feel free to offer suggestions, or any observations. Response time may be slow, but I will try to keep this going.
Enjoy....Terre
Last edited by Johnnycyclone; Jan 14, 2015 at 10:11 PM.
You say the insurance company totaled the car? What does the title say. You want to make sure registering it won't be any issue.
Just going by what the dealer said, he purchased the car at an insurance auction, he said it had been totaled, now for the kicker, it came with a clean title. No explanation as to why, but it's clean. I would have walked away from it, if it had a salvage title.
Congrats of the new project. I hear what your saying about budget; it's always a consideration when repairing or restoring a Vette.
One thing popped out when I read your post. You want a mechancially reliable car and that is a very reasonable expectation. So here comes my $0.02. Check the frame; for goodness sake - check the frame. If the foundation of the car is not 100%, anything done above it is only window dressing. The car will not be reliable. My '80 has a replacement frame from a donor car. It's a long and very expensive story.
I hear ya, that's a great idea. I want a car I can drive anywhere with no worries, so we will be checking the frame and everything else very closely. If there are any doubts it will be addressed, even if it pushes the project beyond the targeted dead line for completion.
We need more pics of your ride! Especially all the melty burned fire pics...
Unfortunately I didn't take to many pics of the fire damage. I guess because I wasn't planning on doing a build thread, I didn't take many. But I do have a few that shows some of the damage.
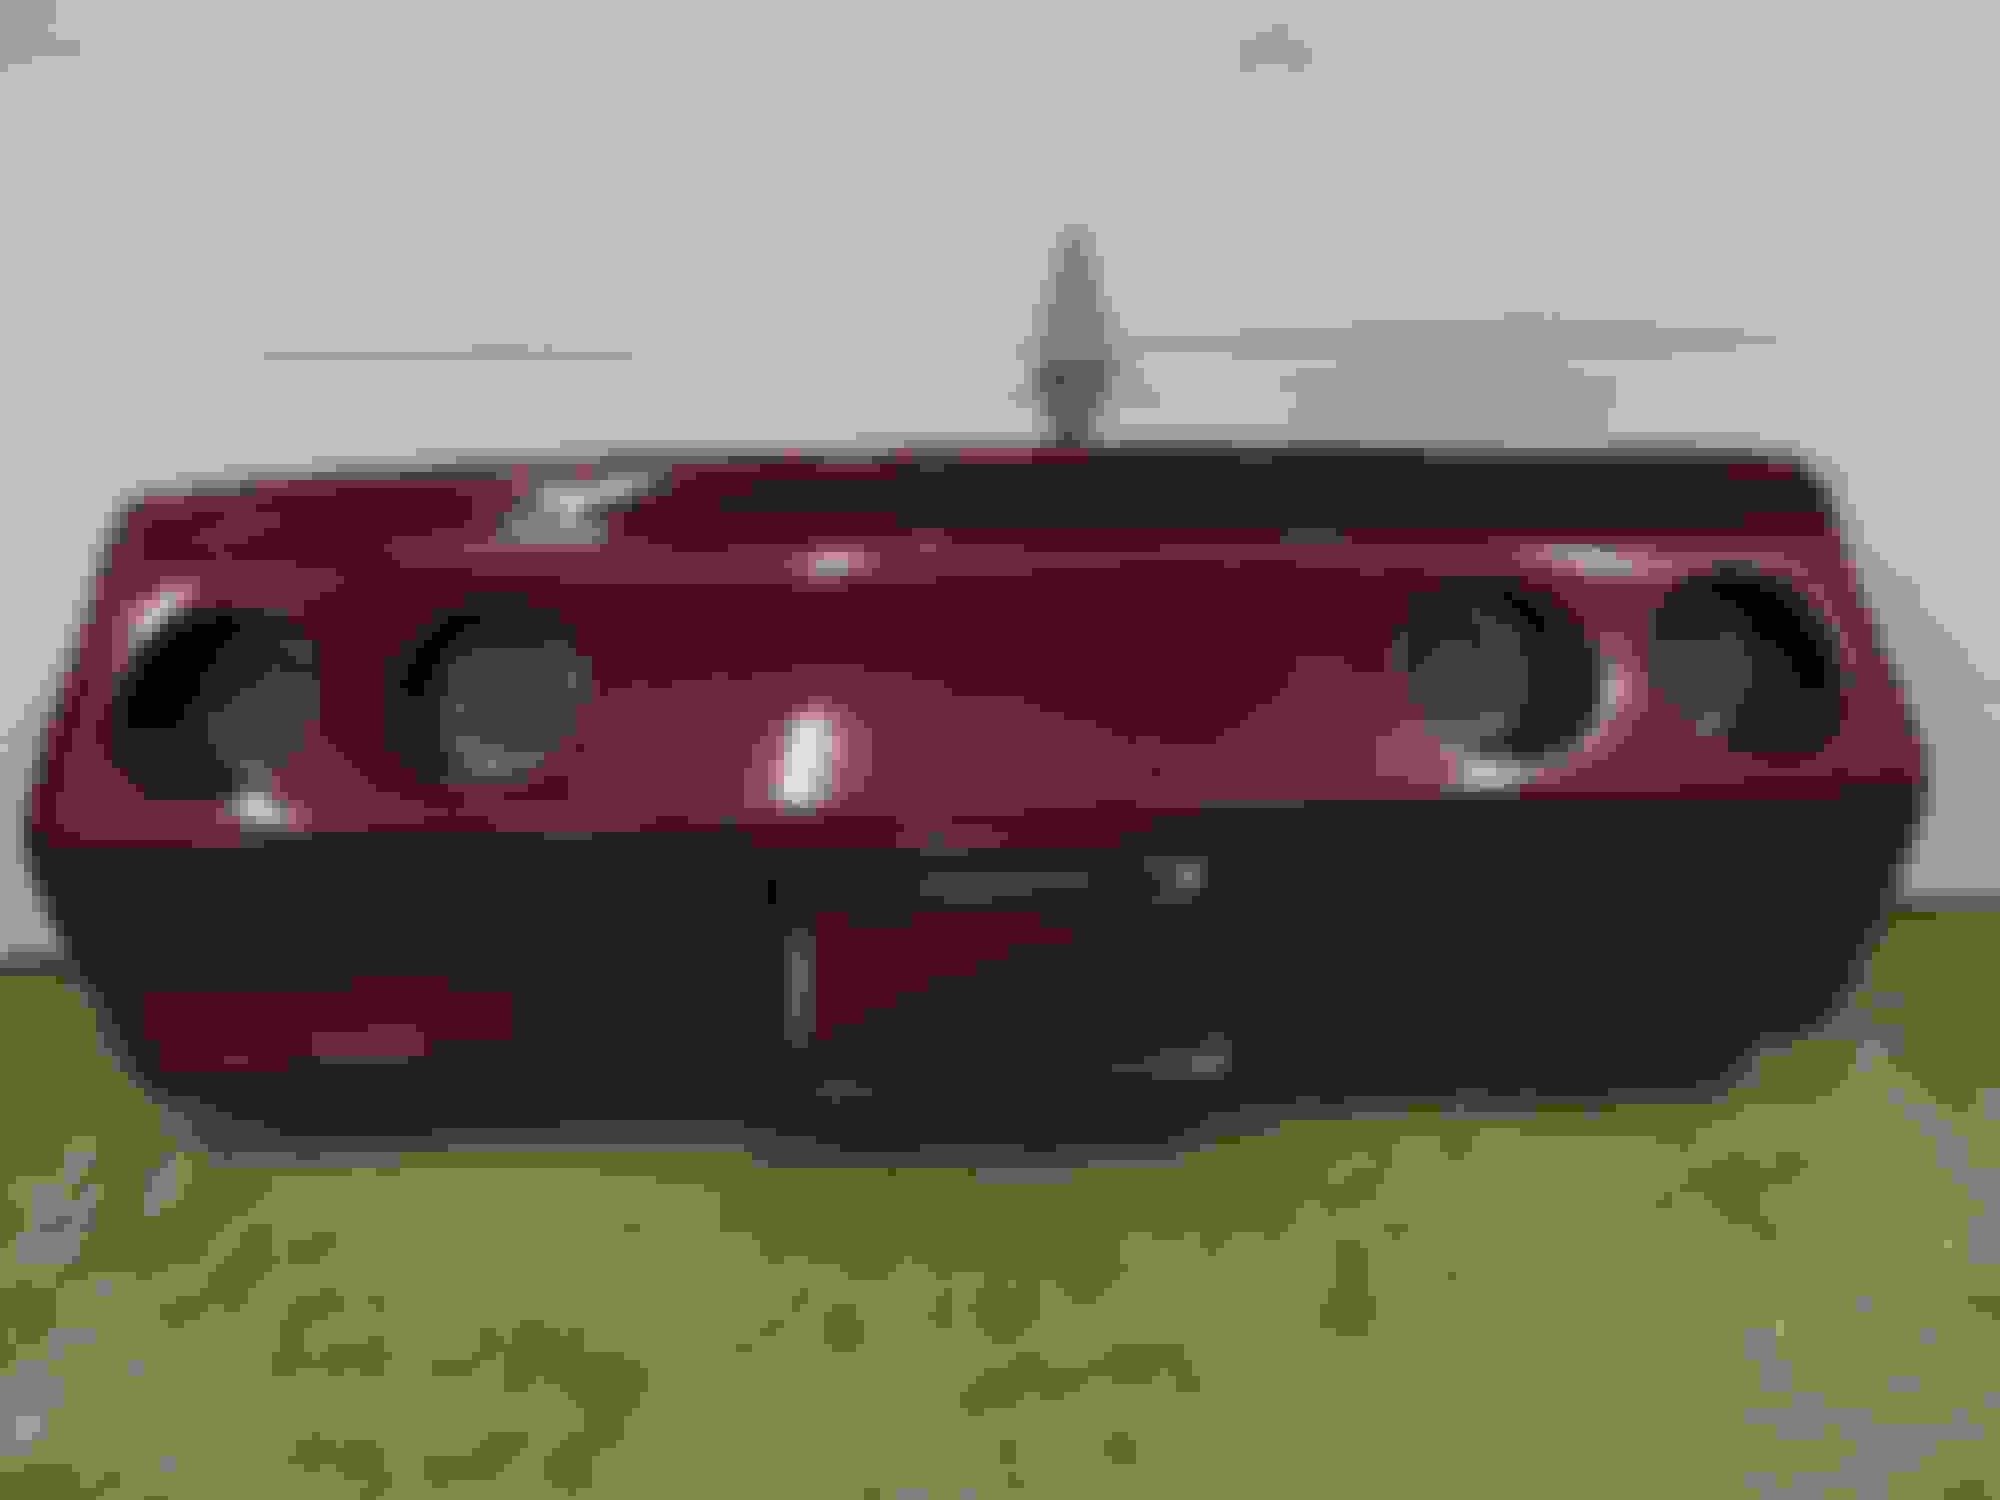
First pic is under the hood. Anything that was rubber or plastic is either melted or gone. The distributor and plug wires were added by the PO to see if it would run.
Passenger side pic. Windshield spider cracked, wiper blades melted, windshield washer lines gone, reservoir melted. Upper part of firewall missing, damage to fender, not in the pic. Cable for hood release gone.
Another passenger side view. AC box with the fiberglass burned right off exposing the evaporator coil. All hoses for the AC, wiring and heater core hose gone. The plastic fan melted inside the box, not shown in pic.
Drivers side, notice the lack of any vacuum lines, plastic or rubber, all gone.
You can see to the left the inner fender. This one is no good an will need replacing.
Last pic of the firewall. Top piece that is bonded to the firewall was pretty much gone on the passenger side. Several areas where the fiberglass fibers are exposed. The worst area is between the opening for the heater box and the windshield wiper motor. Most of that will have to be replaced. Oh, and the wiper motor, no good, all the plastic is melted on it.
That's all for now, hopefully we can spend some time on it this weekend, but I have a couple of home project to work on also.
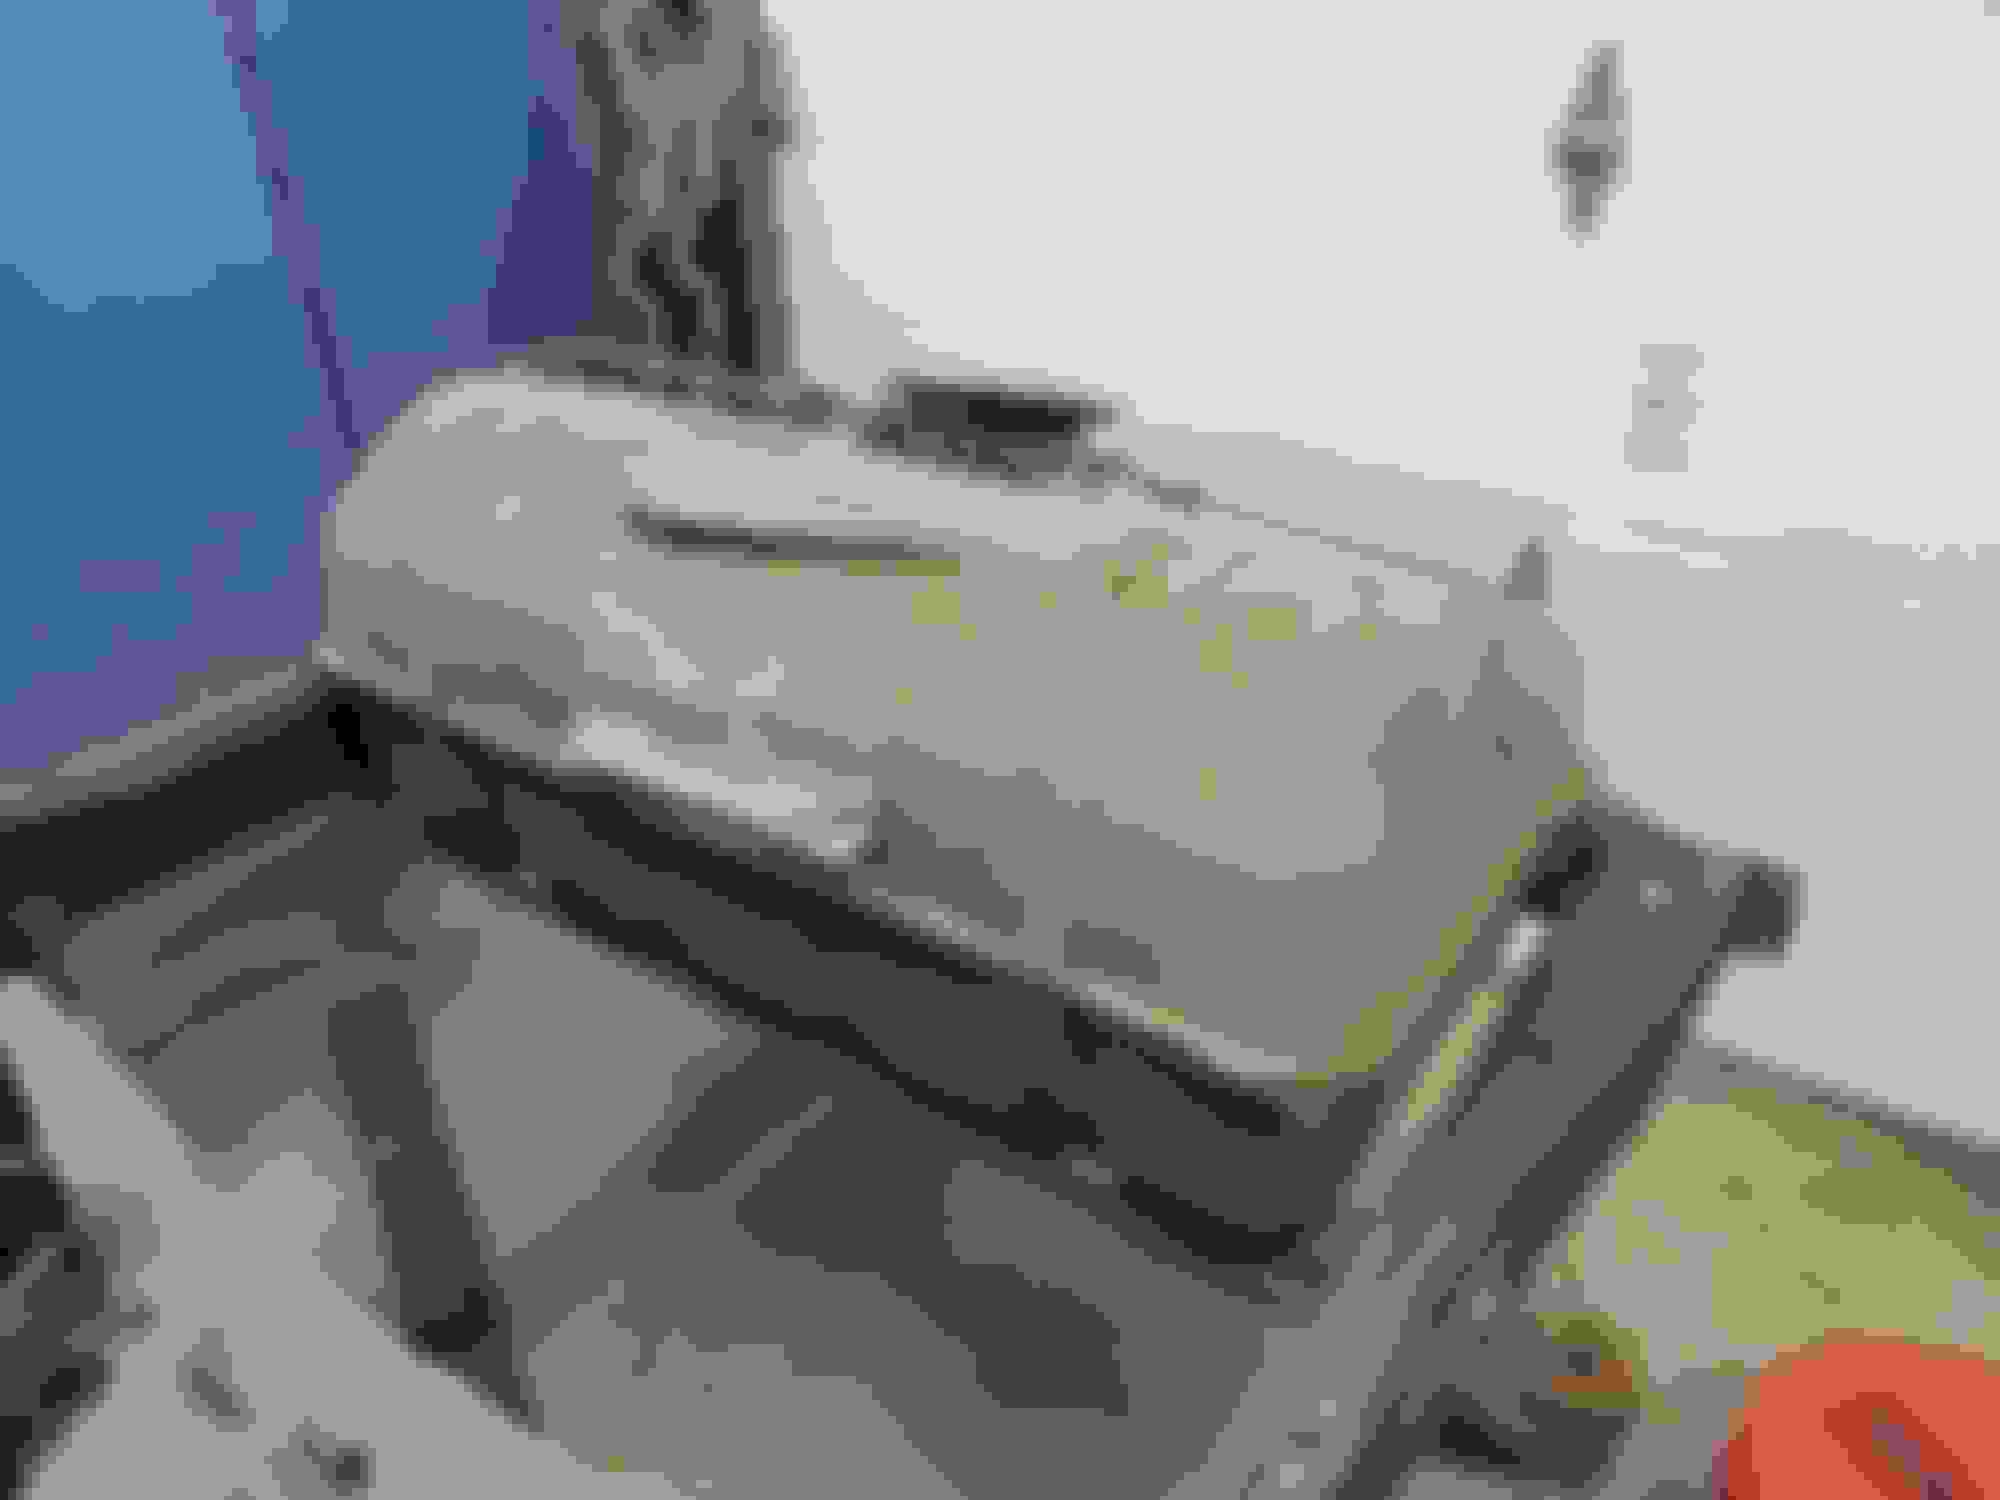
Since buying the car, I have been on the hunt for some reasonably priced parts. This came up last week and I couldn't pass it up. One of the things I want to do is to add fiberglass bumpers to the front and back. The plan is to fiberglass the seams for a nice smooth look. This one is used,it has a couple of cracks, and some damage to the edges, but will be an easy fix. I will get some more pics later when I start working on the body. It went right to storage, so I can keep the garage space from becoming cluttered.
I recently had a wisdom tooth pulled so not much work was getting done, until now.
This is how it looked on Monday.
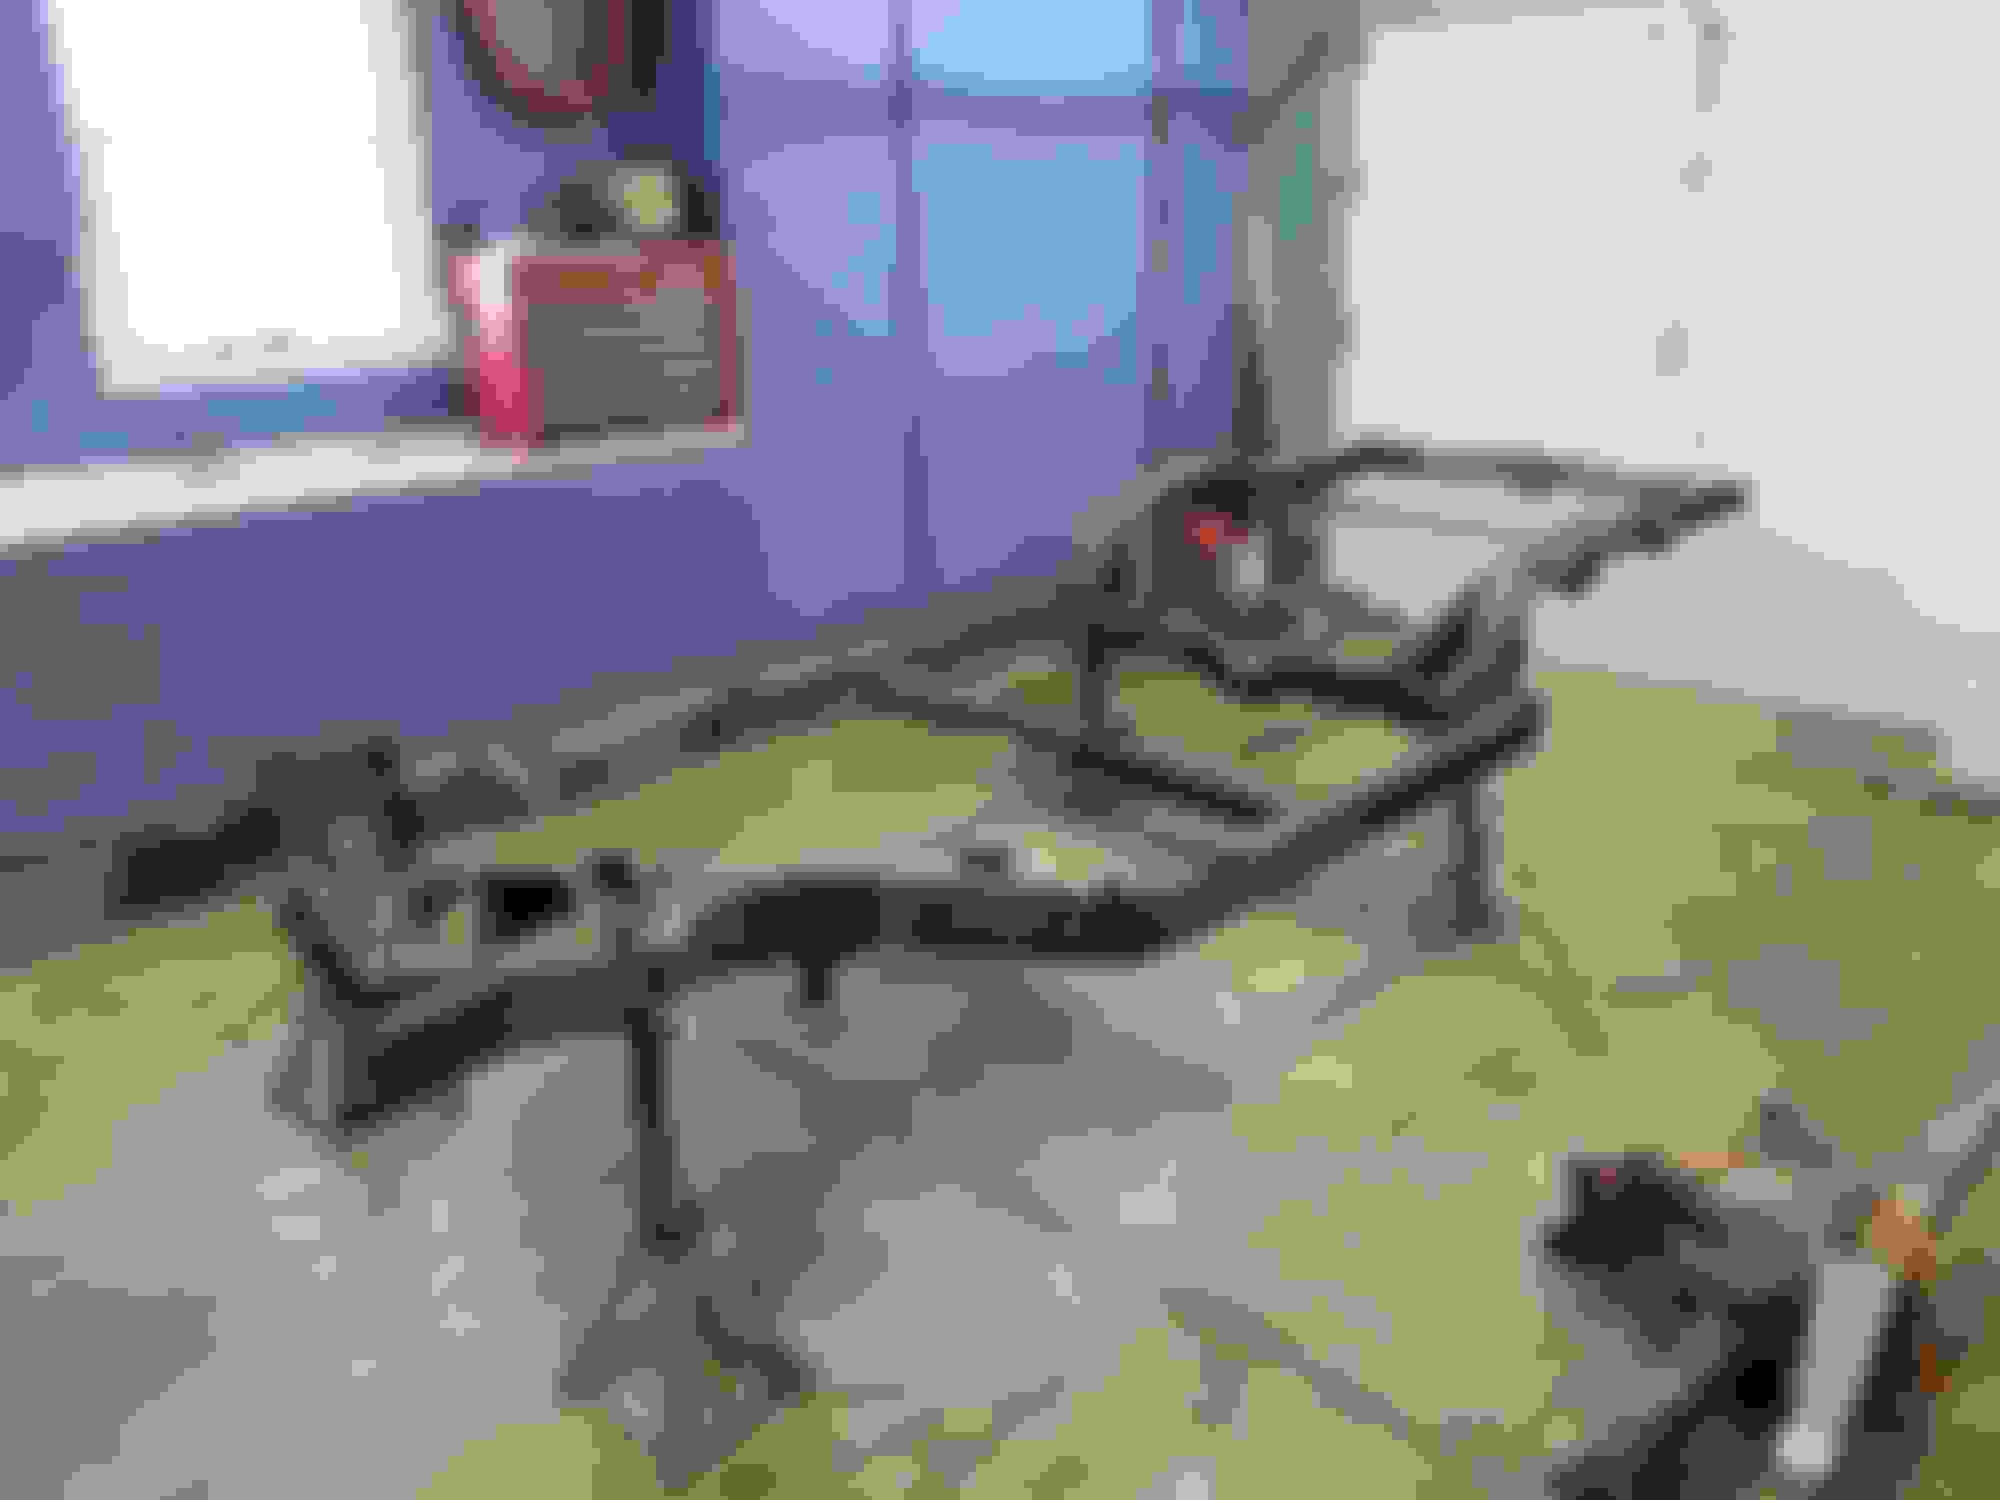
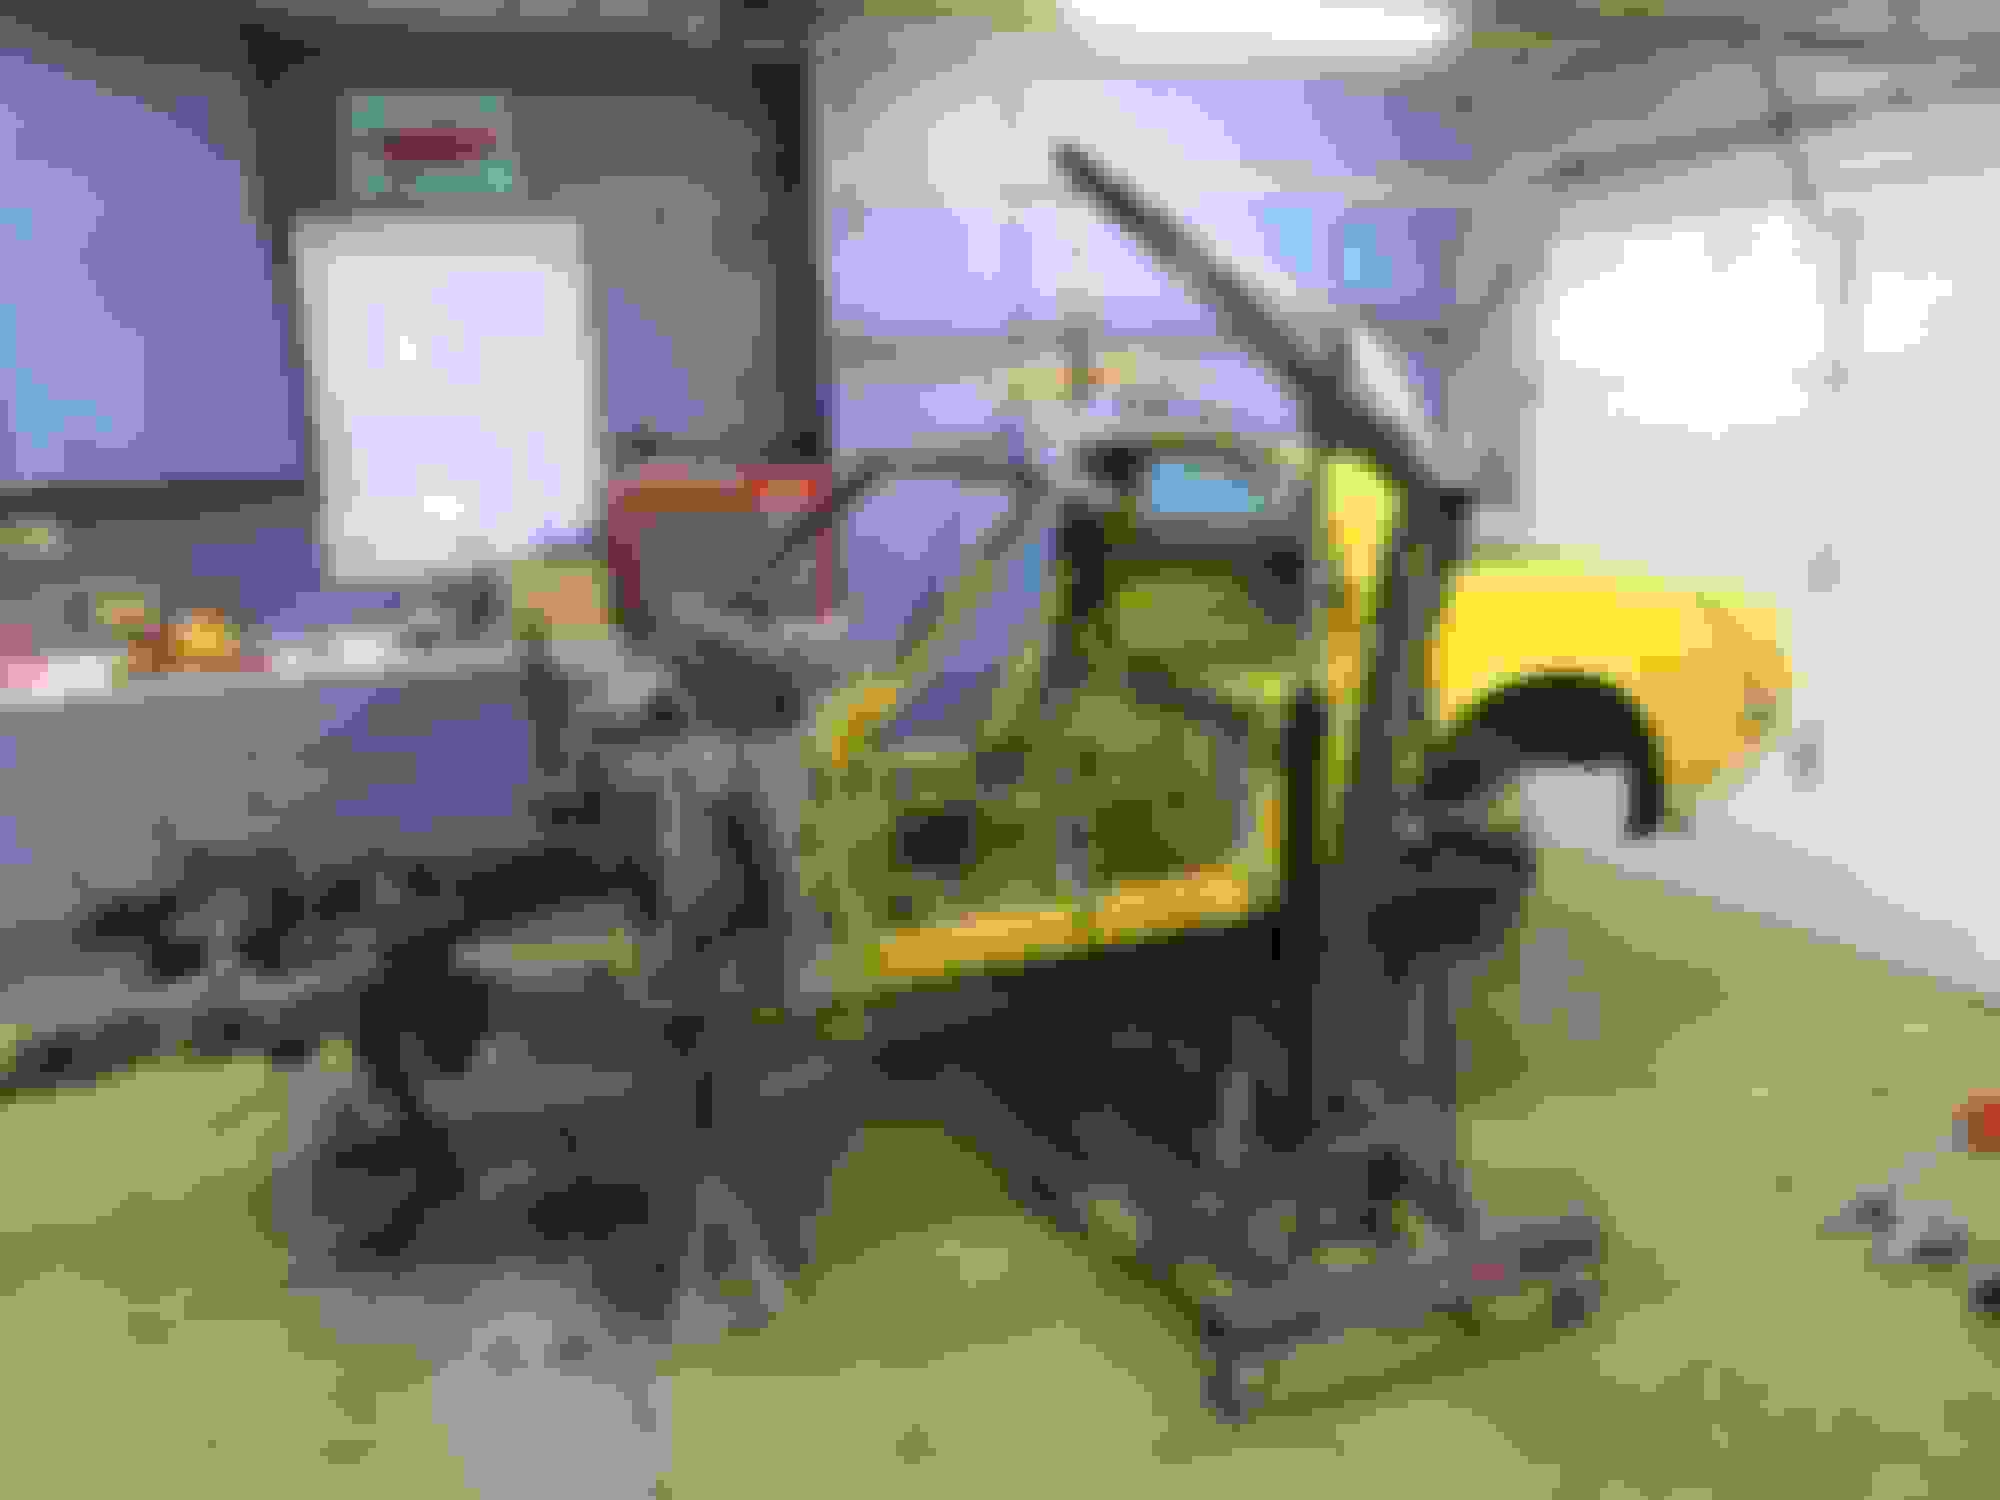
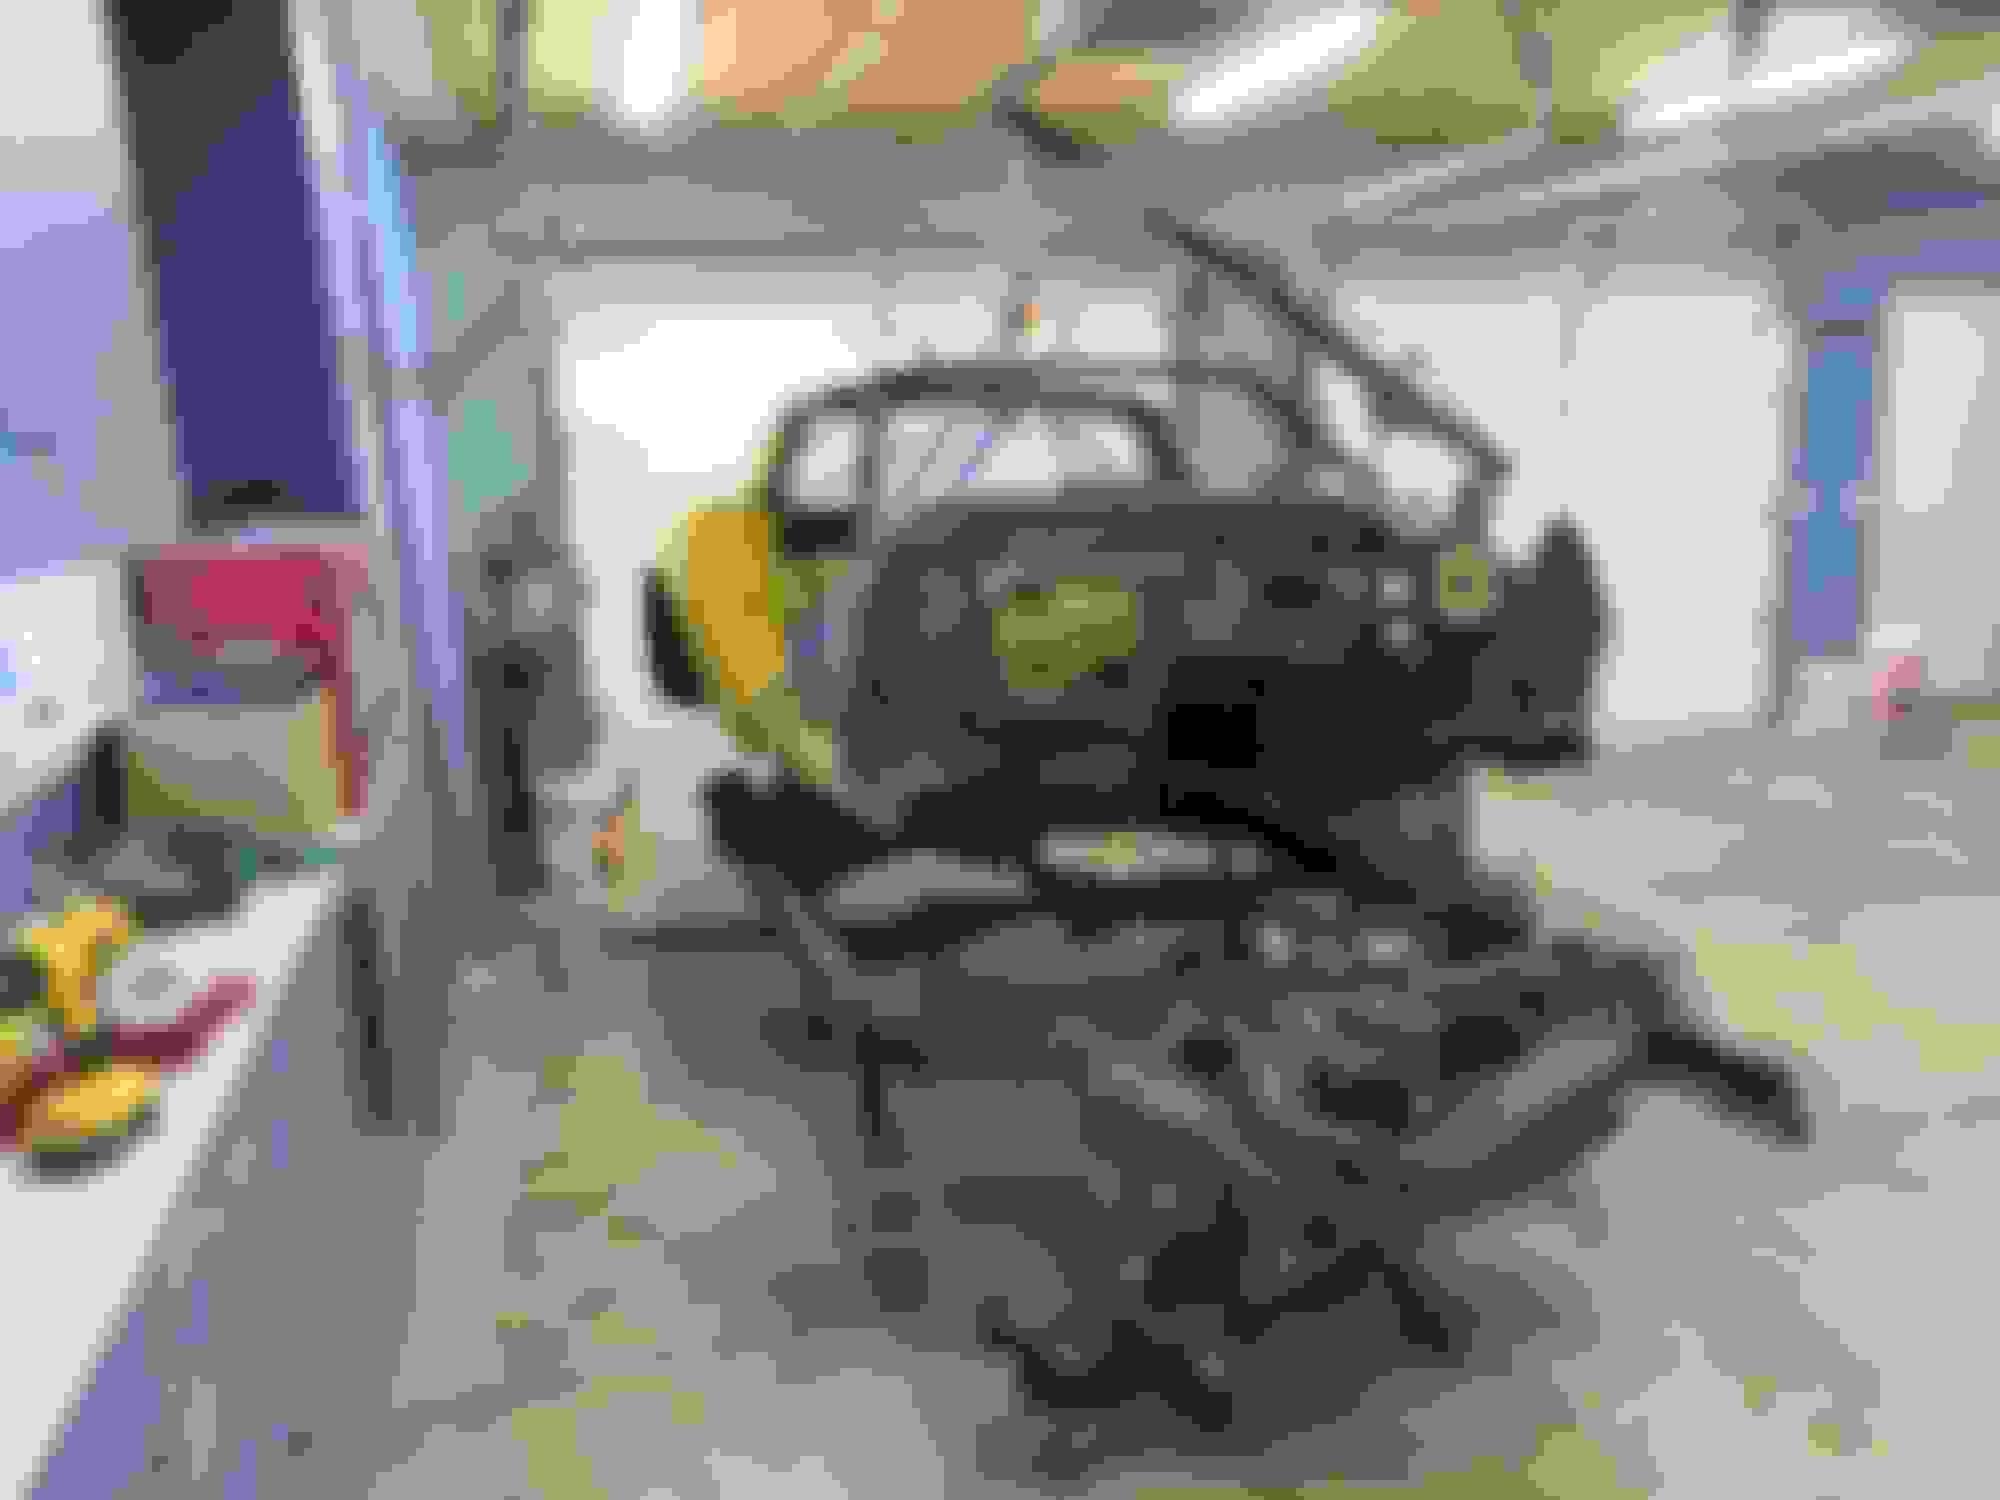
I started pulling the front suspension off, but that made it way to light in the front. I was sure if I took another piece off the front the car would flip over backwards. So i figured I need to start taking some parts off the back before continuing on the front. In order to have easy access, the body has to come off. It certainly can be intimidating, but it has to be done. Here we see it hooked up and ready go.
The frame is nice and solid, just some surface rust here and there, but no repairs needed that I can see, but I haven't looked at it real close yet. Here are a few pics to look at. I hope to have the rest of the parts removed by next weekend so I can start cleaning the frame. It sure would be nice to send it out for blasting and powder coating, but it's just not in the budget. Enjoy.
Kris - Gently removed the build sheet today, unfortunately you really can't read much from it. But I will save it anyway.
ssroadster - I will try to remember the pics. I have to keep reminding myself to slow down and take some pics for everyone, so I will do my best to show what's going on during the week. Thanks for the comments.
From your photos it looks like the frame is in good shape. At least I can see that the body mount bolts released. I had to use a SawsAll on both #3 body mount bolts; the cage nut on the #2 left side mount broke so I had to snap off the bolt head and the right side #1 mount bolt snapped off when I tried to torque it off. When I lifted the body I had holes in the frame ahead of the rear wheel wells. I could actually poke my finger through the sides of the channel about 1/3 up the frame. You don't seem to have the problem. Excellent.
From your photos it looks like the frame is in good shape. At least I can see that the body mount bolts released. I had to use a SawsAll on both #3 body mount bolts; the cage nut on the #2 left side mount broke so I had to snap off the bolt head and the right side #1 mount bolt snapped off when I tried to torque it off. When I lifted the body I had holes in the frame ahead of the rear wheel wells. I could actually poke my finger through the sides of the channel about 1/3 up the frame. You don't seem to have the problem. Excellent.
Yes, very happy with the condition of the frame, just some light surface rust is all, so I am pretty lucky. Although I love reading the threads that have some serious rust, it's pretty cool to see these cars brought back to life. It's quite an accomplishment when you can do that.
Getting a lot of snow here, as you can see. I wish I had some more storage space, but unfortunately I don't, so the front clip is sitting outside in the snow. Good thing I do have heat in the garage, so I can keep working even with the harsh conditions.
Here is where we are at right now. Finished removing all the parts from the frame, now we are ready to get it cleaned up and painted. I thought about taking it to the blasters, but it's so clean I don't think it will be necessary. I am pretty much just taking off dirt, grease and paint. There are a couple of areas with some light surface rust, but nothing major. I do have a small sand blaster so if needed I can clean up the hard to reach areas with that.
St. Jude Donor '06-'07-'08-'09-'10-'11-'12-'13-'14-'15-'16
Great job! I assume you live in Michigan but can't tell as you don't have your profile filled out.
I had an 81 several years ago that had been professionally turned into a convertible. It got a lot of attention at the local car shows.
Just a couple of suggestions/tips. When working on my brakes, suspension and steering I was able to get my parts at Muskegon Brake in Muskegon, MI. I was only about an hour away.
There is also a place in Belding, MI called Caledonia Classic Cars that makes NOS frame parts. Good people.
Since you have it apart this far you might consider installing an overdrive transmission. Mine had the TH350 and I really wished that it had that extra gear.
If I remember correctly, the rear end on the 81 is aluminum. It may not stand up well to the torque of a 383. I built my engine into a 355 with a mild cam and aftermarket heads/intake/carb etc. I had no problem with the stock rear end though.
I could not tell from your pics but I did not see the rear spring. I had the heavy duty steel springs and REALLY did not like the ride. Replace it with a fiberglass one if at all possible.
I have a good, reasonable upholstery shop in my area (just East of Grand Rapids) if you need one.
Good luck. Wish I could help you out but my health is not what it was when I was younger. I have probably made every stupid mistake you can make with Corvettes over the years so I can certainly tell you what NOT to do. Feel free to PM me with any questions you might have.


 keep taking those pics.....again.....good work