When you click on links to various merchants on this site and make a purchase, this can result in this site earning a commission. Affiliate programs and affiliations include, but are not limited to, the eBay Partner Network.
Out of the blue the battery started dying. Did some research first. Dropped my voltmeter between the negitive cable and negitive terminal.
Pulled every fuse in the box. Still 3.87. Pulled the alternator cable from the top. Dropped to 3.72. Disconnected the red cable, dropped to 0.00.
only with these two unplugged does it remain at 0.00
Put the red back on and it went back to 3.72. I then took off the black ground wire and still at 3.72. So here is the culprit. Am I looking at an alternator issue or do I have a fused wire in the wire loom?
ALTERNATOR ISSUE...that is where i would start for sure...for what you described.....because it does not matter about the wire being fused or fusible linked. Those are for protection of the wire and circuit and do not control the voltage/amperage in this situation.
Your drain is dealing with UNSWITCHED battery voltage being used to some capacity. And unswitched means...in case you do not know...is any component of the cars electrical system that operates or can operate with the key NOT being turned on. So pulling fuses on circuits that must have the key ON in order to operate are NOT fuses that need to be pulled when dealing with a drain when the key is not ON.
one of the first things I would do is to redo your test. If you wish to test for current drain, ( judging by the position of the rotary dial) you need to move the red lead to one of the spots with an "A". Either the 10A or the 300mA. I would recommend the 10A first, then try the 300mA. Right now the readings in the picture are inaccurate.
I can build a 350 blind folded but god forbid I have to do any electrical work lol. When I get off work tomorow morning I will redo the test and update with the old alternator then the new.
one of the first things I would do is to redo your test. If you wish to test for current drain, ( judging by the position of the rotary dial) you need to move the red lead to one of the spots with an "A". Either the 10A or the 300mA. I would recommend the 10A first, then try the 300mA. Right now the readings in the picture are inaccurate.
one of the first things I would do is to redo your test. If you wish to test for current drain, ( judging by the position of the rotary dial) you need to move the red lead to one of the spots with an "A". Either the 10A or the 300mA. I would recommend the 10A first, then try the 300mA. Right now the readings in the picture are inaccurate.
Aaaand it's fixed. As per your instructions I hooked it up to the 10A and redid the test. Had no draw on the new alternator. Old one was trickling. Started it right up and charging at 14.3v. dobeluvr and DUB. Thanks a million. This is exactly why I take pictures of EVERYTHING!
Last edited by Dreadknot; Jan 5, 2016 at 05:13 PM.
Aaaand it's fixed. As per your instructions I hooked it up to the 10A and redid the test. Had no draw on the new alternator. Old one was trickling. Started it right up and charging at 14.3v. dobeluvr and DUB. Thanks a million. This is exactly why I take pictures of EVERYTHING!
Glad you got it repaired.
FOR WHAT IT IS WORTH....
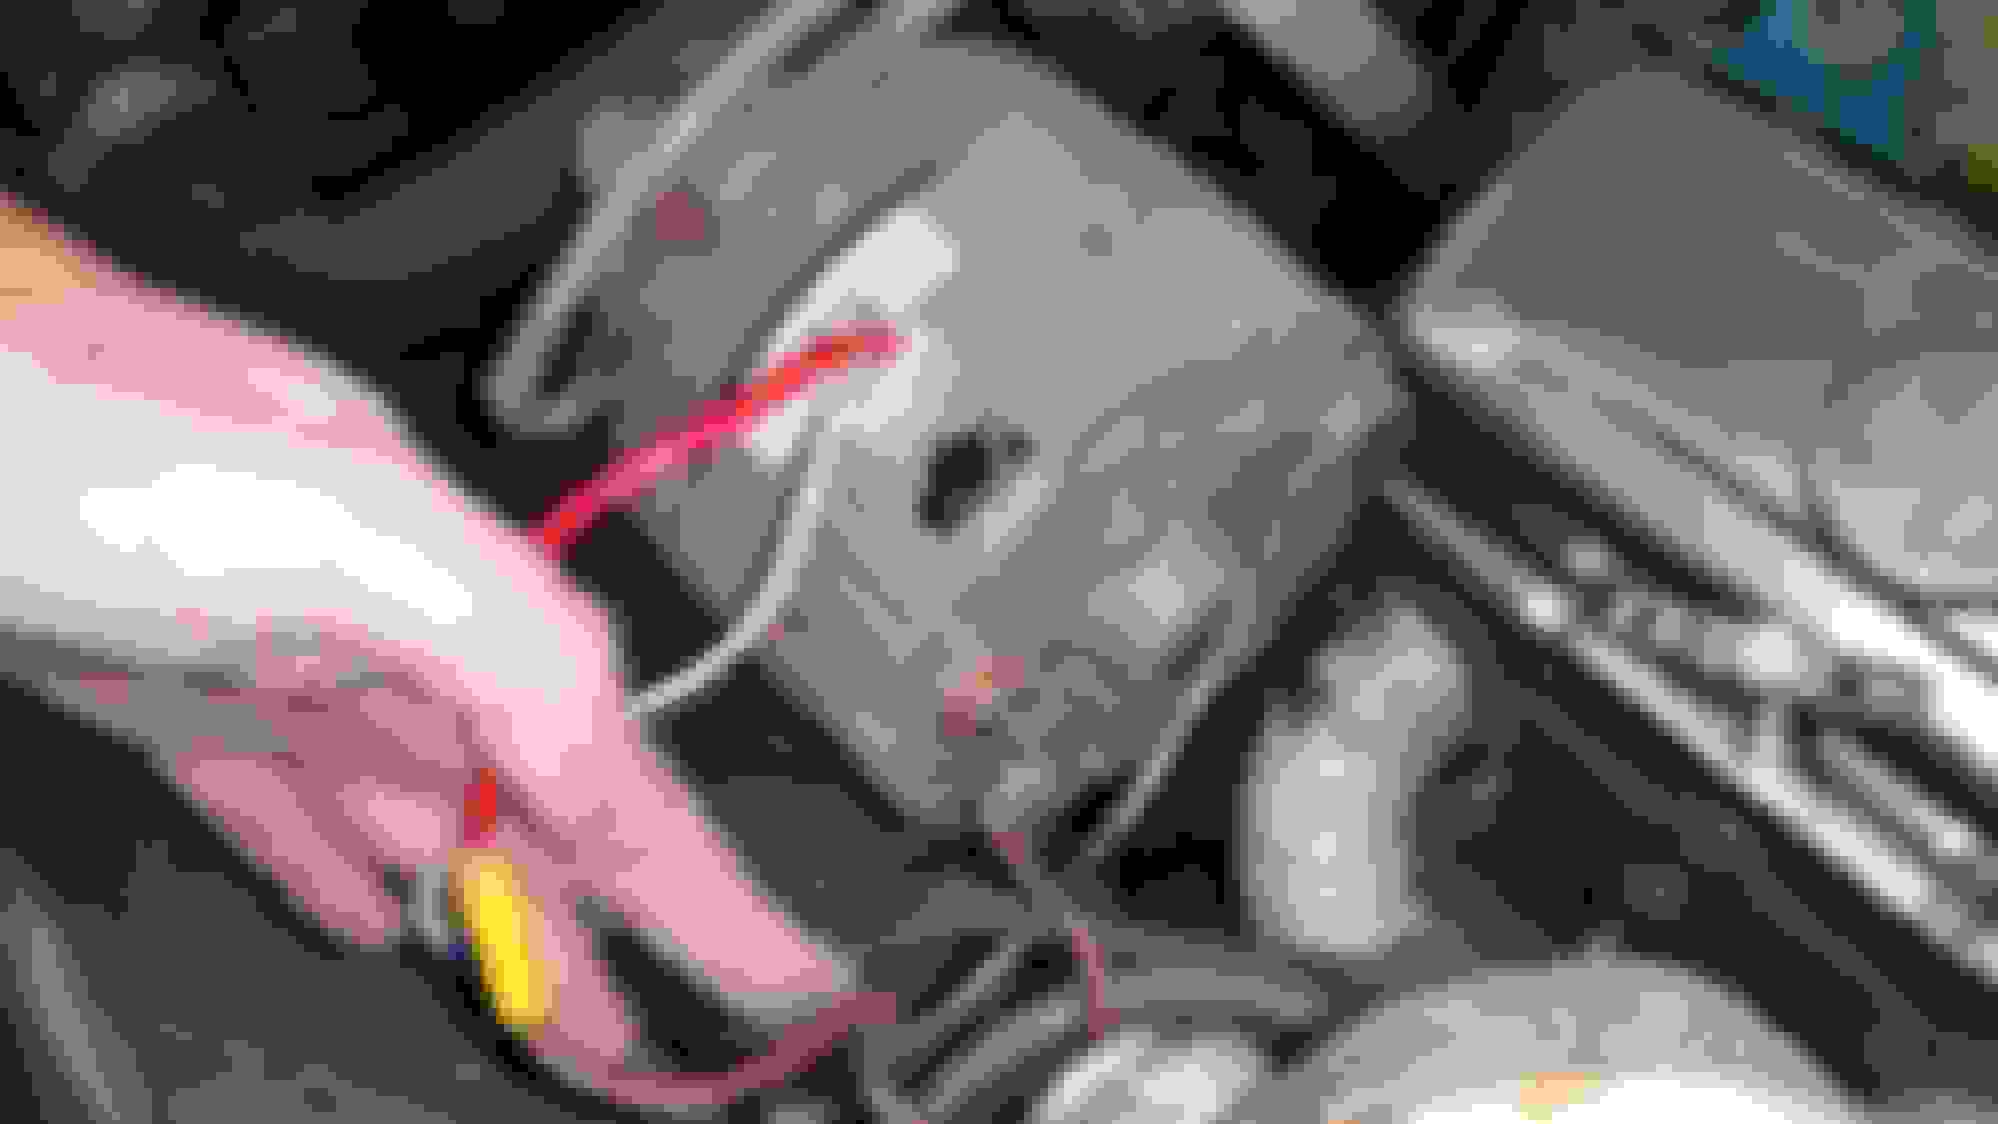
In your second photo of POST#1...you can see the solderless butt connectors being used. ( The blue and yellow ones). Personally I would cut them out....and use a non-insulated butt connector and crimp and solder them in and use shrink wrap tubing. The ONLY reason why I am writing this is you could not imagine the number of electrical repairs that I go back in and a have to repair again due to some idiot gorilla crimped the butt connector on and in time...the wire fatigues and snaps off right the the crimp....or strands of the wire snap and some are still attached an you wonder why something is not working correctly. I myself can not stand it when these colored butt connectors are used. To me...it cheapens the car and shows that the person doing the repair could have taken it to the next level. BUT...I do not mind if solderless butt connectors that have extended tubes on them that allow the use of a heat gun to shrink them onto the wire. Those are OK because it is reinforcing the wire so it will not break at the crimp...and then they can be taped back up in the harness nicely.
ONLY speaking from experience and NOT trying to upset anyone. Welcome to my reality. Just because 'things' are made to make our lives easier ...does no make them the RIGHT things to use in some cases. I prefer to think for myself and NOT always use the fasteners that are given in some installation kits or parts.
DUB
I'll add it to the list for sure. I found it shortly after pulling back the electrical tap looking for a burnt wire. I have had to many of those come loose and short out to use them.
Yes thanks for the pictures and follow up report, helps everyone
I agree with the butt connectors, and I will add...put a washer on the alternator bolt. Without one just the points of the hex head are gripping your adjustment bracket.
Gary
Yes thanks for the pictures and follow up report, helps everyone
I agree with the butt connectors, and I will add...put a washer on the alternator bolt. Without one just the points of the hex head are gripping your adjustment bracket.
Gary
VERY SHARP EYE.....I usually have fun looking for 'things'...but I missed that one. SHARP EYE!!!! And ( obviously) make sure the washer is thick enough so it will not bend when tightened..and wide enough to do what it need to do.


 Glad you got it repaired.
