When you click on links to various merchants on this site and make a purchase, this can result in this site earning a commission. Affiliate programs and affiliations include, but are not limited to, the eBay Partner Network.
Just another Hydroboost thread to add to the others. Nothing really new or earth shaking here, just a reference for someone later on, maybe.
72, BB Astrovan unit, stock (newer-metric) cast master cylinder
So for no real reason other than the steering column was out (I wish this was more of a joke)
Ordered a reman Delco unit for a 94-95 astro/safari van (couldn't find a scrapped one in any of the local wreckers)
Cut the pedal end off
Threaded the remaining shaft 3/8-24 (fine)
Installed the original pedal clevis with a jam-nut
Pulled out the studs from the mounting plate
Remove snap ring and large locking nut
Installed the studs from inside the firewall (yes, never have to get at those stupid nuts again !!!)
Used a larger nut and then the correct (metric) nut to set the stud splines
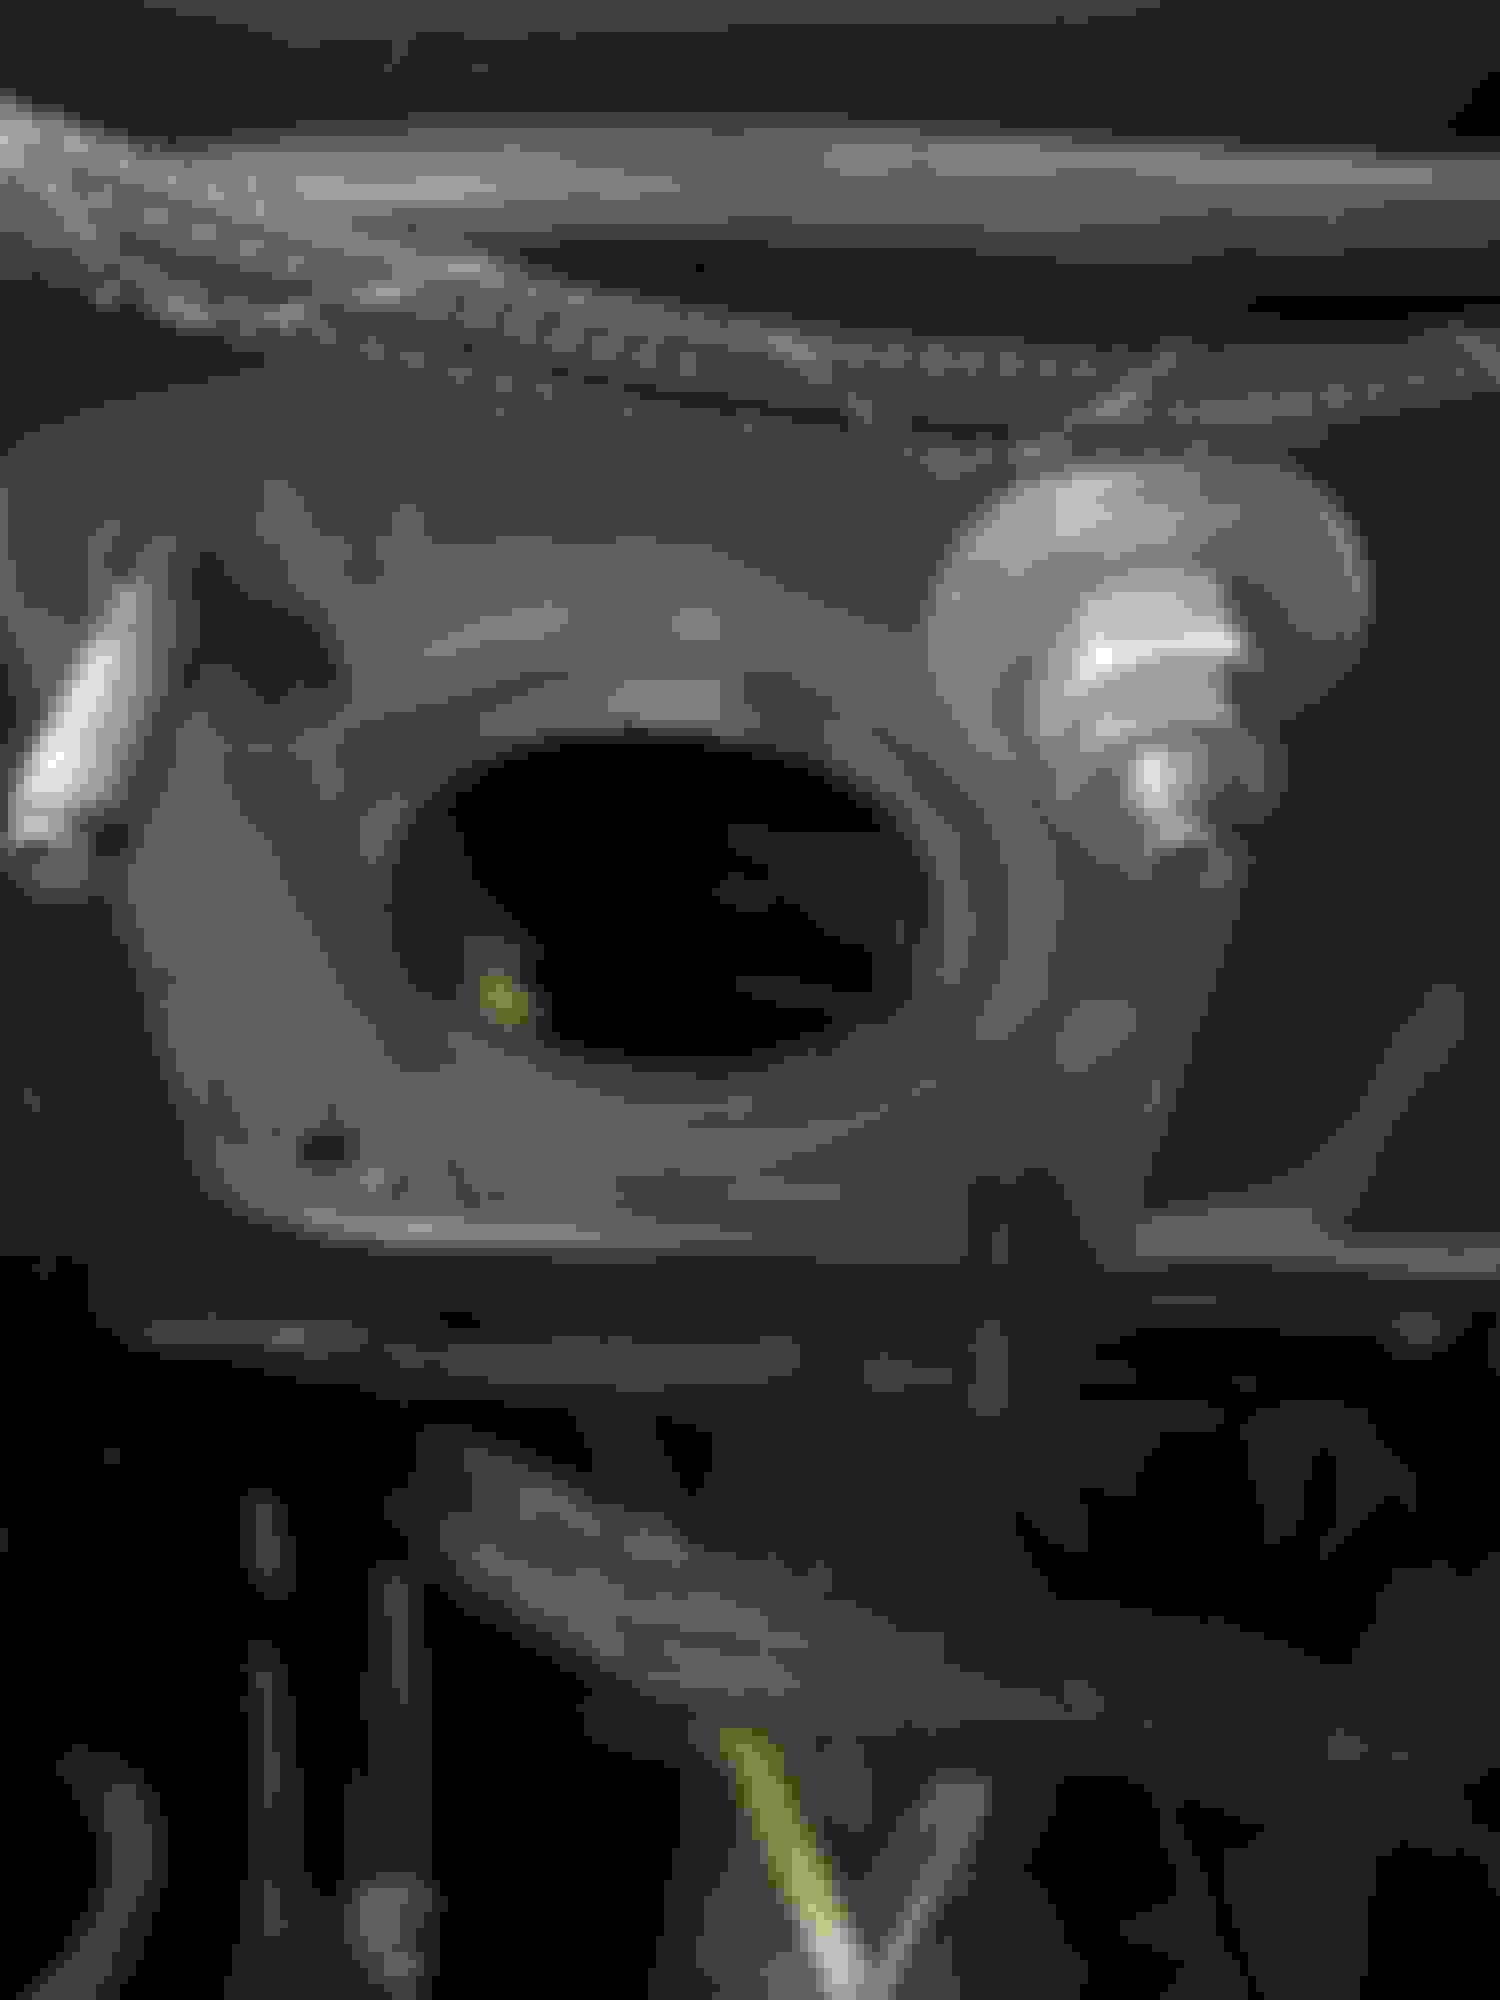
Test fit the mounting plate in it's new orientation (flipped the hydroboost to have the lines underneath)
Now since I didn't have a scrap one to start with, the rod that goes between the hydroboost and the master cylinder is not included in the re-manufactured units. You're supposed to re-use your original
Tallon Hydraulics sells a universal replacement kit that includes their version of the spring and retainer
The large washer is held in with the internal c-clip.
The shaft is machined to fit the application (.010-.020 gap)
Couple of coats of paint and some clear
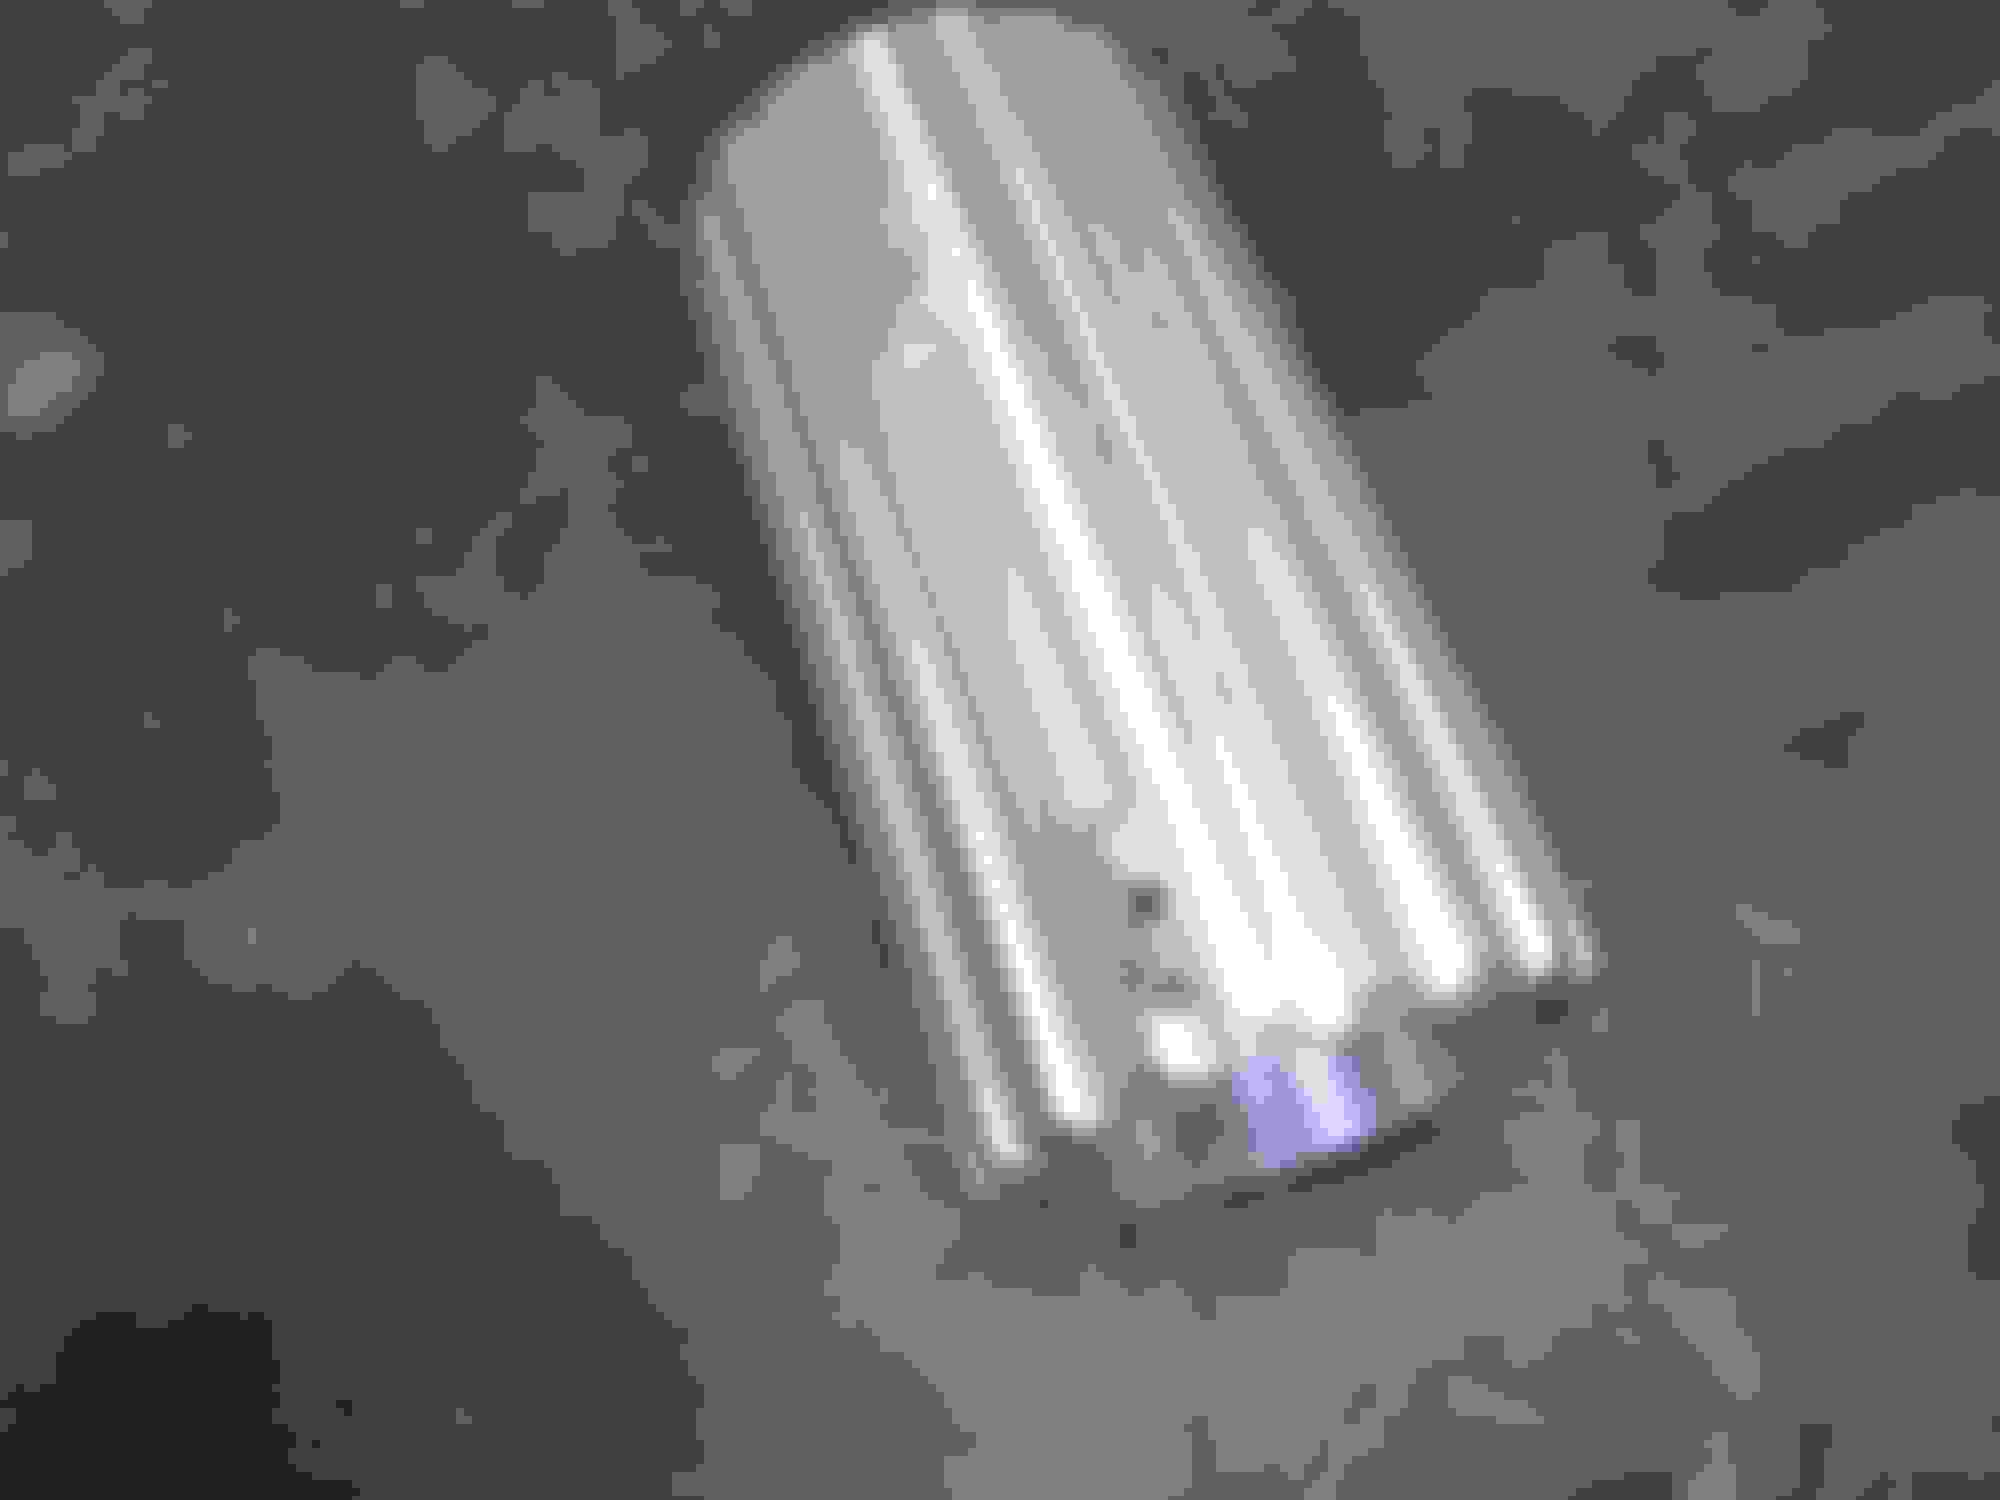
Had to make up something different to cover the accumulator (I'm part crow, gotta have shiny stuff)
Reinstall the hydroboost to the mounting plate (don't forget to tighten the nut and install that c-clip cough cough cough, don't ask)
Adjust the brake pedal clevis.
There are various ideas on this as for adjusting the pedal lower than normal since you will not have the pedal travel that the vacuum used to give.
I set mine about a 1/4 down from the stop at this time.
The system needs to have some play for when the hydraulics heat up, if the pedal can't lift (already against the stop) the system will push the other way and put the brakes on.
Tighten the jamb nut and install the clevis pin & clip
Old master was leaking a little between the MC and the booster so I ordered a replacement. MC is empty, time to work on the plumbing
I ran all the hoses using 3/8 rubber to get the routing and lengths and then made up the braided lines.
For now, I'm just using a Tee fitting into the return line and rubber hose.
Cut the original return line from the steering valve 3-1/4" inch from the pump end and installed the Tee fitting.
Then removed another 1" from rest of the stock line to make up for the body of the Tee fitting
Following instructions I found from Jim Shea, I installed the Tee fitting with the steering going straight through and the hydroboost coming in at the 90 deg.
Some people have had some issues with this creating back-pressure on the hydroboost, others have been fine. Even then, it seems to only be a problem when hard-braking and steering at the same time.
I'll leave it this way until I see a problem
The fittings I used are all from Tallon. Great service but honestly the fittings all needed some deburring on the threads and ends to get them to fit nicely.
Russell 648080 Tallon THI 4990- 18X1.5 o-ring to 6AN (HB unit High Pressure in)
Russell 648060 Tallon THI 4991- 16X1.5 o-ring to 6AN (HB unit High Pressure out)
Tallon THI 8203- 5/16-24 o-ring to 6AN (HB unit low pressure return)
Russell 697100 Tallon THI 8201- 7/16-24 thread to 6AN (1/4" inverted flare, steering valve pressure in)
Russell 640380 Tallon THI 4996- 5/8-18 inverted flare to 6AN (PS pump high pressure out)
Tallon THI 6601- 3/8 x 3/8 x 3/8 Tee fitting (low pressure return)
Russell 620421 Tallon THI1389- AQP 90deg 6AN to 3/8 reusable hose ends, four of them
Tallon THI????- 90 deg 6AN to 3/8 barb fitting (can't find the PN right now) for the HB return line
Aeroquip FCC0606 6 feet of -06 teflon braided line
I ran the lines from the bottom up, routed them under the edge of the upper control arm (it's all the way down now so there is room)
Since I didn't have a unit to start with from a van, I also needed to buy the parts to make up the rod from the hydroboost to the master cylinder
Both from Talon (can't seem to find anywhere to buy a "OEM" one)
THI 27288 for the spring kit (doesn't look like the stock unit but works)
and I got the THI 3025 oversize pushrod that you cut to whatever length you need.
When running the braided hose to the control valve, route the slack beside the existing rubber hose (the one the Tee was installed into) and make sure you check with the wheels turned both left/right to make sure it's not binding or running into anything.
Needed to make some hose separators (yeah you can buy these but since I can and I can get the 2 small hoses along with the 3rd larger one in the same loom...))
Tucked all the lines over by the inner fender and kept the two braided lines in front of the brake manifold and the return behind it
Where the two lines run to the steering control valve, I put on some spiral hose protector (fancy expensive name for nylon spiral wire loom) on the rubber hose to protect it from the braided line. I also put a few inches of this where the two braided lines run over the frame/under the control arm to protect them from each other and the frame
(I've got to replace that zip-tie with a metal one at some point)
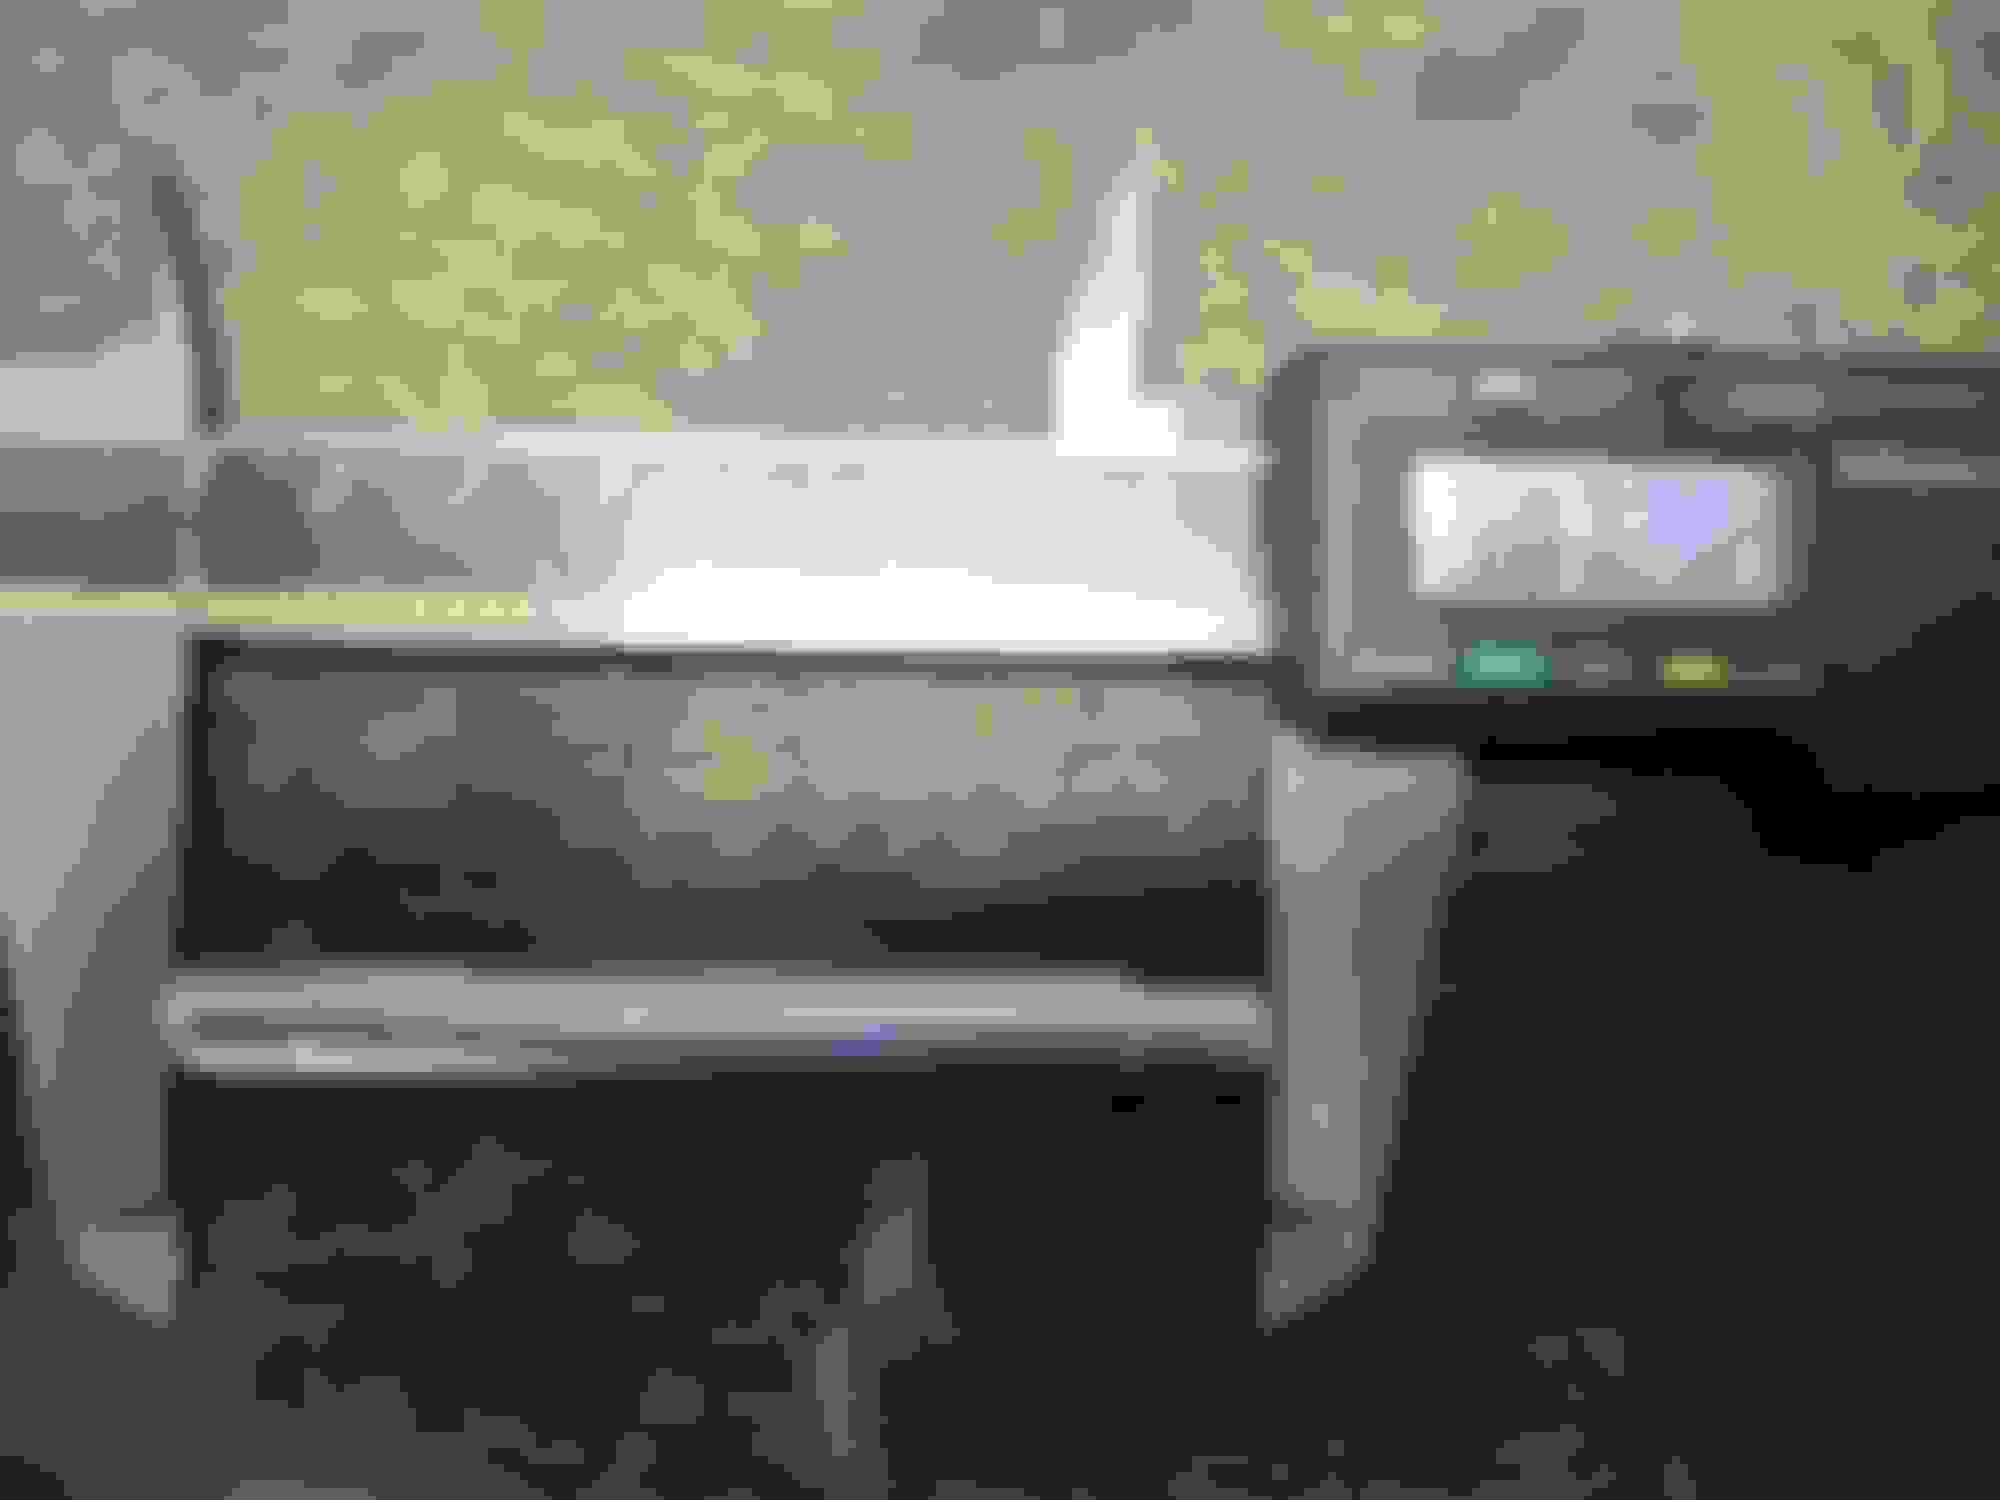
This is what's left over from a 6' length of Aeroquip hose
I suspect down the road (figuratively and literally) I'll look into a different pump can with remote reservoir but for now this should work just fine. If I do, I'll likely change the return line to braided just because
Anyway, another checkmark off the list
M
Last edited by Mooser; Feb 5, 2021 at 06:41 PM.
Reason: fix photobucket mess
Only thing I can add is how to cut the SS braided stuff- after you do it this way you'll never go back-
That's how these were cut (except into a chunk of hardwood). Only had to make two cuts so it wasn't worth the hassle of breaking out the cut-off discs.
Only thing I don't like about the chisel is it really screws up the teflon core more that I'd prefer. I use a tapered punch to re-shape the core and then once again once the ferule is on.
M
Mooser do you have a part number for the spring and rod kit that didn't come with the HB (the one Talon sells). BTW very nice job sir
Guess I should have included that
THI 27288 for the spring kit (doesn't look like the stock unit but works)
and I got the THI 3025 oversize pushrod that you cut to whatever length you need.
The website is pretty odd to navigate around so I ended up calling and they were more than helpful / knowledgable and even suggested a couple of items I didn't know they had.
M
Very nice job and great attention to detail Mr. Mooser!!!
Of course, you must be using your own mill and lathe, as well as your own stock....doing this sort of thing using company time/materials might be frowned upon!
LOL
I promised myself no outside work until July so I can try to get some car stuff done. And I've only broken that promise 3 or 4 times since May
Now that the seatbelt conversion is done, I think I've gotten the interior actually all back together (minus some little kibbles and bits I've probably forgotten about)
Soon I'll be ready to discover how many new leaks I've created in the brake & steering system with this hydroboost install
M
I think your tip on adjusting the brake pedal height is particularly important. I ended up removing my hydroboost unit and going back to stock because my brakes would self apply after heating up. I always thought it was a back pressure issue on the low side but could never quite get it to go away. Never thought to simply lower the pedal.
Last edited by CA-Legal-Vette; Jul 31, 2016 at 10:02 AM.
I think your tip on adjusting the brake pedal height is particularly important. I ended up removing my hydroboost unit and going back to stock because my brakes would self apply after heating up. I always thought it was a back pressure issue on the low side but could never quite get it to go away. Never thought to simply lower the pedal.
Not sure if I would have know about it other than the streetrod guys would talk about sometimes running into the problem of the system heating up and applying the brakes. Glad I was paying attention at some point.
M
Not sure if I would have know about it other than the streetrod guys would talk about sometimes running into the problem of the system heating up and applying the brakes. Glad I was paying attention at some point.
M
So how would I go about this? Now I threaded the rod and set the clevis at the original distance. Do I need to turn the clevis further back/forward or adjust the pedal itself?
So how would I go about this? Now I threaded the rod and set the clevis at the original distance. Do I need to turn the clevis further back/forward or adjust the pedal itself?
Chances are you're gonna be fine as long as it matches the suggested factory settings for distance since it would have clearance set there as well.
With the pedal to clevis pin removed, raise the pedal to hit the stop. You need to have the clevis set so that the pedal has to be lowered down about 1/4" before it would allow the pin to be installed into the clevis. That way when everything heats and expands the pedal has that 1/4 of movement up before it would hit the stop and start putting the brakes on.
That 1/4 is sort of a minimum. From what I've read, most people are setting the clevis down much farther so the pedal is down much farther. The hydroboost is more sensitive than the vac-boost and the comment is they feel that having it set to the factory (AIM) position they are pressing it too hard (out of habit) and the braking is too dramatic
Mooser, I want to do this on my 71 and preparing parts. How do you like it overall? any particular reason you went with this hydroboost unit? that THI 27288 - Power Piston Return Spring from tallon looks like it's only 3 pieces, how about those 2 washers and c clips in picture? How did you measure the rod for correct clearance and should I get a new MC (mine is manual) and what part #. appreciated.
Nice write up Mooser and I have one really dumb question regarding this. Does the Hydro Boost unit require two seperate feed lines and one return? Also, would you go with a different pump if you had to do it again?
I am doing a new steering system (rack and pinion) and planning ahead on the hydroboost MC.
Thanks












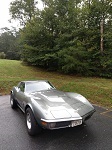
 72 Hydroboost Installed (yeah another one)