When you click on links to various merchants on this site and make a purchase, this can result in this site earning a commission. Affiliate programs and affiliations include, but are not limited to, the eBay Partner Network.
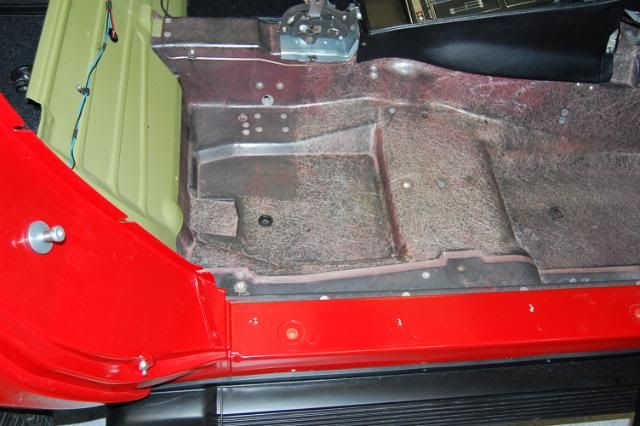
Just seeking the advice from those that's been through this...........looking for the best cleaning method (s) in the below pictured areas. Ive just about got everything stripped out and am ready to clean and paint. There's glue and what I believe to be sound deadening material, along with mold and mildew from soggy carpet. I'm sure I can wire wheel the metal........but the fiberglass, it dont want to gouge it up. I have a heat gun and putty knife if that's a better method. That sound proofing is thick in some areas, but its nasty with the consistency of tar. Not going to be an enjoyable experience, but got to be done. Large container of elbow grease available.
Hi 73,
I used lacquer (lots of it) thinner and plastic paint scrapers.
The 'slower' the lacquer thinner you can find the better because it stays wet a little longer.
Lot's of effort and time, but not difficult to do.
Regards,
Alan
I made some progress. This is some messy stuff. Looks to be oil based. Very gummy in texture and has collected a lot of dirt and grit. Maybe it was the best sound proofing they had at the time? Glad to get it up and out. Had to use a heat gun and scraper, then follow up with lacquer thinner. Ive found loose or missing rivets, and cracked seams, and what looks like a big mess on passenger side. Bondo smeared haphazardly over the seams.....couldn't be factory job, eh? Looks like I'm going to be real busy with this thing. Thankfully, nearly done with chassis.
Yeah....the gas tank is inverted......went to install sending unit, only to discover gas tank kit didnt in clude retaining ring.....:-/
Hi 73,
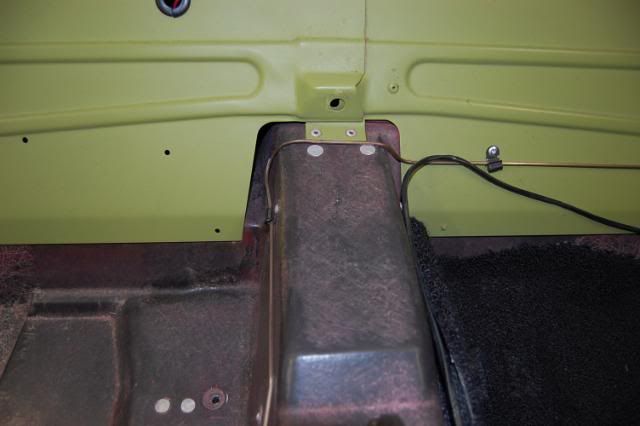
The bonding material used to join the under body panels together wasn't neatly or carefully applied.
The forward right side of the transmission tunnel was modified in St.Louis by cutting out a piece of the underbody/tunnel and 'bonding' a 'bubble' in place to create clearance for the installation of the optional automatic transmission.
Is that what you're seeing?
The directions for doing this is even shown in the AIM in the option pages for the automatic transmission.
Regards,
Alan
Depends on what you are trying to accomplish...{NCRS pristine or clean enough to put new carpeting in}. But, what you've done so far is a very good accomplishment. Once rivets are secure, seams are sealed and rust is 'encapsulated' you should be ready to go.
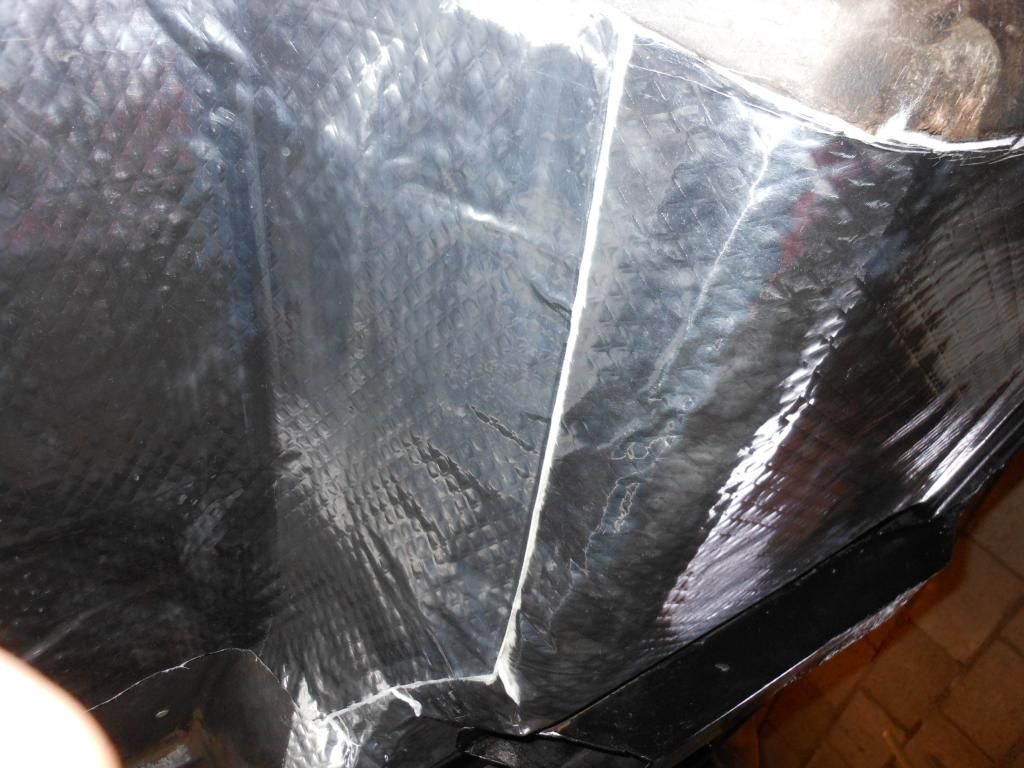
That old sound deadening stuff is basically tar-soaked cardboard; and it did a pretty good job of getting rid of high frequency noises. Something like that placed in strategic locations (like done at the factory) and some good jute padding to insulate heat intrusion into the passenger area (also like done at factory) are cost-effective approaches to prepping the compartment for carpeting.
Thanks. I just want it clean before I start going back with carpet and interior. I wish I had the skill level to produce a NCRS consideration.....but I'm just a novice at this.
The bonding material used to join the under body panels together wasn't neatly or carefully applied.
Ok. That explains it then. That "bubble" on the passenger side has numbers on it, as well as a spot right behind the shifter cut out. Nothing corresponding to the vin number though. I do have an assembly manual, but haven't looked at the body section yet.... but I will. Thanks for the input. I welcome more, as I press on!


 Thanks for the input. I welcome more, as I press on!
 DSCN4826 by Richard Hayes, on Flickr
 DSCN4833 by Richard Hayes, on Flickr

 DSCN4075 by Richard Hayes, on Flickr