When you click on links to various merchants on this site and make a purchase, this can result in this site earning a commission. Affiliate programs and affiliations include, but are not limited to, the eBay Partner Network.
My Vinyl Top install thread
I posted a question about installing a vinyl top on my removable hardtop and whether or not it was difficult but the only feedback I received was "let a pro do it". Anyway, having had so much help on here with other issues on my 1969 L71 restore, I thought it was time to give back as there is so little info on this job.
So here we go.
Let me start by saying that I have absolutely zero experience in upholstery and this is my first real auto rebuild so if I can do it, anyone can.
I purchased the top for about $100 from Al Knock (little less if I remember correctly) and it has been sitting in my garage waiting its turn for months.
Finally got started today so
Day 1 - spent 2 hours and 45 minutes
1. removed rear trim around back window
2. removed weatherstrip around side windows
3. removed stainless trim behind side window weatherstrip
4. removed stainless front trim
5. removed the two back triangle stainless pointed pieces
see picture below (more to follow)
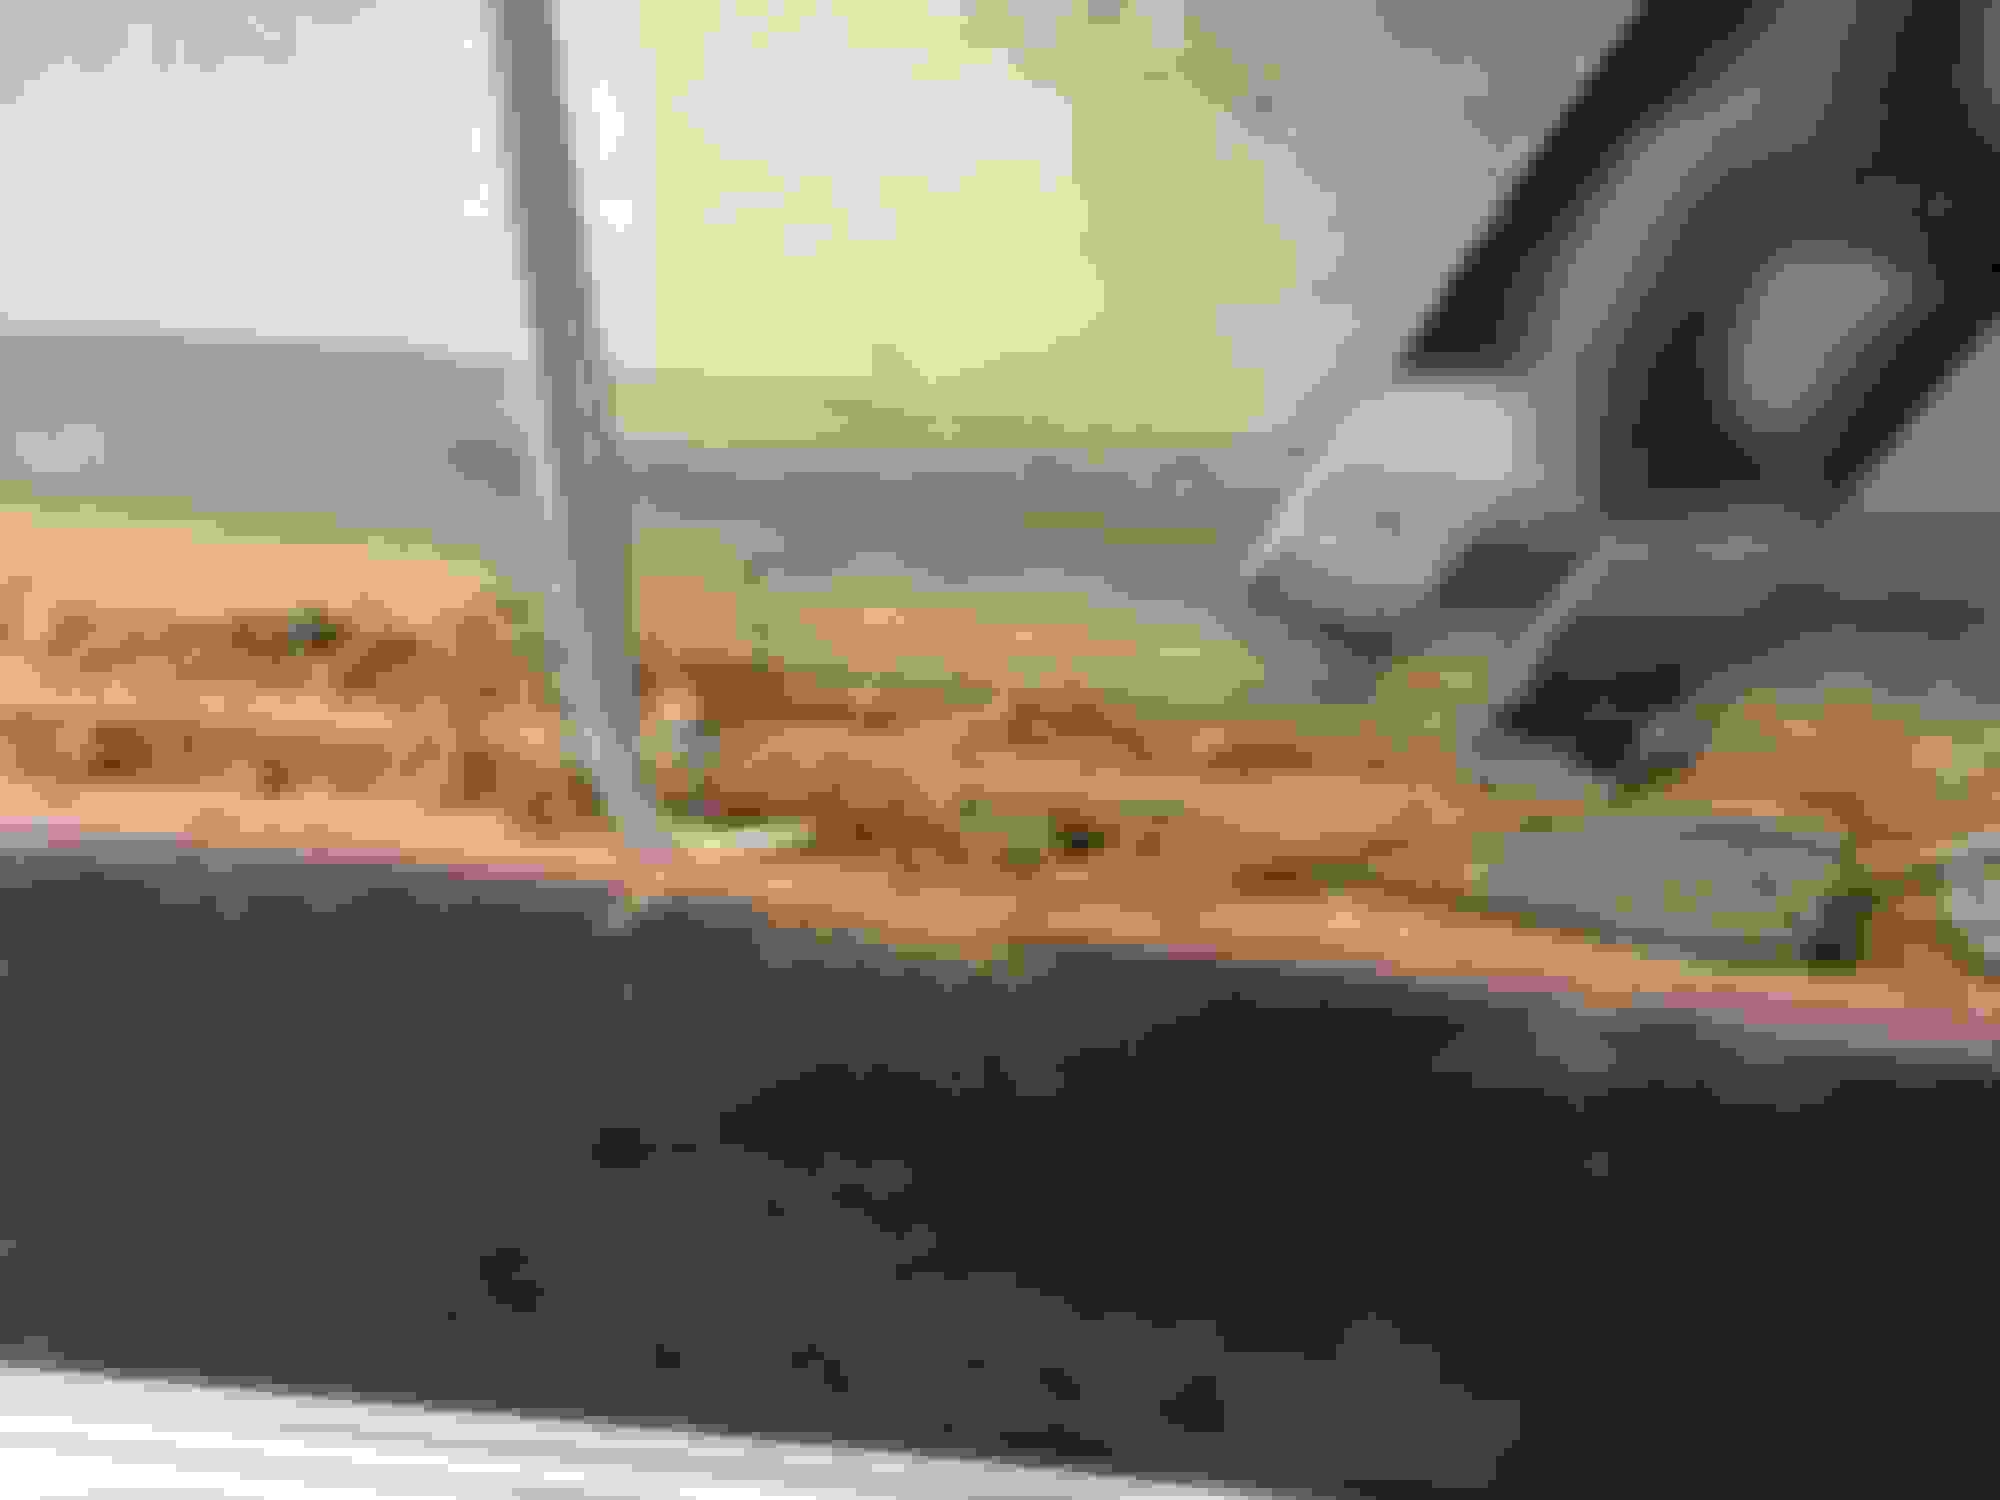
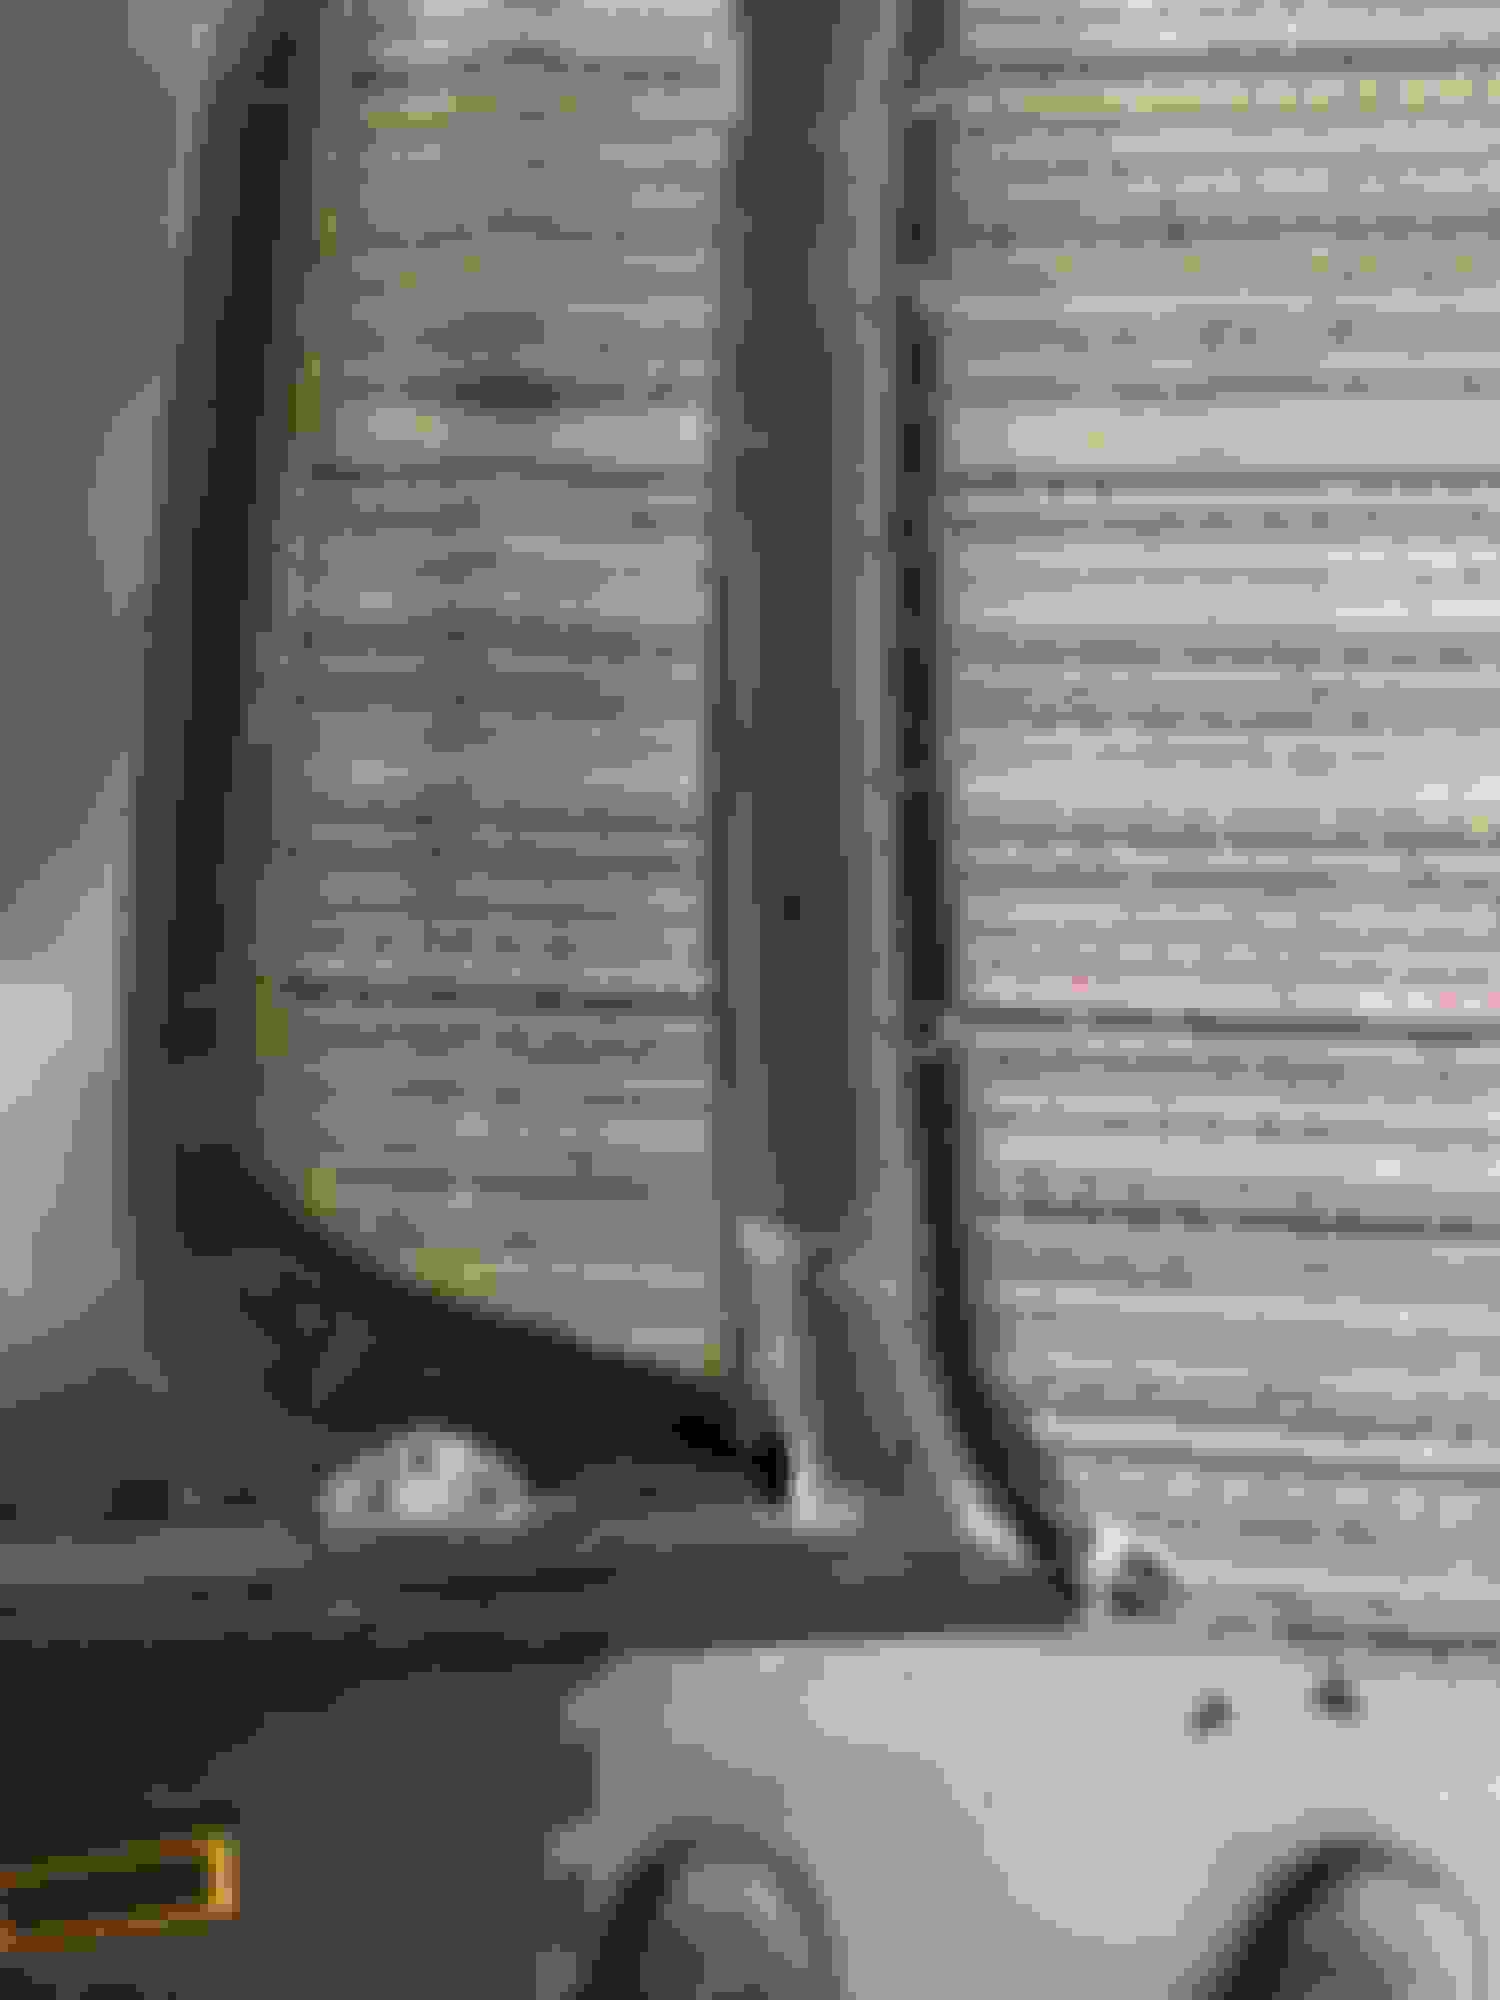
1. REMOVE REAR TRIM AROUND BACK WINDOW (top still on car)
To remove the stainless trim around the back window you will need a special tool or you can make one. I used an old broken circuit tester and bent the end in a vice so I could hook the metal clip to pull it outward to release the stainless trim. In order to access it you will need a flat tool to gently pry up on the trim pice so you can get your hooked tool in to "hook the clip" to release the stainless trim. I marked all locations where the clips are located in green tape and there is a close up picture so you can see what you are trying to hook. The clips are about 1 inch long. I can not emphasis enough, be careful and resist the temptation of pulling too hard on the weatherstrip, it will release. I suggest looking at youtube as there are a few posts of people releasing the trim. (Just youtube "1969 stainless trim removal")
So far releasing the trim was the most difficult part and took me about 20 minutes to figure it out.
2. REMOVE WEATHERSTRIP AROUND SIDE WINDOWS (top still on car)
This will require removal of about 6 screws on each side. The trim can then be pulled away with some type of prying tool. Mine has never been off before so it came off very easily.
3. REMOVE STAINLESS STEEL TRIM BEHIND SIDE WINDOW WEATHERSTRIP (top still on car)
Once the weatherstrip is removed, you will have access to the stainless trim. First there is a one inch overlap piece of stainless that can be loosened by taking off the phillips screw. (There is a second rivet holding this piece on but I left it for later)
Next I drilled out the approx 5 rivets which hold the stainless trim in place. Once these are removed I gently hit the edge of the trim with a flat (not sharp) pry bar and worked the trim off the top.
4. REMOVE STAINLESS STEEL FRONT TRIM (removed top from the car)
At this point I set the top on the garage floor standing upright to remove the small stainless trim piece (about 1" square). This was the piece that I removed the single phillips screw so now I removed the rivet by drilling it out on the two pieces, (one on each side of the top). I then sat the top back on the floor and I was then able to gently tap the front stainless trim forward which came off fairly easily.
5. REMOVE TWO BACK POINTED TRIANGLE PIECES
These are held on with a small phillips screw
That was it for day one and as far as I have got so far. Actually much easier than I thought it would be. Hope this helps someone. Is so, let me know and I will show the rest of the job which I will tackle soon.
Here are a couple pics to help out, more pics to follow
Great write up so far.
Photos are much appreciated.
Can't wait to see the rest.
Need to recover my own vinyl top.
Could be motivated to do the same this winter after watching this.
So the vinyl comes with the seams already welded together? Or is there even a seam?
Original tops has two seams down each side.
That's great - always thought the seam was made during installation.
That "should" make it much easier with any luck.
Last edited by Hammerhead Fred; 02-02-2017 at 08:02 PM.
So the vinyl comes with the seams already welded together? Or is there even a seam?
Original tops has two seams down each side.
That's great - always thought the seam was made during installation.
That "should" make it much easier with any luck.
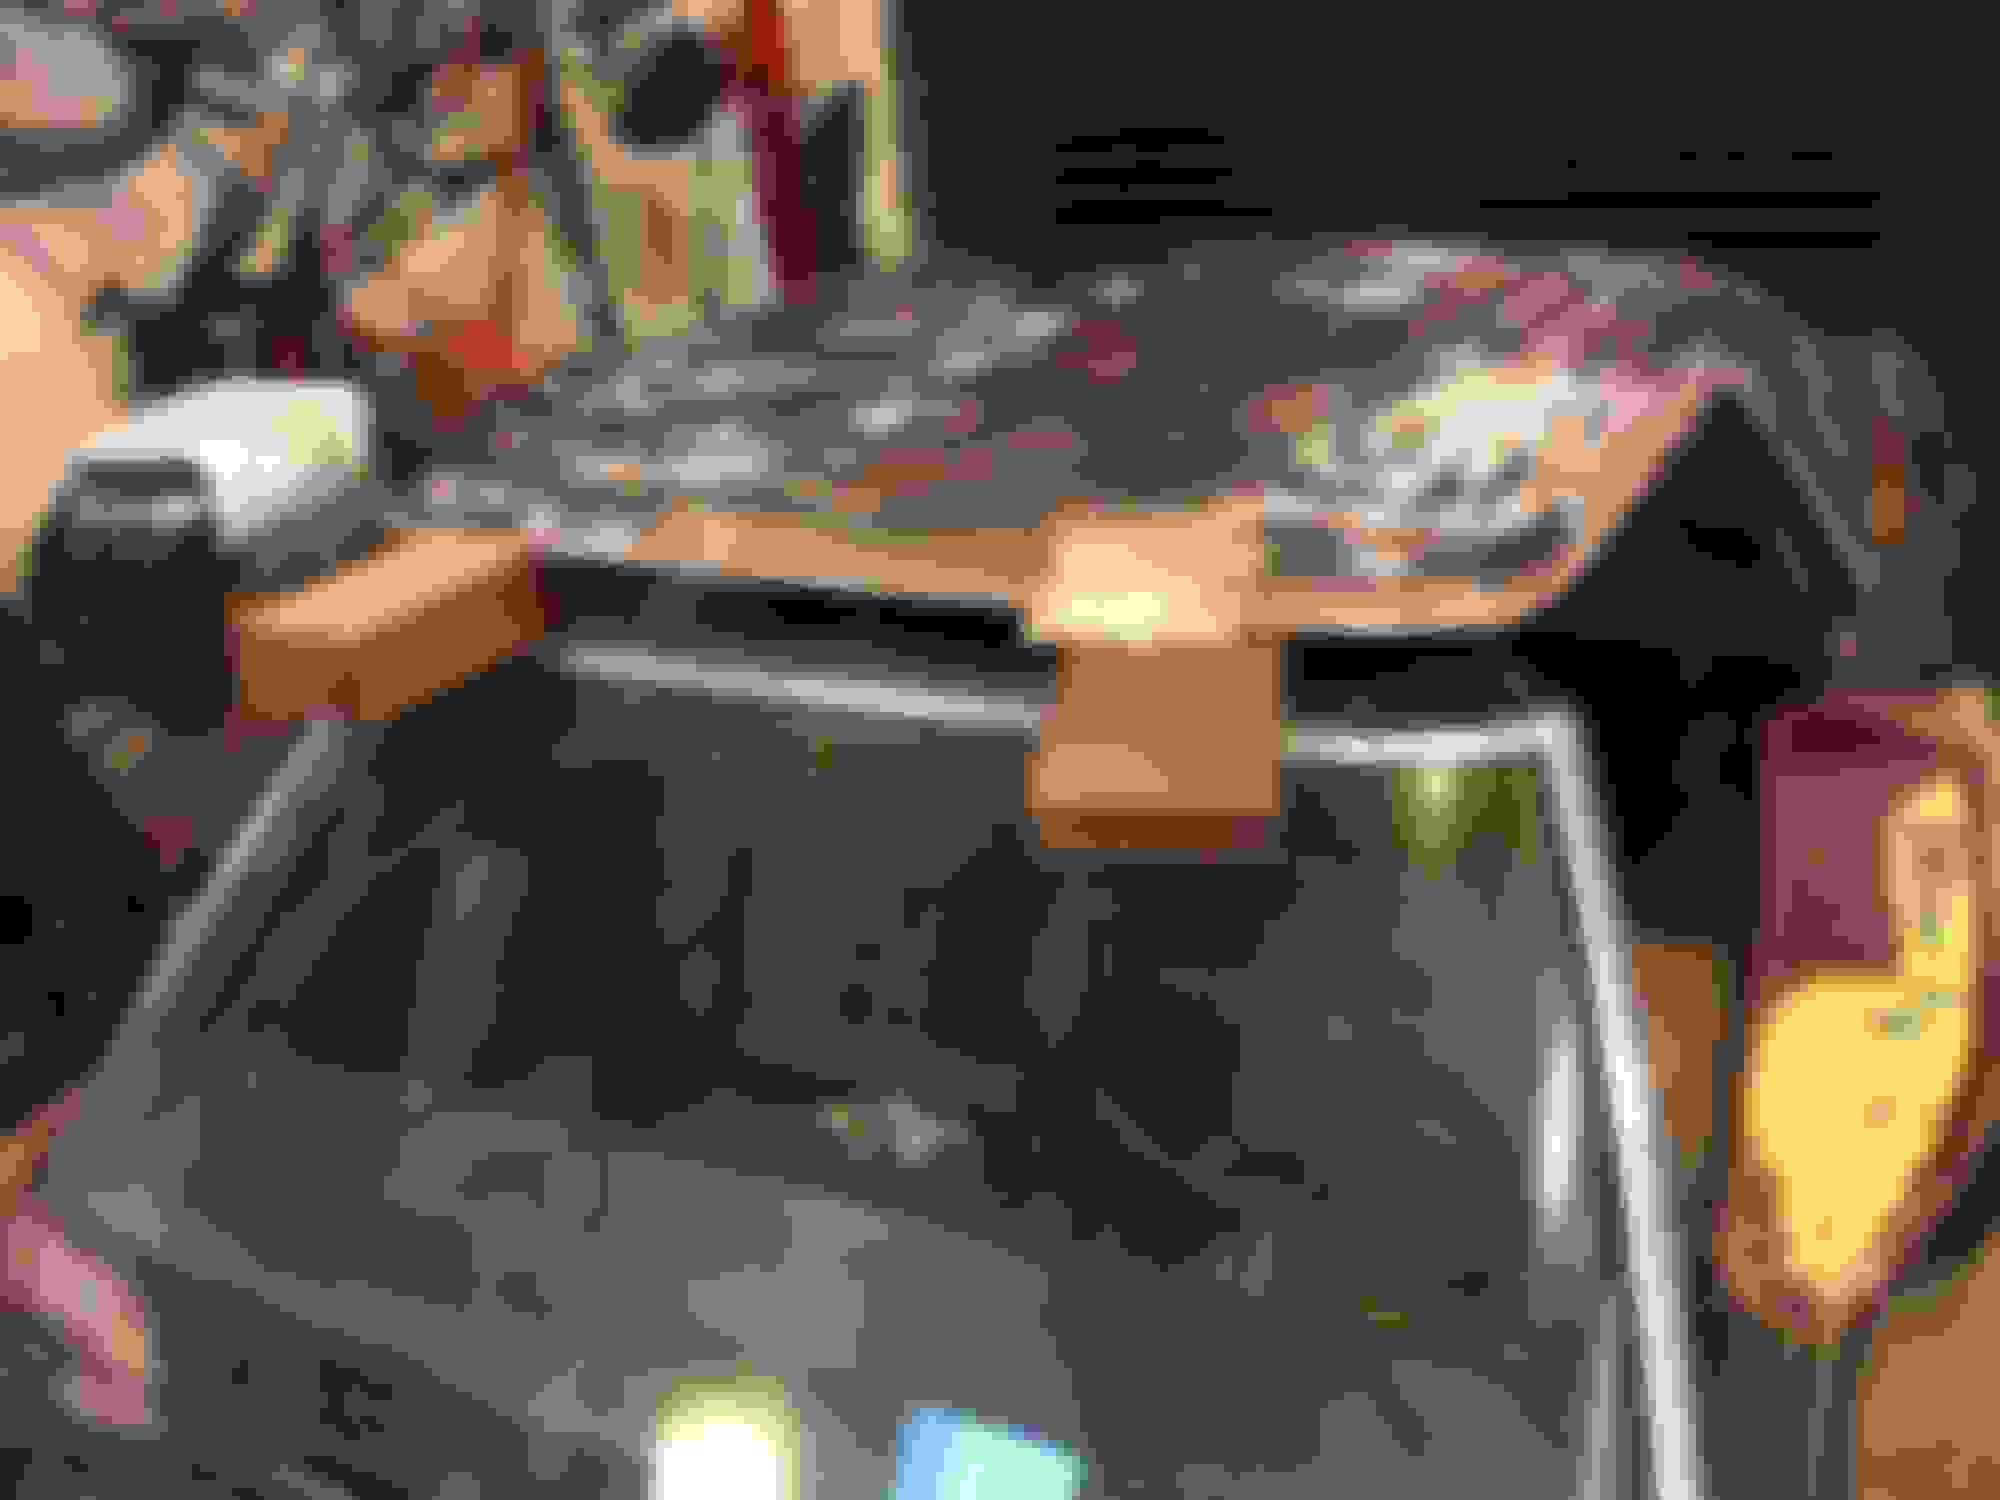
Yep Hammer, the two front to back seams are already in place, (helps you align the top) you get the top exactly as in the picture. No instructions though,,, hence this thread.
May go at it round two tomorrow if I can find the time.
Good luck, Pete
Pete, A very good looking job you are doing there! Thanks for posting all the pics and one by one steps, and even the tools you used. I am sure these will be a great help to another forum member! I am guess you are going to replace the weathstripping as well? Keep up the good work and keep it coming!
I was hoping you were going to pull the rear glass out, which usually leaks, and reset it.
I'm presently doing my freshly painted top which is completely bare at the moment, getting ready to reset the reproduction glass and install my new reproduction headliner. Damn these tops can get expensive!
1. Sand top 120 grit
2. Water leak check
3. Clean stainless trim
1. Sand top 120 grit - Not much to say here, sanded top with 120 grit
2. Water check leak - I debated whether or not to remove the back window. In the end I leak checked it and decided to leave it in place. It remains to be seen how difficult it will be to get the vinyl in around the back window with the adhesive around the window clips but for now the window will remain.
3. Clean stainless trim - I used a razor blade to remove the adhesive from the trim above the side windows then used a hammer to lightly hammer the trim screw holes to ensure it would attach tightly n re install. I then used mineral spirits to remove the rest of the adhesive. Lastly I used a scotch brite pad to clean up th rest of the stainless trim.
Hi V,
VERY interesting!
Describing what you're doing, and taking the time to snap photos, should make this thread pretty informative and valuable!!!!
Regards,
Alan
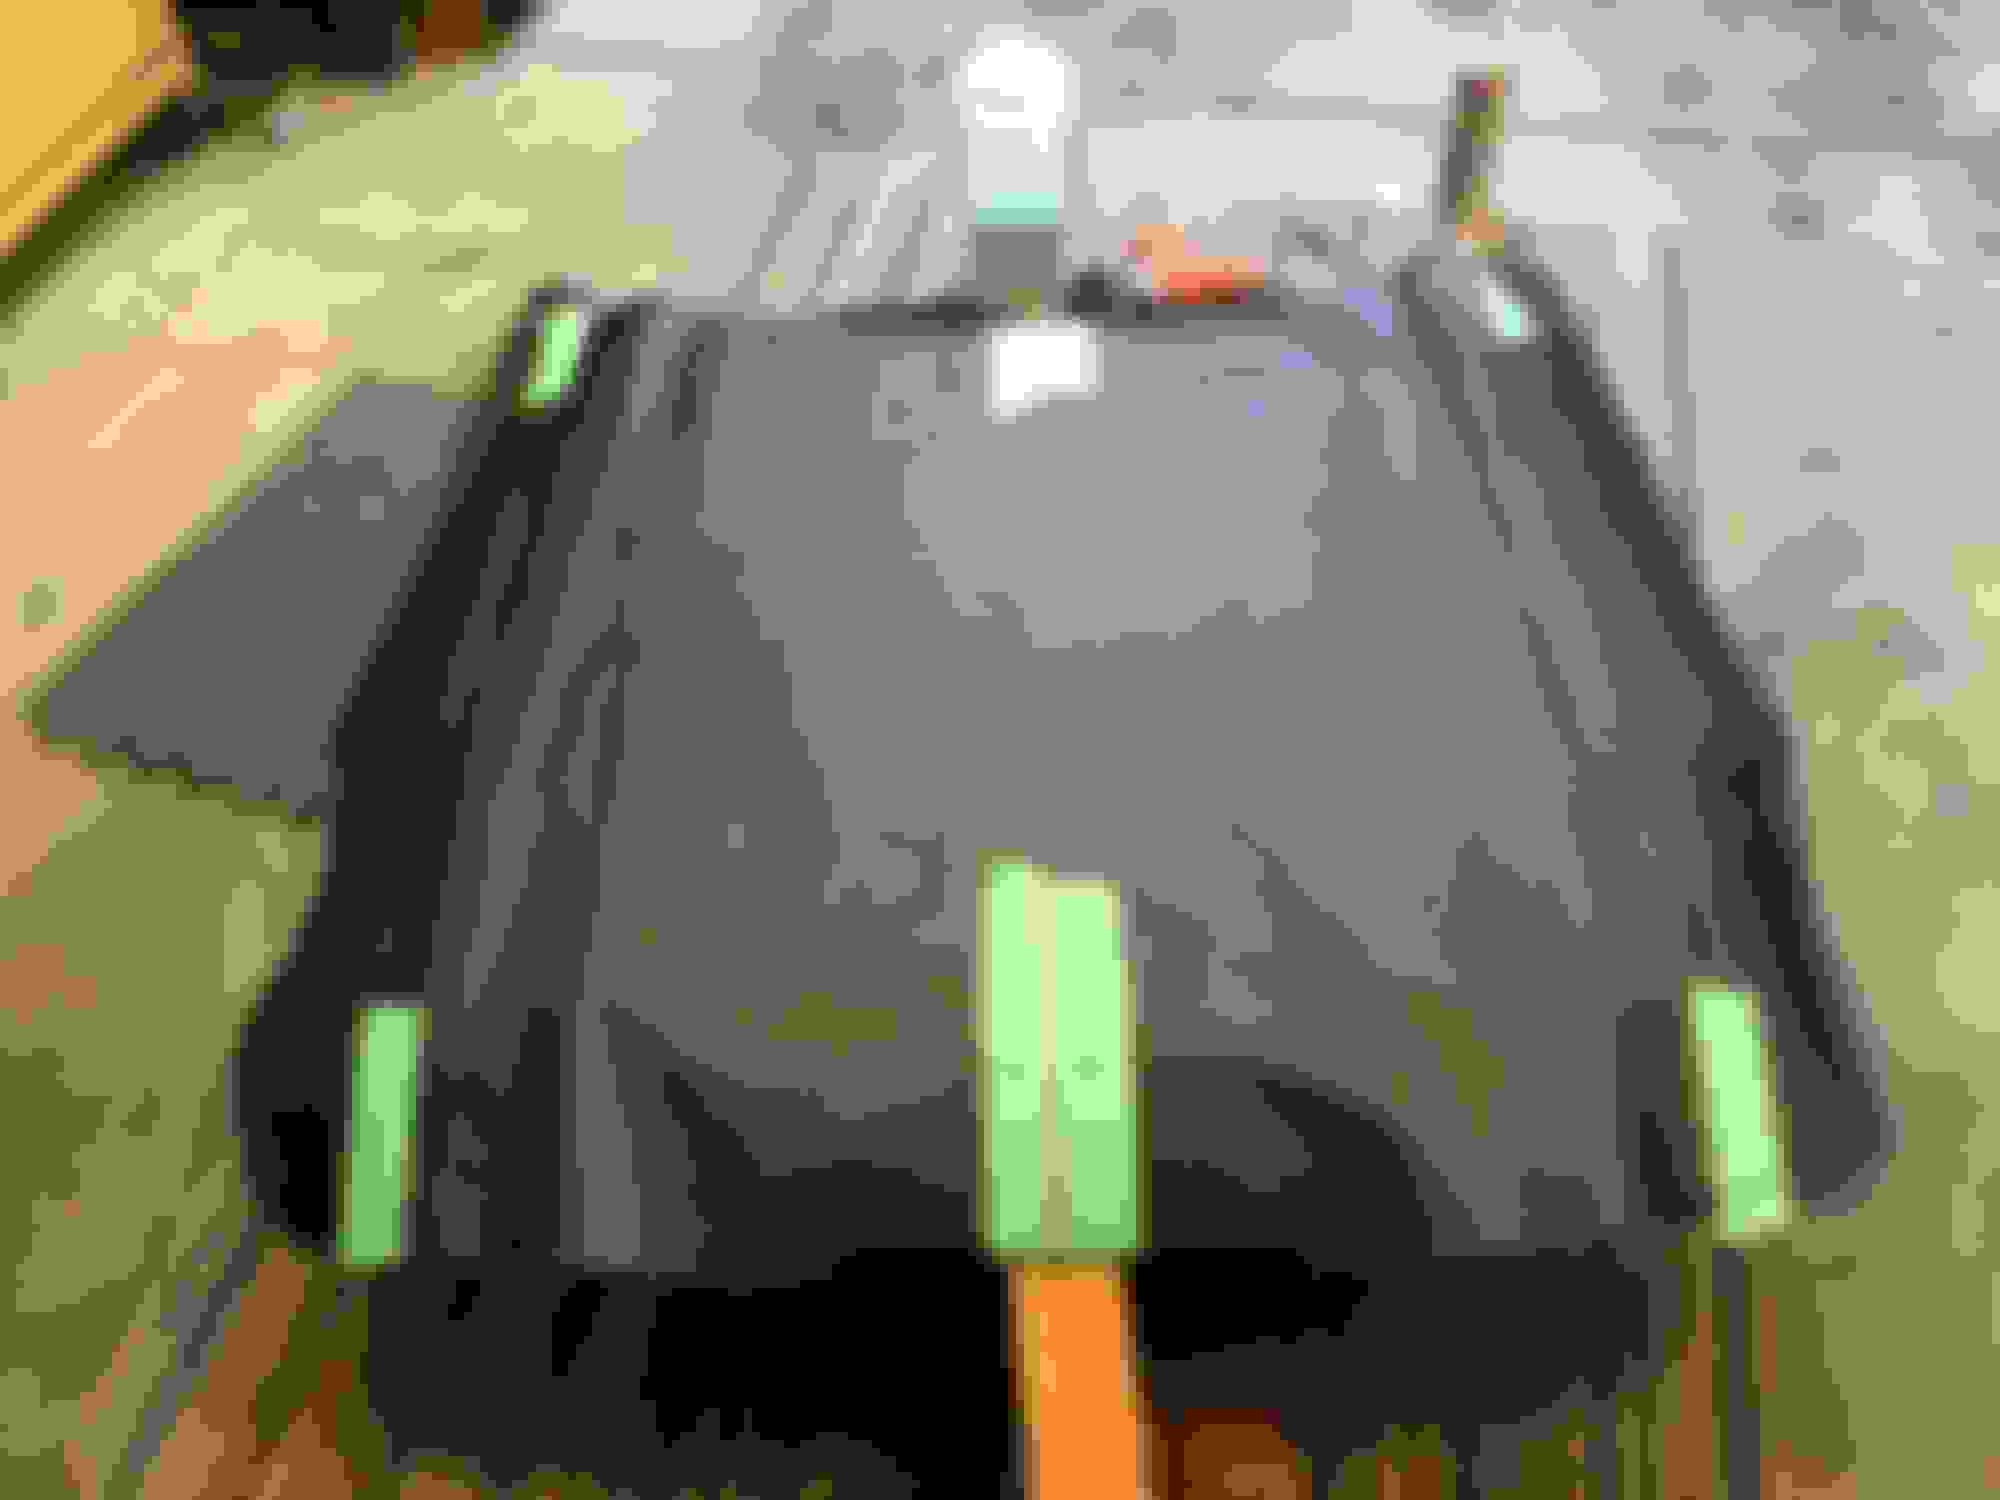
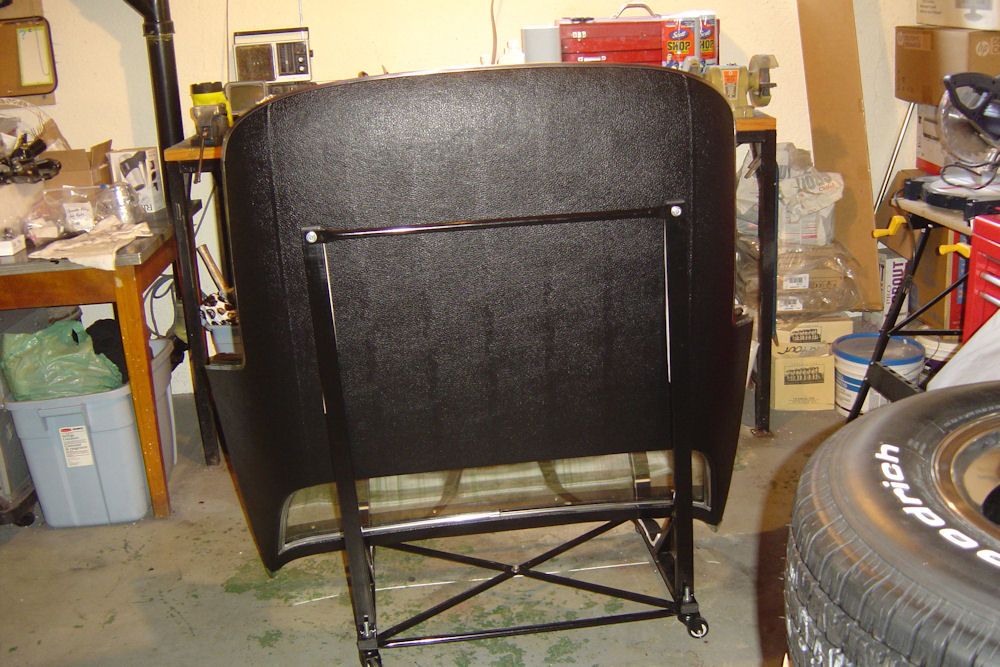
1. Remove top and place upside down to remove weatherstrip
2. Mark center of vinyl top and center of hardtop
3. Install vinyl
1. Remove top and place upside down to remove weatherstrip - I placed top on garage floor and used scrapper to remove weatherstripping that contacts and seals the hardtop. I also elected to replace the a pillar weatherstrip at this stage.
2. Mask center of vinyl top and center of hardtop - I used masking tap to mark out center of both the vinyl and the actual hardtop. I ran a string to keep it centered.
3. Install vinyl - I used the adhesive pictured in one of my previous pictures and began in the center of the car and did a strip of about 6 inches initially while the other side was taped down to ensure it did not move. I then moved outward completeing the one side, and then in strips completed the other side. The product I used was sprayed on both the vinyl and the hardtop and left to get tacky for 5-7 minutes before applying it. The trick is to pull it tightly as it is pressed on. It did go on fairly easily. The most difficult part was around the side windows where it has to be worked and pulled to keep the vinyl flat. I used a heat gun to help it lie flat. At 4 hours I ran out of time so I have not finished yet and I know the most difficult part will be getting to lie flat around the front corners and the rear windows.
Finally got back at the vinyl top and am fairly happy with the results. I think I can finish up in one more half day as I will install the weatherstrip that I purchased from Willcox (which by the way looks excellent and very pliable) and then finish removing a few wrinkles. Right now there are still a few spots not quite lying flat so I will work on them a bit more and then show final results.
The following are my steps again followed by some pics
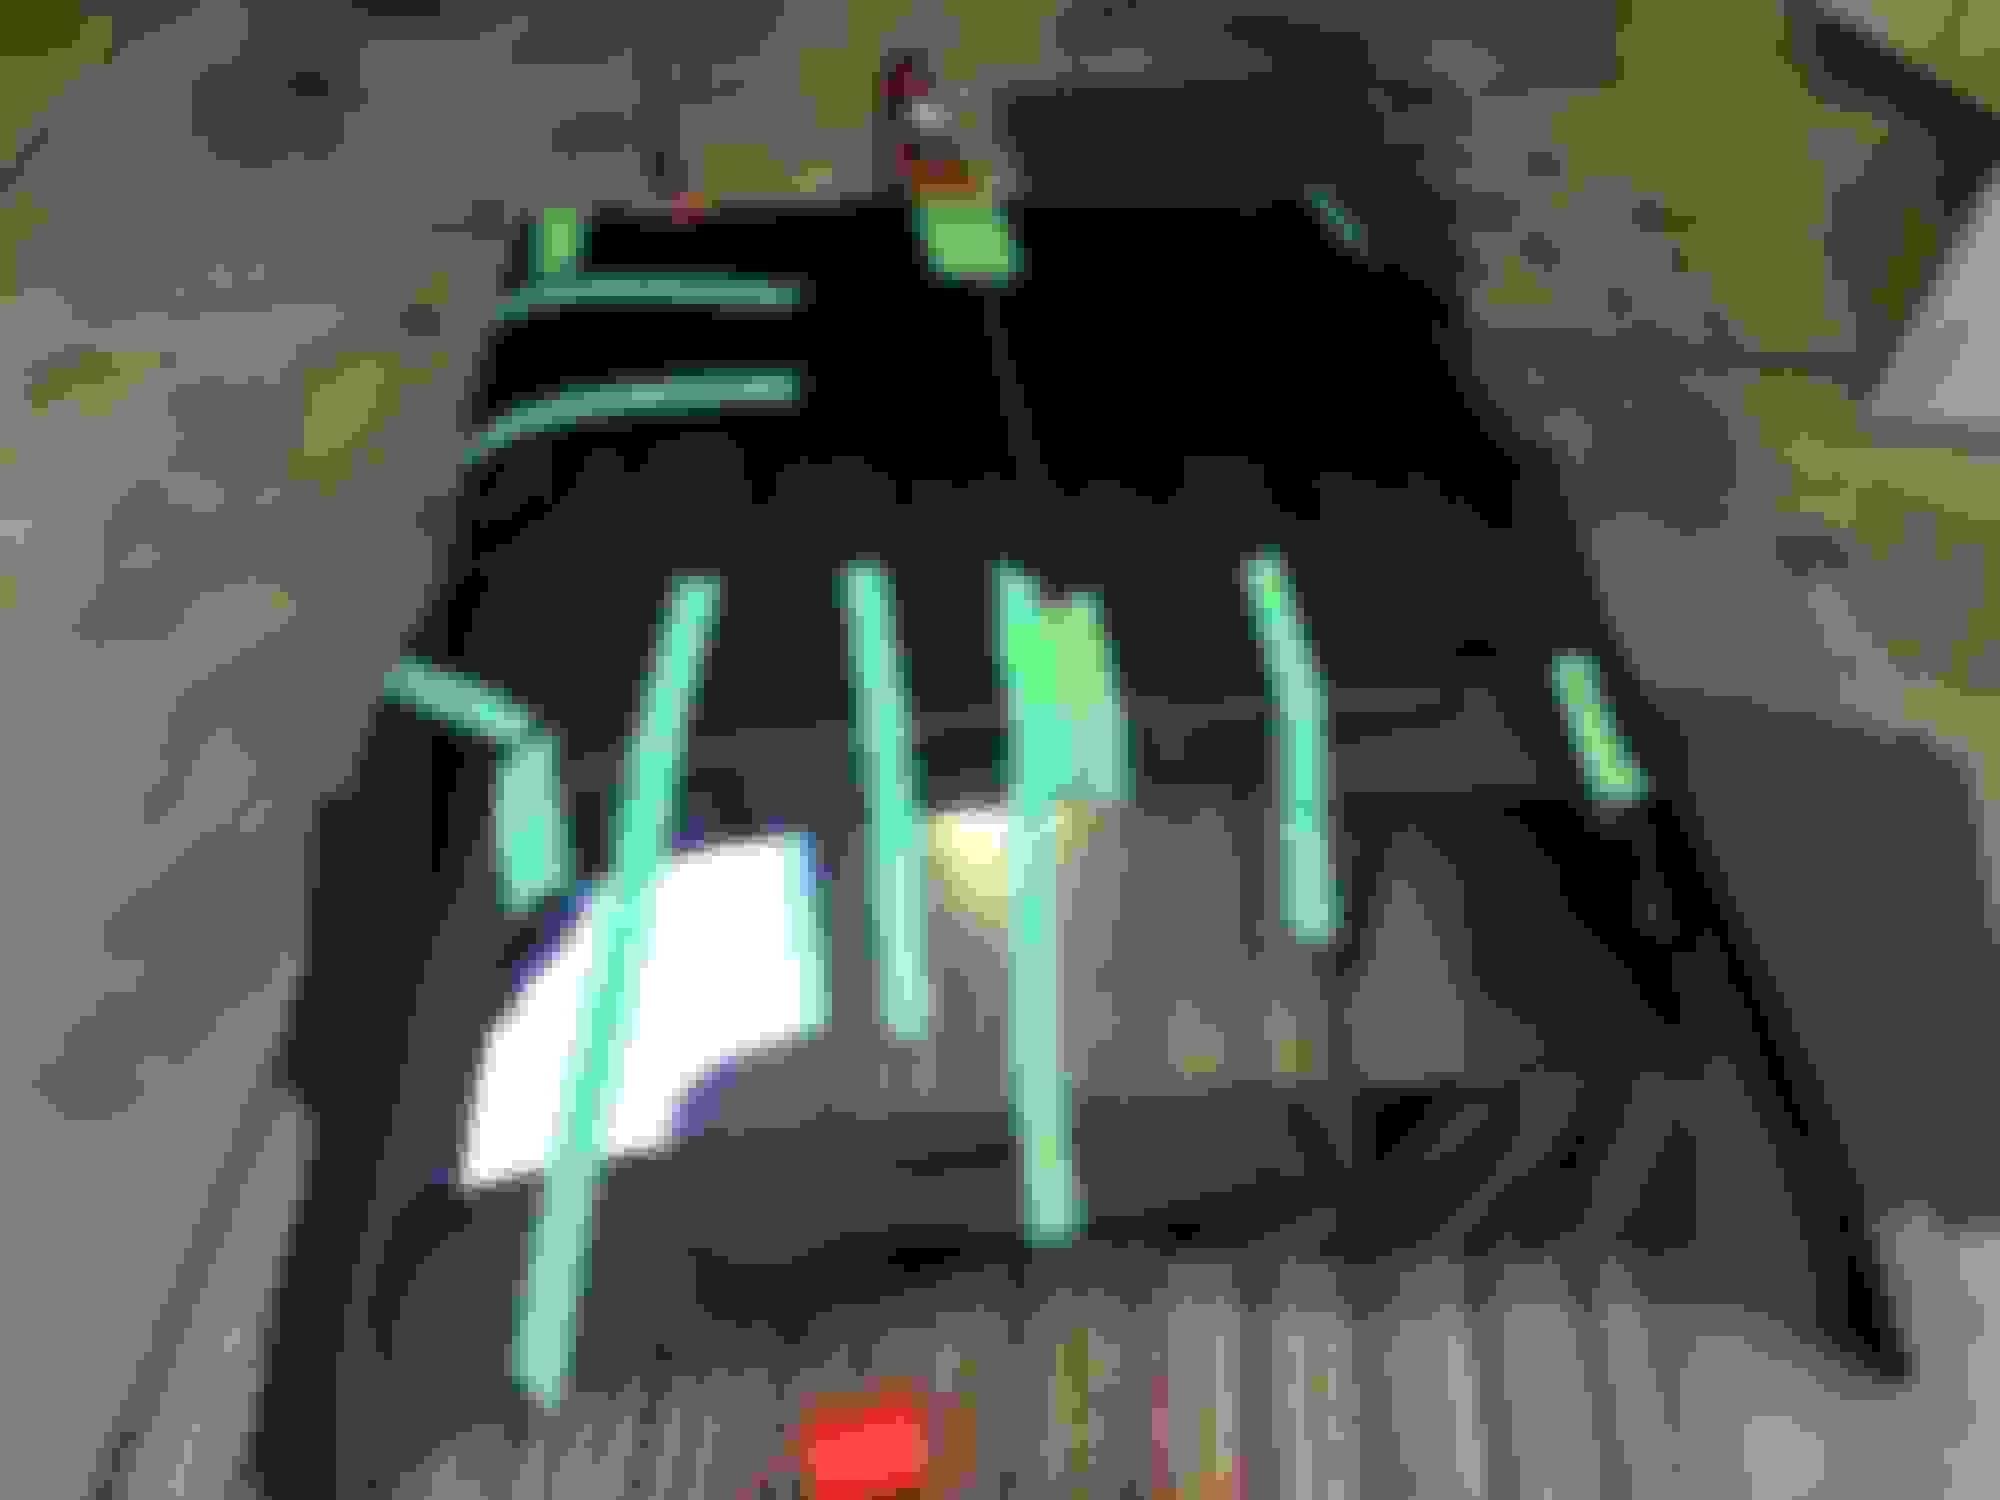
1. Cut and trimmed the edges of the vinyl and then glued them down.
2. Temp put back window trim back on to see how it holds in place
3. Opened up the front trim so that it would slide over the vinyl
1. I turned the top upside down on the garage floor and began by cutting off some of the extra vinyl. I brought the vinyl just short of where the weatherstrip trim will install. I cut "V" shapes in the vinyl (see pictures) wherever the vinyl would be pulled and had a non straight edge. This seemed to be the only way I could remove the wrinkles from the top.
I must add that I had done some research on installing these tops and several videos/posts said to use the high quality thinner vinyl. (these posts were not corvette specific). I could only find the Al Knock vinyl which I suspect may be a bit thicker and has a felt backing that is also a bit thick. The problem is that it makes it a bit difficult to lay it flat on curved corners such as around the front of the top and by the rear glass trim.
2. I installed the rear window trim initially without glueing the vinyl edge down just to see if I would have any issues. It turned out fairly well but not quite good enough yet. I am going to remove my rear glass trim again and try to get it to lie a bit flatter then glue the edge down tight.
3. I used a screw driver to open up the front trim which is required to slide easily over the vinyl. I will then crimp it back down which is how it appears to be done by the factory. Open it very carefully and slowly so the trim is not damaged. My only issue here was where the two vinyl trim joins are located. It is much much wider than the rest of the vinyl so I trimmed off the extra overlay on the inside (bottom part) which of course will not be seen.
Thanks Paul for the vote of confidence. So far, not the most difficult job I have tackled but not quite done yet. I suspect trying to get my front clip sitting correctly will be my toughest job but leaving that till next winter.
What color did you dye your top CA legal Vette? I have never head of such a thing?
Nice job ,I am doing mine right now. Polishing the trim after I spent
Half a day cleaning silicone off of them ,not fun. Found new coupling
Trim pieces . Tell me how is your headliner ? I think I am going to use
a few screws around the front latches. It has curled down a little.
Hate to spend the money for a new one.
You have quite a bit of lifting and wrinkling around the perimeter. I would say the cause of this is poor quality contact cement. The stuff in spray cans isn't much good and I would only use it on places that don't require a strong bond like well fitting jute padding under carpet. Over the years I have used about everything sold in auto parts stores and contact cement in cans like Weldwood products in home improvement stores. This is what the pros use and for good reason, it's not sold in any retail stores I have seen. The bond can be made so strong that you would literally tear the material before the bond lets loose. The more you apply following set up times the stronger the bond will be. I only regret it took me so long to find this and to figure out how much better this stuff is than anything else. It can be sprayed, rolled, or brushed on despite being called spray grade. It does require a special spray gun but it's well worth the $30 or so to buy it. It only comes in gallons by the way.
Hi Pete,
I'm trying to follow along; but for some reason I'm not able to see all the photos.
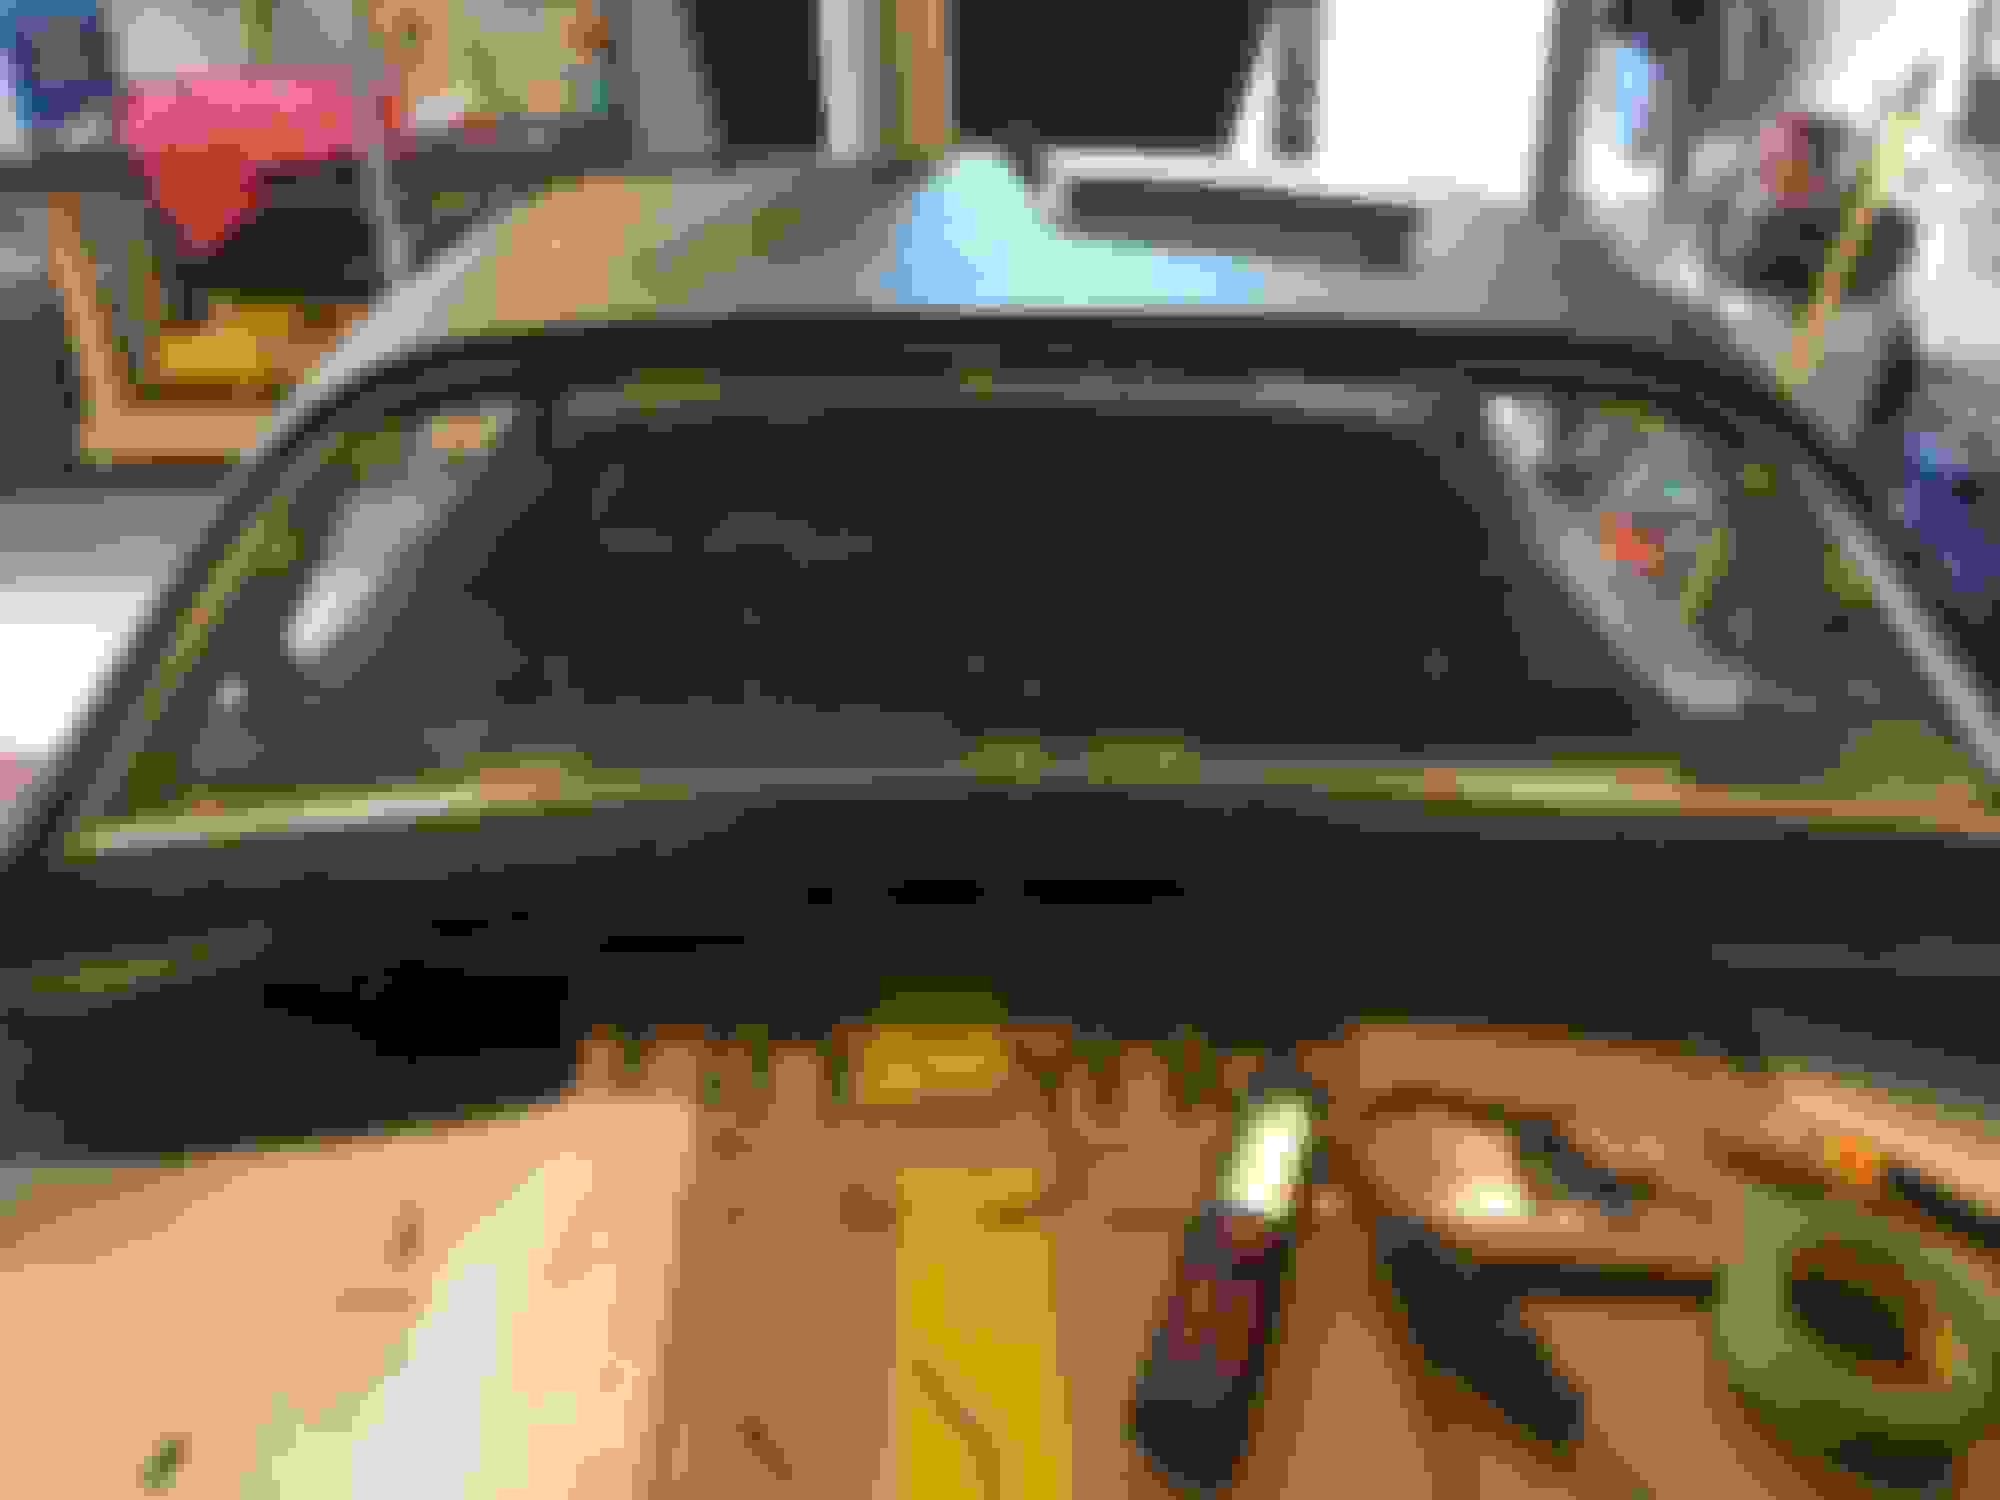
I CAN see the one taken from the left rear side and the one with the top sitting on the car.
It looks like you've had very good results.
You must be extremely pleased!!
Regards,
Alan
I'll mention one thing�. when replacing the weatherstrip on the roof panels from my 71 I found that some of the 'tops' of the pop rivets used to install the weather strip retainer 'stood up' a little. I filed these more flush hoping that this would help the weatherstrip bond. I don't know if you'll run into that or not.

 02-02-2017, 07:08 PM


 I've never been thrilled with mine since I dyed it.


 .
.