When you click on links to various merchants on this site and make a purchase, this can result in this site earning a commission. Affiliate programs and affiliations include, but are not limited to, the eBay Partner Network.
Deluxe Door Panel Restoration and Re-skin - Never Replace What You Can Restore!
Well, that's my take on things anyhow. I always enjoy a good challenge, and this one seems to fit the bill. Last fall I snapped up a pair of door skins from Corvette America during one of those crazy black-something sales where I got 20% off and free shipping...I needed to fix my door panels, and couldn't pass the deal up, especially considering I knew mine were shot. I have deluxe door panels, and the replacements are way too expensive for my liking. So I bought a set of black skins (I'm also undergoing an interior color change). I finally decided this weekend was the weekend to get started.
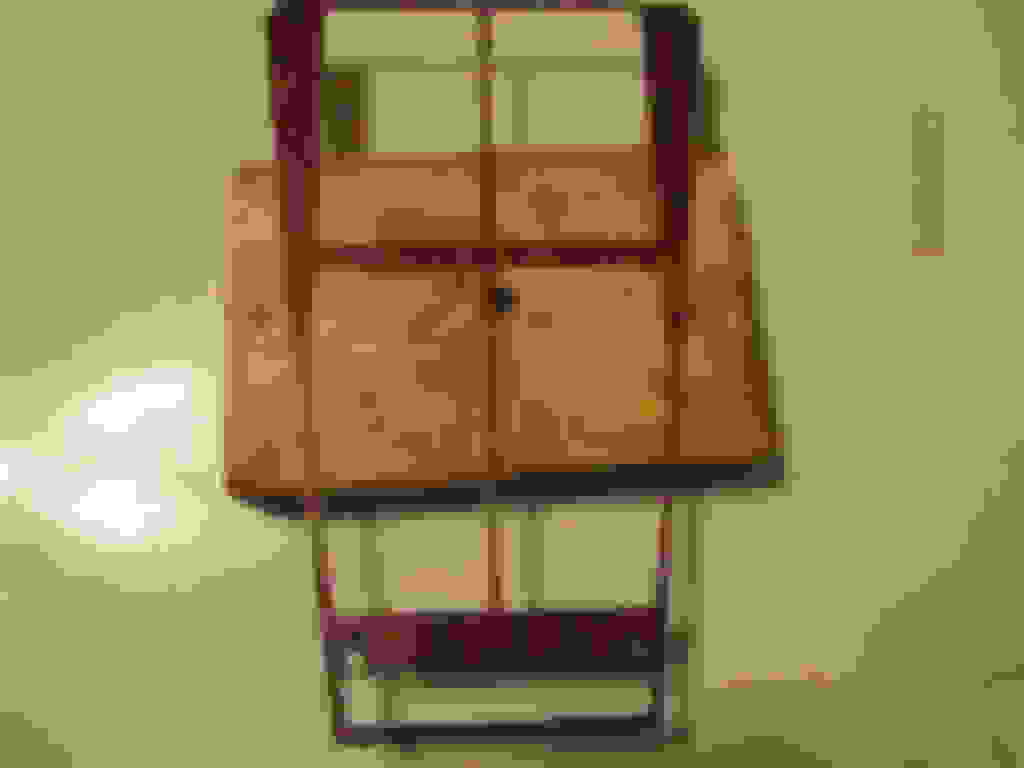
I started off slow by removing the woodgrain inserts. I re-laminated them with some oak laminate I had left over from a previous project and stained them dark walnut. Here are a couple of pics of the inserts along with the re-laminated console insert after staining and the first coat of varnish. No wash today, I commandeered the utility room.
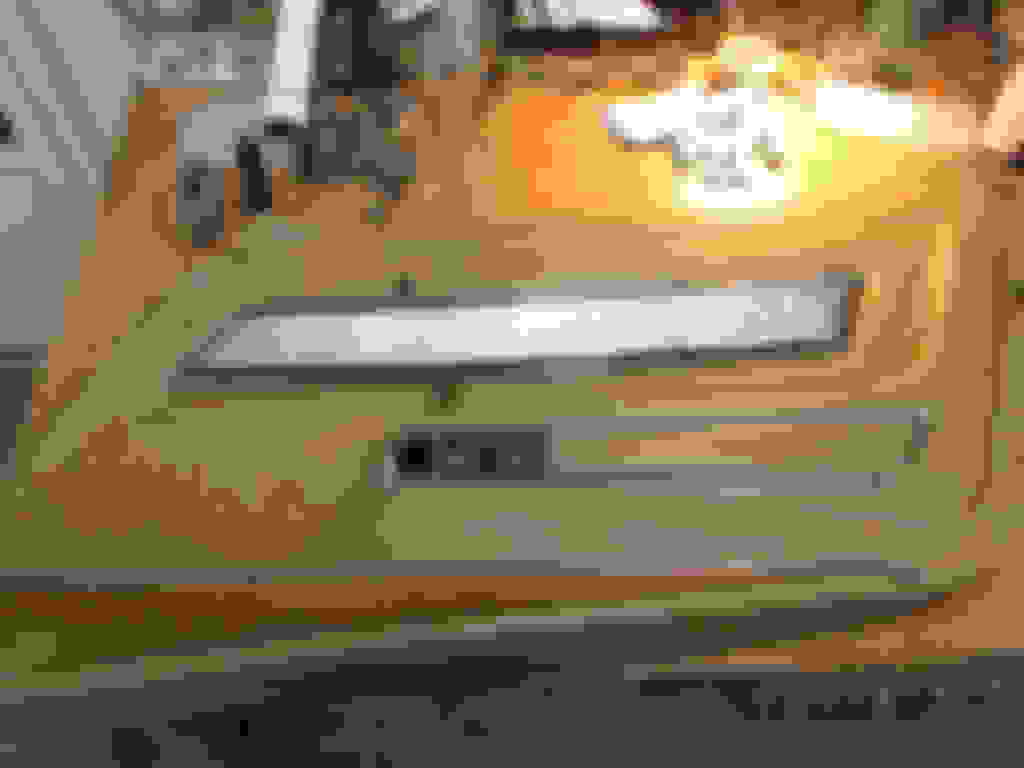
Next it was onto the door panels themselves. The first order of business was to get the old skins off. The following pics are of the passenger side door panel.
After removing all of the hardware it was time to remove the window sweep.
The sweeps are stapled into the top of the door panel. Big time. Man, I wish I had a stapler that could staple steel into steel like the one GM used on these panels. Anyhow, To get the sweep staples out I used an awl to open up the "hooks" of the staples, twisted them open a little more with a screwdriver, then whacked the hooks off with an air grinder. The sweeps could then be removed. Quick and easy.
Now onto the skin. First I had to remove the 135 rear edge staples that hold the edges of the door skin (and carpeted insert) into the door panel. The secret here is patience and a magnet to keep from losing staples onto the floor that you'd be sure to run into your foot later. Next, I used a heat gun to soften the old skin for removal. Heat small sections at a time and work slowly. Again, patience is your friend here. I started at the outer perimeter, working my way around towards the front.
Once I got to the point in that last pic, I decided it was best to remove the excess old skin to make removing the skin from the intricate armrest area easier. I'm glad I did!
It made removal a snap. I heated that are a little more to ensure the old vinyl was really pliable and would peel right off without harming the foam substrate...it worked like a charm!
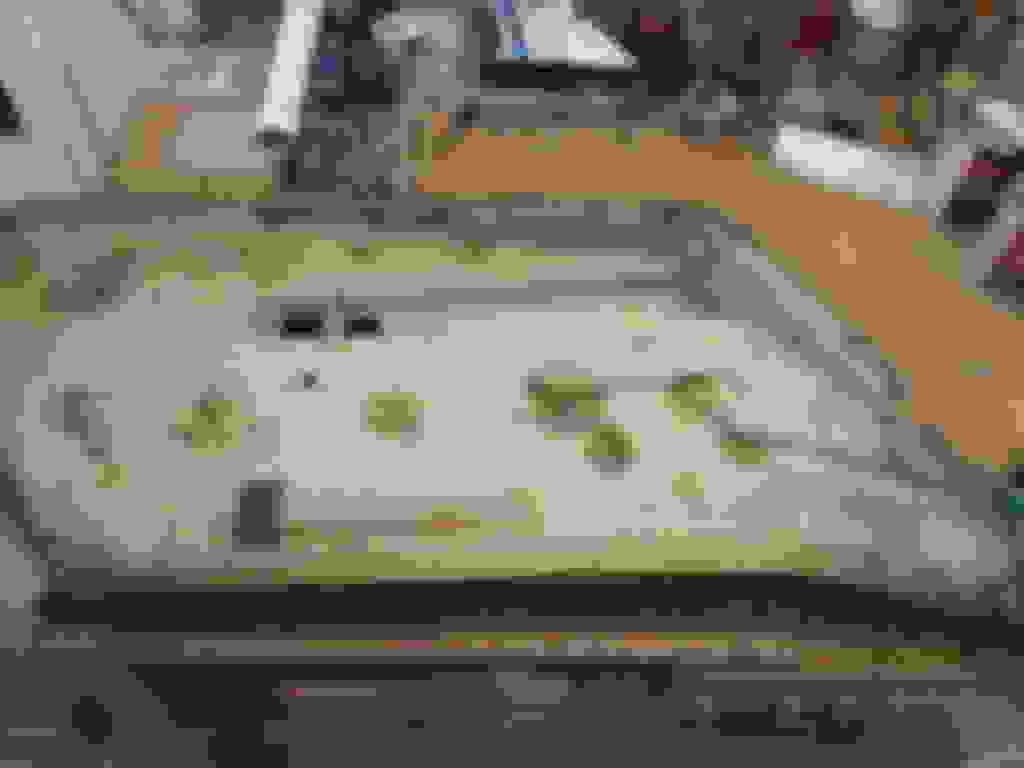
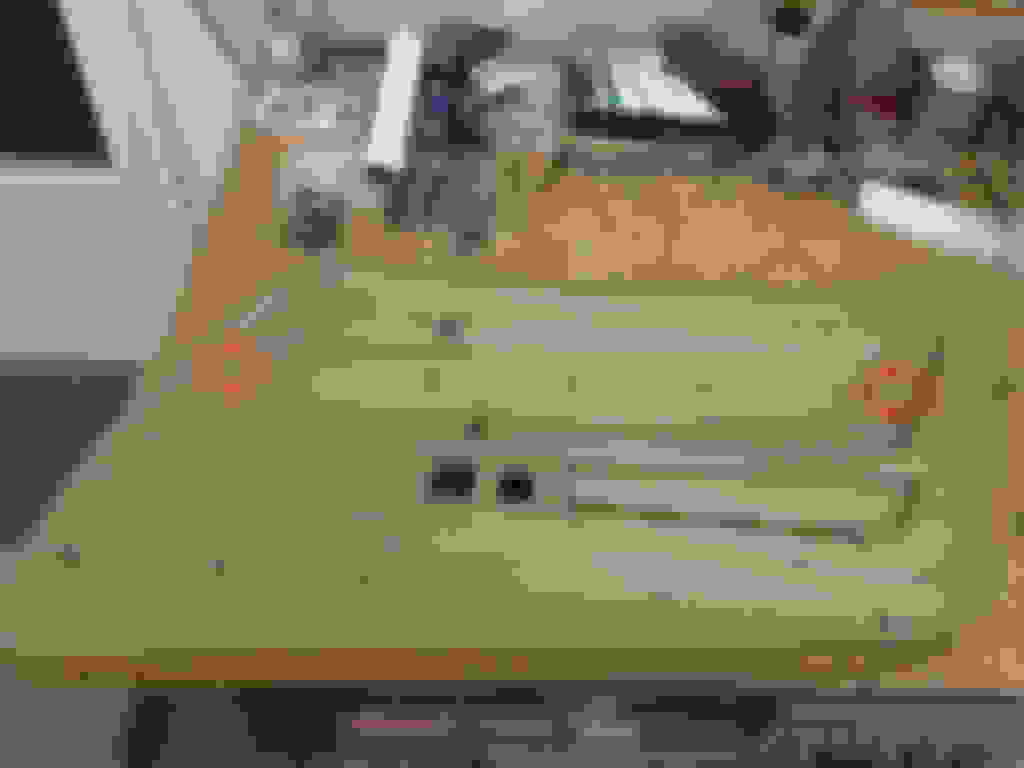
The holes you see in the foam were there at the time of manufacture, and did not affect the boding of the skin to the substrate. I will leave them as-is when installing the new skin.
Wash-rinse-repeat. I did the same to the driver door panel after completing the passenger side. The driver door panel will need a little work on the rear, but I will cover that in more detail as I move forward with this resto project. The front of the driver panel looks about as nice as the passenger side.
More to come.....
Last edited by Red86Z51; 01-08-2020 at 06:39 AM.
Reason: Re-Adding Pictures Deleted by Photobucket
Your "in-progress" photos are (were?) a historical treasure for those of us who care about refurbishing original parts whenever possible.
I read the posts about your PhotoBucket problems ... does that mean your photos are gone forever, no copies anywhere else?
Thanks for all that you did!
DB
Hi DB,
Thank you for the compliment, and you're welcome!
Yes, photobucket really screwed the pooch for so many forum users, both for posters who used their service and others who were following progress threads. I wiped that account clean and will never go back.
There is a bright spot though, I did find my library of photos and will try to repopulate the pictures on this thread as they were originally posted. I will get started on that task this morning starting at the beginning.
Hi W,
VERY informative photos!!
I'd very interested in seeing a close-up of the vinyl imprint that's in the area that will be under your wood detail when you install it.
Regards,
Alan
Interesting project. Where did you get the laminate? They look really nice. I've read that the originals were either teak or walnut. I'm only interested in the console insert, and how you did it. Do you have more pics of the process? Maybe more close up to see the wood better. Was it a square piece of laminate that you just laid the original backing plate on and then cut it out with an exact-o knife?
Just wondering about trying this. The repro inserts are all just vinyl, (not real wood like originals) and do not adhere very well without using glue. Original wood inserts are nearly impossible to find. If you do they are very expensive and the wood is already starting to lift and split. At least that's what I found in the couple that I've seen....... The one I removed from my car was split and had missing pieces of wood.
Thanks for any help!
Tooch
Tooch, I didn't document the process, but it was pretty easy. I removed the old wood with a razor scraper and removed all of the old adhesive. The wood laminate is available in rolls at any of the big box chains like Lowe's or Home Depot. You can but it in small rolls, and they have different woods to choose from. I used oak because I had it on hand. It was left over from some cabinetry I restored awhile back.
The laminate comes in sheet form. Simply cut out a section bigger than your overlay, then lay your overlay face down on the back, take a pencil and trace your overlay. This ensures you put contact adhesive where you need and and don't slop all over. The put contact adhesive on both the back of the laminate and face of your overlay. Wait until it almost dries then reapply the adhesive. This ensures superb contact. Trim with a razor and/or an X-Acto.
Thank you!
Most definitely going to give this project a try. I should have tried this before I wasted money on a repro insert. Like I said these are hard to find as NOS. And they are over 30 yeas old if you do. I believe GM discontinued them around 1986.. There were just two listed on eBay for $159.00 each.
What adhesive did you use?
Thanks again!
Tooch
Yes, those NOS parts are off the charts. To the right person they may be worth it, but definitely not me. As for the adhesive, I used Weldwood contact cement. I will use the same adhesive on the door skins. The only difference is on the small hard parts I brushed it on with a chip brush, and when I get to installing the new skins I will be spraying it on with an HVLP gun.
This is a great post for information for this particular job. I wondered about how to approach this project since I would prefer to use the original backings. Keep the info coming on how to install the finished project and where you purchased the coverings. Great stuff!
RVZIO
Hi D,
Yes, that's the area I'm asking about.
Some of the vinyl skins that are available don't have a good crisp 'comfort weave' pattern imprint in that area. So I'm curious what the imprint detail is like on the CA skin.
A close-up if you can????
Thank You!
Regards,
Alan
Ok Alan, thanks for the clarification, and I'm more than happy to oblige. I think CA did a nice job on the skins, and the pattern looks very close to the originals I removed.
This is a great post for information for this particular job. I wondered about how to approach this project since I would prefer to use the original backings. Keep the info coming on how to install the finished project and where you purchased the coverings. Great stuff!
RVZIO
White74L48
"ABSOLUTELY AWESOME" Thank You for sharing great work - great photos
................................ tom
Last edited by MISTERZ06; 04-02-2017 at 09:46 AM.
Reason: added name
After seeing your post, with a great job, I almost wish now that I had done this to my 69. Instead of replacing the door panels like I did, I think I would have a much better sense of accomplishment.
Good job, and documentation for everybody interested. Thanks!!
Interesting project. Where did you get the laminate? They look really nice. I've read that the originals were either teak or walnut. I'm only interested in the console insert, and how you did it. Do you have more pics of the process? Maybe more close up to see the wood better. Was it a square piece of laminate that you just laid the original backing plate on and then cut it out with an exact-o knife?
That is indeed either teak or walnut. When plain (non-figured), straight grained and stained those woods are extremely difficult to tell apart. While rather expensive in small quantity you can get veneer from woodworker supply companies and some home centers. For your application I suggest getting paper backed veneer as it is easier to work with. Good scissors are actually best for long, straight cuts as X-acto knives and the like will try to follow the grain. For that reason when you must use a knife keep you guide/straight edge on the GOOD side of the piece--that way should the knife slip it will cut into the waste portion.
Walnut and teak are both open-grained woods. I don't know how the originals were finished but if you run your fingernail across the grain and it feels smooth the grain has been filled. Good paint stores will stock filler. It is a bit of a pain to use but there is no other way to get an open-grained wood to have a smooth finish. I'd suggest grain filling before cutting.
Thanks for the compliments guys. I'll admit, I'm really having fun with this!
More progress today. First off, I finished the door inserts. One final sanding, 3rd coat of varnish, and I'm calling them done.
Next I moved on to the LH door panel. This is the one I said was going to need more work, so it's gets tackled first. This panel was well worn and weathered. The skin came off nicely and the substrate looks good, but there were issues. The panel had gotten wet in the past and because of this had gotten a little soft. Not mushy mind you...it was just not as firm as the RH panel. Also, the upper screw holes were hosed up. The front was missing the inner sleeve, and the rear was missing the entire section that housed the sleeve.
Front view with skin removed and trouble areas:
First I had to find a suitable substitute for the sleeve. I decided to use some extra 1/8" brake line fittings I had on hand. They are the same length as the original sleeves, and have the same inner diameter. Since the front hole was wallered out, and the back needed to be fabricated, it seemed this choice would work fine. Here is what I used:
I tackled the rear hole first, since it would require the most work. I fabbed the missing area of the panel with some aluminum duct tape. That stuff is GREAT for making molds of areas that need fabbing. I measured the RH panel, studied the contour, and duplicated it. Then I placed the sleeve in the appropriate position, again based measurements from the RH panel. To do the initial fill of the void, I decided to use GREAT STUFF crack filler.
I got the idea after remembering from using it on my house to fill cracks how well this stuff adheres to everything, especially after it sets up. It mimics heavy foam, remains somewhat pliable, and stays bonded for good.
Here are pics of my mold, and the use of GREAT STUFF:
After the GREAT STUFF set up, I wanted to make sure the repaired area would remain in tact, so I shaved it down a bit, and did the final finish using fiberglass filler with tiger hair. The final shaping came out perfectly.
While the rear hole was curing, I moved on to covering the weak areas on the inside of the panel with fiberglass matting. I also used this method to repair the backside of the front screw hole through the door panel. This panel is now flex free.
BEFORE and AFTER:
That's all for today. Tomorrow I'll tackle the missing tab on the upper rear of the panel. Once cured, the panel will be ready to be re-skinned....but I'm tired now, and I need a beer.
This is a great project.
I've been looking into purchasing new door panels, but I like your idea better.
I already put a wishlist together on the CA website with the skins, vapor barrier (mine is M.I.A.), and fasteners.
I did a fix similar to your brake fitting mod for wallowed out holes, but I used some thick wall aluminum tubing I had lying around and epoxied it in place.
Hey White!
Great job? Very interesting to see your ingenuity at work. Can't wait to see how these come out. Keep posting your progress!
Hi swampeastMike,
"For your application I suggest getting paper backed veneer as it is easier to work with. "
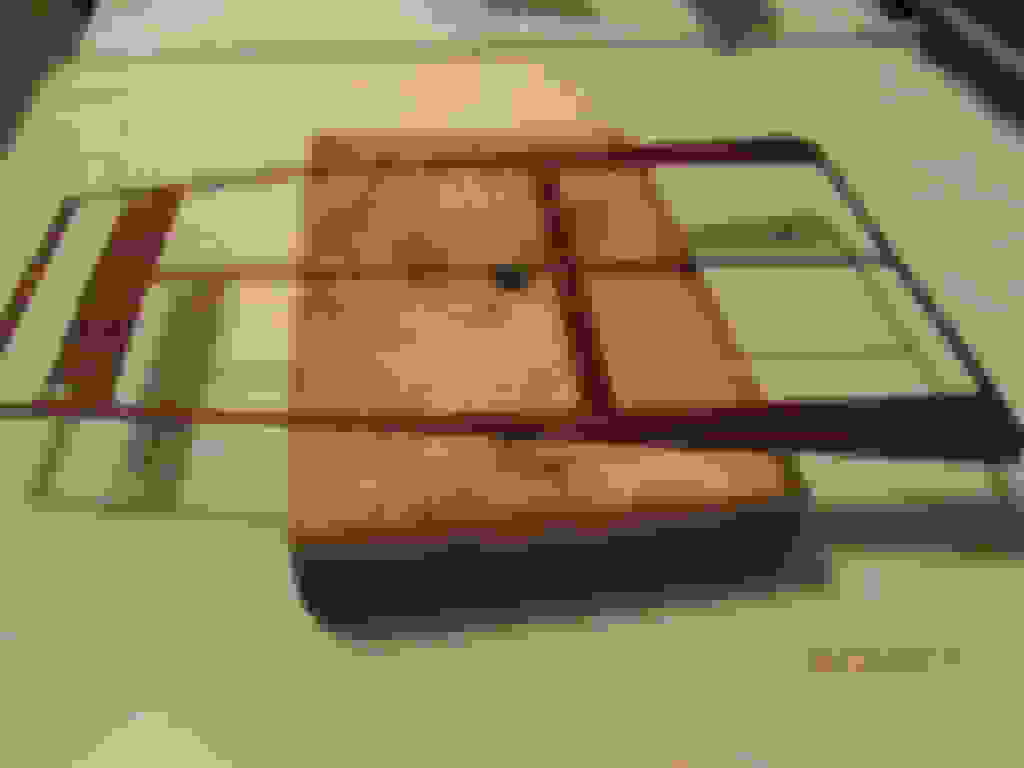
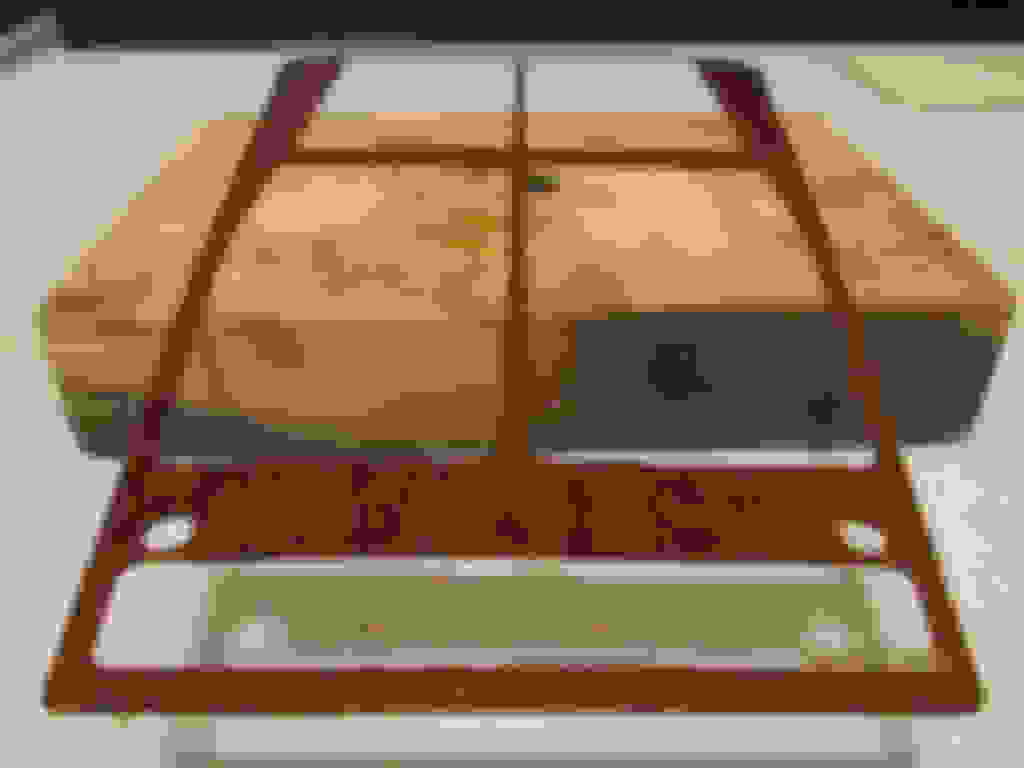
Apparently that's what they used on the originals. Here are a couple photos of the back of mine after I removed the wood from the metal backing plate. Easy to see the remains of the paper.
Tooch
I reskinned my door panels, but I've not heard of stripping the old skins off the foam/cardboard backing before. The original skin (once cleaned) worked well as the surface to which contact adhesive would stick. I'm not sure what kind of adhesive GM used to put the original skins on, so I can't advise what to use on the foam interior. You might want to do a test sample of vinyl skin on that foam with contact cement to see if it will actually adhere well.
The most difficult part of the process is deciding how to proceed with gluing the new skin on. You CANNOT put adhesive over either part completely to start. There is no way to maneuver that pre-glued skin around without having portions of it to stick together. And, once together with contact cement, you can't get it separated.
You need to plan out what portion of the skin you wish to start with; get that area glued in place; then proceed to another area..and so on.
I chose to start with the upper portion of the armrest, attempting to fit the curves properly....and HOPING that the rest of the panel would be oriented correctly. Doing this is an aggravating and tedious bit of hard labor! Best to work slowly and carefully. If you get 'stumped' for how to proceed, just take a break and think about it--rather than to rush ahead and make a mess out of it.
After doing mine, I concluded that I would never do that again, AND that if I had known what was involved, I should have just bought new 'basic' panels. I was relatively successful and did not mess the doors up. There were some minor waves/ripples which I would rather not have; but 10 years later, they still look the same and are a LOT better than 45 year-old parts!

 04-01-2017, 07:28 PM


 I always enjoy a good challenge, and this one seems to fit the bill. Last fall I snapped up a pair of door skins from Corvette America during one of those crazy black-something sales where I got 20% off and free shipping...I needed to fix my door panels, and couldn't pass the deal up, especially considering I knew mine were shot. I have deluxe door panels, and the replacements are way too expensive for my liking. So I bought a set of black skins (I'm also undergoing an interior color change). I finally decided this weekend was the weekend to get started.