When you click on links to various merchants on this site and make a purchase, this can result in this site earning a commission. Affiliate programs and affiliations include, but are not limited to, the eBay Partner Network.
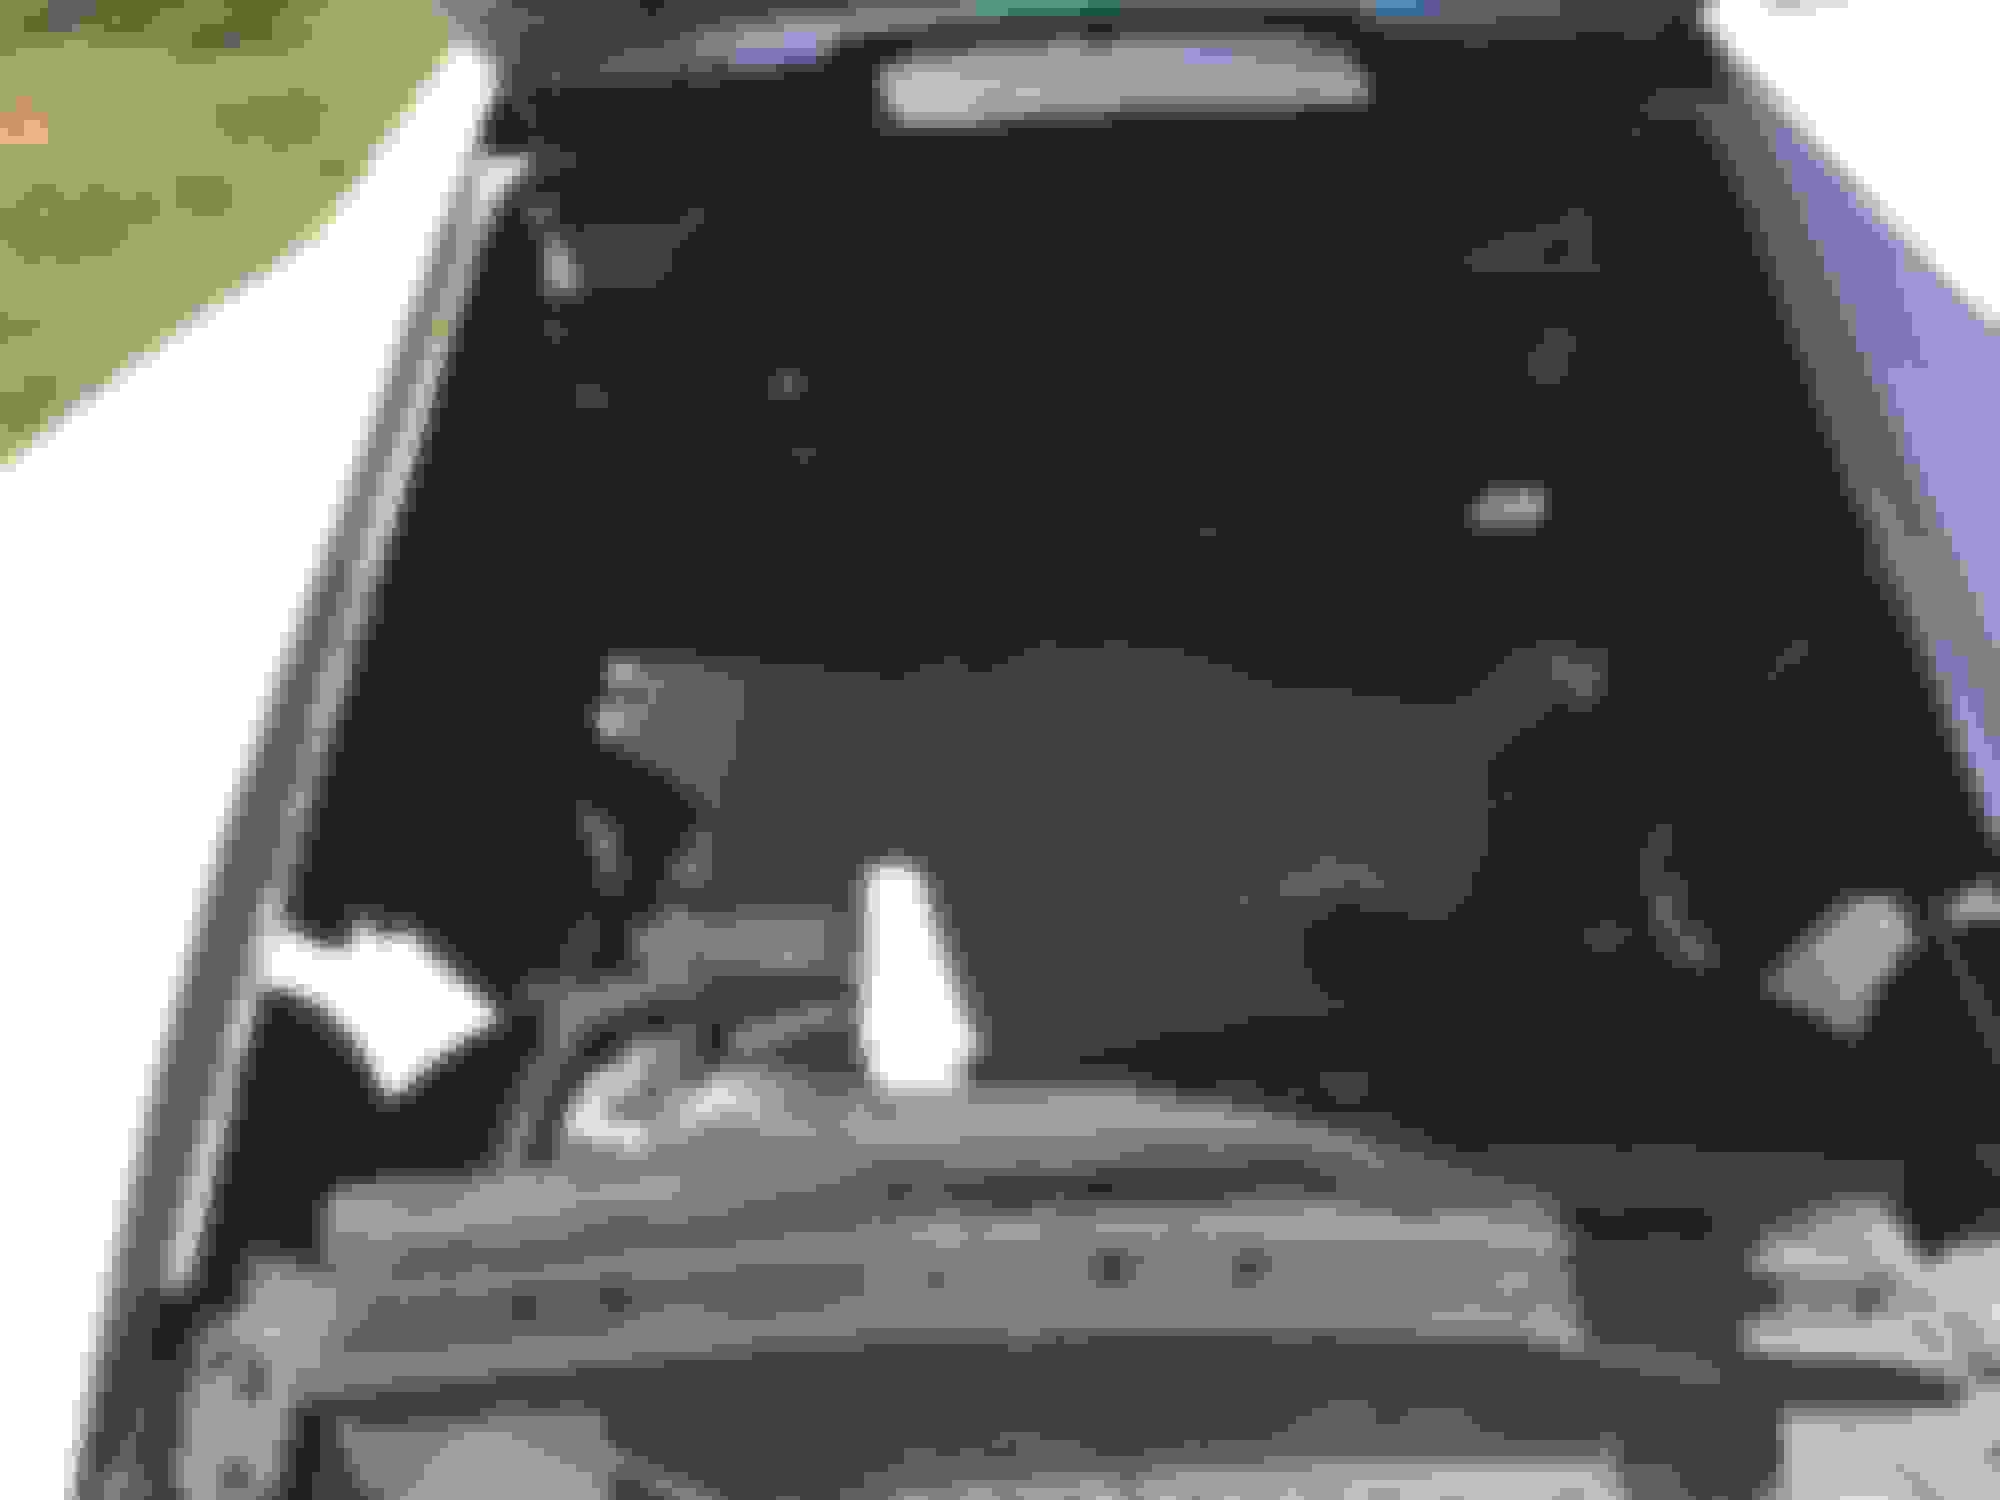
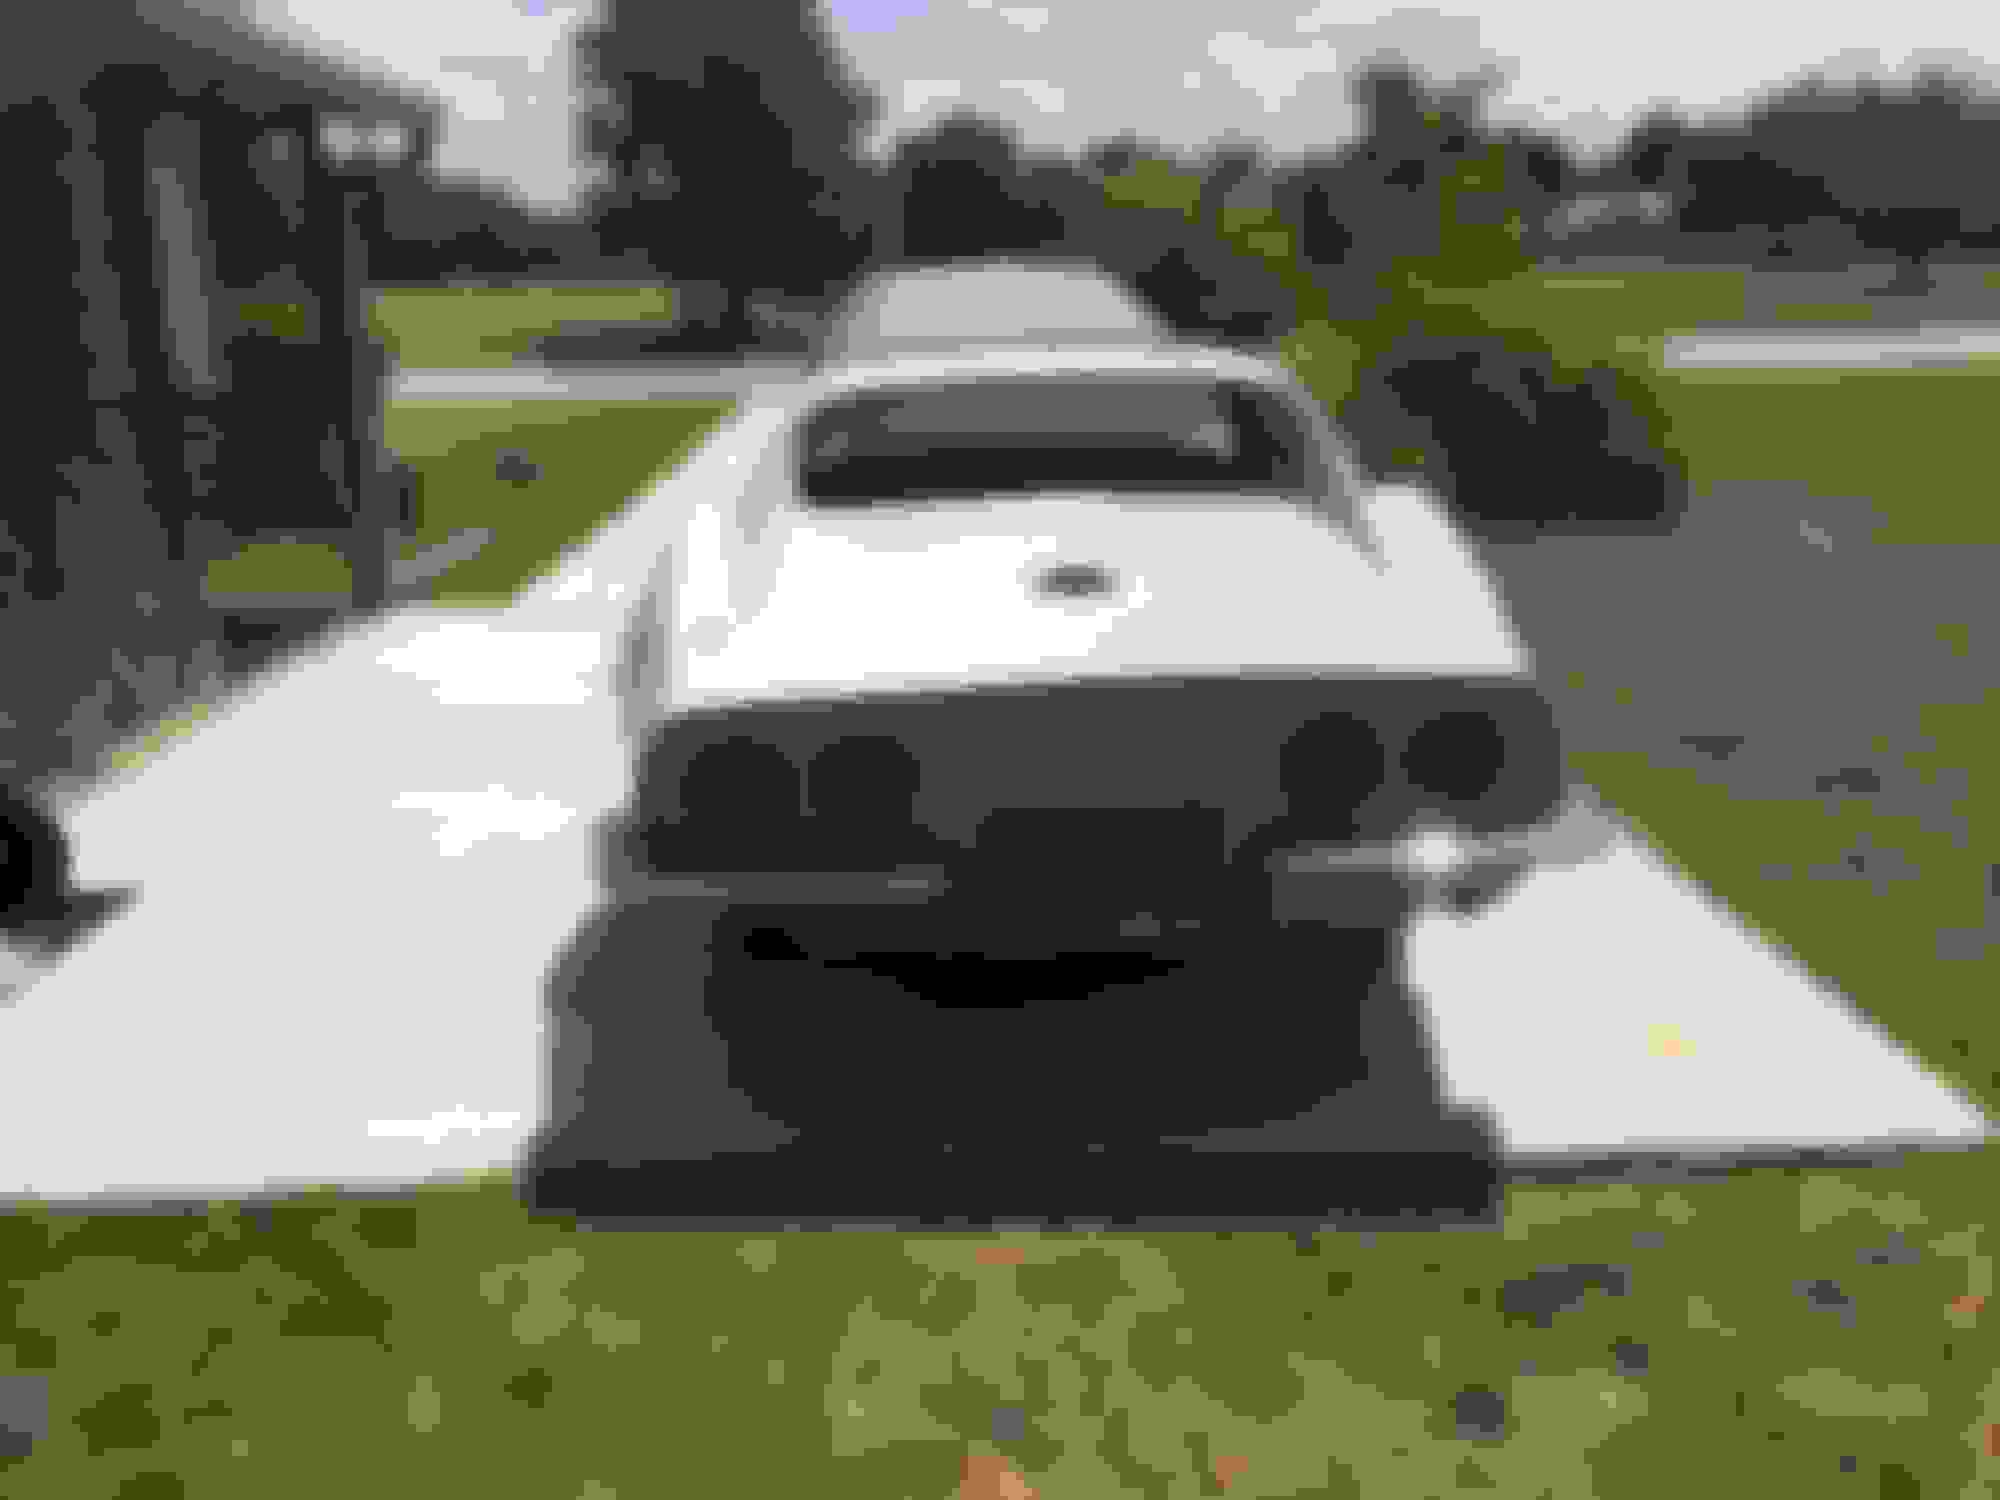
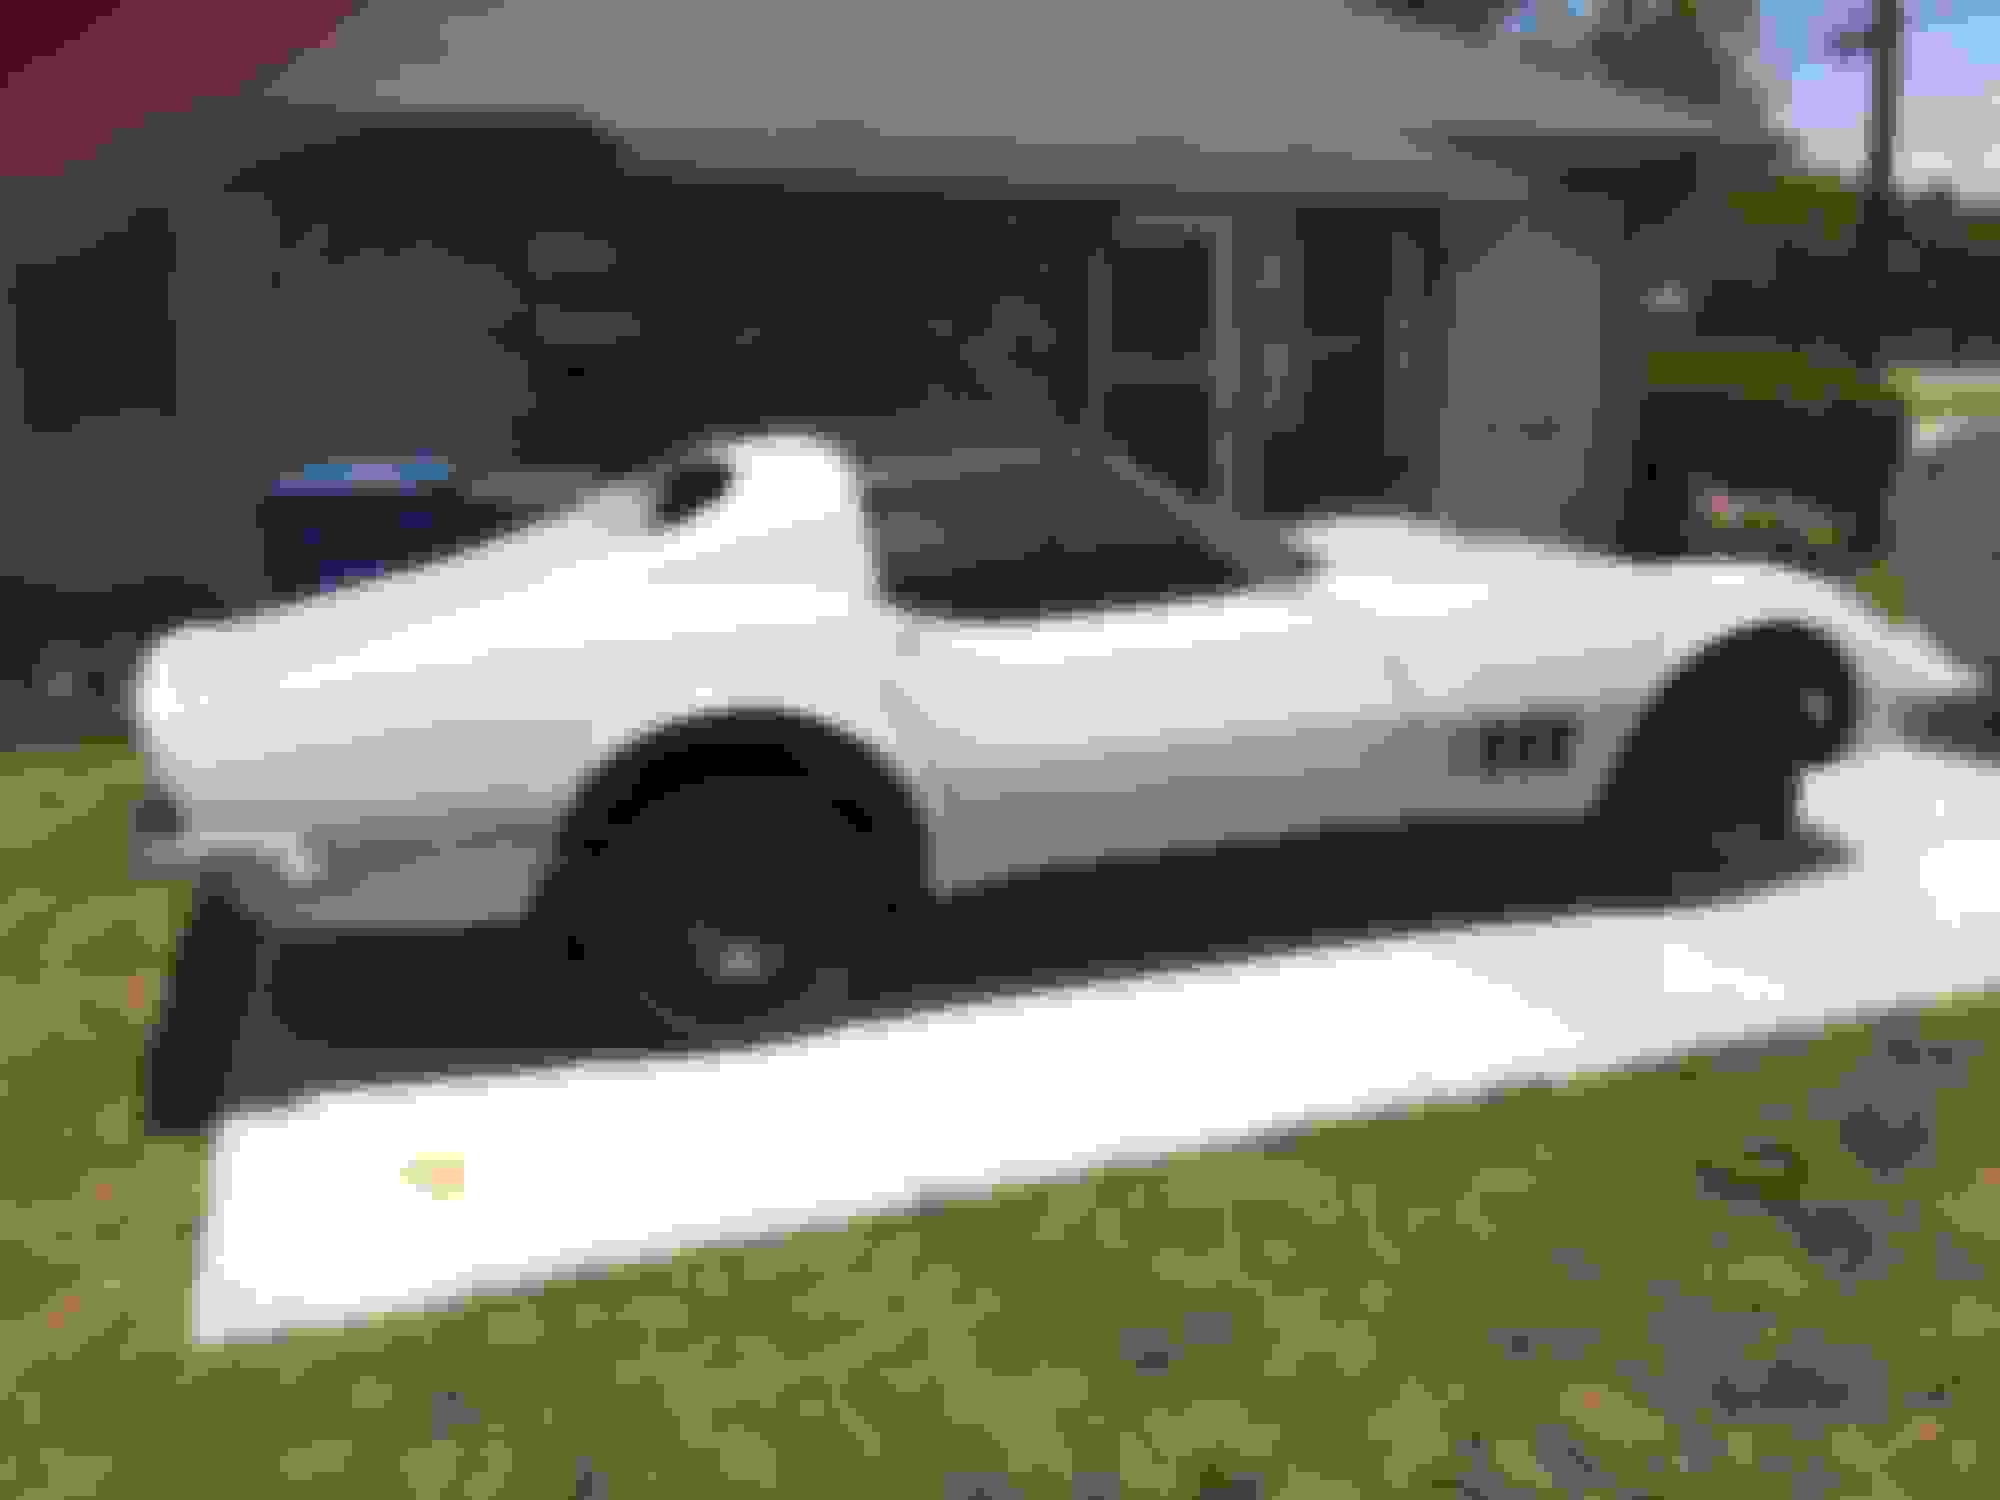
Starting my very slow complete restoration of my 1968 corvette coupe "Elise." As you'll be able to tell in the pics, she has been pretty much gutted lol. The engine bay was gutted when I purchased her and I took out what there was of the interior, which was pretty much trash. The seats, however, aren't in that bad of shape, so I will redo them in time.
I have purchased the AIM and chassis service manual, and the glas-ra dvds for body work, so I should be good to go on resources 😁😁. I'm pretty sure I'll have tons of questions as I go though hahahaha.
Hi C,
Well, a 68 coupe!
It appears this one will take all the skills and patience you presently have and may require that you learn a couple more and pray for even more patience!!!!
I'll be interested to see how you progress!
Good Luck!
Regards,
Alan
Appears that there are LOTS of things missing�. will this be a parts HUNT too?
what a project !, I notice the previous owner started to cut rust out of the birdcage .
Does "Elise" need to have her front clip taken off to get at the rust ?
What's the plan for the engine/gearbox ? staying with a manual ?
yes this will definitely be a parts hunt, however, if things go as I would like, this will be a restomod, so a lot of what's going in will be aftermarket tech that will look a lot like stock, and upgraded look if you will lol.
i think that is actually just rusted through, I am already in search of the center roof support and I'm afraid the I will indeed need to remove the front clip, as I'm sure the lower windshield is trash as well, but we'll see lol. I am probably going to go LS with a T56 magnum combo, but again, time and money will tell, first thing is first, making it safe lol!!!
i think that is actually just rusted through, I am already in search of the center roof support and I'm afraid the I will indeed need to remove the front clip, as I'm sure the lower windshield is trash as well, but we'll see lol. I am probably going to go LS with a T56 magnum combo, but again, time and money will tell, first thing is first, making it safe lol!!!
maybe look for a parts car , if your not worried about the wiper cover( and its mounting points on the lower windscreen surround) you could use a later model birdcage in there as is .
maybe first thing to do would be to get the windscreen out to allow a proper check of the metal and see just how much needs work
Most of the birdcage seems to be solid so far, at least around the mounting points so hopefully just the windshield surround and center brace are all that need work, which I have been informed is very intensive so I'll probably farm that out.
Most of the birdcage seems to be solid so far, at least around the mounting points so hopefully just the windshield surround and center brace are all that need work, which I have been informed is very intensive so I'll probably farm that out.
have you checked the sill panels , especially at the pillar mount points, from underneath ? one of mine rhs#2 looked great from inside but was rotten under the f/glass
😂😂😂
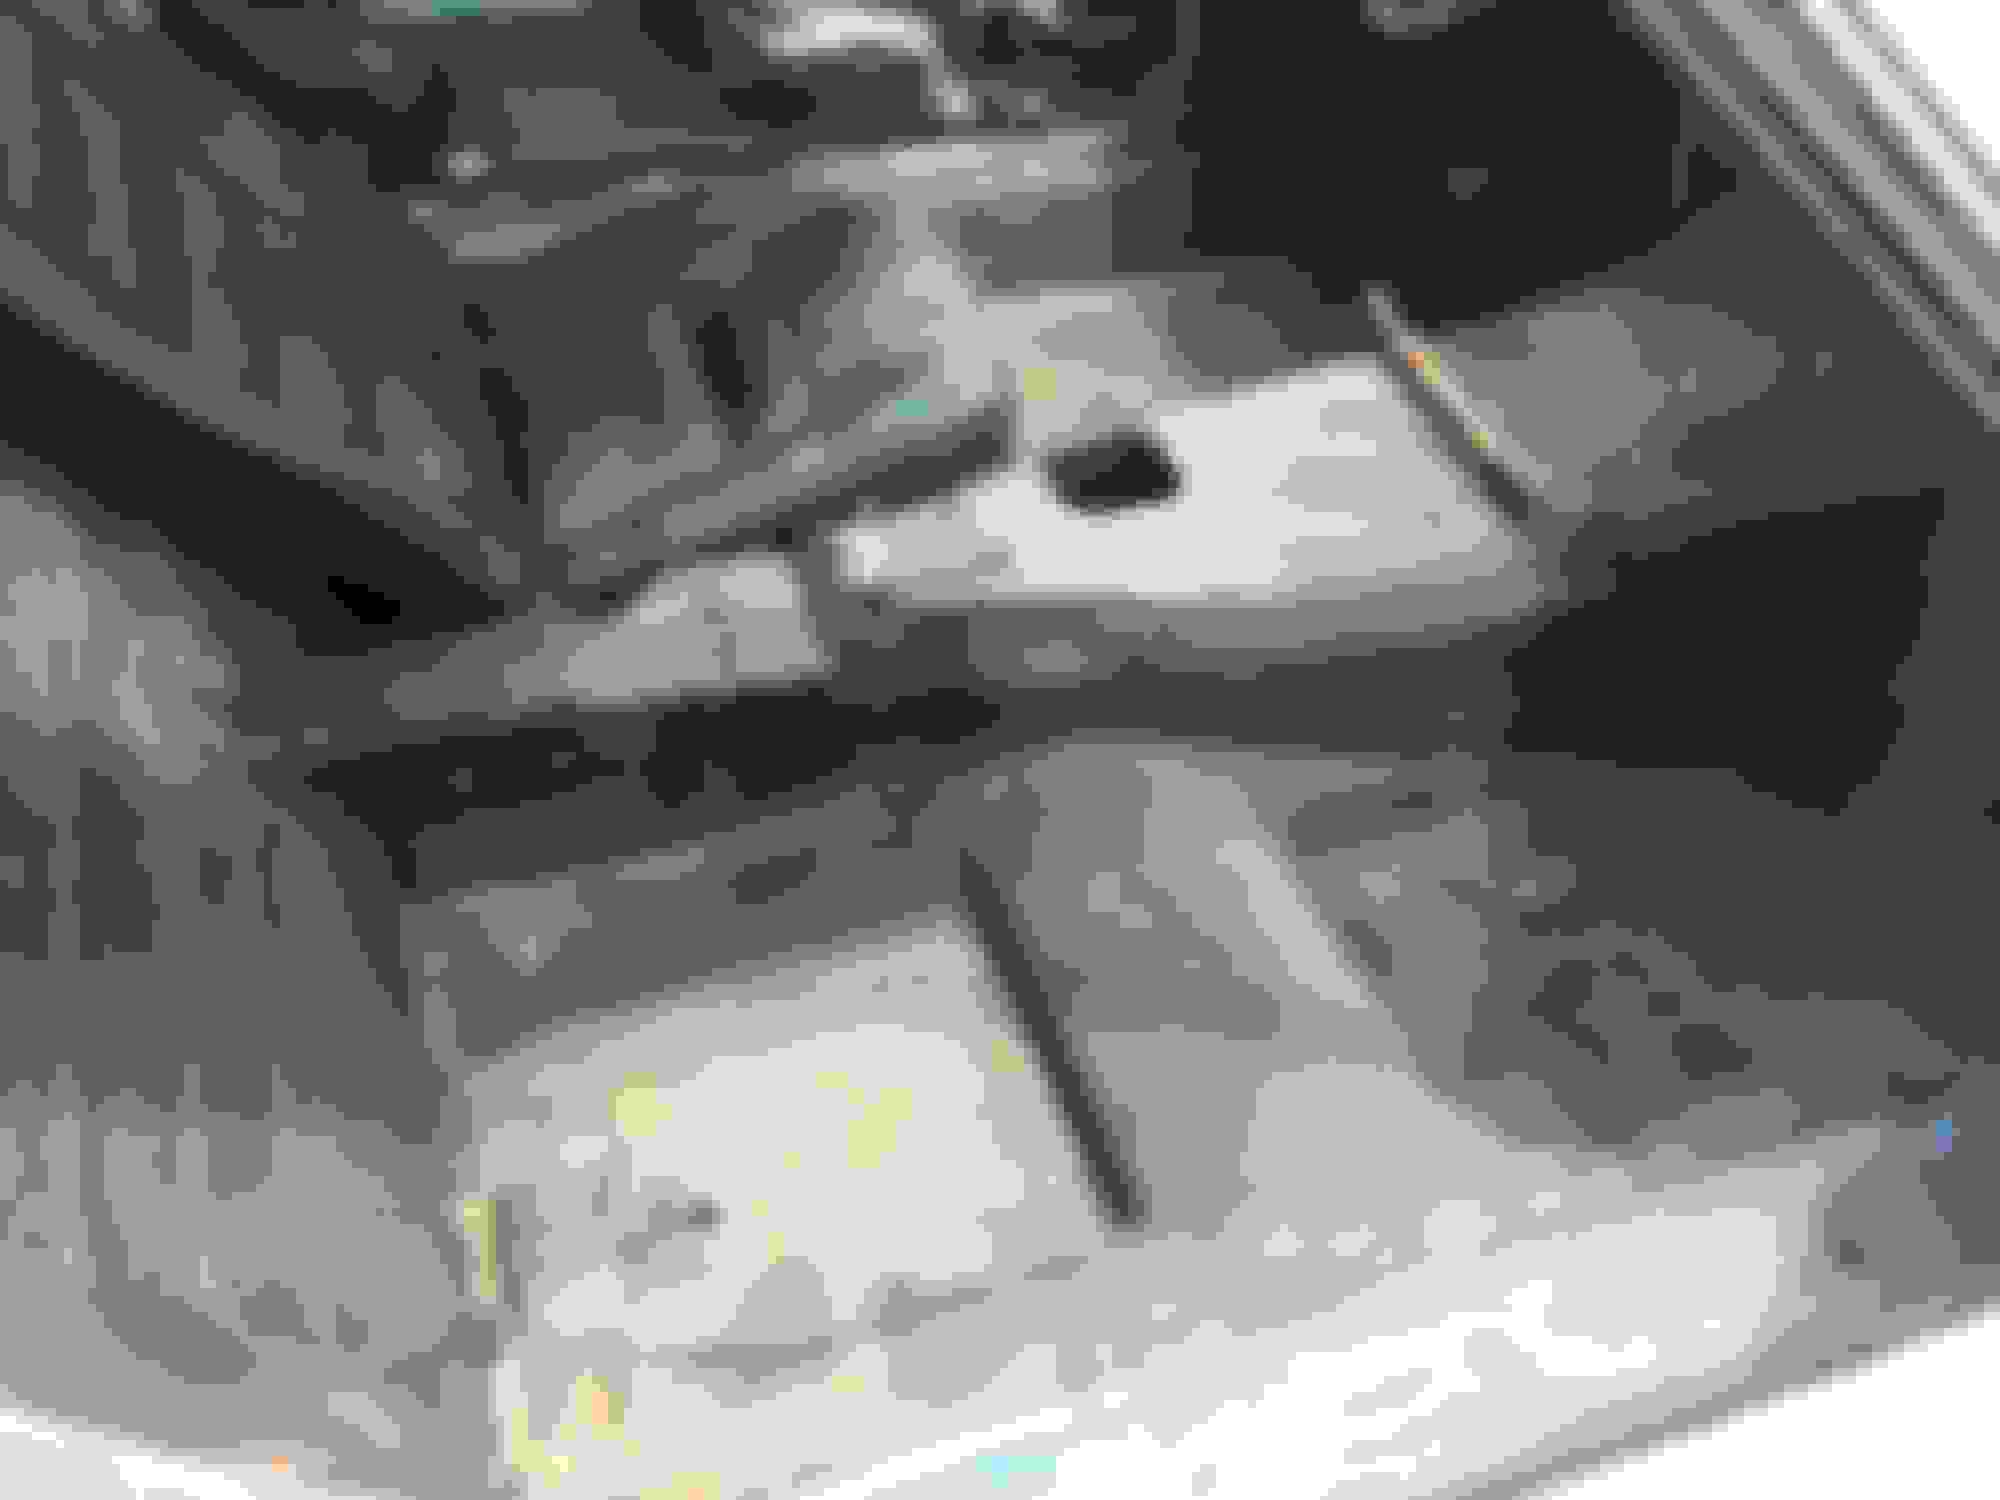
speaking of that big hole, I'm guessing that is where the heater pump was, am I right? If so, since I will be going with a vintage air gen IV unit, can I cover this up?
Last edited by Chonciceptor; Jul 20, 2017 at 06:55 PM.
Reason: Mis-spelled
😂😂😂
speaking of that big hole, I'm guessing that is where the heater pump was, am I right? If so, since I will be going with a vintage air gen IV unit, can I cover this up?
yeah I think VA supply a cover for that hole or you could glass it in , they supply a quad bulk head fitting for the 4 lines .
Hello "C" and welcome to the forum! Great project! You can do what you want, and are in a position to get all the frame and suspension issues dealt with! Take the time and do it up right and the way you want. BTW I have family in Waco and have spent a lot of time there. Great place!