


Sill plate refresh - before and after
Thread Starter
Burning Brakes

Joined: Sep 2017
Posts: 1,219
Likes: 365
From: Tolland CT
Yes I know that they are dirt cheap, I was simply bored and looking to see if I could turn these things around. It isn't to NCRS standards but for a driver I think they came out just fine. Full details in my build thread here: https://www.corvetteforum.com/forums...post1596533914
Before:

After:

Before:
After:
Thread Starter
Burning Brakes
Joined: Sep 2017
Posts: 1,219
Likes: 365
From: Tolland CT
I detailed the process in my build thread but I guess I will put it down here as well.
Again, I will state that it took approximately 3 hours per sill to get it to this point. I have mostly useless hands so a healthy person could probably do this in an hour and a half each. Consider that replacement sill plates are $20 each from many vendors and you will have to decide for yourself if you feel it is worth it. In the end, I have a nice looking panel that is not to NCRS standards and it took a fair amount of time to do it.
If you are interested, here is now I did it.
My left hand is in a cast so I couldn't hold the piece and work on it so I began by putting a 2x4 in my vice and then screwing the sill plate to it. This worked very well as it also ensures that the sill is straight while it is being worked on. I recommend doing this even if you have two good hands.

First, clean the entire piece. I usually use soap and water, blow dry it, and then use acetone to remove any wax or silicone. You want to make sure that it is completely clean of this before you start sanding or all you will be doing is grinding the silicone into the metal which will cause fisheyes in the paint.
After that it is basically treated like bodywork. There were some very deep scratches and gouges in the piece so I began with block sanding using 220 grit paper and then worked my way to 320, 400, 600, 1200, and finally 2000 grit. It is important to note that the original is clear anodized over the aluminum which needs to be completely removed or it will look very odd. What you end up with is a 'brushed aluminum' piece which is not the same as the original but I still think it looks great.
Make sure that you keep your block flat on the surface you are sanding or you will end up with rounded edges which is not what we want.
You can already see that most of the scratches have been removed from the right side of the piece

I used a clean rag to remove the dust every minute or so which helps to keep your sand paper clear. I also tapped it off on the vice to unclog it. This is probably a good point to mention that you should be wearing a respirator or at the very least a particle mask. I hope that I don't have to tell you all that aluminum dust once in your lungs is going to stay there forever.
On this shot you can see that the top of the rail has been sanded smooth but the little recess to the right of it still has areas where the clear anodizing is still in place. This is why you need to be thorough. Again I just used a few different sized sanding blocks to work my way through it.

After that, I washed the part down in Acetone. Again, wear a respirator. The acetone does a quick job of removing the original paint. I used a toothbrush dipped in it to clean between the ridges of the extruded parts. It sounds worse than it is; I cleaned the entire part in about 3 minutes. Wipe it all down with a clean rag when done.
Once it has been cleaned you can see any remaining imperfections. There were a bunch on this piece considering how rough it was when I started.

Go over the piece again and sand out any remaining imperfections and then wipe it down again with a clean rag. At this point you have the choice to leave the piece 'brushed' or you can go at it with polishing compound and a buffing wheel to make it shine. If you do buff it out, be sure to wipe it down yet again with acetone to remove any of the compound.
After that is done, mask it off for paint. The 1/8" masking tape is the perfect size for the center ridges. Just place the tape on the middle of the raised portion and then fold the sides down since the original had the sides as well as the tops clear aluminum.

After that, shoot the piece with a light coat of self-etching primer. Make sure that the coat is light enough that it does not hide the details of the fine ridges but thick enough that it fully covers the piece. I make sure to turn the piece and shoot it from both sides so that all of the angles are covered.

This is the primer that I used
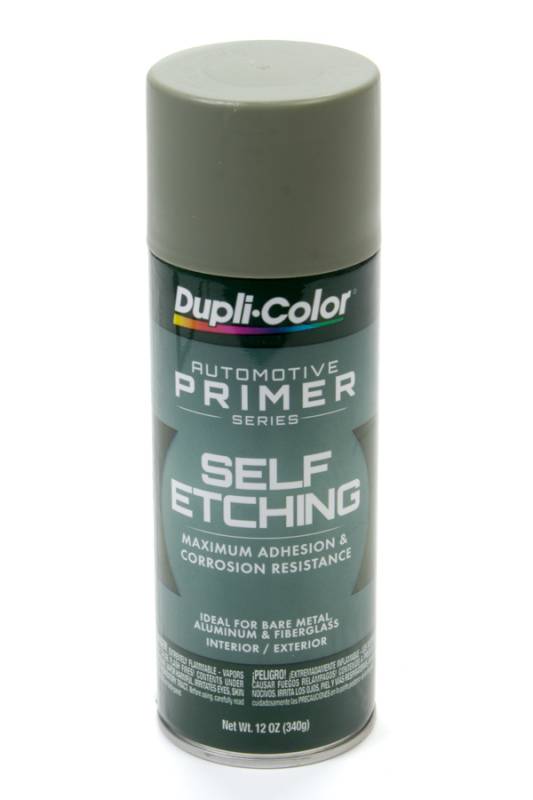
Let it flash and then top coat with a satin (semi-gloss) black. Again, I used duplicolor.

Let it dry, remove the masking, and either give the metal a coating of some form of metal shine/protectant or clear coat the entire piece in a satin/semi-gloss clear.
Again, I will state that it took approximately 3 hours per sill to get it to this point. I have mostly useless hands so a healthy person could probably do this in an hour and a half each. Consider that replacement sill plates are $20 each from many vendors and you will have to decide for yourself if you feel it is worth it. In the end, I have a nice looking panel that is not to NCRS standards and it took a fair amount of time to do it.
If you are interested, here is now I did it.
My left hand is in a cast so I couldn't hold the piece and work on it so I began by putting a 2x4 in my vice and then screwing the sill plate to it. This worked very well as it also ensures that the sill is straight while it is being worked on. I recommend doing this even if you have two good hands.
First, clean the entire piece. I usually use soap and water, blow dry it, and then use acetone to remove any wax or silicone. You want to make sure that it is completely clean of this before you start sanding or all you will be doing is grinding the silicone into the metal which will cause fisheyes in the paint.
After that it is basically treated like bodywork. There were some very deep scratches and gouges in the piece so I began with block sanding using 220 grit paper and then worked my way to 320, 400, 600, 1200, and finally 2000 grit. It is important to note that the original is clear anodized over the aluminum which needs to be completely removed or it will look very odd. What you end up with is a 'brushed aluminum' piece which is not the same as the original but I still think it looks great.
Make sure that you keep your block flat on the surface you are sanding or you will end up with rounded edges which is not what we want.
You can already see that most of the scratches have been removed from the right side of the piece
I used a clean rag to remove the dust every minute or so which helps to keep your sand paper clear. I also tapped it off on the vice to unclog it. This is probably a good point to mention that you should be wearing a respirator or at the very least a particle mask. I hope that I don't have to tell you all that aluminum dust once in your lungs is going to stay there forever.
On this shot you can see that the top of the rail has been sanded smooth but the little recess to the right of it still has areas where the clear anodizing is still in place. This is why you need to be thorough. Again I just used a few different sized sanding blocks to work my way through it.
After that, I washed the part down in Acetone. Again, wear a respirator. The acetone does a quick job of removing the original paint. I used a toothbrush dipped in it to clean between the ridges of the extruded parts. It sounds worse than it is; I cleaned the entire part in about 3 minutes. Wipe it all down with a clean rag when done.
Once it has been cleaned you can see any remaining imperfections. There were a bunch on this piece considering how rough it was when I started.
Go over the piece again and sand out any remaining imperfections and then wipe it down again with a clean rag. At this point you have the choice to leave the piece 'brushed' or you can go at it with polishing compound and a buffing wheel to make it shine. If you do buff it out, be sure to wipe it down yet again with acetone to remove any of the compound.
After that is done, mask it off for paint. The 1/8" masking tape is the perfect size for the center ridges. Just place the tape on the middle of the raised portion and then fold the sides down since the original had the sides as well as the tops clear aluminum.
After that, shoot the piece with a light coat of self-etching primer. Make sure that the coat is light enough that it does not hide the details of the fine ridges but thick enough that it fully covers the piece. I make sure to turn the piece and shoot it from both sides so that all of the angles are covered.
This is the primer that I used
Let it flash and then top coat with a satin (semi-gloss) black. Again, I used duplicolor.
Let it dry, remove the masking, and either give the metal a coating of some form of metal shine/protectant or clear coat the entire piece in a satin/semi-gloss clear.
Last edited by PainfullySlow; Feb 6, 2018 at 09:11 PM.
Corvette Stories
The Best of Corvette for Corvette Enthusiasts

Every 2027 Corvette Engine Explained
Joe Kucinski
Designer Imagines A Corvette That Looks More Like a Corvette Than the Corvette
Verdad Gallardo
10 Ugly Corvettes That We Still Kinda Love
Joe Kucinski
Top 10 Most Expensive Corvettes Ever Sold on Bring A Trailer
Brett Foote
10 Things Every Corvette Owner Needs (2026 Edition)
Michael S. Palmer
8 Most "Only Corvette Owners Understand" Quirks and Problems
Pouria Savadkouei
10 Reasons the C6 Z06 is Still A Performance Benchmark After 20 Years
Joe Kucinski
How Much Horsepower Every Corvette Engine "LOST" in 1972
Joe Kucinski
Top 10 DOs and DON'Ts for Protecting Your Convertible Top!
Michael S. Palmer


Thread Starter
Burning Brakes
Joined: Sep 2017
Posts: 1,219
Likes: 365
From: Tolland CT
I completely agree, from a return on investment standpoint the smart move is to just buy the replacements. I am unfortunately unable to work so right now I have a lot more time than money otherwise I wouldn't have bothered with this.
As it is, I am glad that I did it as I really do like the brushed look.
Thanks Ryan! It has been a difficult time to transition away from motorcycles but I am definitely coming around. This car is one of the reasons I get up in the morning.
Agreed!
Also agreed. Feel free to post up pictures of yours if you have any. Also did your technique differ from what I did? I am far from an expert, I just went at it with a bit of common sense.
As it is, I am glad that I did it as I really do like the brushed look.
Also agreed. Feel free to post up pictures of yours if you have any. Also did your technique differ from what I did? I am far from an expert, I just went at it with a bit of common sense.
Is my vette stock?? HAHA


Joined: Oct 2015
Posts: 20,235
Likes: 9,376
From: Im not allowed to tell you
2020 C3 of the Year Finalist - Modified
2020 Corvette of the Year Finalist (performance mods)
2019 C3 of Year Winner (performance mods)
2016 C3 of Year Finalist
impressive and well done. thanks


Team Owner


Joined: Jan 2006
Posts: 37,637
Likes: 3,118
From: Crossville TN
Cosmetically, the refurbished part looks great! Nice job...especially, one-handed!!
The only downside I would mention (just to look at this project from all angles) is that the anodized layer on some of the top surfaces of this part have been sanded off and there is only soft aluminum below. That anodizing is to give the part scratch/dent resistance. With that gone, any contact will provide some minor scuffing.
Not a complaint...just trying to recognize all aspects of performing the repair in this manner.
P.S. There is no simple way to put a new anodized layer on the part while being processed...unless that type of equipment is available to you.
Kudos for salvaging some original parts!!!


Thread Starter
Burning Brakes
Joined: Sep 2017
Posts: 1,219
Likes: 365
From: Tolland CT
Cosmetically, the refurbished part looks great! Nice job...especially, one-handed!!
The only downside I would mention (just to look at this project from all angles) is that the anodized layer on some of the top surfaces of this part have been sanded off and there is only soft aluminum below. That anodizing is to give the part scratch/dent resistance. With that gone, any contact will provide some minor scuffing.
Not a complaint...just trying to recognize all aspects of performing the repair in this manner.
P.S. There is no simple way to put a new anodized layer on the part while being processed...unless that type of equipment is available to you.
Kudos for salvaging some original parts!!!
The only downside I would mention (just to look at this project from all angles) is that the anodized layer on some of the top surfaces of this part have been sanded off and there is only soft aluminum below. That anodizing is to give the part scratch/dent resistance. With that gone, any contact will provide some minor scuffing.
Not a complaint...just trying to recognize all aspects of performing the repair in this manner.
P.S. There is no simple way to put a new anodized layer on the part while being processed...unless that type of equipment is available to you.
Kudos for salvaging some original parts!!!
Interesting you mentioned this. I am making a part 2 thread for this...