When you click on links to various merchants on this site and make a purchase, this can result in this site earning a commission. Affiliate programs and affiliations include, but are not limited to, the eBay Partner Network.
Long weekend and nice temps, so I'm trying to take advantage of it before summer hits. Pretty happy with the project so far.
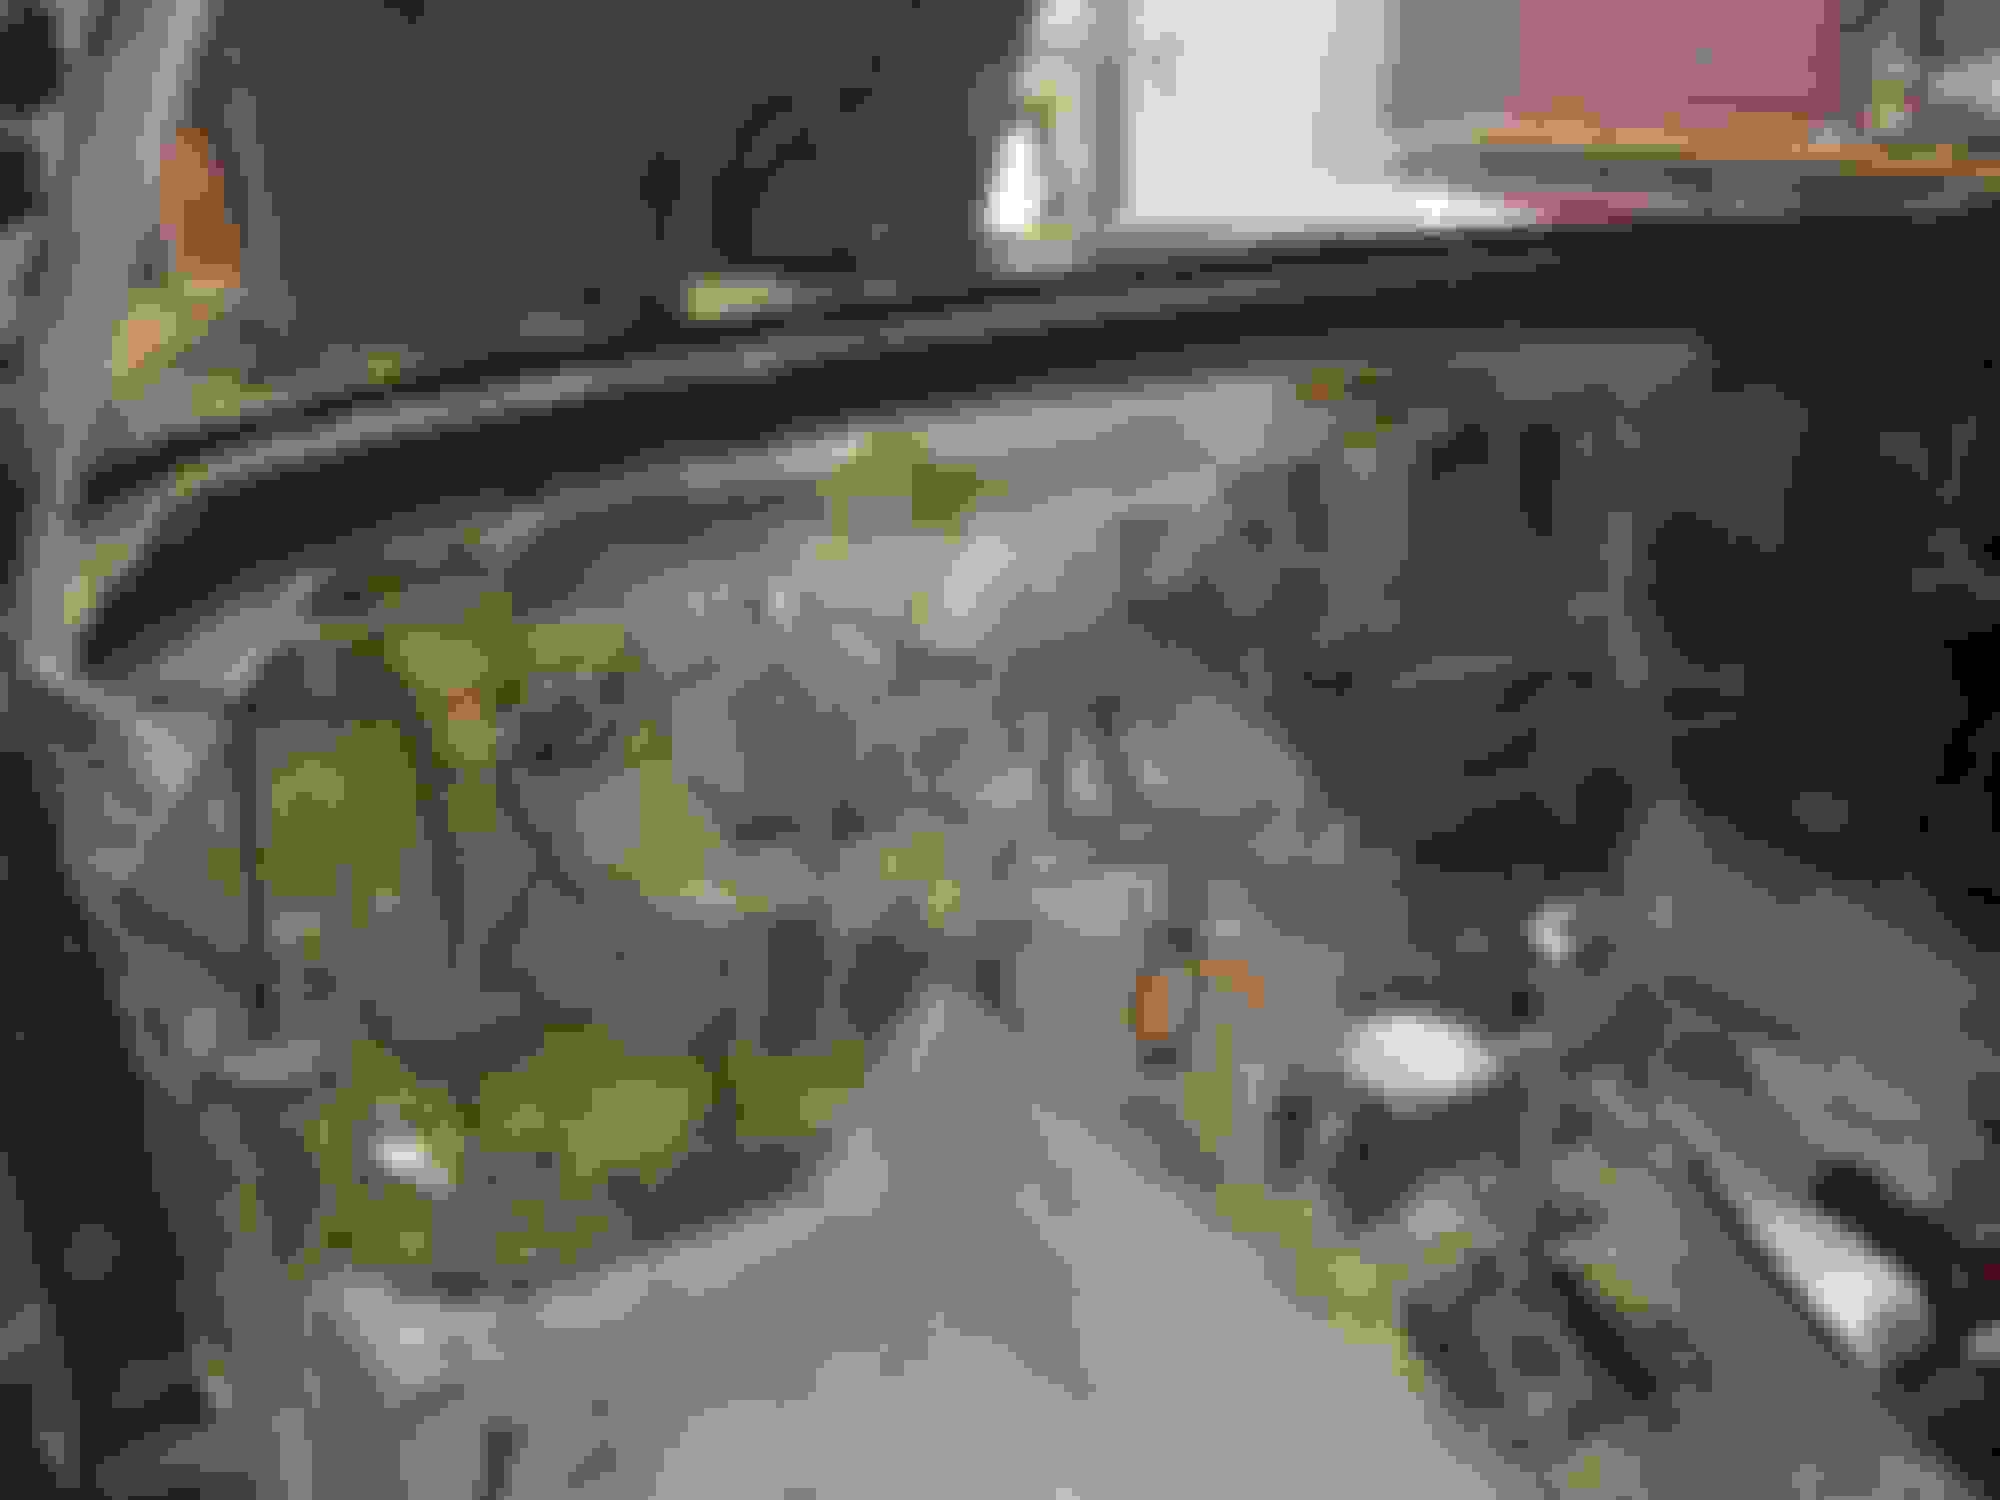
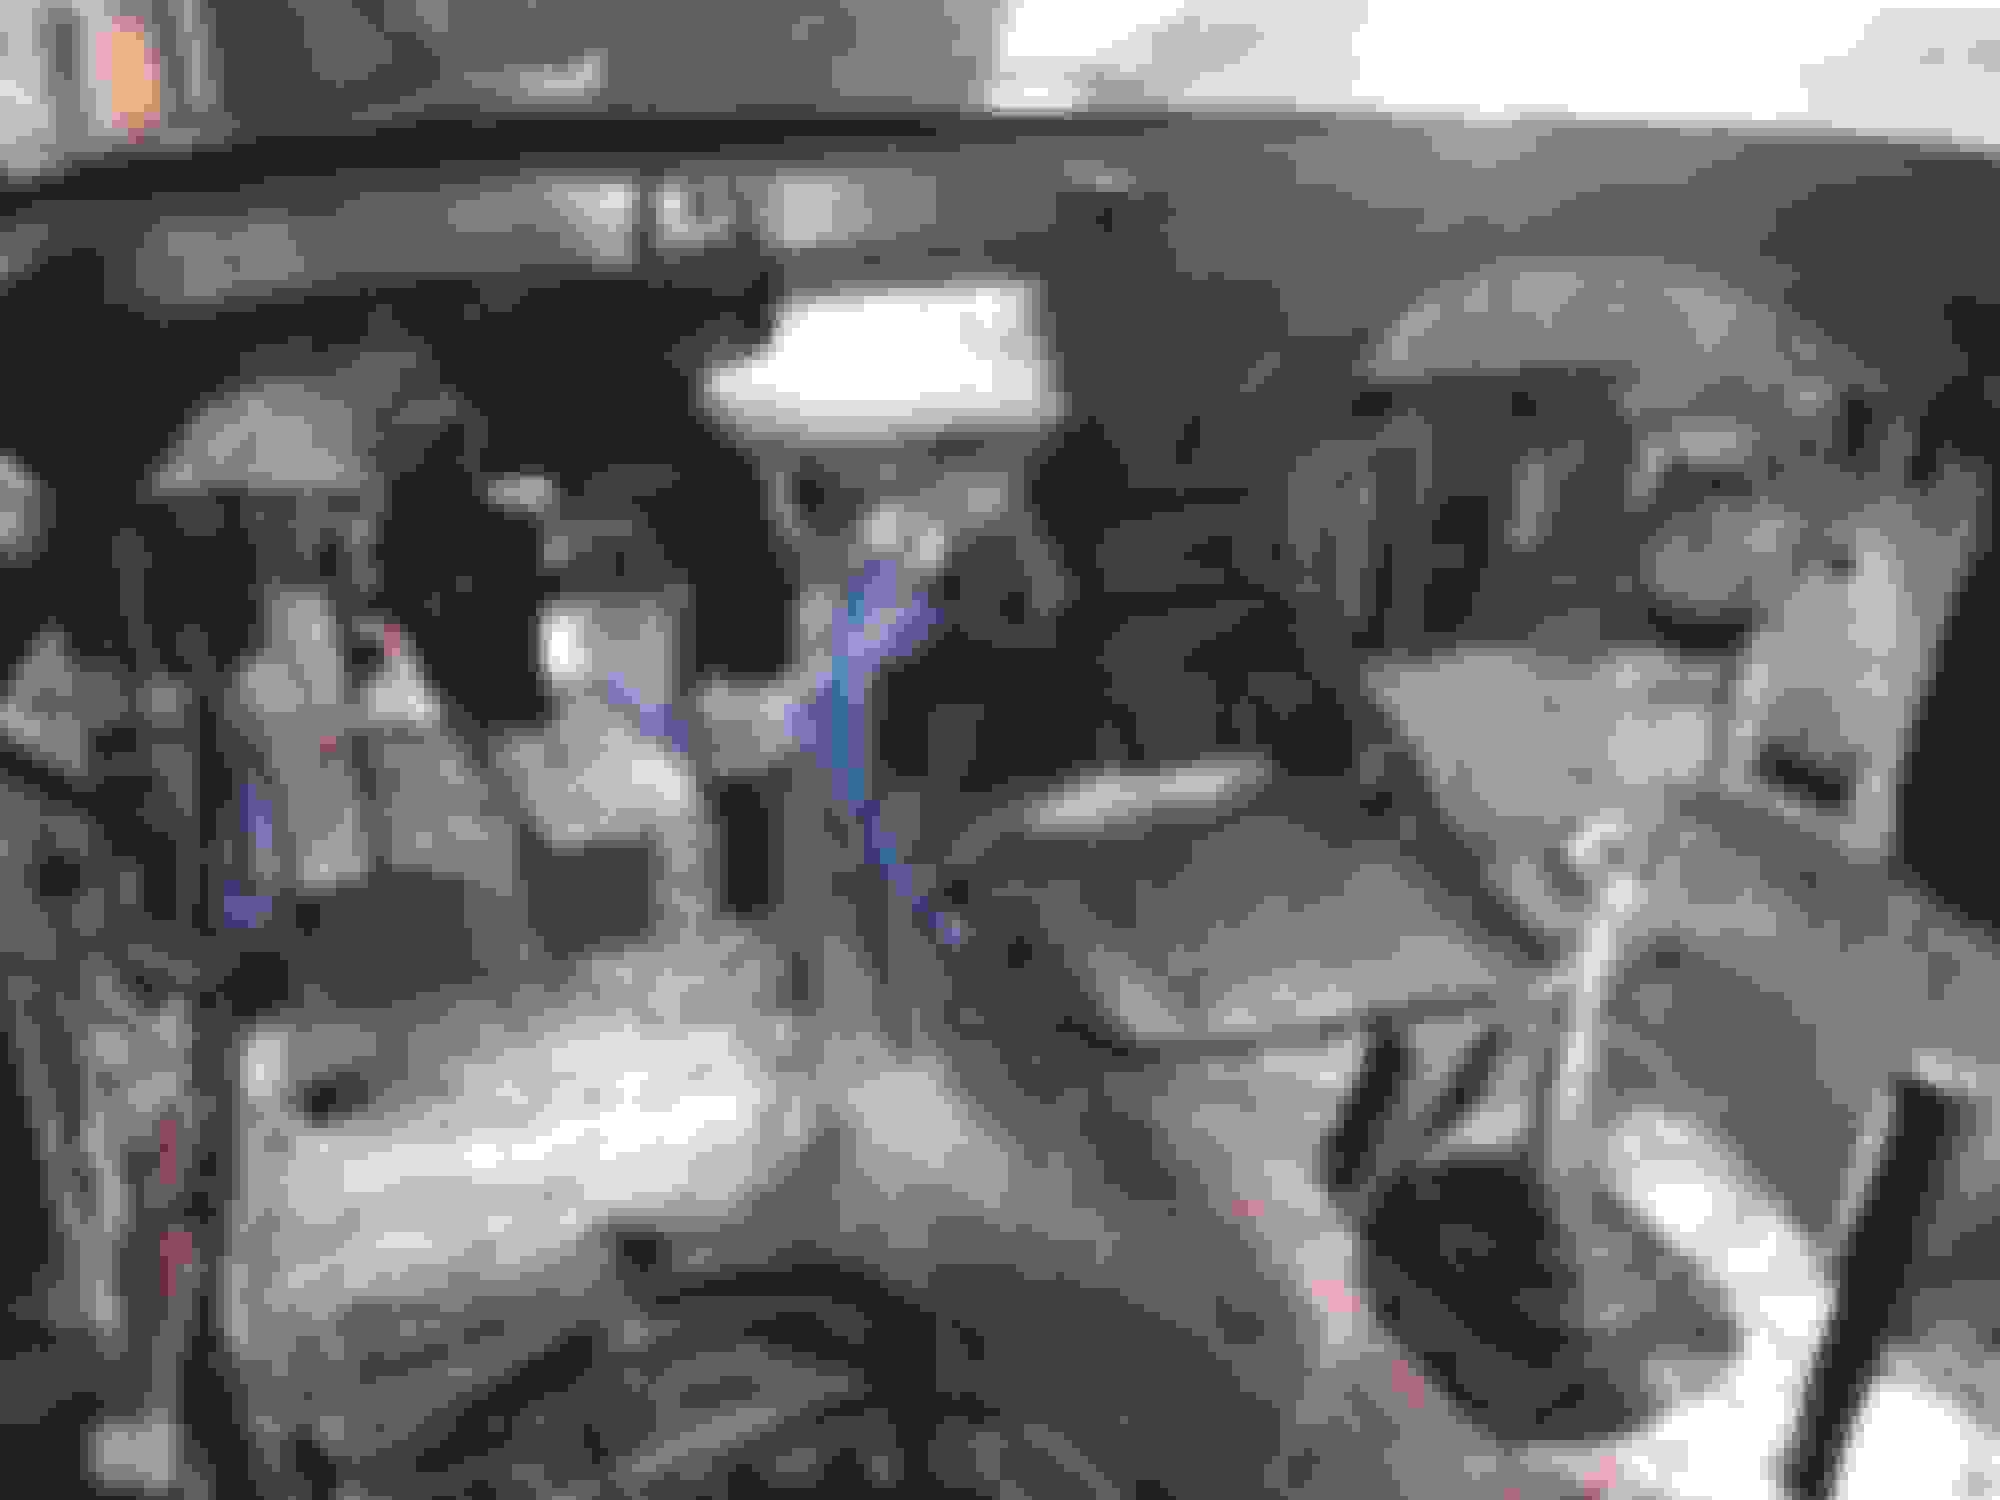
The before shot is from January when I gutted it. This all started with a little bit of smoke from under the dash while starting the car. The "while I'm in there" syndrome has taken over... again.
That is a great decision using soundproof-insulation. My car is much quieter inside and the floorboard-gas pedal areas have dropped 30*F......(ambient temp. Plus 2 * F) .
Yep, it's really quiet sitting in the garage Kidding!!! Looks like a good start at a solid interior build.
Super quite - can't even hear it running. I think it will be worth it when it's done, and no more melted 40 year old wiring. Considering we had no fan, vent controls, AC, heat or wipers, this will be a huge step forward.
That is a great decision using soundproof-insulation. My car is much quieter inside and the floorboard-gas pedal areas have dropped 30*F......(ambient temp. Plus 2 * F) .
I'm hoping for results like that! If I can drive it when it's a 100 out, sit in traffic, stay cool and the car doesn't overheat I'll be thrilled. LOL
Other critical areas for heat "prevention": refresh the seal on the kickpanel vent doors (especially on A/C cars); rear hood seal; firewall insulation; transmission shift boot seal.
Other critical areas for heat "prevention": refresh the seal on the kickpanel vent doors (especially on A/C cars); rear hood seal; firewall insulation; transmission shift boot seal.
Done, done and done. I will replace the hood seal as well, but not quite to that stage of the body work at this point. I still need to order the collar seal for the bell housing. Should be able to do that now that the firewall and cowl detailing is almost done.
Adam, also make sure you have the under-body tunnel seal as well as the foam collar that push's up between the firewall and then bellhousing.
Thanks Willcox - The trans tunnel insulation requires the trans to be dropped correct? If so, that will have to be next fall. Getting a little hot here to lay under a car in the garage. Also - what type of adhesive do you recommend for the collar?
Thanks Willcox - The trans tunnel insulation requires the trans to be dropped correct? If so, that will have to be next fall. Getting a little hot here to lay under a car in the garage. Also - what type of adhesive do you recommend for the collar?
Adam
On the foam... you'll need to make sure the bellhousing is clean first. We use Weldwood glue but you won't have that and I doubt you'd want to buy a gallon of it. You could probably get away with 3m fast tack trim adhesive. Spray it on the foam, spray it on the firewall and the bellhousing and allow to dry, then spray a wet coat on the foam again and install.
The tunnel insulation requires you to remove the shifter only... I've seen people install them before by cutting them in half and then using the aluminum foil tape to put it back together. I'd not suggest that method though. But they are a royal pain to install.
Willcox
Thanks again. I need to check on the tunnel. I can't remember seeing any clips in place for the tunnel insulation, but it's been awhile since I was under the car. I have some 3M 77 and also a can of their headliner adhesive (both spray versions). Would I be better off to use the trim adhesive you mentioned?
Thanks again. I need to check on the tunnel. I can't remember seeing any clips in place for the tunnel insulation, but it's been awhile since I was under the car. I have some 3M 77 and also a can of their headliner adhesive (both spray versions). Would I be better off to use the trim adhesive you mentioned?
Adam, I'd use what you have.... the weldwood is pretty expensive and you have to buy it in a gallon minimum. There should be four clips under the car to hold the tunnel insulation in place.
Adam, I'd use what you have.... the weldwood is pretty expensive and you have to buy it in a gallon minimum. There should be four clips under the car to hold the tunnel insulation in place.
E
Our car is a '77. Did they have the tunnel insulation?
Designer Imagines A Corvette That Looks More Like a Corvette Than the Corvette
Slideshow: A Jaguar designer's personal project imagines what a modern front-engined Corvette might look like if Chevrolet revisited the golden age of the Stingray.


 Kidding!!! Looks like a good start at a solid interior build.


 Also - what type of adhesive do you recommend for the collar?


