When you click on links to various merchants on this site and make a purchase, this can result in this site earning a commission. Affiliate programs and affiliations include, but are not limited to, the eBay Partner Network.
I'd like to get some firsthand input rather than speculation.
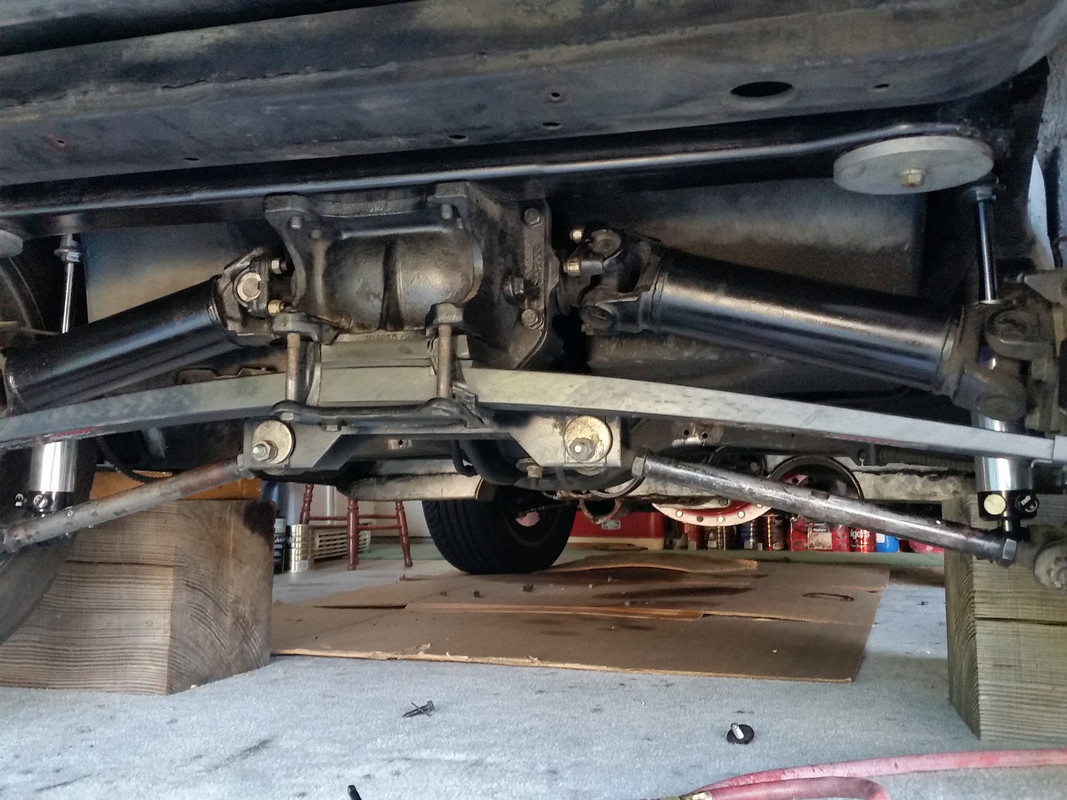
Is anyone here running a rear crossmember with the rubber bushings removed? If so, how much vibration increase, if any, did you notice? Ride quality?
I ask due to the fact that I have my stock crossmember and also, have another that is modified, but has no rubber mounts. It used to be on a road racer and I was thinking of finally using it. I will primarily drive this Vette on the street, but I do beat the hell out of my cars. Therefore, I was thinking of using it since it was meant to correct some rear suspension geometry travel issues while being driven hard. My only concern is that over time I'll grow weary of it. And yes, I completely forgot who I bought it from.
I hope you are taking pictures and will write up a detailed report on this.
They're already scattered through the archives, though the solid crossmember mounts have come back again. I'll provide a "seat of the pants" review once she's back on her wheels.
I have solid mounts in my 78. it doesn't add vibration. with the radio off, you can hear some slight gear whine, but you have to be listening for it. otherwise no difference.
I know it's a thread revival.
what I did, although I might be completely dangerous, although I don't think it is, is use the old cups out the rubber bushings, and weld 2 3mm thick steel plates on it, and weld those in the crossmember. (First weld one plate, then insert it in the crossmember, then weld the second plate and weld them to the crossmember.)
cheap and sturdy afaik .. can upload pics if anyone is interested.
i know the welding is ugly AF, one of my first ever welding projects. had a machine shop fabricate the steel spacers to hold the OEM "cup". grey stuff is anti-seize. outboard hole is for safety-wire.
each side has 3 spacers. not readily visible is a spacer that centers the top part of the cup in the bushing bore. the top spacer covers that up. the top spacer is dimensioned so that when the cross member is bolted in, the top spacer fills the gap between the cross member and the frame mount seat. but really, the OEM cup is the primary contact. I'm sure there's cheaper ways to do it using 1/4" steel plate, etc. I also use a solid bushing for the front diff mount.
If I recall correctly, I raised the diff 5/8" using the method shown below. Using no rubber and directly mounting the x-member should get you a 3/4" raise in diff. location. I used some rubber and a poly bushing to minimize any possible gear "whine".
If I recall correctly, I raised the diff 5/8" using the method shown below. Using no rubber and directly mounting the x-member should get you a 3/4" raise in diff. location. I used some rubber and a poly bushing to minimize any possible gear "whine".
Hey Jason-
what do you think about this?
To me- seems to be a better balance than a solid mount. Will raise diff up about 5/8 as well.
I have my diff raised and mounted solid as well as solid motor mounts. There is no discerneble extra vibration or noise. I did it like the Power Book instructions. It is simple to do and works great.
What is the height difference? I.E. did this mod raise the differential up relative to the chassis? Much thanks for sharing.
when I did mine, I dimensioned the steel spacers so that the crossmember installed height was the same as with the rubber cushions. so there was no change in height difference. the differential was not raised. that was one of my design criteria.
there is very little, if any, transmitted gear whine. on my 78, the cabin is insulated from the frame with rubber mounts. I understand earlier years might have aluminum biscuits instead of rubber mounts. I used my 78 as my daily driver commute-to-work car for years, didn't notice any gear whine unless I really focused on it at highway speeds with engine idling or coasting.
I had seriously bad wheel hop when I installed my 5 speed with my 335 width rear tires. I bought the Tom's aluminum disk and grade 8 bolt. This could easily be fabbed up I ground the old bushing tabs off on both sides to give it a good metal to metal contact. I still use the frame side cup, but it might as well be solid. I also installed the Toms Aluminum disk snubber on the front of the differential.
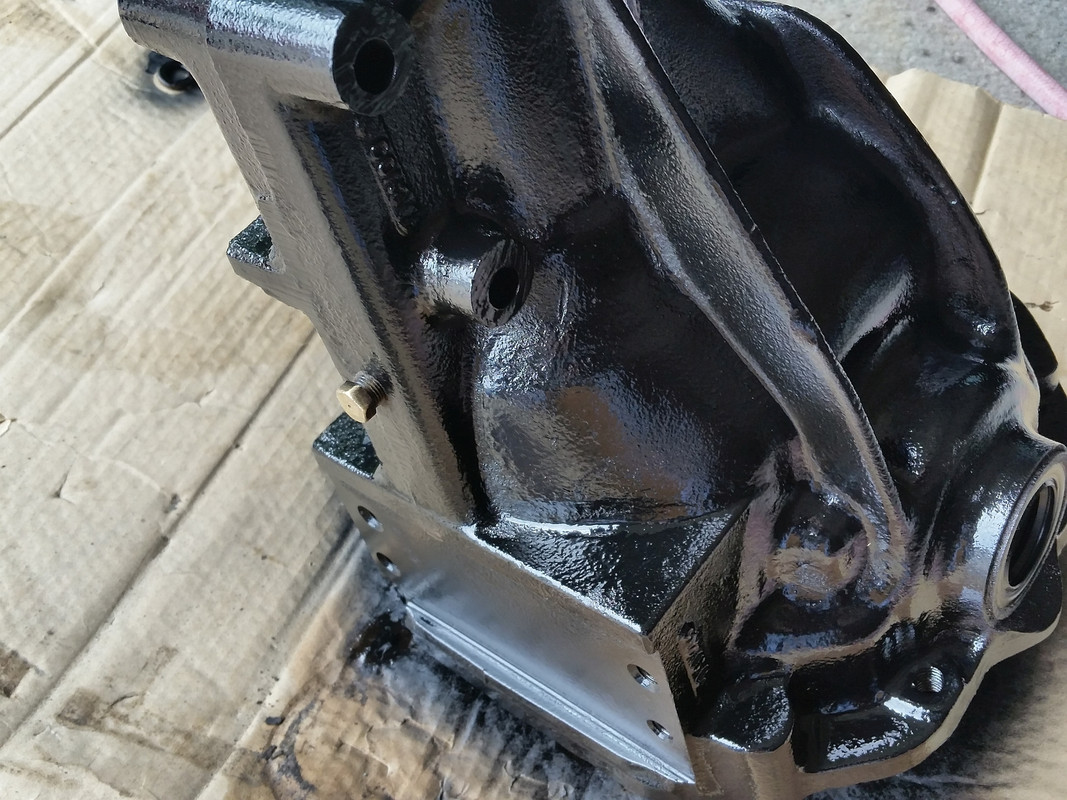
I am very Pro on using the HD rear end covers and tapping a drain plug.
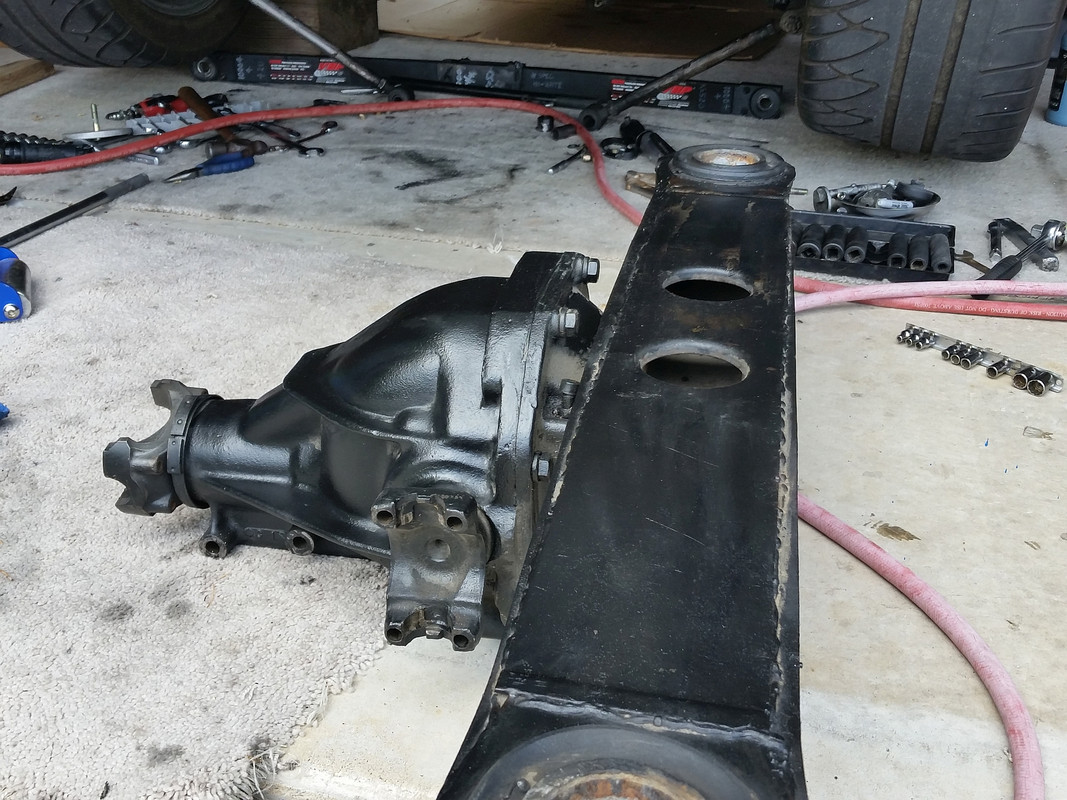
This is my spare 4.11 rear end epoxy painted and ready to go back in.
The 3.55 road Racing rear end coming out. It is a PITA to do by yourself in the garage!
I like their kit, but Vansteel didn't come out with those until recently. I did mine about 20 years ago, and it was either hard mount or rubber bushings back then so I improvised and made my own poly bushings out of some large casters from a farm store near me .
If I did it today, I would probably just use that kit. Plus, Delrin has a higher durometer than poly, which I would prefer.


 .
.