


Astro Vent Rebuild
Thread Starter
Race Director


Joined: Feb 1999
Posts: 19,659
Likes: 34
From: Lenoir City Tennessee
Ci 6, 8 & 10 Veteran
St. Jude Donor '05-'06-'07-'08-'09-'10-'11-'12-'13-'14-'15
I decided today while I was hanging out to remove the Astro Vent and give it a redo. It is working like it is supposed to but I know it needs redoing. When I was taking it out, it is obvious that Bubba has had his hands in this area as well, of course. I bought some replacement drain tubes to install while I was back there but there is so much silicone back there, I am not going to tear into that until I feel like replacing the carpet again. I guess I will just keep the tubes in my tool box till that time.
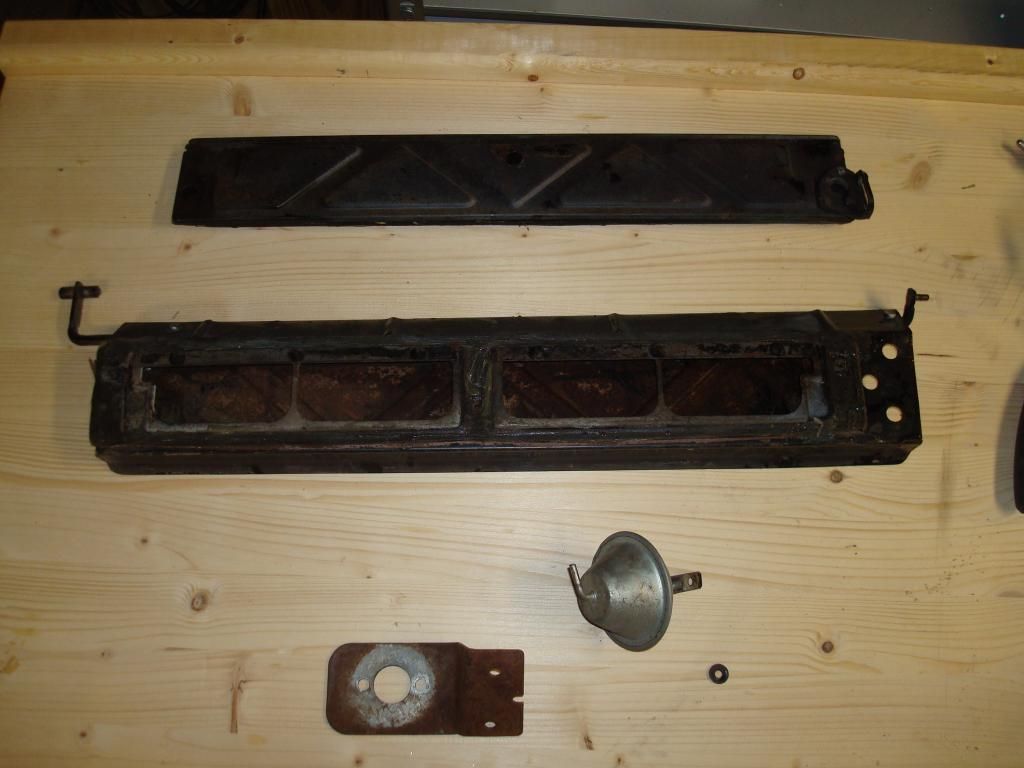
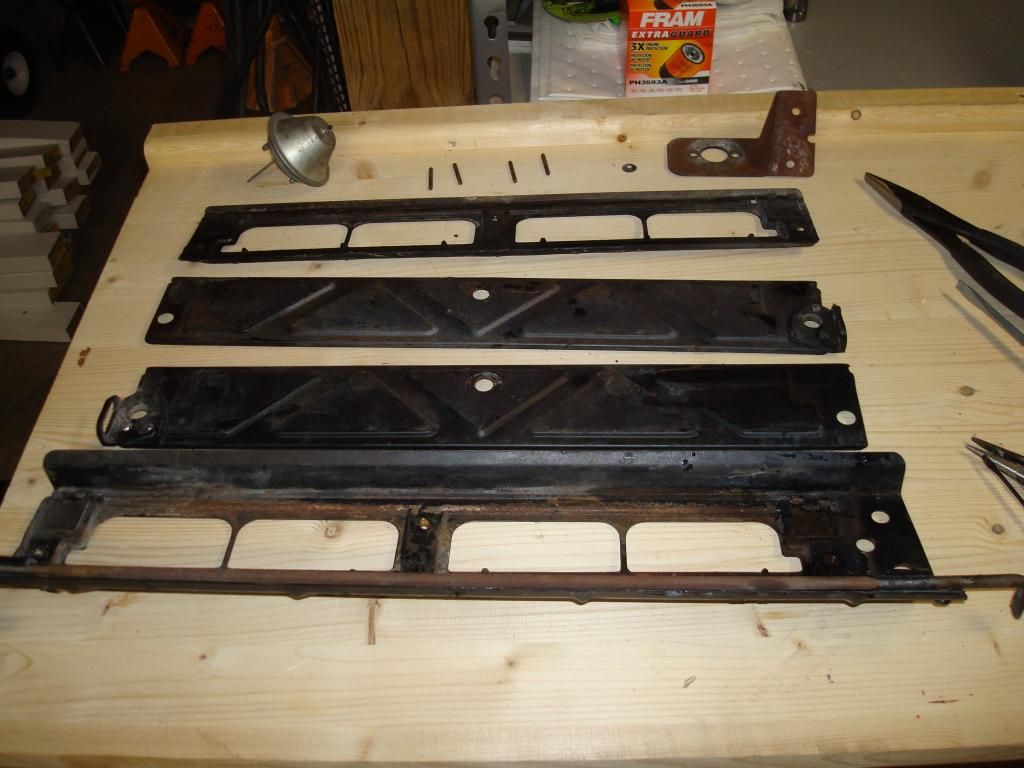
Here are a few pics of my astro vent as it came out. There were only about 4 screws holding the whole unit in place!! I will see if I can fix that too as I go about this one.
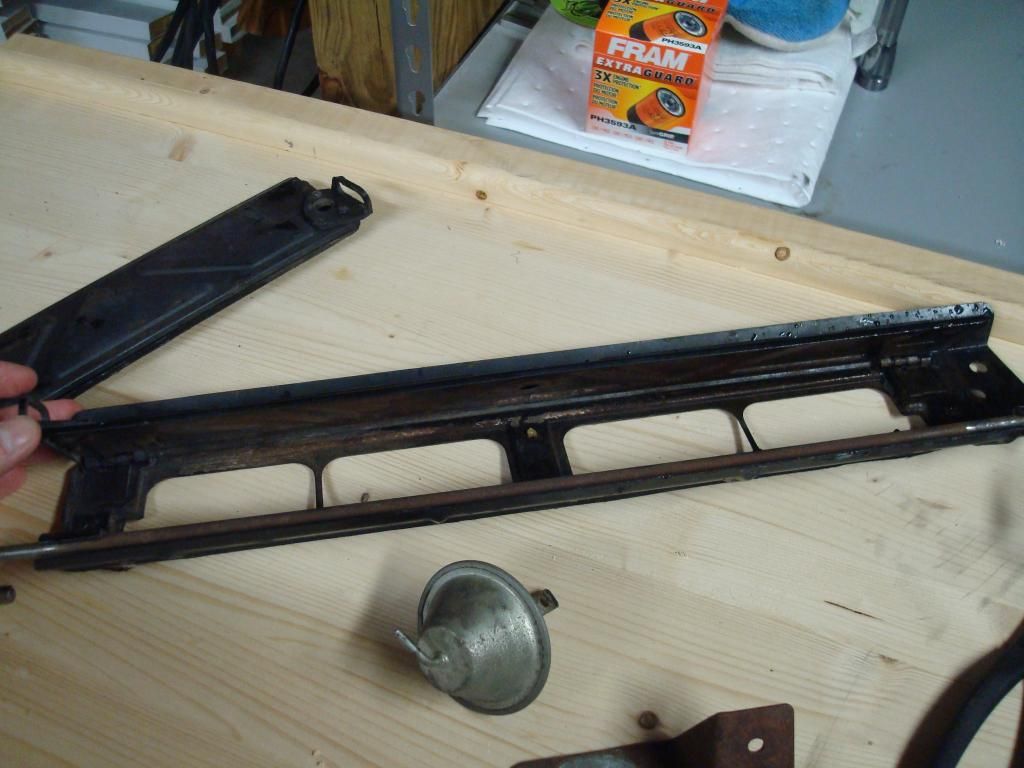
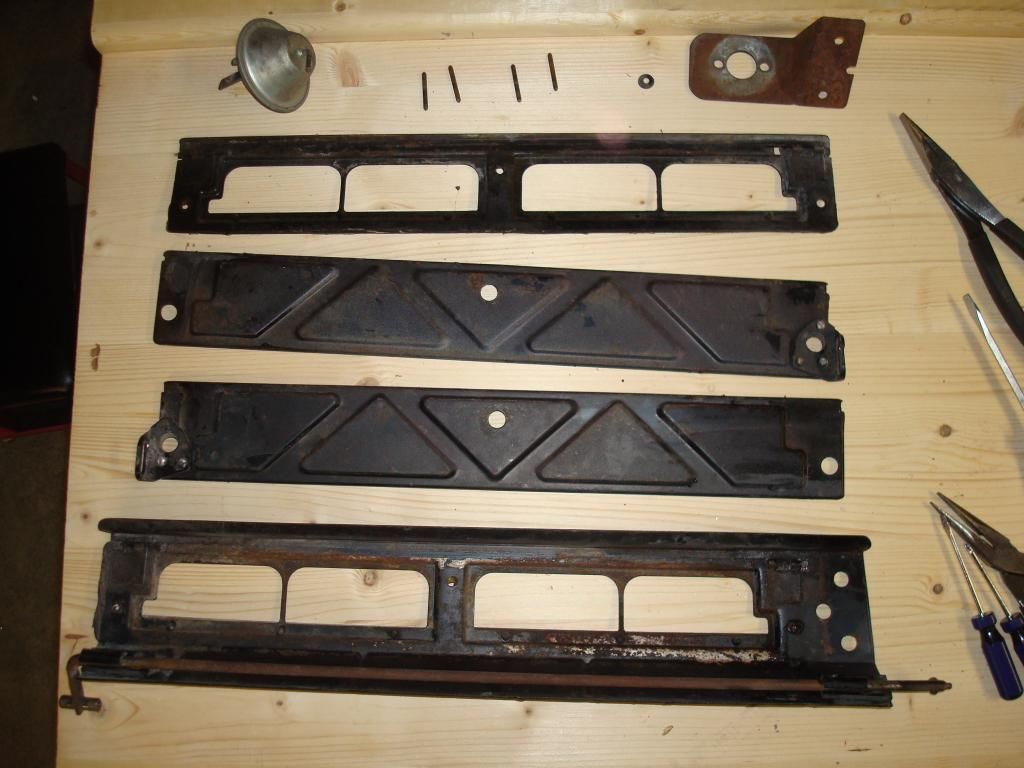
This is a picture of the doors as they came out. The doors are linked together in the middle by the hinge on the top left of the bottom door. The vacuum tank pulls or pushes the doors open and closed on the left end of the bottom door.
This is the door that is operated by the vacuum canister. It mounts on the passengers side.
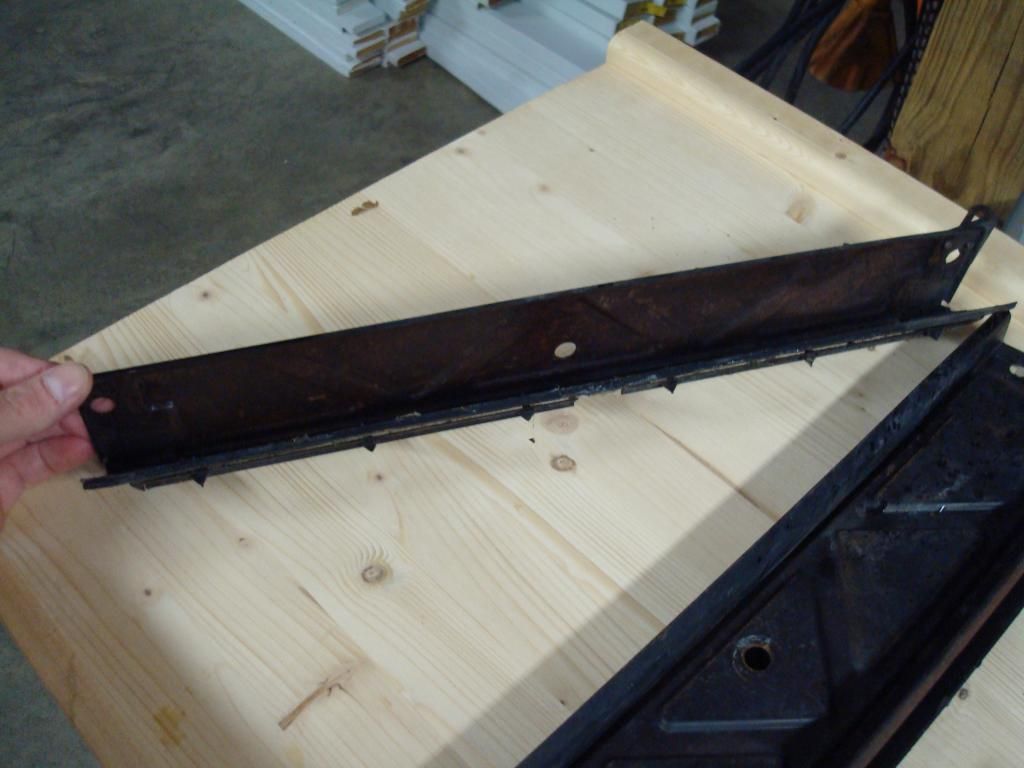
This would be the door on the drivers side.
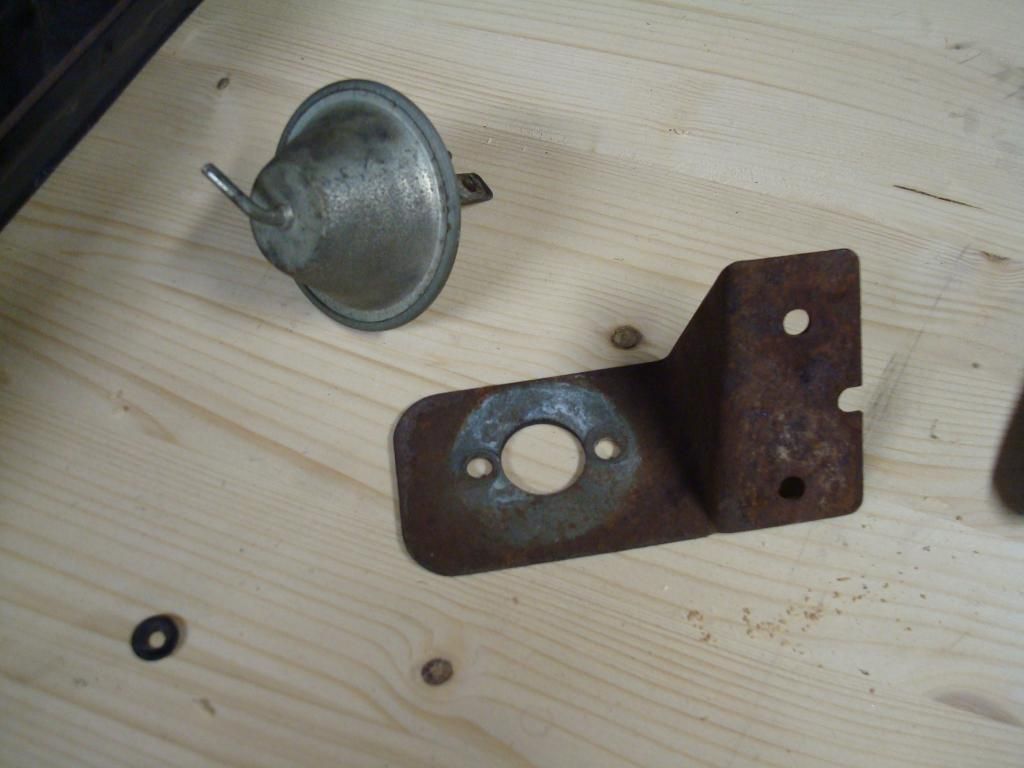
The vacuum canister and its mounting bracket.
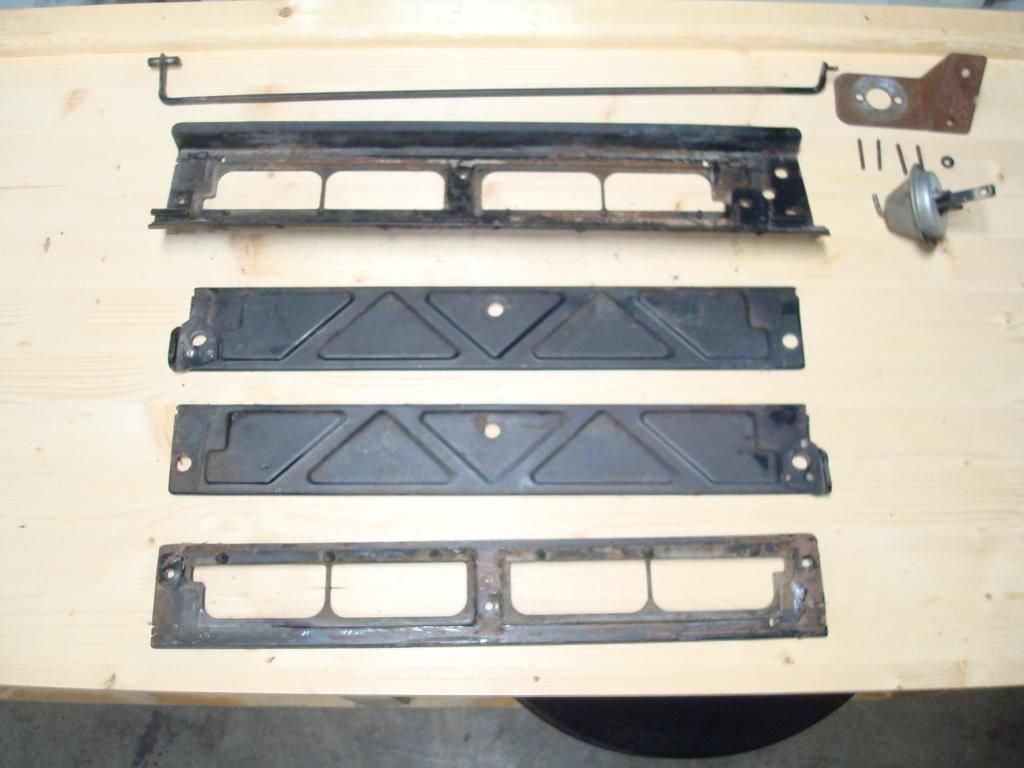
This is a pic of both doors with the hinge pins removed (pins at top) and the doors separated. This is before I started removing all of the silicone that bubba has used for what reason, I cannot guess.
This is the doors completely apart and ready for some serious cleaning.
All of this, with the exception of the canister will get media blasted and powder coated so it will be nice and pretty before it gets hidden again. Hope to have it all done in the next week or so.
Here are a few pics of my astro vent as it came out. There were only about 4 screws holding the whole unit in place!! I will see if I can fix that too as I go about this one.
This is a picture of the doors as they came out. The doors are linked together in the middle by the hinge on the top left of the bottom door. The vacuum tank pulls or pushes the doors open and closed on the left end of the bottom door.
This is the door that is operated by the vacuum canister. It mounts on the passengers side.
This would be the door on the drivers side.
The vacuum canister and its mounting bracket.
This is a pic of both doors with the hinge pins removed (pins at top) and the doors separated. This is before I started removing all of the silicone that bubba has used for what reason, I cannot guess.
This is the doors completely apart and ready for some serious cleaning.
All of this, with the exception of the canister will get media blasted and powder coated so it will be nice and pretty before it gets hidden again. Hope to have it all done in the next week or so.

Melting Slicks


Joined: Feb 2004
Posts: 2,111
Likes: 32
From: Damascus MD
I decided today while I was hanging out to remove the Astro Vent and give it a redo. It is working like it is supposed to but I know it needs redoing. When I was taking it out, it is obvious that Bubba has had his hands in this area as well, of course. I bought some replacement drain tubes to install while I was back there but there is so much silicone back there, I am not going to tear into that until I feel like replacing the carpet again. I guess I will just keep the tubes in my tool box till that time.
Here are a few pics of my astro vent as it came out. There were only about 4 screws holding the whole unit in place!! I will see if I can fix that too as I go about this one.
This is a picture of the doors as they came out. The doors are linked together in the middle by the hinge on the top left of the bottom door. The vacuum tank pulls or pushes the doors open and closed on the left end of the bottom door.
This is the door that is operated by the vacuum canister. It mounts on the passengers side.
This would be the door on the drivers side.
The vacuum canister and its mounting bracket.
This is a pic of both doors with the hinge pins removed (pins at top) and the doors separated. This is before I started removing all of the silicone that bubba has used for what reason, I cannot guess.
This is the doors completely apart and ready for some serious cleaning.
All of this, with the exception of the canister will get media blasted and powder coated so it will be nice and pretty before it gets hidden again. Hope to have it all done in the next week or so.
Looking good.
Bill
Thread Starter
Race Director
Joined: Feb 1999
Posts: 19,659
Likes: 34
From: Lenoir City Tennessee
Ci 6, 8 & 10 Veteran
St. Jude Donor '05-'06-'07-'08-'09-'10-'11-'12-'13-'14-'15
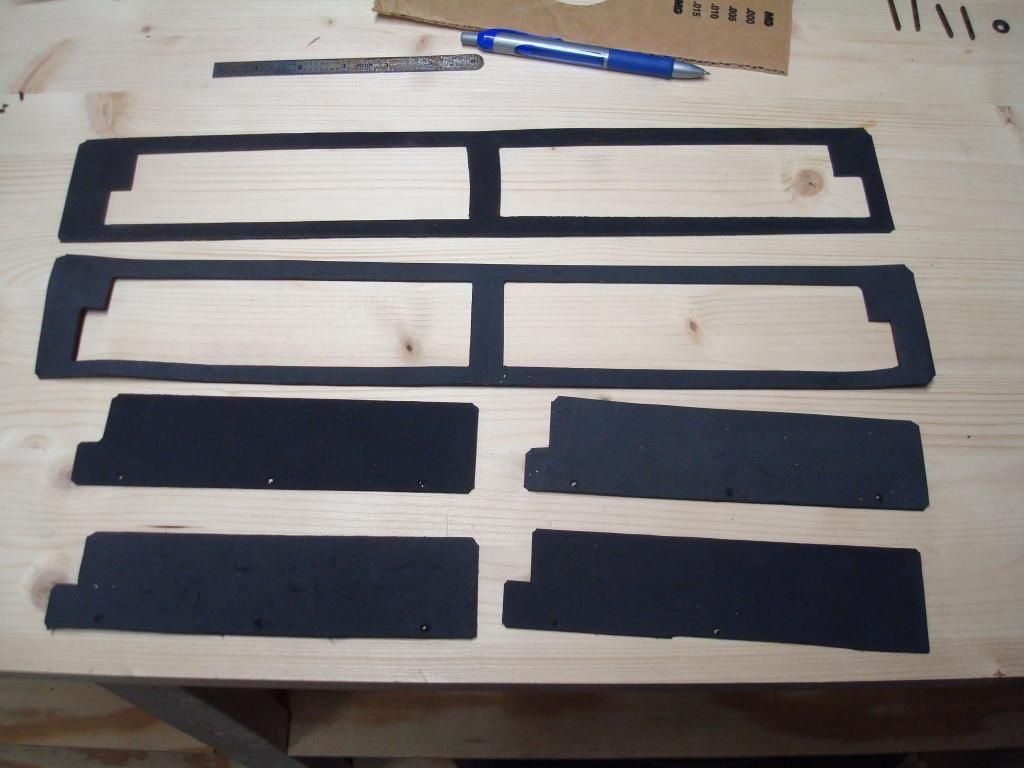
Not a whole lot of progress the last few days have been made on this project with all that has been going on. I was able to make my gaskets today and they are ready to go. I am going to stop by Lowes on the way home from lunch and buy a new wire wheel for my grinder and clean everything up and start some powdercoating this afternoon if the weather holds out.
Here is a pic of the homemade gaskets. Easily made using closed cell foam sheets picked up at one of those hobby stores.
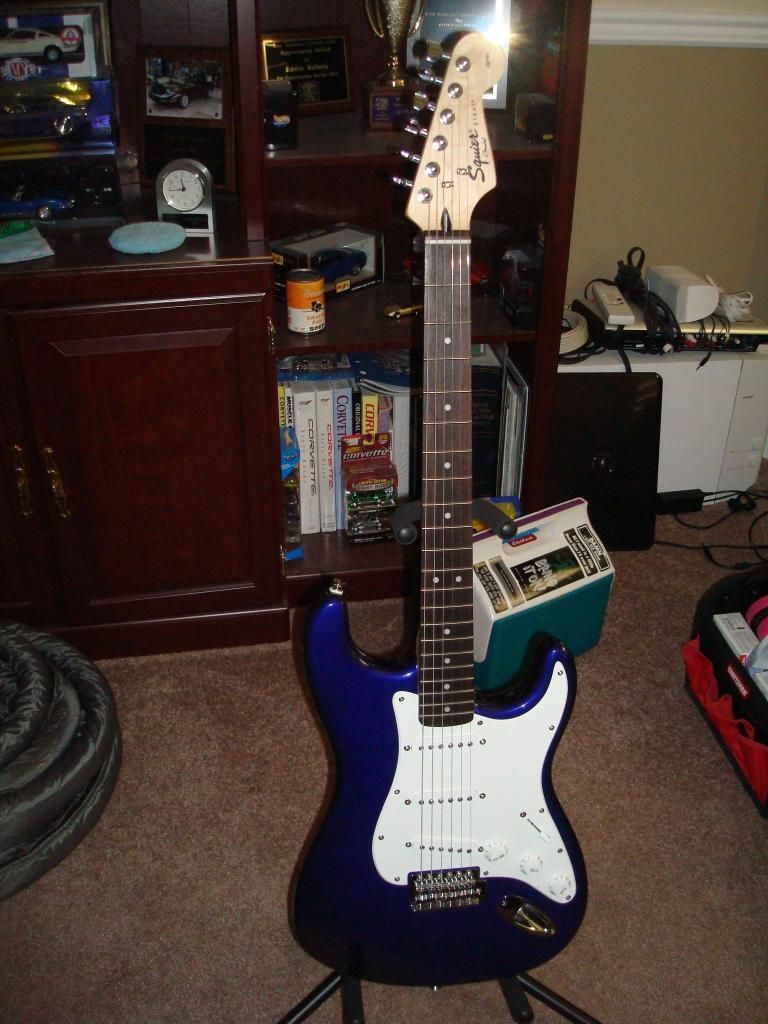
Another reason I have not been making too much progress. My wife bought this for me and I have never played before but I don't want to put it down just yet. Sore fingers and all.
Here is a pic of the homemade gaskets. Easily made using closed cell foam sheets picked up at one of those hobby stores.
Another reason I have not been making too much progress. My wife bought this for me and I have never played before but I don't want to put it down just yet. Sore fingers and all.
Team Owner


Joined: Jun 2000
Posts: 38,923
Likes: 1,482
From: Southbound
Cruise-In II Veteran
Safety Car


Joined: Sep 2011
Posts: 4,118
Likes: 1,230
From: Madeira Beach, FL
2024 C8 of the Year Finalist - Unmodified
2024 C2 of the Year Finalist - Unmodified
2023 C2 of the Year Finalist - Unmodified
2020 C3 of the Year Finalist - Unmodified
Great work
The silicon was probably a quick fix to a stuck open vent which was leaking.
Marshal
The silicon was probably a quick fix to a stuck open vent which was leaking.
Marshal
Parts Sherpa
Joined: Feb 2017
Posts: 520
Likes: 98
From: ICE boneyard, Pa

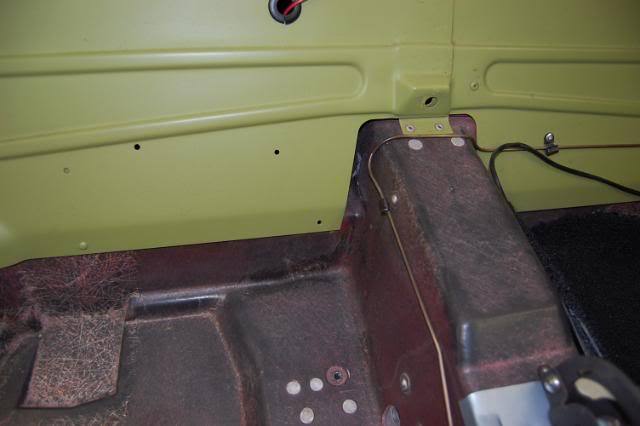
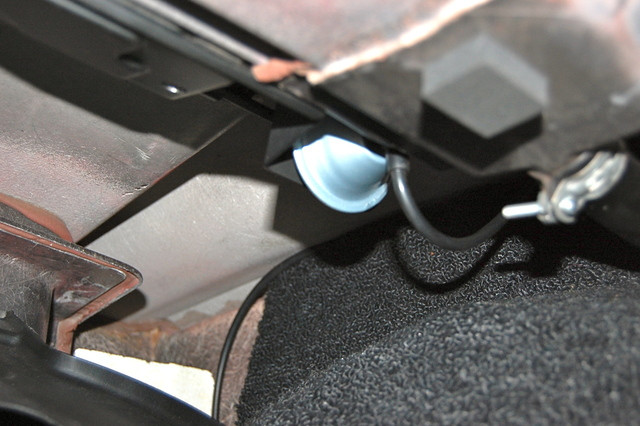
I have discovered this is a project I must undertake while I have the interior out of the car and discovered damaged vacuum line that runs to this. I suspect this is the source of my leak

Instructor

Joined: Jun 2016
Posts: 119
Likes: 5
From: Spain
Photobucket sucks but you can still get to the pictures here: http://smg.photobucket.com/user/Eddi...Vent%20Rebuild
Melting Slicks


Joined: Oct 2010
Posts: 2,276
Likes: 337
From: "ɹǝpunuʍop", Adelaide, South Australia
pictures work for fine me in firefox.
just apply a browser fix for photobucket to whatever browser you use.
just apply a browser fix for photobucket to whatever browser you use.
Last edited by riverracer au; Apr 23, 2018 at 07:14 AM.
Corvette Stories
The Best of Corvette for Corvette Enthusiasts

Top 10 Most Expensive Corvettes Ever Sold on Bring A Trailer
Brett Foote
10 Things Every Corvette Owner Needs (2026 Edition)
Michael S. Palmer
8 Most "Only Corvette Owners Understand" Quirks and Problems
Pouria Savadkouei
10 Reasons the C6 Z06 is Still A Performance Benchmark After 20 Years
Joe Kucinski
How Much Horsepower Every Corvette Engine "LOST" in 1972
Joe Kucinski
Top 10 DOs and DON'Ts for Protecting Your Convertible Top!
Michael S. Palmer
Top 10 Most Explosive Corvettes Ever Made: Power-to-Weight Ratio Ranked!
Joe Kucinski
150 hp to 1,250 hp: Every Corvette Generation Compared by the Specs That Matter
Joe Kucinski
8 Coolest Corvette Pace Cars (and Replicas) of All Time
Verdad GallardoTeam Owner


Joined: Sep 2006
Posts: 31,273
Likes: 4,366
From: Westminster Maryland
Hi EC3,
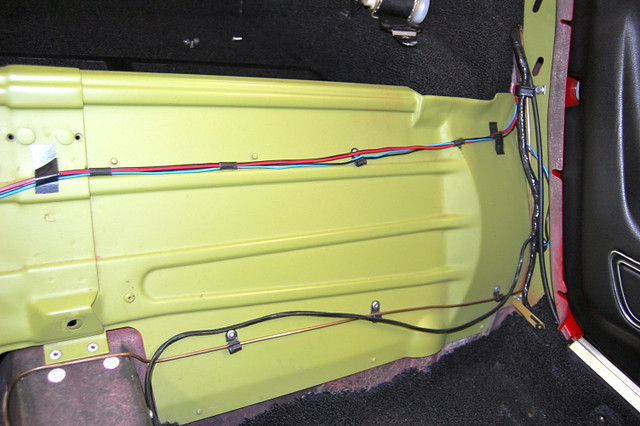
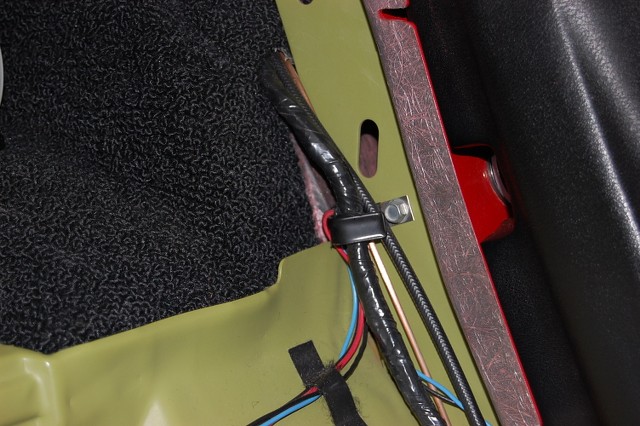
The vacuum supply line for the Astro Vent doors is a small copper tube that runs back on the side of transmission tunnel from the heater/defroster controller, across the seat bulkhead, and then up the driver's side lock pillar.
It then changes from copper to a rubber hose that connects to a small vacuum pot that controls the operation of the flapper doors.
Coupes have the pot on the left side while convertibles have it on the right side.
Regards,
Alan
Last edited by Alan 71; Apr 23, 2018 at 08:34 AM.

Le Mans Master


Joined: Nov 2004
Posts: 5,253
Likes: 768
From: Waterford WI
Two thoughts:
1). Coupes have all that assembly fastened to the car with screws. Convertibles have them riveted in.
2). I have worked on a number of convertibles—the small metal vacuum on those has been steel, not copper.
1). Coupes have all that assembly fastened to the car with screws. Convertibles have them riveted in.
2). I have worked on a number of convertibles—the small metal vacuum on those has been steel, not copper.

