When you click on links to various merchants on this site and make a purchase, this can result in this site earning a commission. Affiliate programs and affiliations include, but are not limited to, the eBay Partner Network.
I am in the middle of a frame off on a 1974 coupe started mid Sept 2014. Struggled to find good info on body mount replacements so I thought I would post how I did it. I changed both #2, one #3 and both #4. This is on the #2, will show the others later, hope this helps folks.
frame is ready for the body, hopefully by end of summer body will be done
The frame before
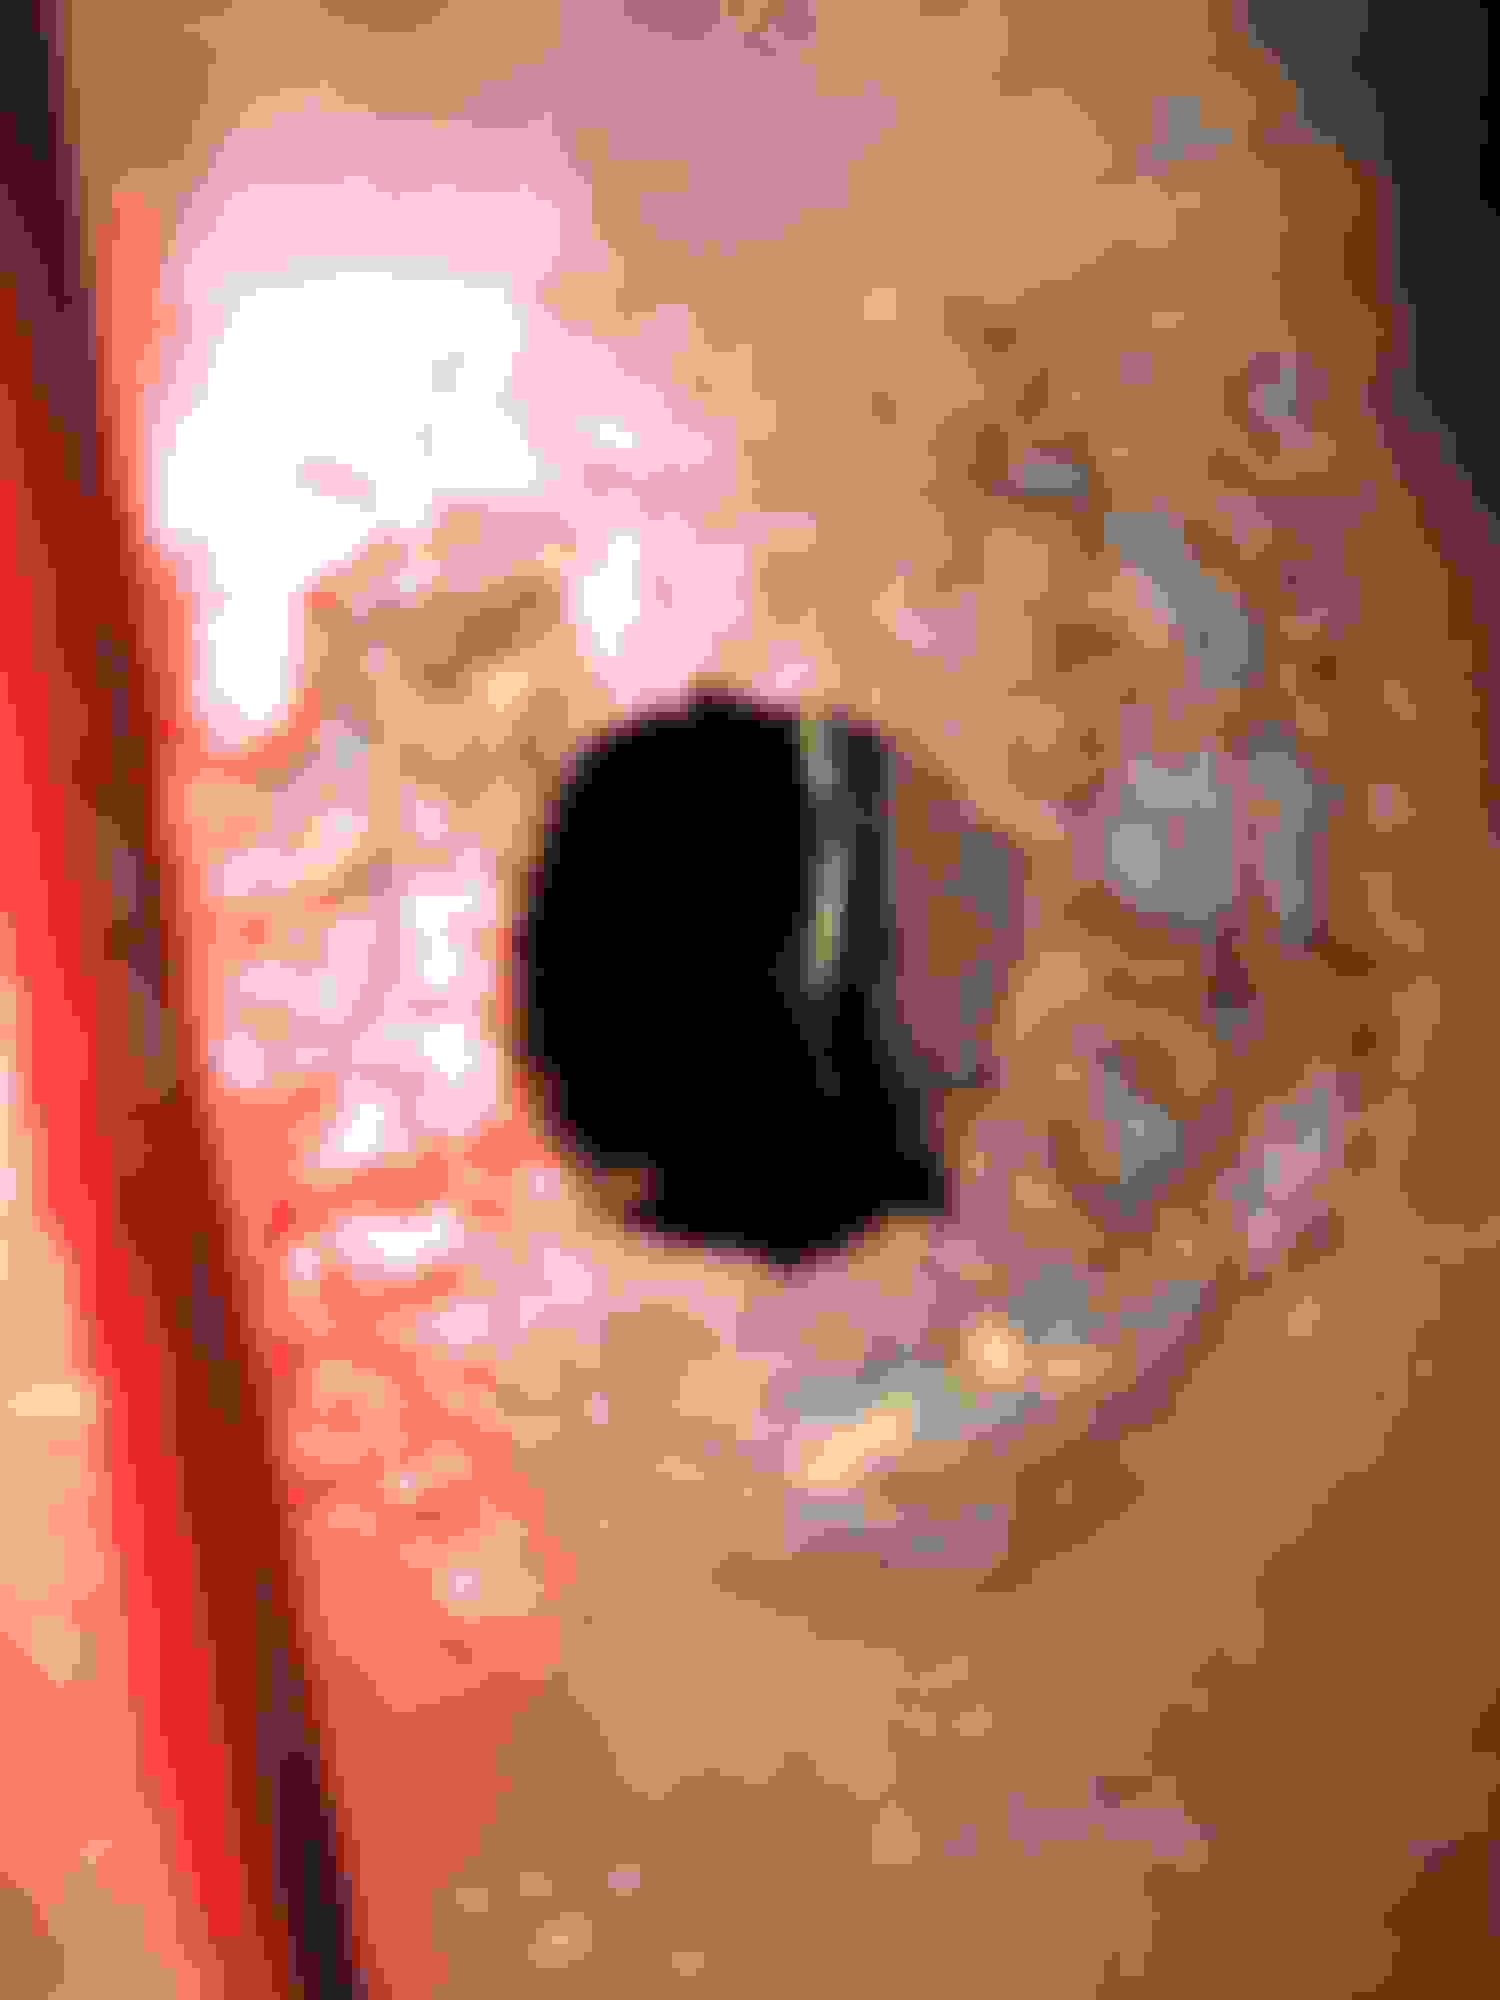
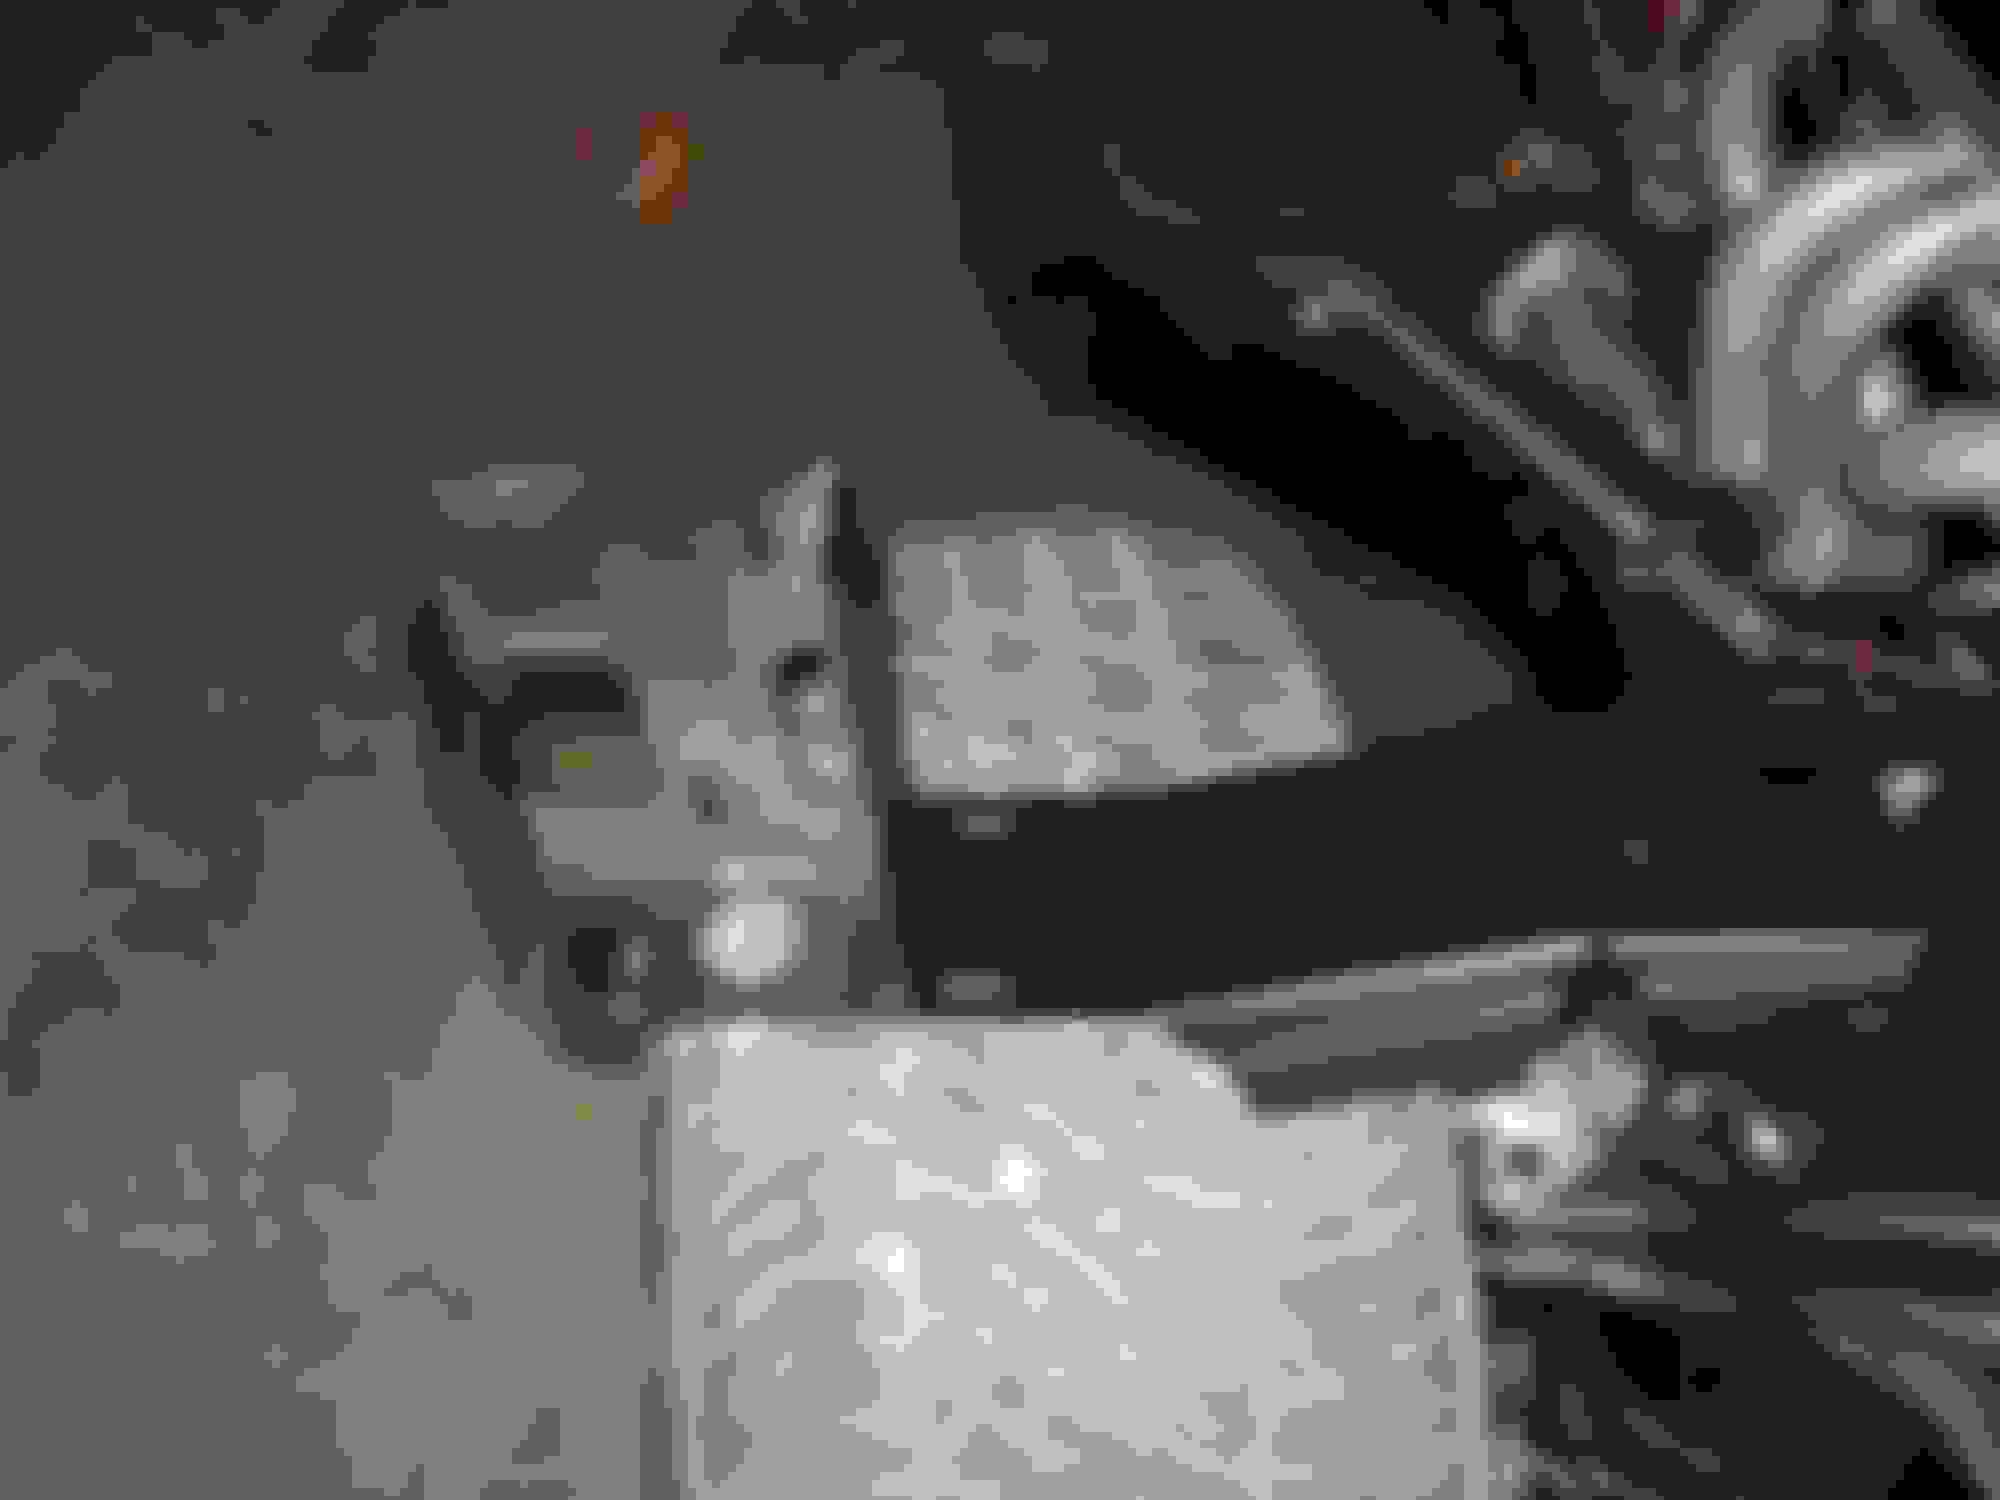
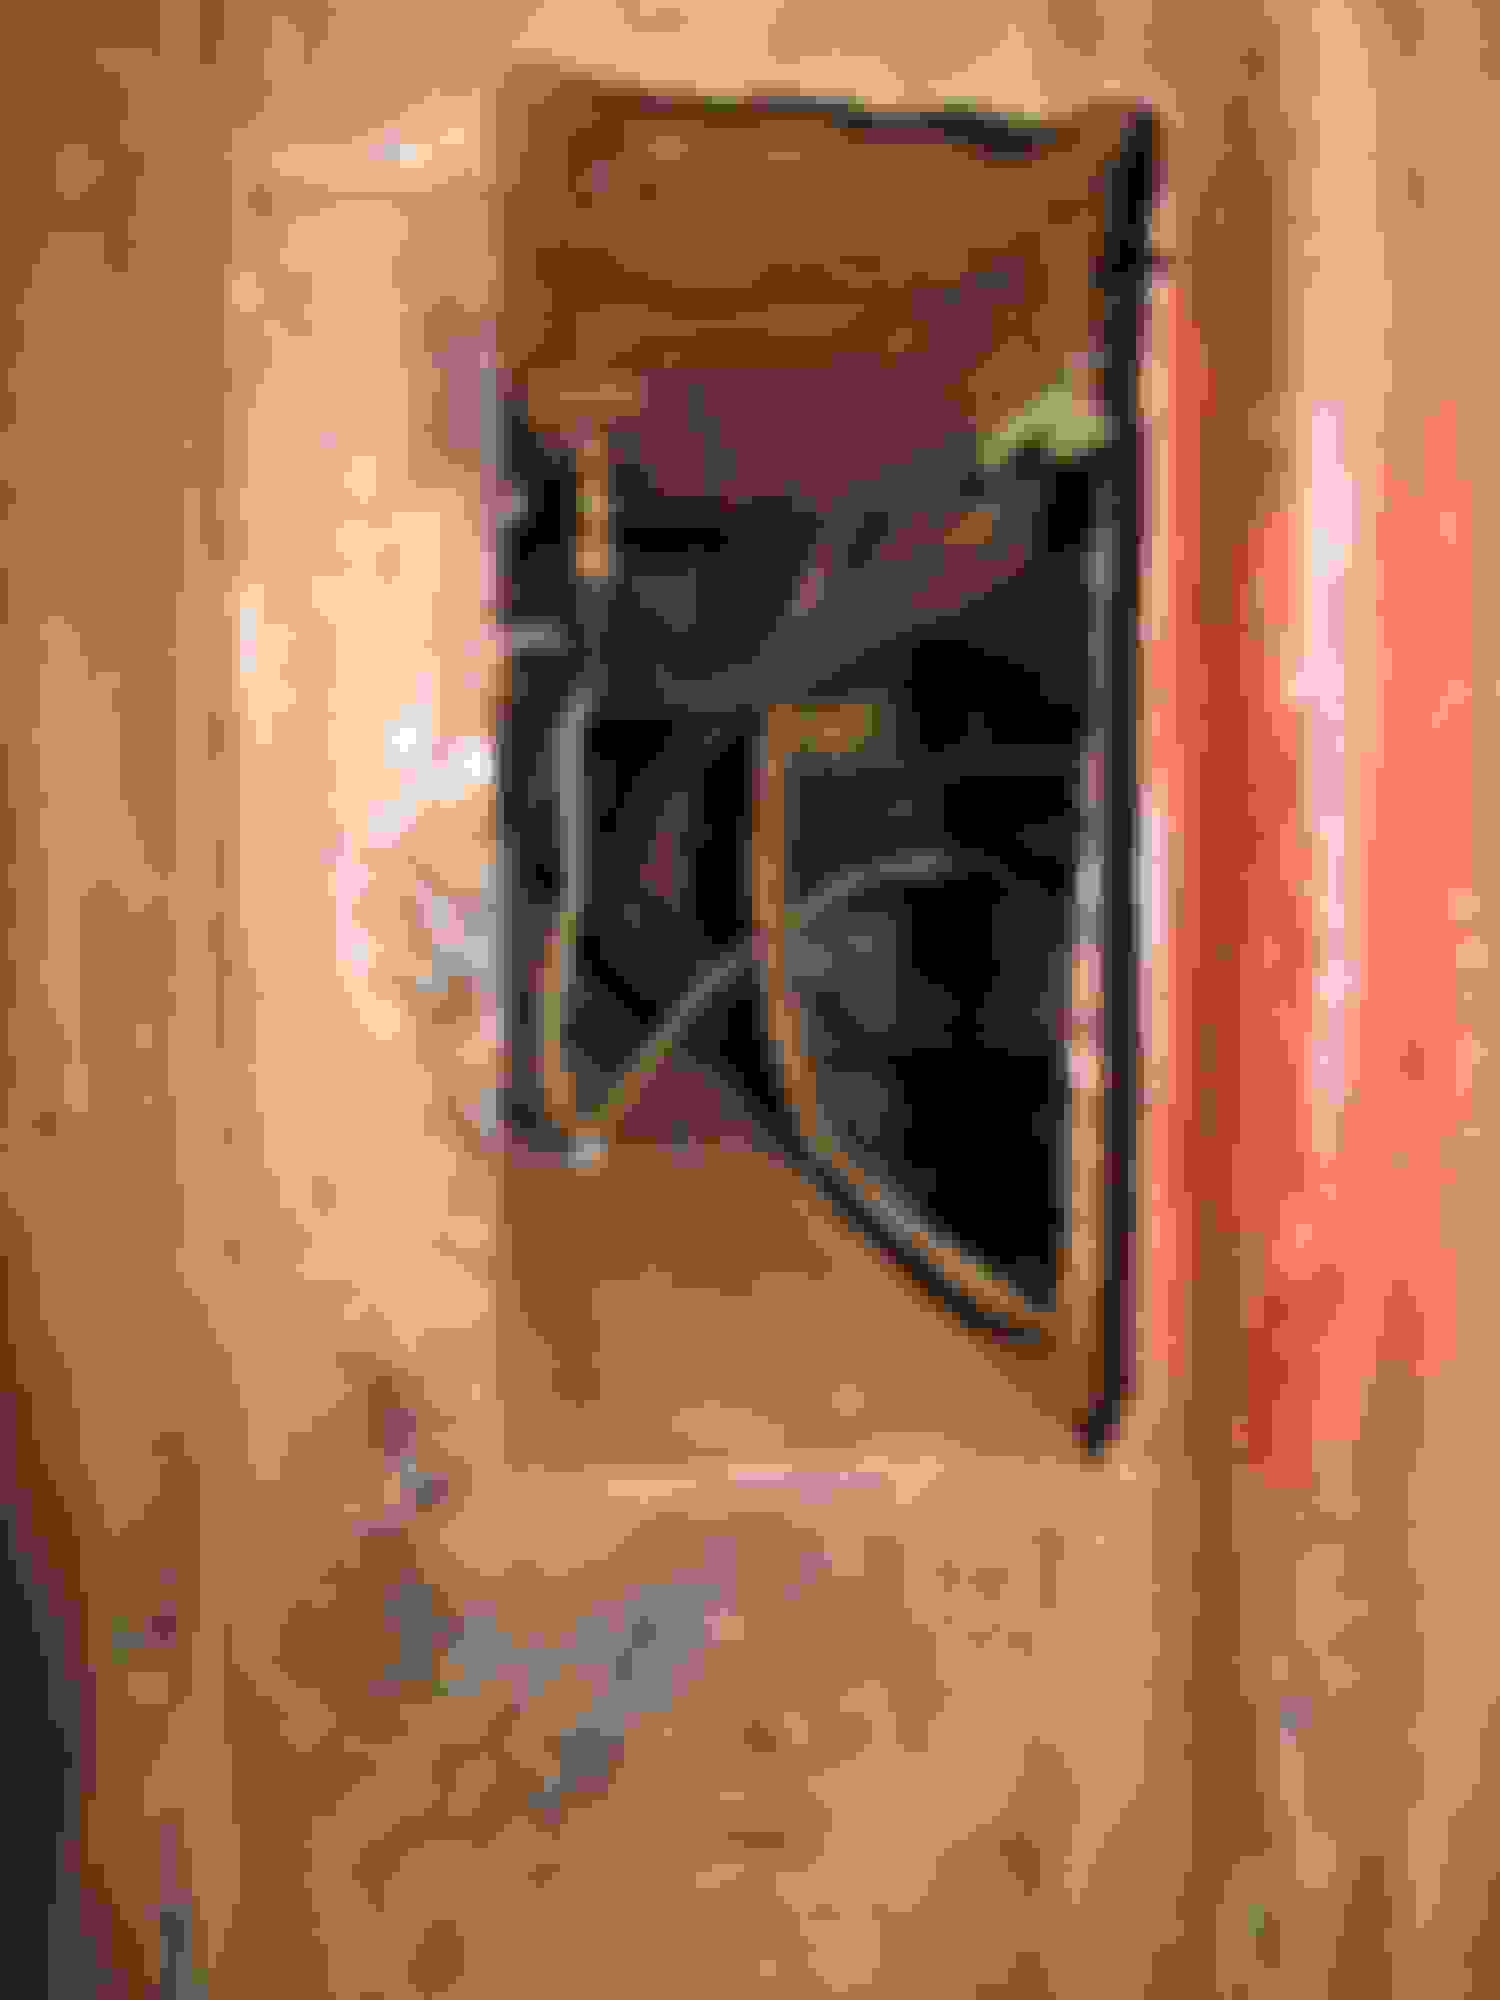
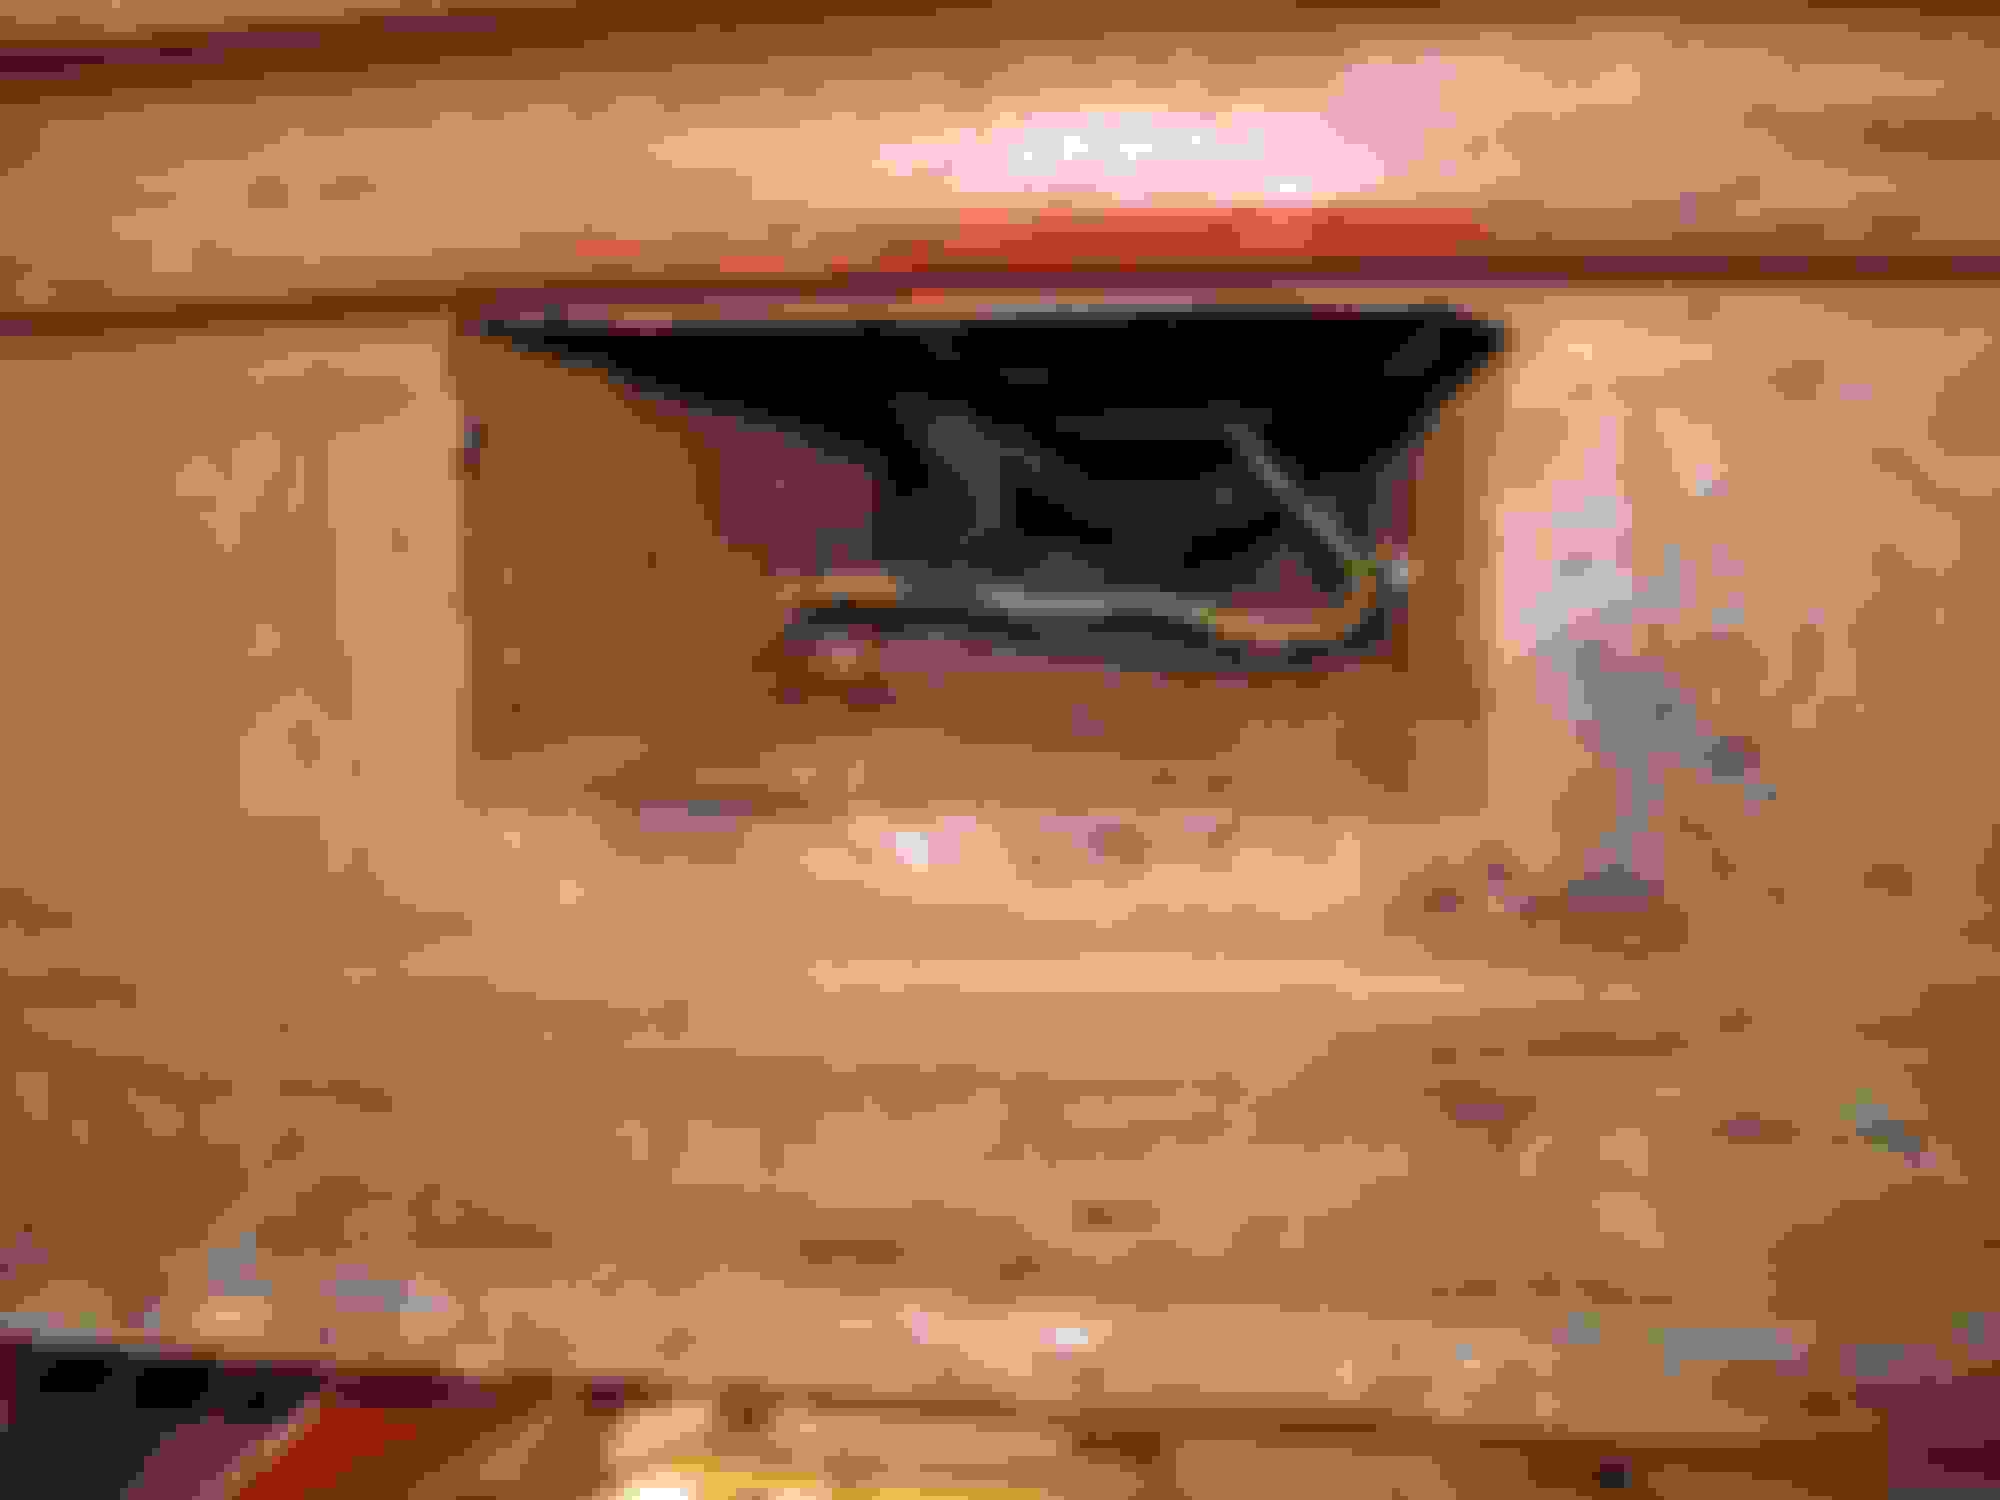
Here are some pics of the corrosion in the #2 area, as you can see they definitely needed replaced. Rest of rockers and birdcage is rust free
the bottom of #2
Top behind kick panels
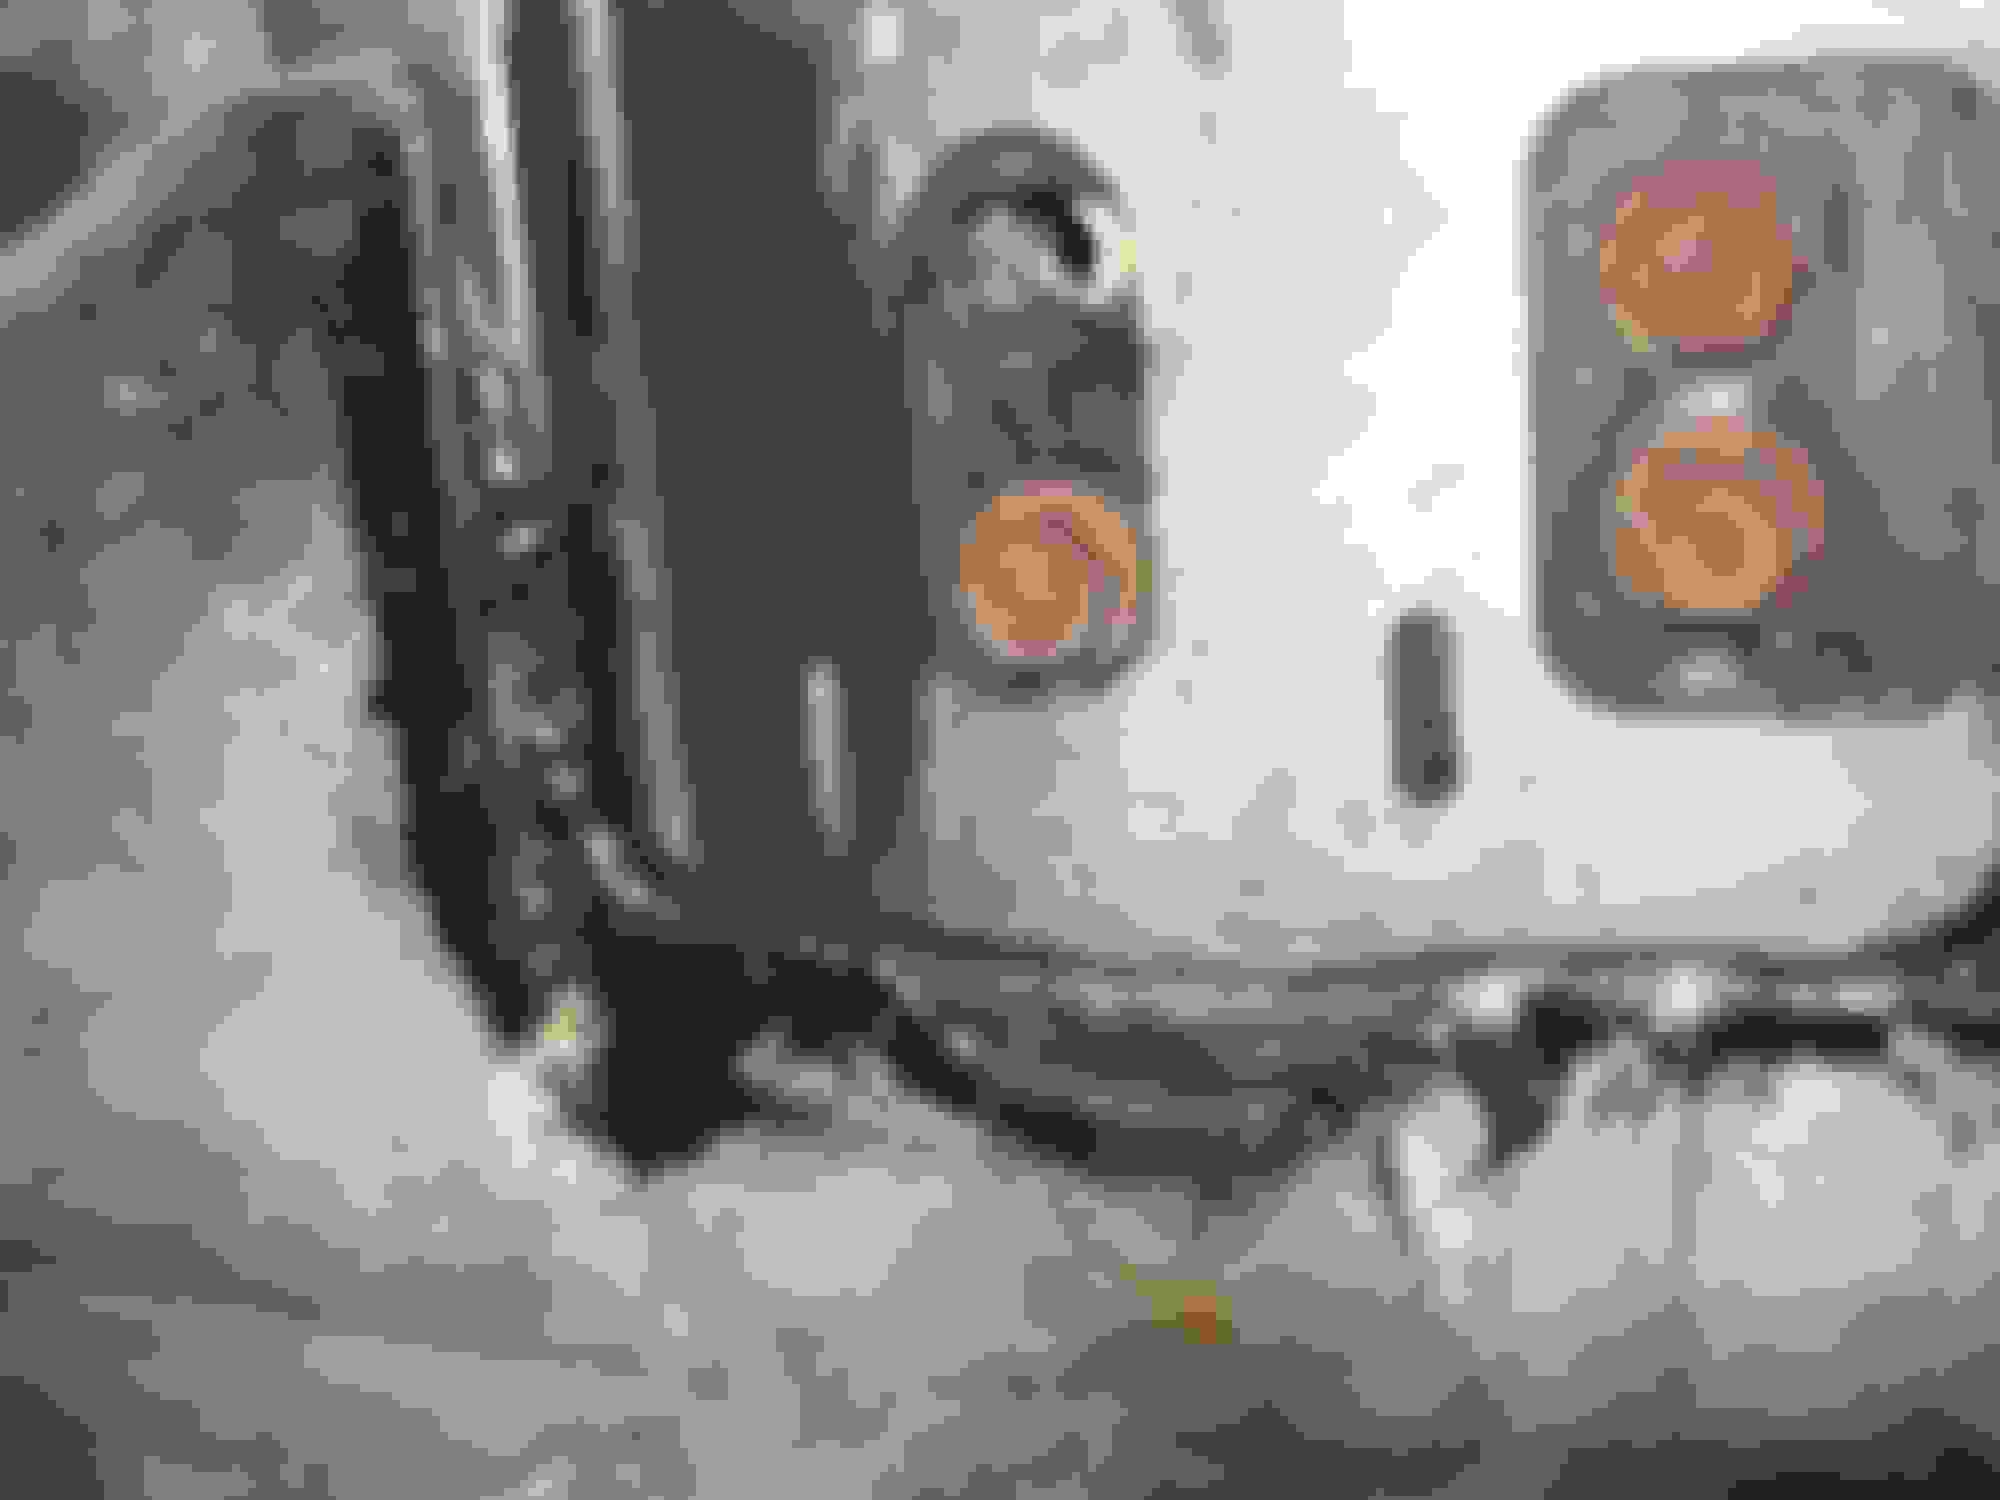
These are the repair kits I got from Zip, they slide up from the bottom and are welded in place. The front hole lines up with the #1 body mount hole, if you secure the repair kit with a bolt to the #1 body mount it helps insure the #2 hole will line up when welded, I will show pics of this
The part that says LH slides up from the bottom in the #2 hole, the front hole is the #1 mount I talked about.
This welds up to the bottom of the rocker channel
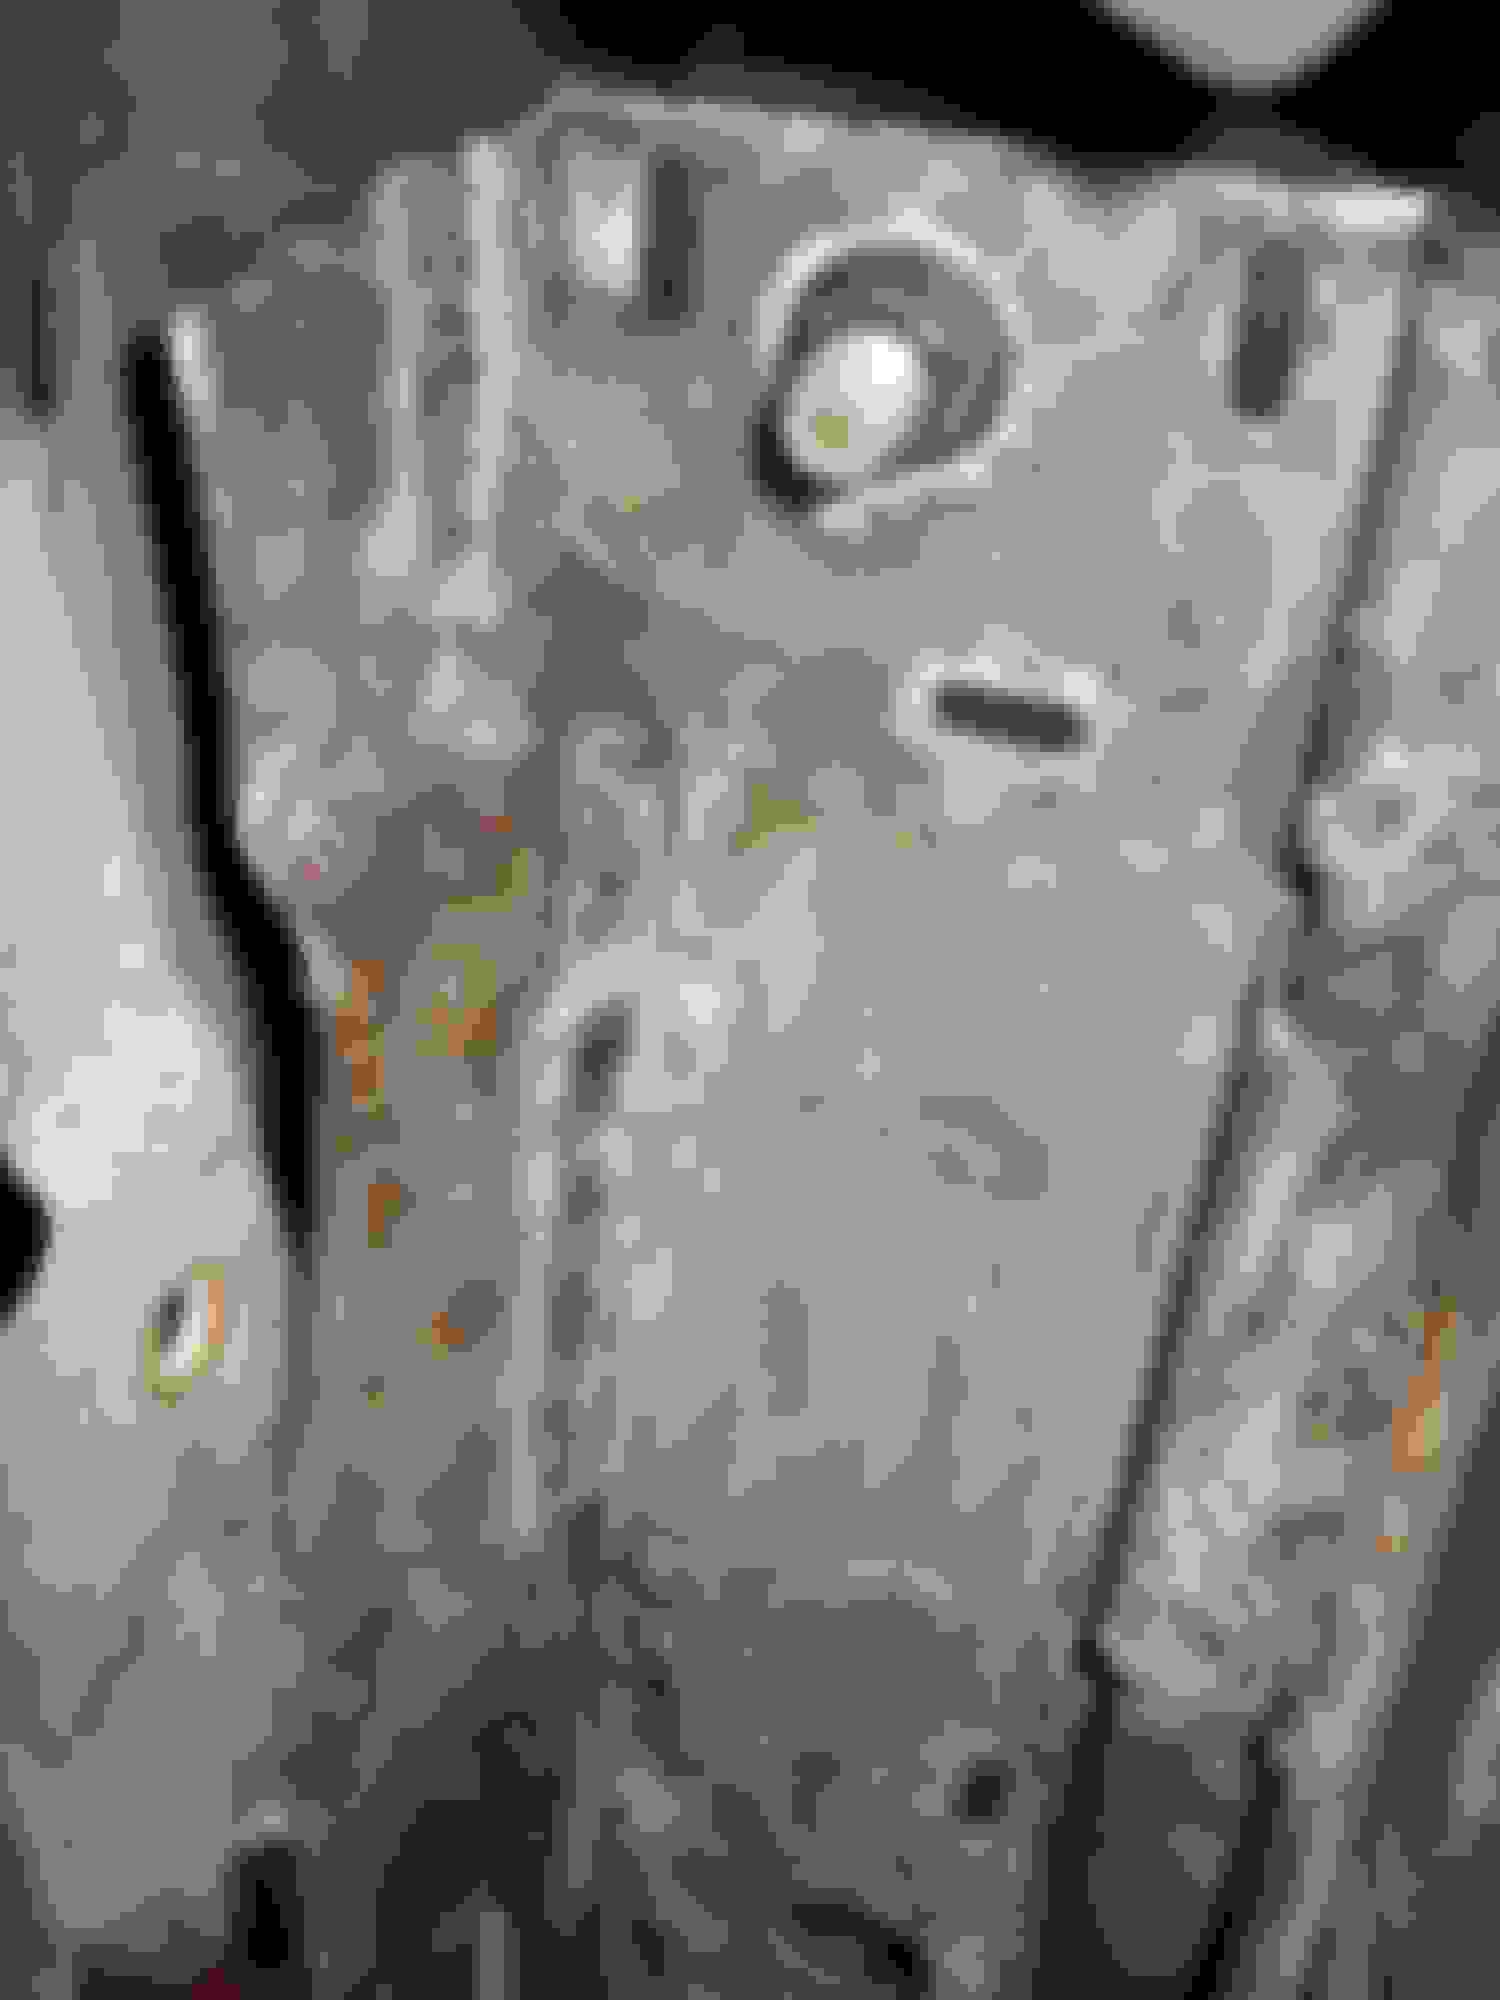
Next pics show the rusted out part of #2 area that is cut out, this is where the repair kit slides up into from the bottom
Used a sawzall cutting from the bottom, the area to cut out goes from wall to wall of the area behind the kick panel
cleaned and ready for test fit
Next pics show the repair kit installed, slid up from bottom and welded in place
Need to remove the lower door hinge bolts to get the kit to slide up
I put POR15 on the birdcage structure before I installed the repair kit
looking up from bottom. The metal has been metal prepped for POR15
You can see the bolt installed in the #1 hole for alignment
Next pics show after I applied the POR15 and completed the repair
No more corrosion and this is stronger than the original part of the body
I had to use 2 bolts from the hinge mount with a piece of metal under the heads to hold the repair kit against the birdcage structure before welding
#1 hole lines up so #2 will also. I measured the frame mounts to confirm the body mounts
Hi s,
Very nicely done!
The pictures show pretty clearly just what was done so I'd think they'll be helpful to people with #2 body mount and lower hinge pillar troubles!
Good Luck as you continue!
Regards,
Alan
I am in the middle of a frame off on a 1974 coupe started mid Sept 2014. Struggled to find good info on body mount replacements so I thought I would post how I did it. I changed both #2, one #3 and both #4. This is on the #2, will show the others later, hope this helps folks.
frame is ready for the body, hopefully by end of summer body will be done
The frame before
Here are some pics of the corrosion in the #2 area, as you can see they definitely needed replaced. Rest of rockers and birdcage is rust free
the bottom of #2
Top behind kick panels
These are the repair kits I got from Zip, they slide up from the bottom and are welded in place. The front hole lines up with the #1 body mount hole, if you secure the repair kit with a bolt to the #1 body mount it helps insure the #2 hole will line up when welded, I will show pics of this
The part that says LH slides up from the bottom in the #2 hole, the front hole is the #1 mount I talked about.
This welds up to the bottom of the rocker channel
Next pics show the rusted out part of #2 area that is cut out, this is where the repair kit slides up into from the bottom
Used a sawzall cutting from the bottom, the area to cut out goes from wall to wall of the area behind the kick panel
cleaned and ready for test fit
Next pics show the repair kit installed, slid up from bottom and welded in place
Need to remove the lower door hinge bolts to get the kit to slide up
I put POR15 on the birdcage structure before I installed the repair kit
looking up from bottom. The metal has been metal prepped for POR15
You can see the bolt installed in the #1 hole for alignment
Next pics show after I applied the POR15 and completed the repair
No more corrosion and this is stronger than the original part of the body
I had to use 2 bolts from the hinge mount with a piece of metal under the heads to hold the repair kit against the birdcage structure before welding
#1 hole lines up so #2 will also. I measured the frame mounts to confirm the body mounts
Not sure I explained everything as understandable
I think everything was explained very well and the picture are very helpful. Good information and illustrations.
Thanks
r
I also did this repair using 3 piece rocker channel inserts made by Caledonia Corvettes in Michigan, for each side. I believe when I did mine the instructions said that the A and B pillar sections were inserted, then the center channel installed and welded in place. Next the body lowered onto the frame, shimmed, and bolted back in place checking for proper door gaps. Then last the A and B inserts were welded in place.
Looks like your A section was welded before the body was installed.
It's been a while since I did mine, but from what I remember, I thought I would just mention how I did it.
Your work looks good. Good luck with the restoration.

 04-11-2015, 08:45 PM