When you click on links to various merchants on this site and make a purchase, this can result in this site earning a commission. Affiliate programs and affiliations include, but are not limited to, the eBay Partner Network.
Another thing that has been bothering me is the interior dye. I know for a fact that it is too dark. It is supposed to be "Bright Blue". Clearly whatever job happened here is flaking off.
I want the original Bright Blue back. That is a stunning color.
Then these gaps need attention too...
So, let's start by yanking the seats...
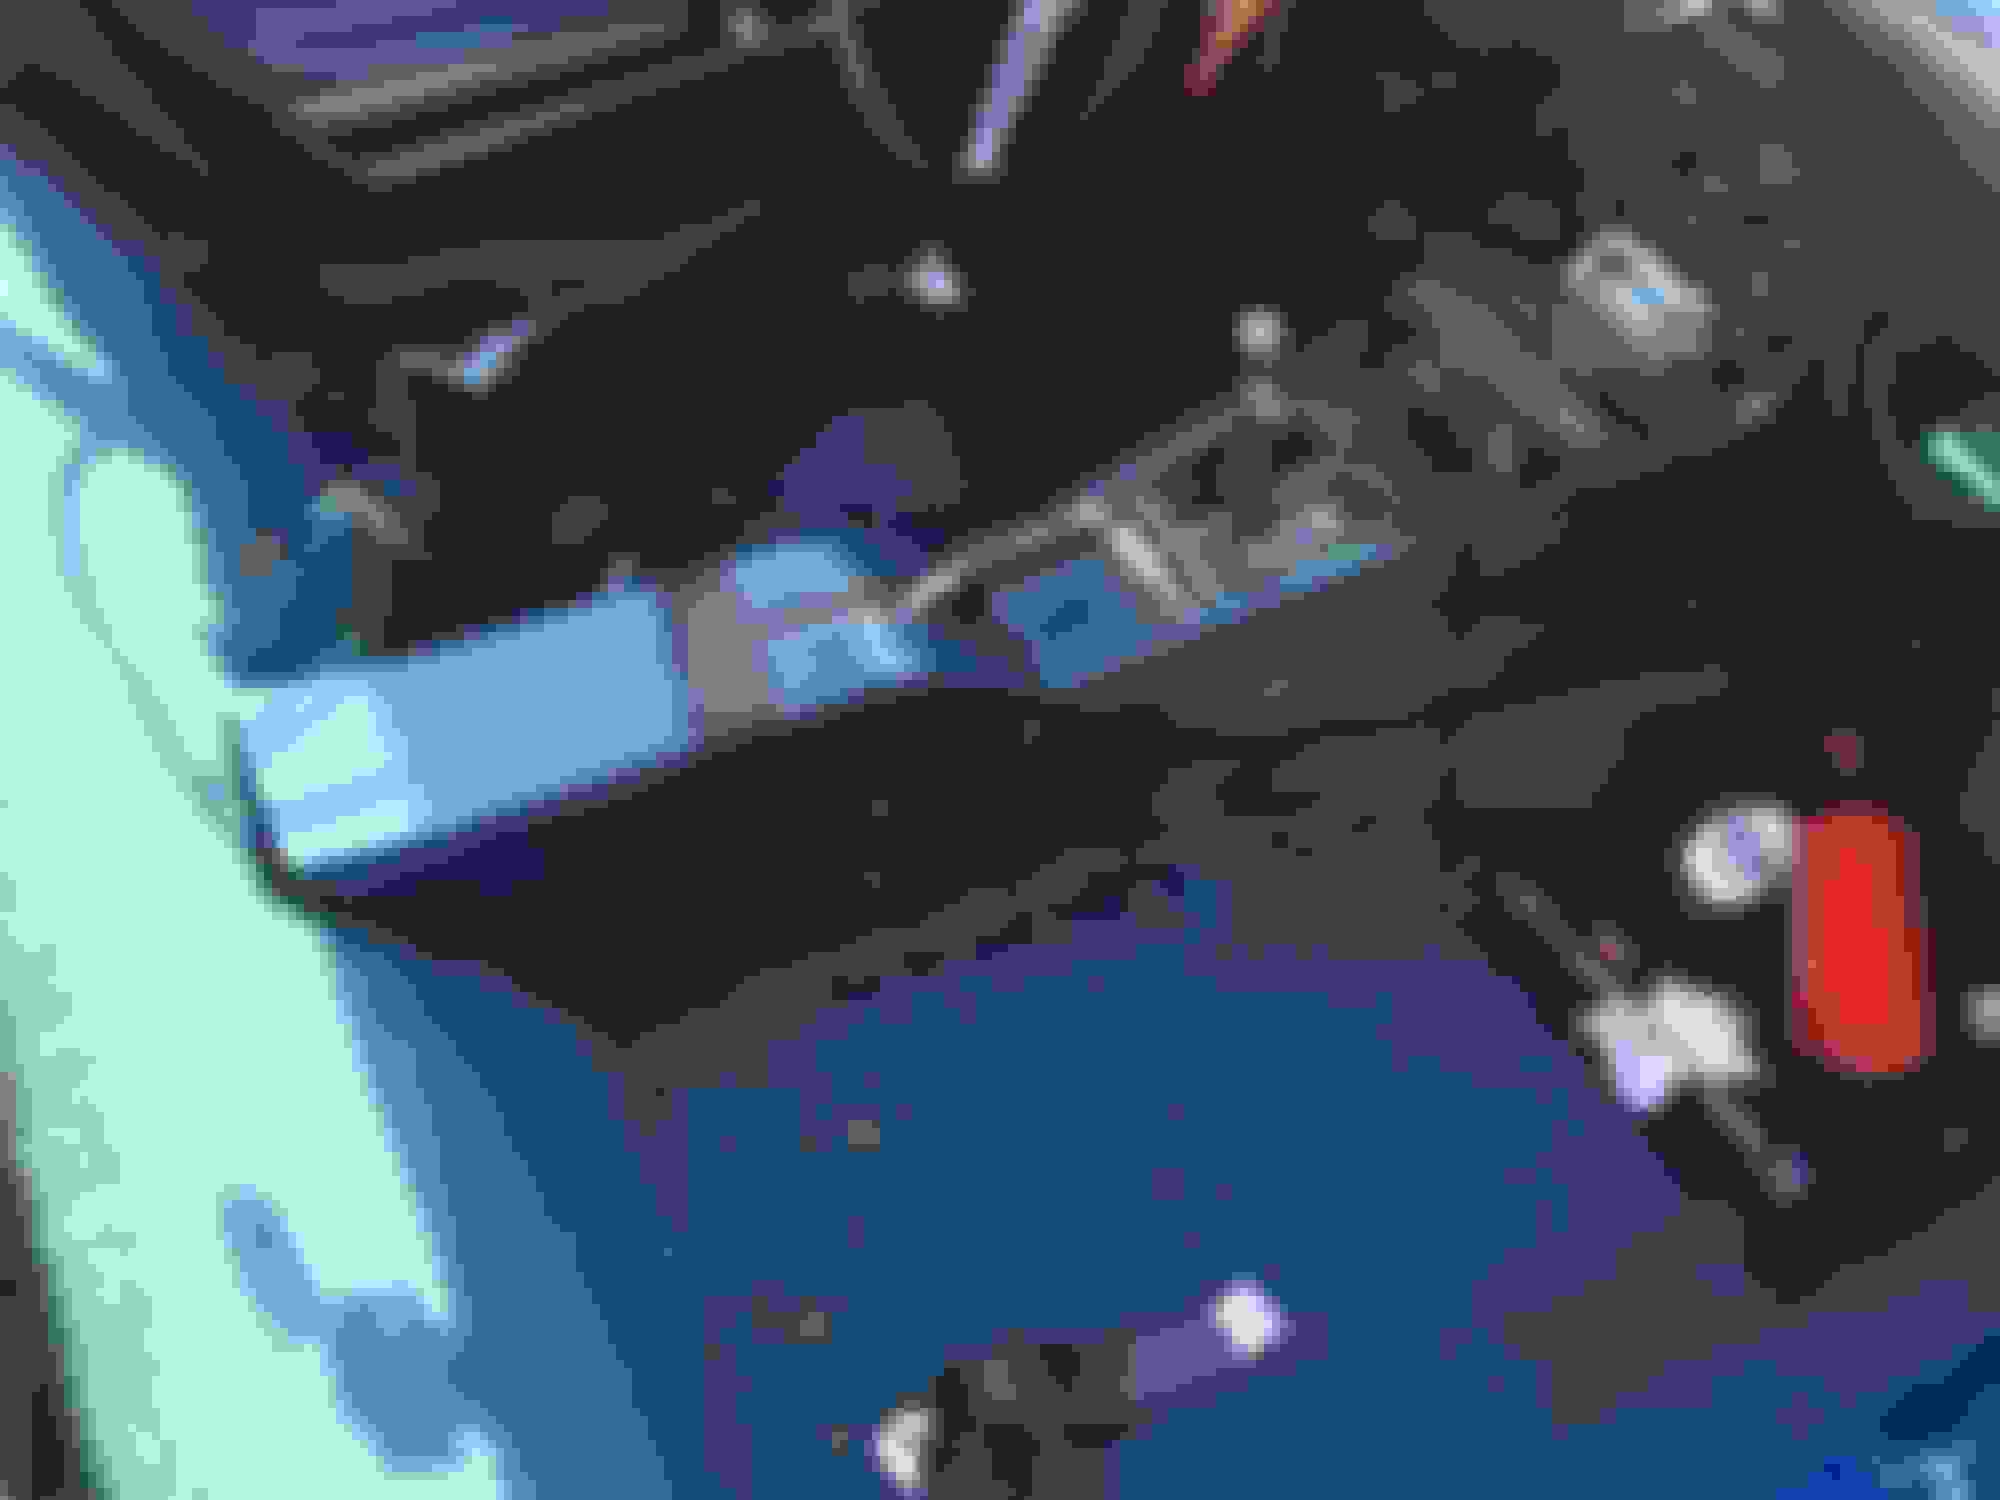
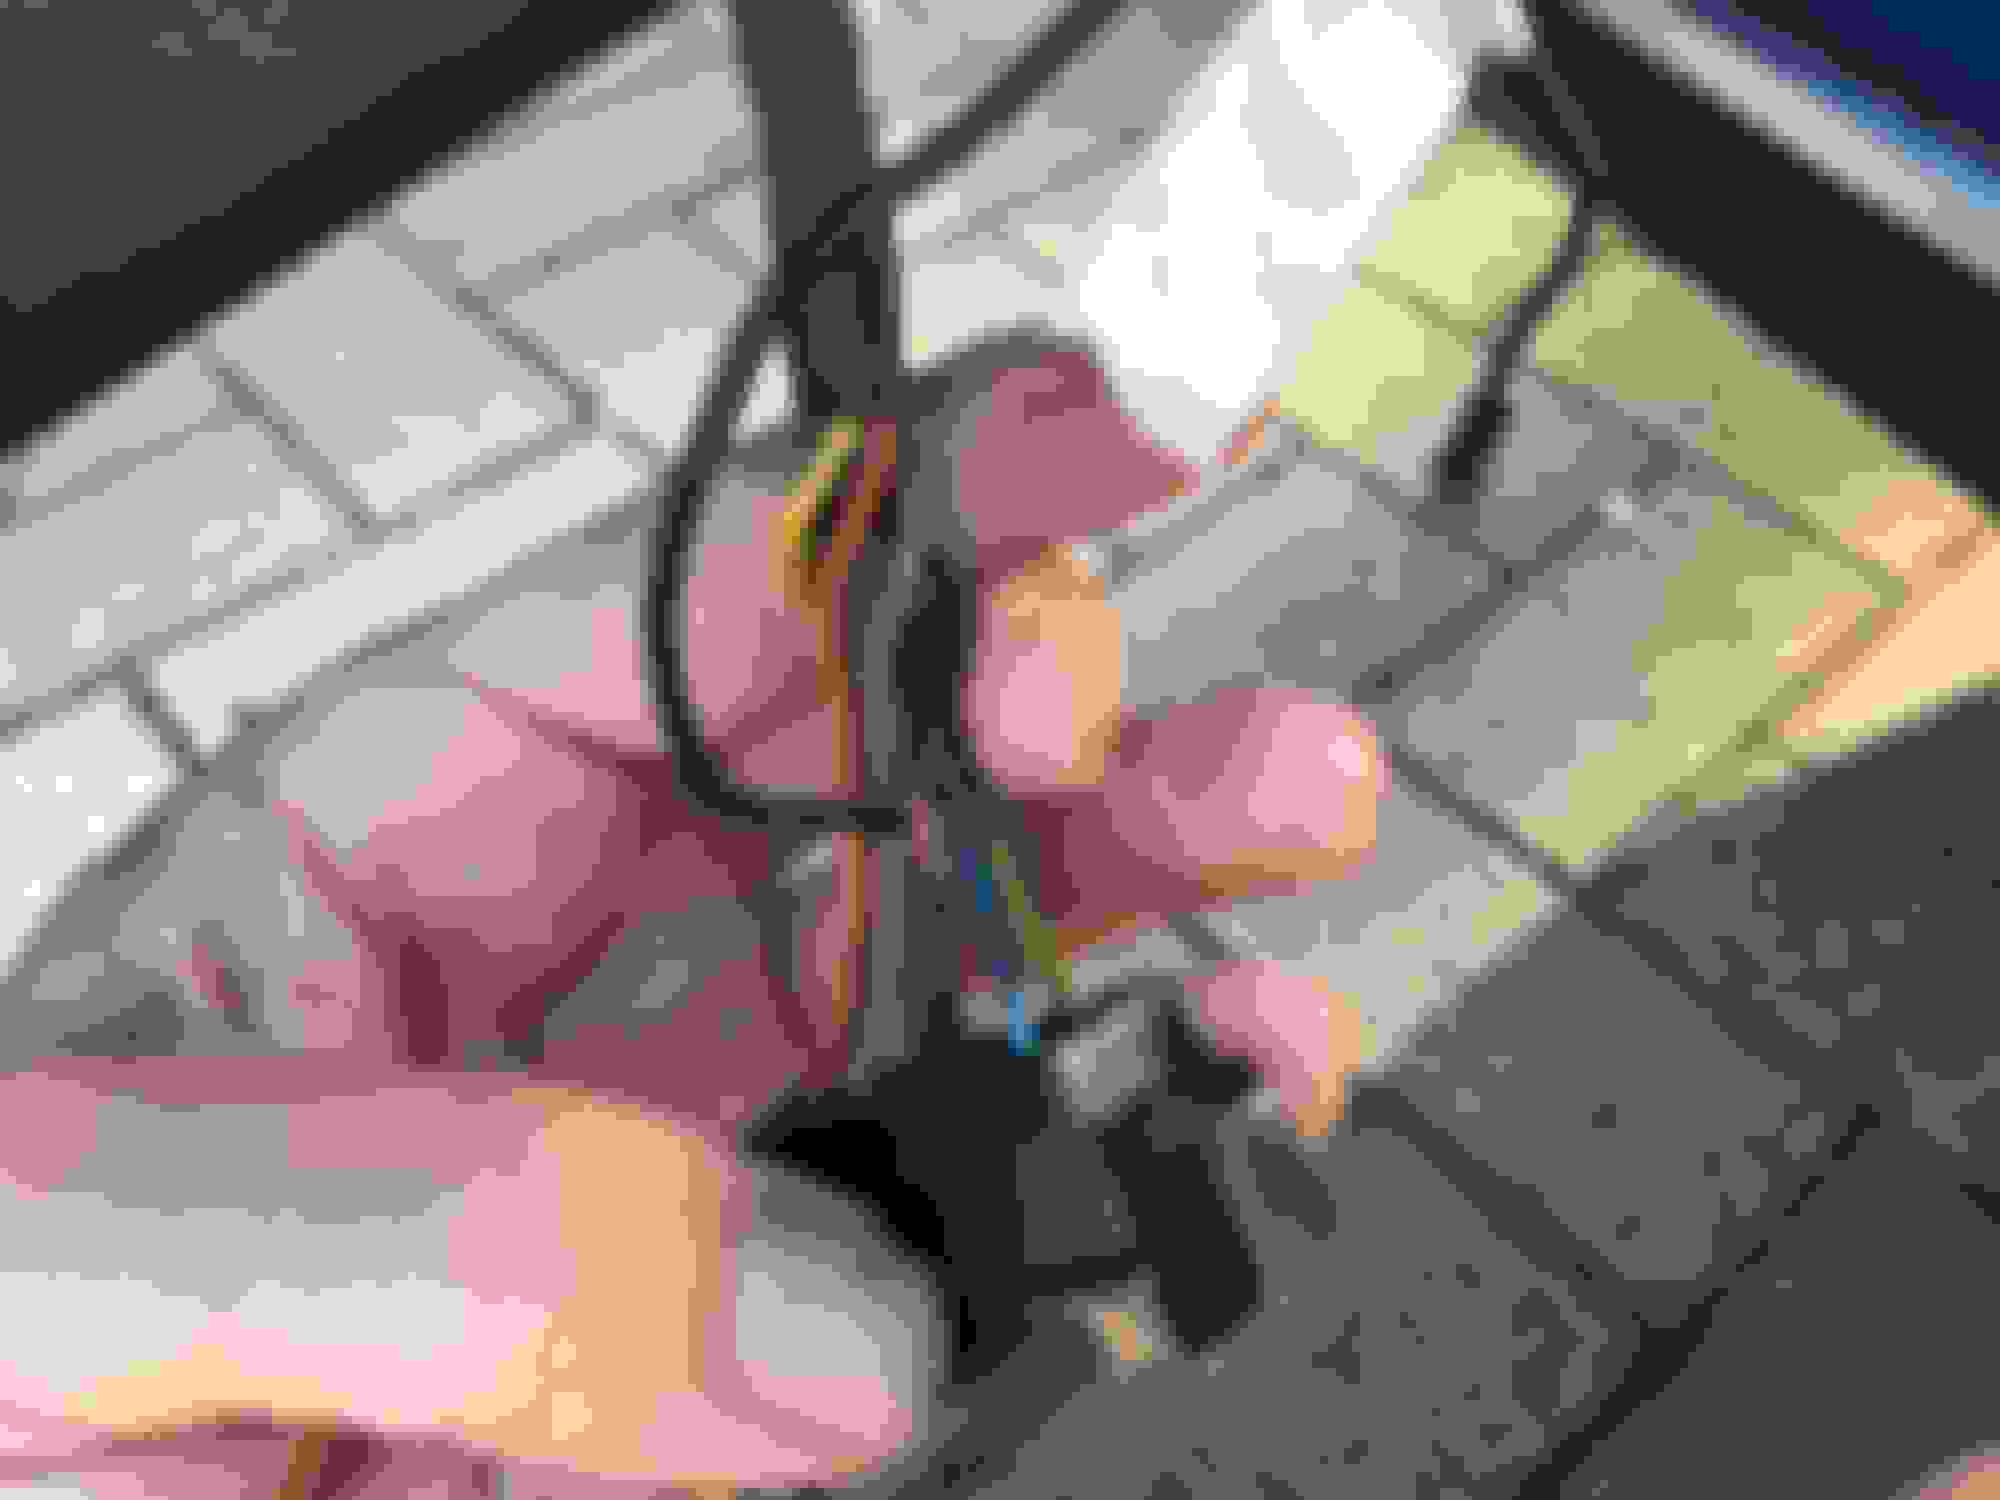
(Yes, that is toothpaste in the footwell next to the fire extinguisher... the rally was an over-nighter.)
Last edited by DorianC3; Oct 10, 2018 at 03:26 PM.
Here is the point (and I have been here before) where I start to wonder if I have any clue what I am doing and suspect I am in way over my head.
Simple things in Europe often become more complicated. The little ball switches on the ventilation (were also jammed) were cinched down with tiny allen keys. Of course, all mine were metric and I had to order some from Amazon. Seee on top of the toothpaste. So, progress was stopped for a few days as I waited for my wrenches to come in.
I like that the birdcage looks quite clean from this side.
And... the shifter seal needs to be replaced. That might explain some of the weird feel I was getting.
The centre console was cracked and repaired. It looks like someone sat on it at one point as all four corners are cracked through. I think I can salvage this. It must b quite qn old job considering the very amber adhesive.
I should be bale to use this vinyl to color match. Speaking of...
Last edited by DorianC3; Oct 10, 2018 at 03:42 PM.
The interior looks like it was died a drier shade... to match the seats !!!
Working carefully I can strip the dark paint off of the dash panels...
But the seat leather is dark.
I am guessing these are not the original seats.
They look in reasonably good condition; I think I can restore them (particularly with new seat foam). But what surprised me is that the seats are actiually leather with crosshatch, vinyl inserts. The grime is so thick on the seats that I originally thought they were 100% vinyl. Another pleasant surprise.
Now this is interesting... I finally managed to open the last compartment without damaging the plastic trim.
In there was what looked like an unused floor jack. I should be able to recover that. No idea what the hose is for.
I also found in there paper from two of the previous owners. Both lived in Kentucky. That explains the Copperhead Road tape. The second owners, a married couple, bought the corvette from the first fellow in 1985. He was 36. She was 23. He worked for Monterey Mushroom, it seems. Now they would be 69 and 56. They kept the car at least until 2005.
The weather was so nice Sunday that I continued to disassemble. It is amazing to see that most of the screws retaining the trim are the one ones or the threads they screw in are damaged. I suspect that re-dyeing the interior will not be as big of a job as getting the trim to fit neatly. I hear JB weld is the solution the much of the torn threads in the foam.
I did a small dye test in a lighter color... muuuuch lighter color. It it is convincing in white, Bright Blue should be a cake walk. I will probably bite the bullet and replace the map pouch ($100 ouch!) and maybe also that centre piece around the stick shift ($200 ouch! x2). I may get away with skipping the latter. I will order them in Bright Blue and have them color matched here.
A very cursory test shows that even the cheap dye that I used adhered well, did not drown out the grain, and was resistant to aggressive friction and scratching
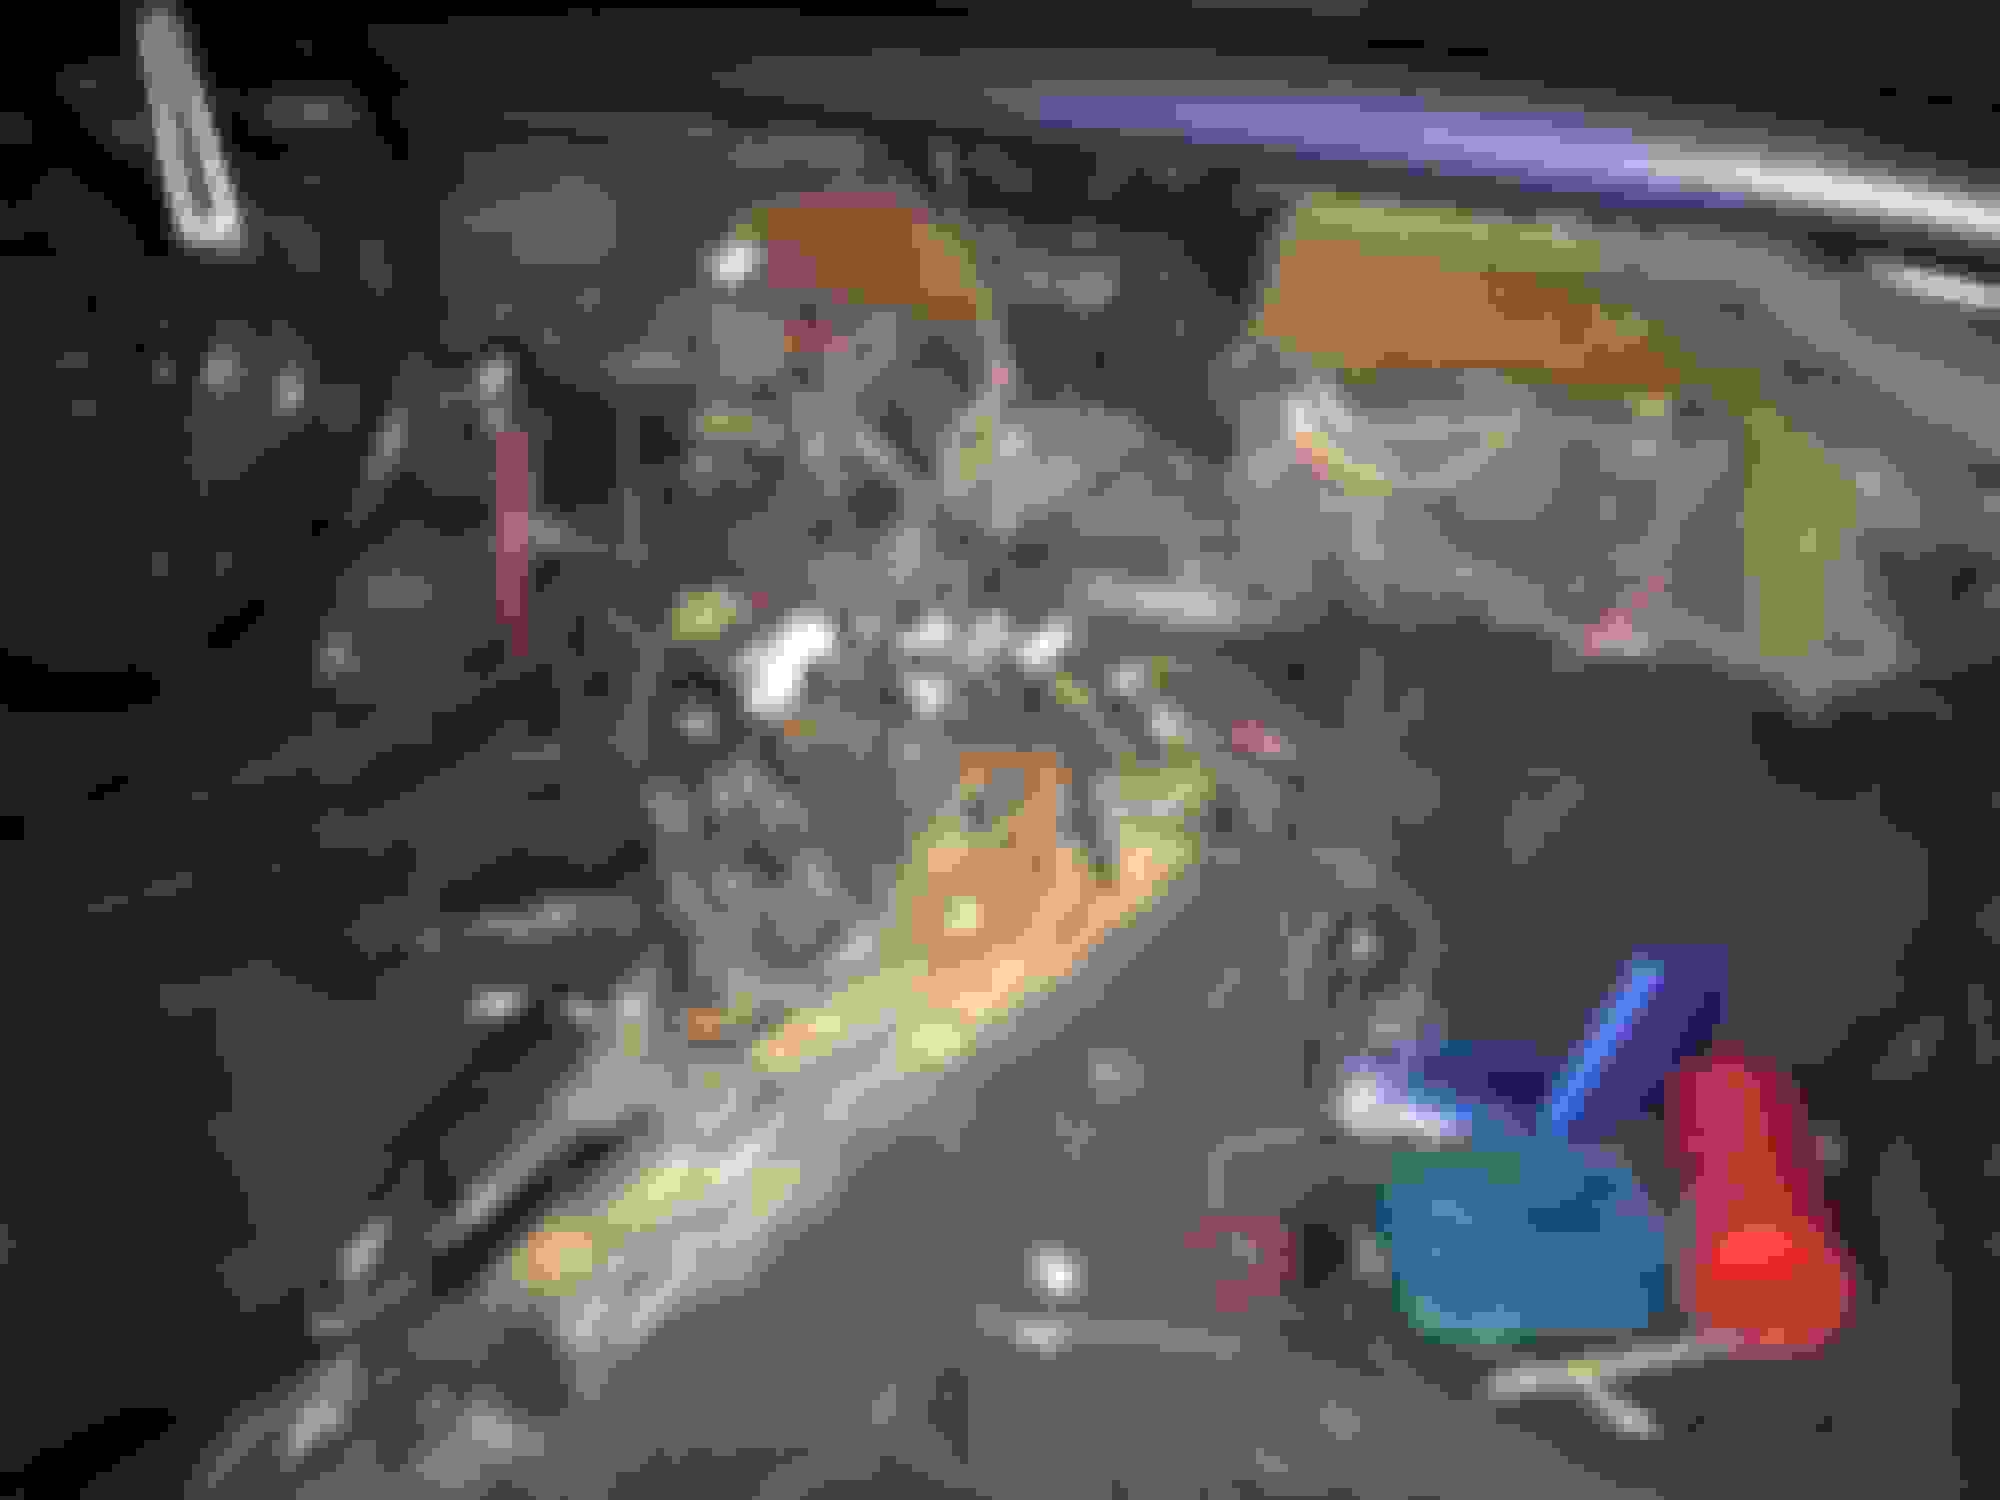
The wiring in here is dismal - lots, no, most wires are simply twisted together and taped in gooey electrical tape.
Below was the worst case I came across...
This is the harness leading to the rear lighting - the brown, power, wire I think. It wasn't even taped. The crimp connector, from what we could tell here, was connected to the LPS spade on the fuse panel... because Bubba could not get the glass use fuse to seat properly. It's the wrong size of course.
The below cables went to the radio (from speakers, I guess?) Crimped... sorta, and then twisted and taped.
If that wasn't enough... a little further down they were twisted and taped again and fell apart with a small tug...
Nails?!?!?!? That's how we do things now????
Last edited by DorianC3; Oct 15, 2018 at 04:00 PM.
As I rip out Bubba's wiring, it is amazing how much clearer things are.
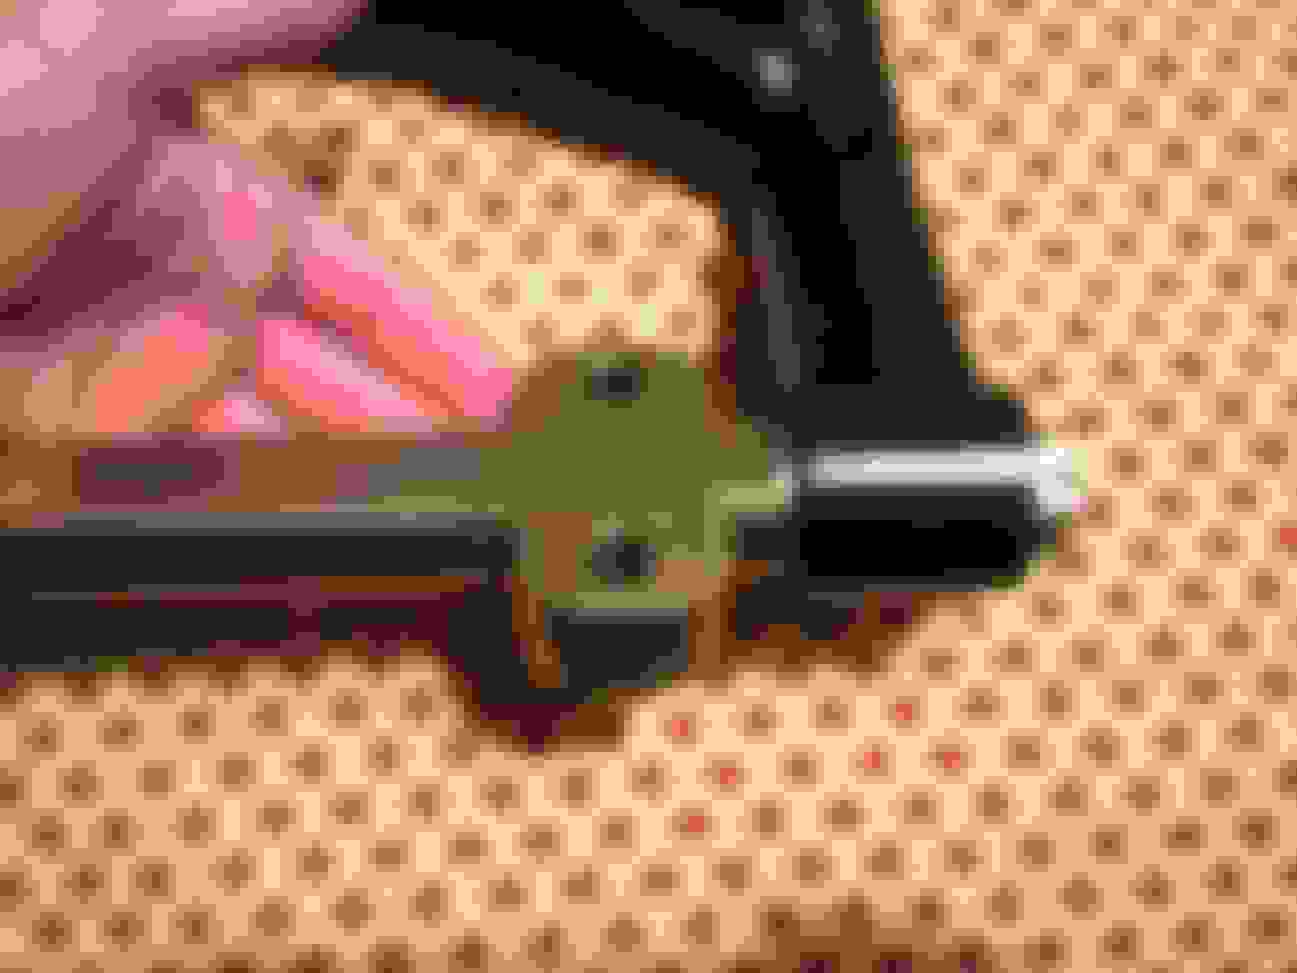
Another Bubba cure was the ignition circuit. Checking under the dash, I found that the clutch safety switch was still operational. I restored that. I was bypassed with no insulation, of course.
One thing that was puzzling me was the push button start that was installed in the radio side cover in the driver side footwell. OK; it looked cool... I will grant the fellow that, but IMHO, it rather suspicious. I'll bet that he could not figure out where the issue was on the keyed ignition... and we know it is no the clutch safety switch.
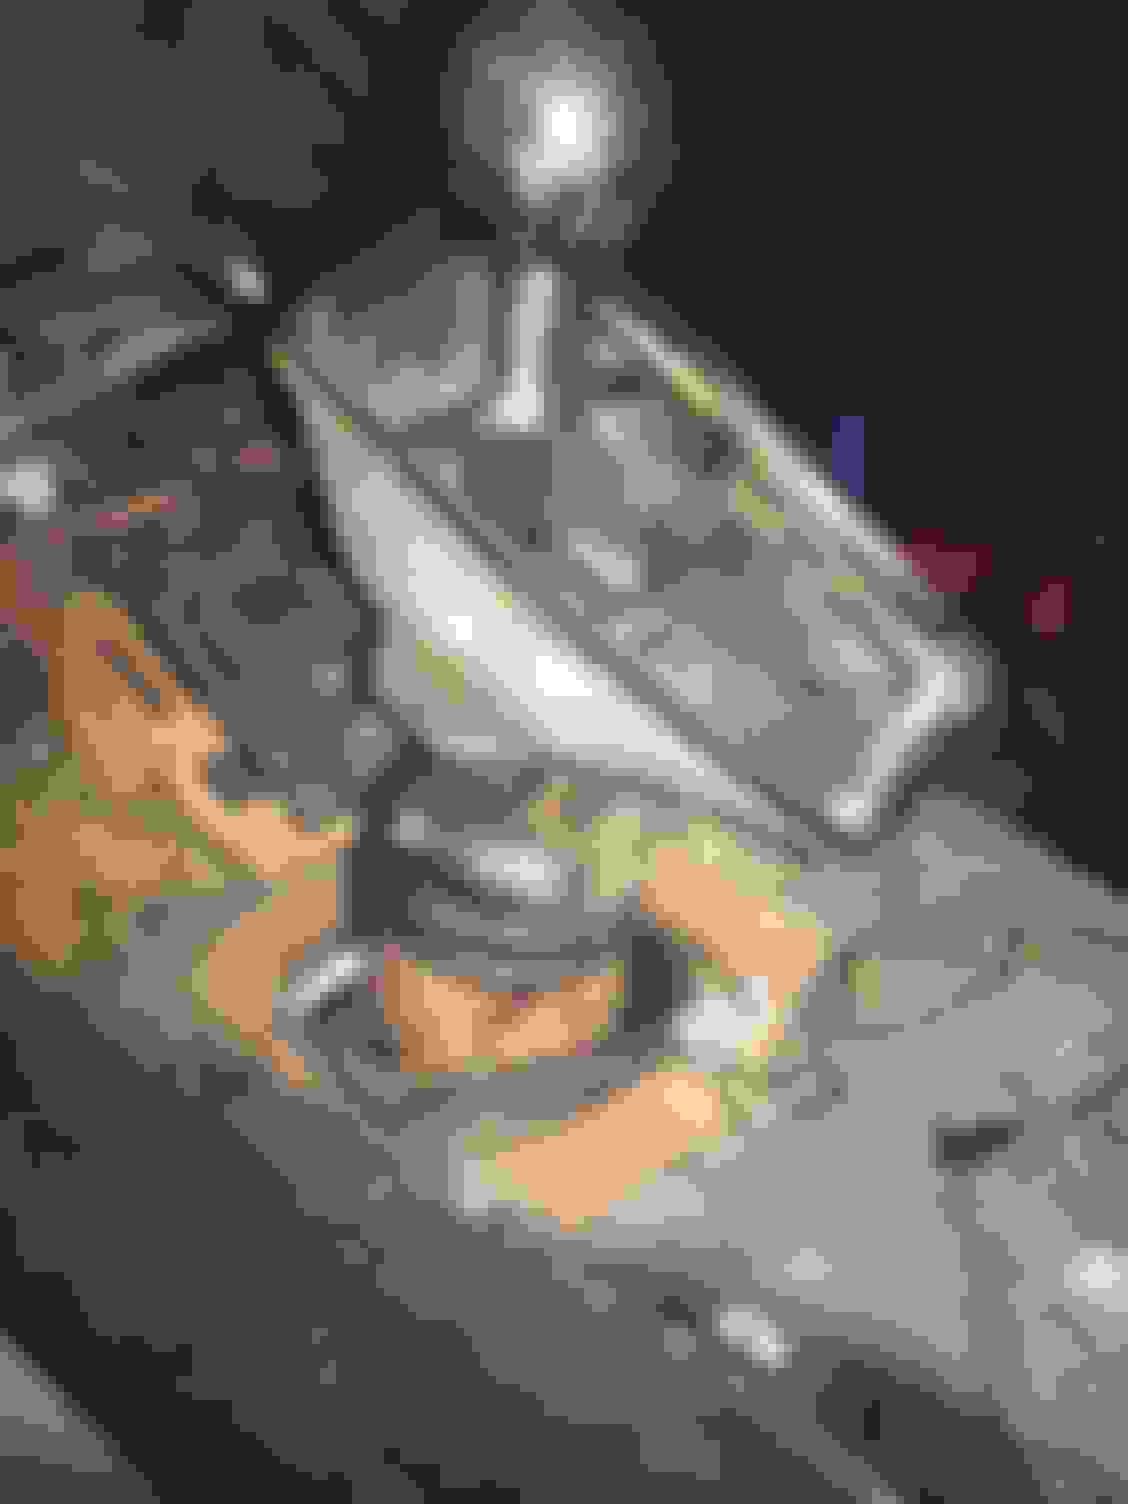
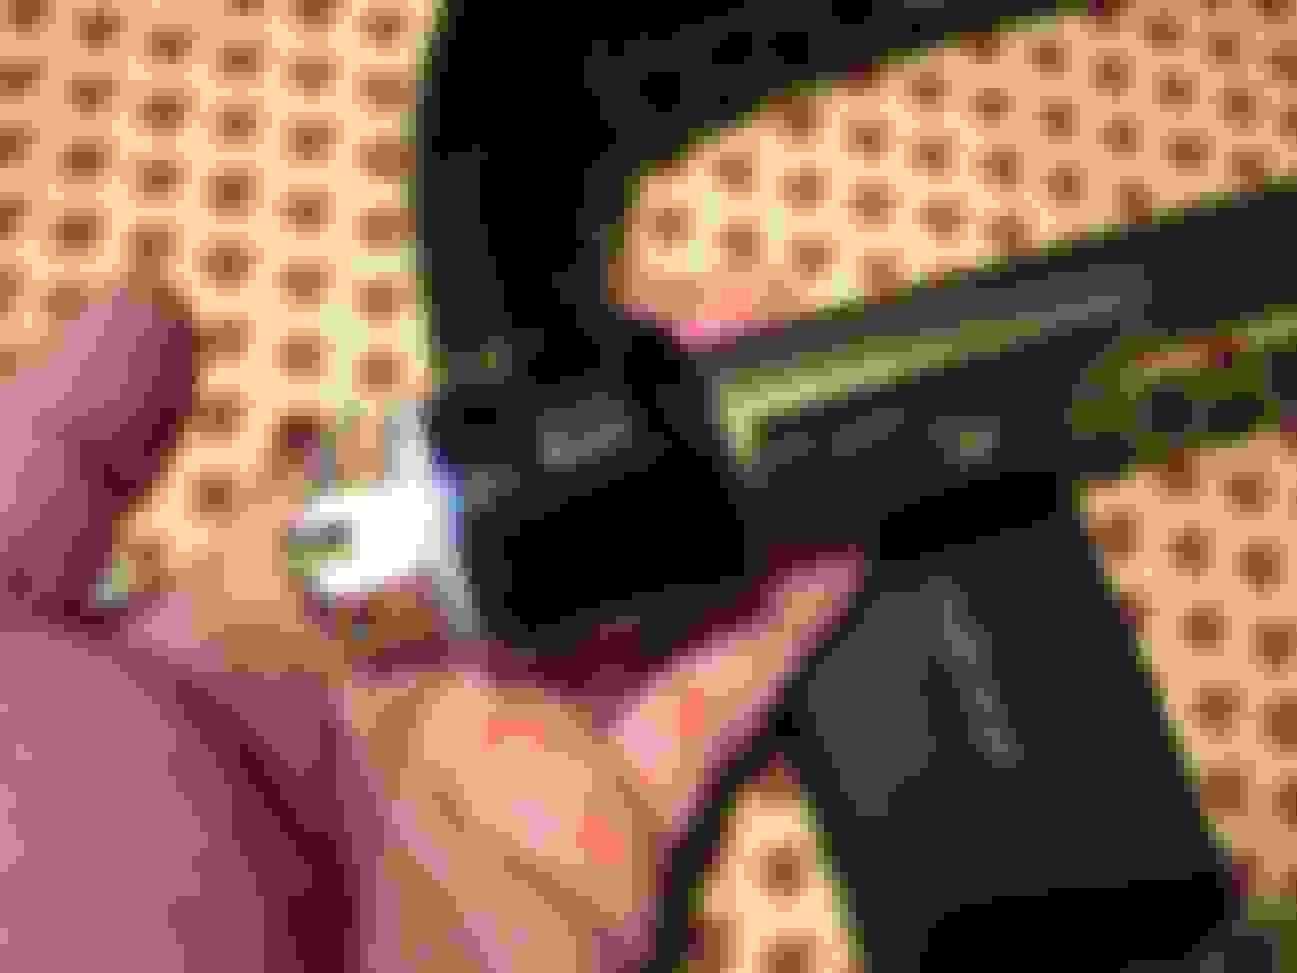
Might as well pull the steering column to get the best look possible.
Surprise: two bolts missing at the base of the steering column. That made it easier to remove.
Would anybody here drive like this ?????
Then a closer look at the steering column...
That second bolt does NOT look like it should be there. The switch looks relatively new... I will wager...
Sure enough I tested with a multimeter for continuity: nothing on position 2, cranking. Simply moving the switch a little further down the column (it is adjustable) solved the problem. Bubba did not realize you could adjust the switch's position. That fixed the problem. Out goes the push button start.
#satisfying
And the bolt goes out too - it is too big. Why would you even do this? How old was this guy ?!?!?
Many bulbs are broke, or missing as well...
Last edited by DorianC3; Oct 15, 2018 at 04:26 PM.
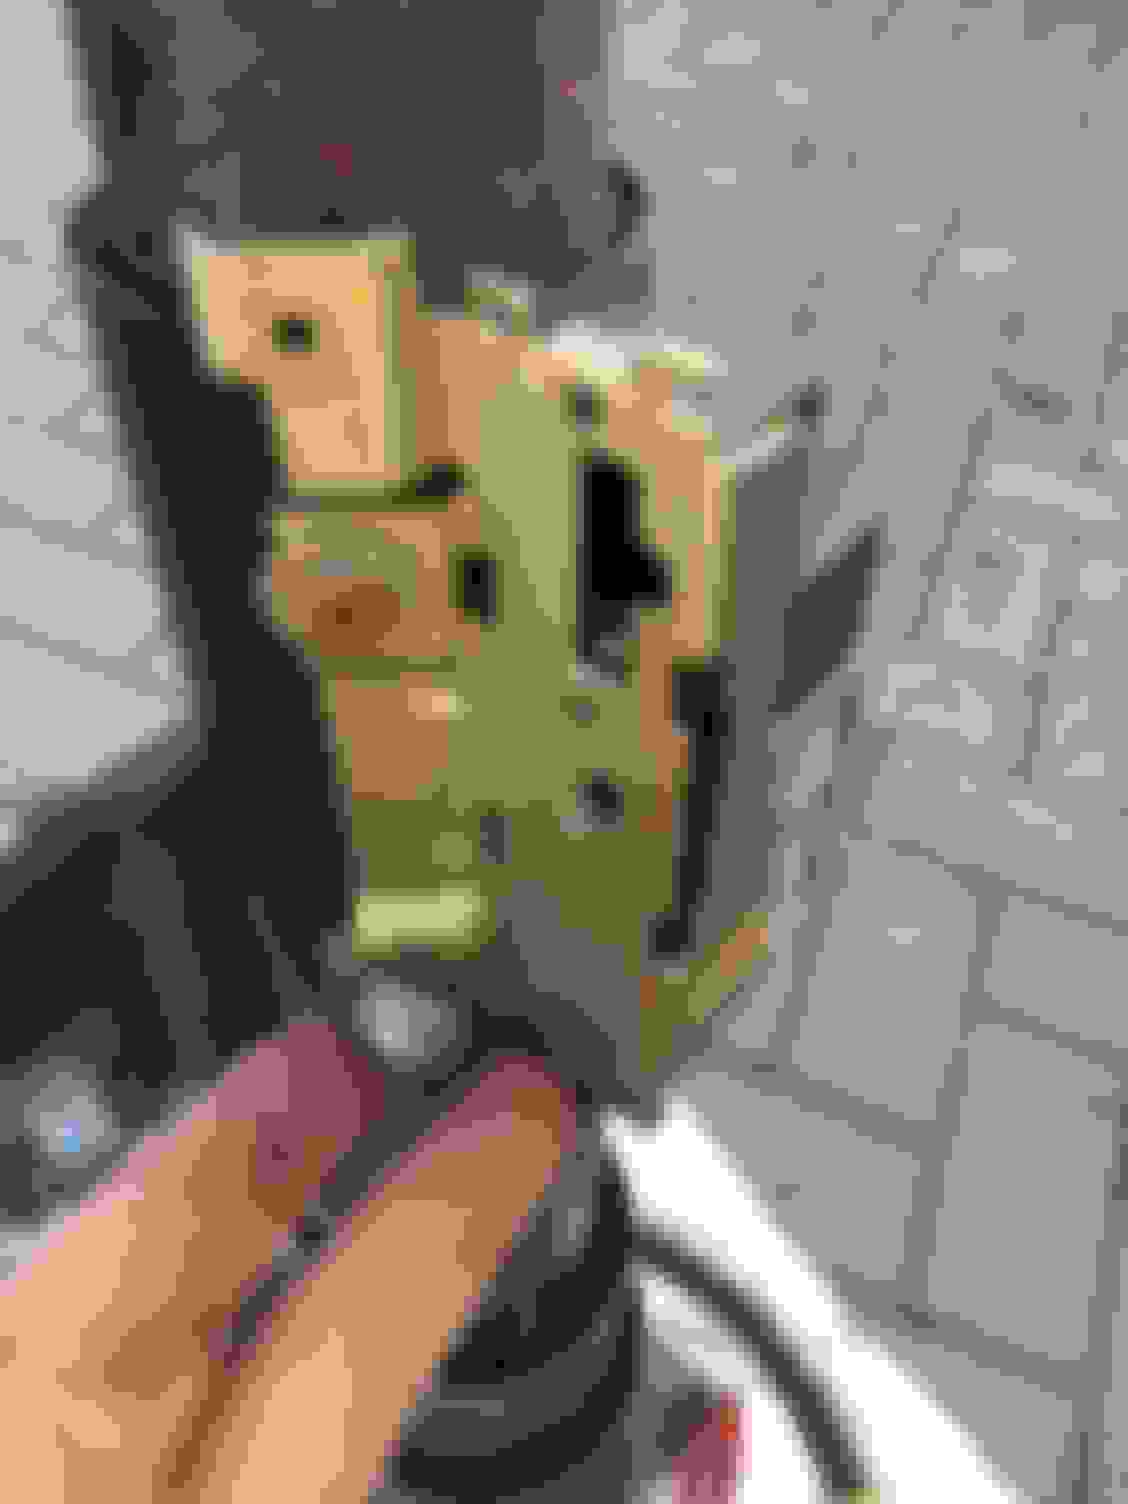
There is a special metal plate that is used on the firewall side of where those missing bolts were in the base of your steering column. Simply using bolts and washers is not what I would do due to the lack of the metal plate actually sandwiching the to part together and keeping the integrity of the firewall intact there.
This plate has a stud welded onto it and then they use a carriage bolt for the other fastener and the nuts obviously go on the inside and the nuts have a spinning washer on them also.
DUB
Mmmmmmmm... Why would anyone delete that. More importantly, where can I find one of those? It Certainly can't be either safe or be conducive to a solid steering feel.
I do not know of anyone who is reproducing this plate....so it will need to be found used. And If I am not mistaken this plate will need to have the provision made into it to hold the shifter lock cable also. So getting one for a 1982 will not work if you want cable provision. But it will work if you do not care about the cable from your reverse linkage at the transmission to the steering column lever that is on the firewall side .
The cable....if you are not aware of it,...makes it so you have to have the transmission in REVERSE to get the ignition key out of the ignition switch.
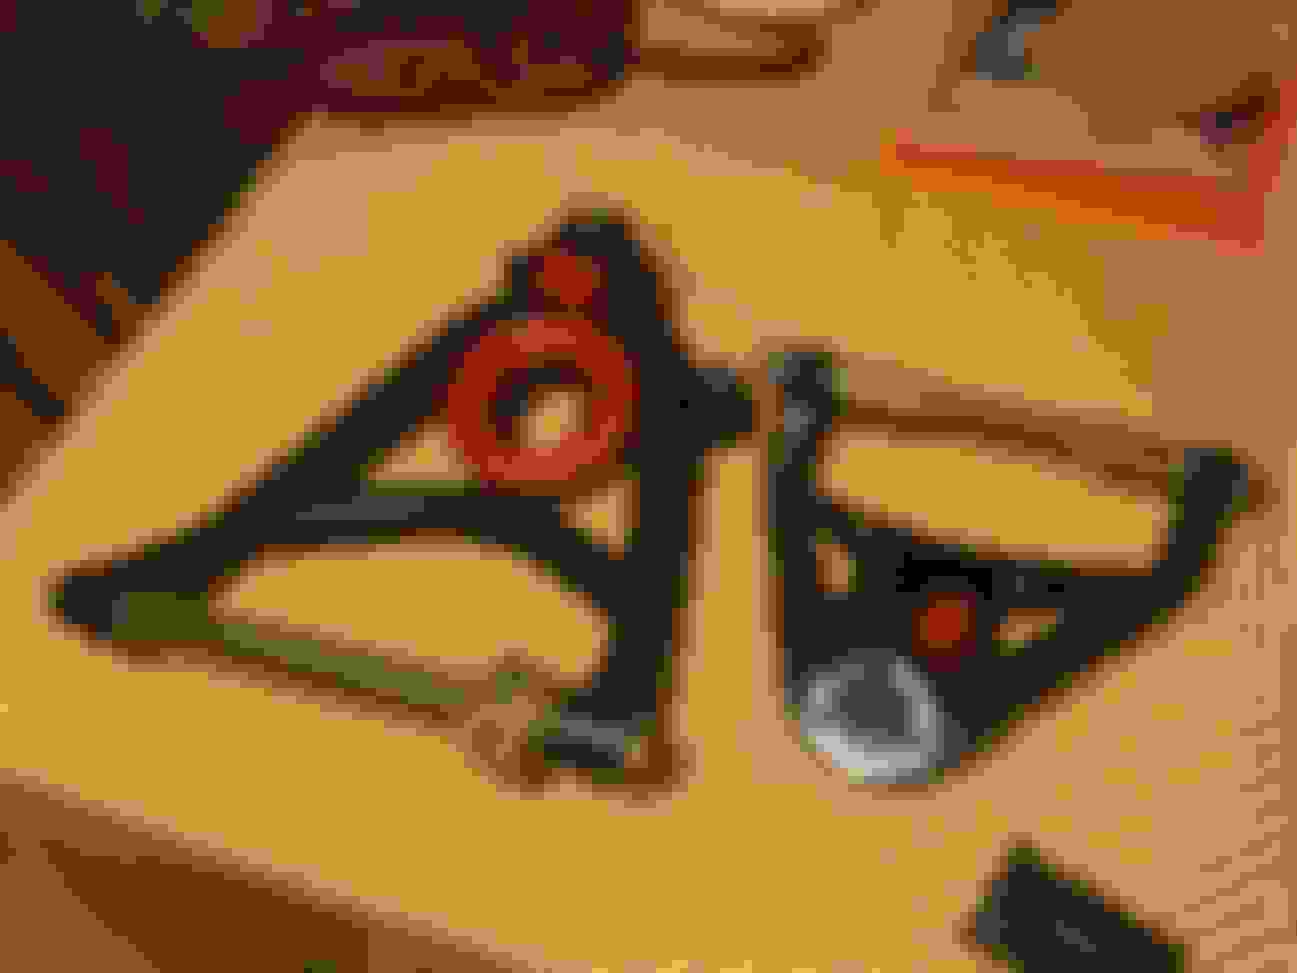
Just updating this thread - this will be for the Spring, but in the meantime, the parts came in.
They look quite beefy. The lower ones will need to be adapted - flipped around and the anti-sway bar brackets will need to be moved around as well. The uppers I will "slot" to get more castor. They certainly have enough meat on them to do this.
They were $280 for the pair. It made economical sense as they are beefy enough to slot the shafts for more castor; they include del-a-lum bushings; and new ball joints. A del-a-lum conversion alone of my stock arms would cost more than these.
Last edited by DorianC3; Oct 20, 2018 at 05:01 AM.
Very nice looking a-arms. Figuring in the cost of ball joints and the time to install their del-a-lum bushings and all. I can see why choosing to buy these makes sense. A simple 'plug and play' scenario.
Do these arms have grease fittings in them to allow you to grease the bushing??? The bushing kits Global West offer to install into factory A-arms do....so I am just curious.
Designer Imagines A Corvette That Looks More Like a Corvette Than the Corvette
Slideshow: A Jaguar designer's personal project imagines what a modern front-engined Corvette might look like if Chevrolet revisited the golden age of the Stingray.