When you click on links to various merchants on this site and make a purchase, this can result in this site earning a commission. Affiliate programs and affiliations include, but are not limited to, the eBay Partner Network.
1) It's impossible to lose all steering if your rag joint is installed correctly. The joint has safety stops on it that limit the play to around 10 degrees.
2) My steering column moved in and out. To pull it out I wound a $6 strap wrench around it and tapped the strap wrench with a hammer.
3) If I remember correctly, the horn ground goes through the rag joint. They used to embed a conductive metal mesh in the rag material but I don't believe those are available for sale anymore. You may have to jimmy a ground strap from one side of your steering column to the other so that the horn continues to work.
I can not tell you if the part # 053143 is the right one due to I cannot see how it will slide onto your factory steering gear box.
I would do just like what Gary suggested. Spread the one you have apart and slide it on..
I commented on using a file due to I can see a little extra material on the flat D portion so that is why I commented like I did.
If you are just needing this to move the car overseas and steer it. I would use the one you have.. Honestly I install ones like you have and have no problems in getting them to work.and even it it needs a bit of clean-up or spreading...they are quite good to use and are not crap in the aspect of it being an inferior part. Just saying that that part is worthy of using when installed correctly. 'Just saying'..
DUB
Thank You I did try to spread it going back and forth it did move a little bit but it didn't go all the way in so it did need more time, I spend about 2 hours. After that I decided to buy the Borgeson one. I Just called Summit and the conformed that it will work. I hope it will arrive at Monday.
Thank You All for helping this part fit correctly %100 Borgeson # 053143. But You need to clean the shaft and the box with wire brush and adding WD-40 Specialist White Lithium Grease they heaped a lot. I did to a little force and a few times hammering. The Borgeson part WaaaaW what a grate quality part. I had 1 problem now I will post it after sharing a few posts.
Now the second question and problem that I am facing. The steering shaft is collapsed into the firewall. I tried to hammer the Borgeson part that attached to the shaft but it slept, I try to use Adjustable Wrench to pull it but didn't work. Is there any simple tool that can help? I read woodworking clamps, vise grips, gear puller
Pleas help
Knowing you are only using this temporarily so you can steer the car due to you are going to replace the steering gear box later....it is fine for that purpose.
If you are having no luck in getting the shaft to slide back out. All l can say is that IF it were in my shop I would remove the steering column adn try it when I have it locked into my fixture I have for rebuilding steering columns OR...Take the column apart so I can get the lower shaft to come out and pull it out that way and then re-assembly the column.
IF you are using this new part at the point of where you are hitting it to get the shaft to come out. You have to make sure that it also does want to slide off the end of the shaft. SO...if you have the original part...use it instead to beat on..
You may find it will possibly be faster to take the new part off and pull out the steering column so you can use an air hammer to shock and vibrate the shaft to come out or to get a better angle on it and get it to come out.. Because the amount of time you are wasting to try to get it to come out ...you could have already pulled out the steering column and put it back in.
What I don't like about that rag is it uses just a setscrew to lock on the shaft. Look at the original there is a pinch bolt that runs along side the shaft and when tightened it crushes the rag on the shaft for a much more secure, tight fit. The new one is welded and doesn't appear that it is going to move anywhere, just the one setscrew holding it together. I personally would not use a rag like that in one of my cars but to each their own.
That column is collapsed a lot, I would follow DUB's advice on that one.
The rag joint is fine as seen in post#15. It is a pinch bolt design.
The flange the end of the column is what has the set screw.
BUT I agree with you. I would also prefer to use a flange with a pinch bolt design like the factory did. Now on many of these custom steering set-ups I work on...many have use the set screw design and seem to work fine. but that does not mean that I have to like it.
Dub
Look at the pictures in post #25- set screw/jam nut on both the column and box input side. Setscrew on the column flat and input groove- min point of contact in my opinion.Studs are bolted in not riveted as factory had done. Again not what I would use but I am sure plenty have.
Dub
Look at the pictures in post #25- set screw/jam nut on both the column and box input side. Setscrew on the column flat and input groove- min point of contact in my opinion.Studs are bolted in not riveted as factory had done. Again not what I would use but I am sure plenty have.
GOT IT!!!!
Thanks for pointing it out to me that he also has changed the coupling from the previous one that was in the earlier post I had mentioned.
The old...'.bait and switch' on me. I usually 'catch' stuff like that. I am loosing my touch on being observant. I thought he was just adding on the flange at the end of the steering column shaft. Even though I do remember he was having a problem in getting the steering coupling to slide on.
Update
I will share some photos it could help someone in the future, or maybe I did it in a wrong way, hope someone can correct me if I am wrong.
Thank You All for helping ( DUB, GTR1999 , Jason Staley , IGNATZ , BAZZA77 , REVITUP ) and All.
My C3 overseas shipping was delayed to the 15th so hopefully I can do a video and share it with all.
First I tried to put back the old original part into the shaft and I beat it but it was slipping and it slide off, so I tried the new part and it was tight and it worked it was moving slowly every time I hammer it,Until the shaft stopped going farther, so this is the tightest that I could go.
The vette drove a loot better and no loos feeling , and felt a lot safer specially when I did it myself.
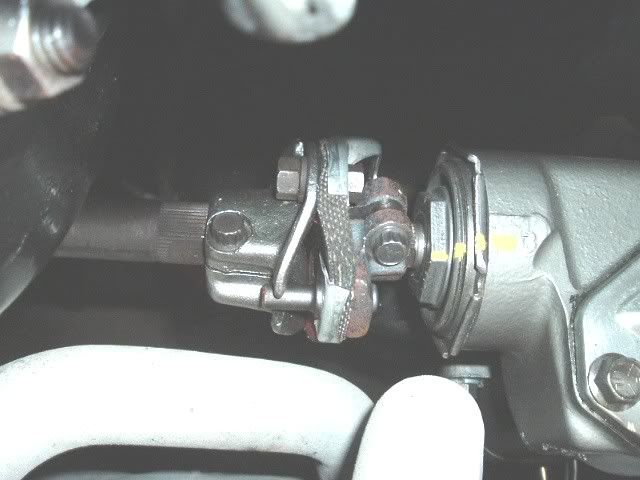
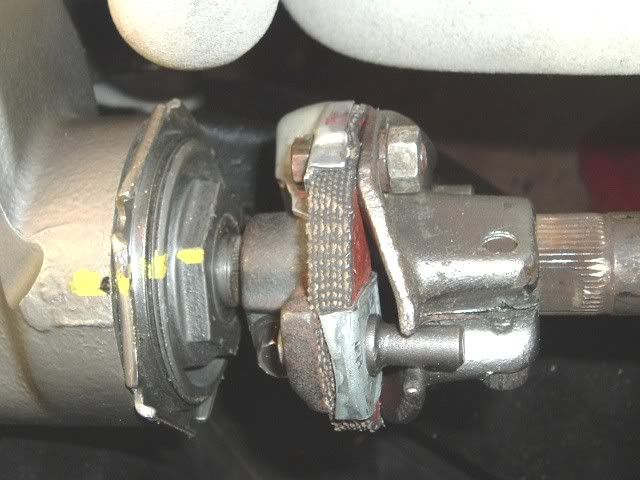
The column appears to be still collapsed. If the new rag is dimensionally the same as original then there is what I refer to as an "S" bend in the rag. It is being pulled toward the firewall. The rag should be flat.
Here is my 72's steering- new GM rag column collapsed- "S" bend
Same parts- column back down to correct position- rag is flat.
[QUOTE=GTR1999;1597531794]The column appears to be still collapsed. If the new rag is dimensionally the same as original then there is what I refer to as an "S" bend in the rag. It is being pulled toward the firewall. The rag should be flat.
Here is my 72's steering- new GM rag column collapsed- "S" bend
Thanks
Do you thick because I tightened the bolts very hard it crated the 's' bend or I tightened 1 bolt more than the other?
As others have mentioned, the rag needs to be flat. It's a safety problem if it's not. The safety pegs have to reside by a large margin between the stops. If the cloth rag joint fails, that peg riding in that gap is the only thing that allows you to maintain steering control.
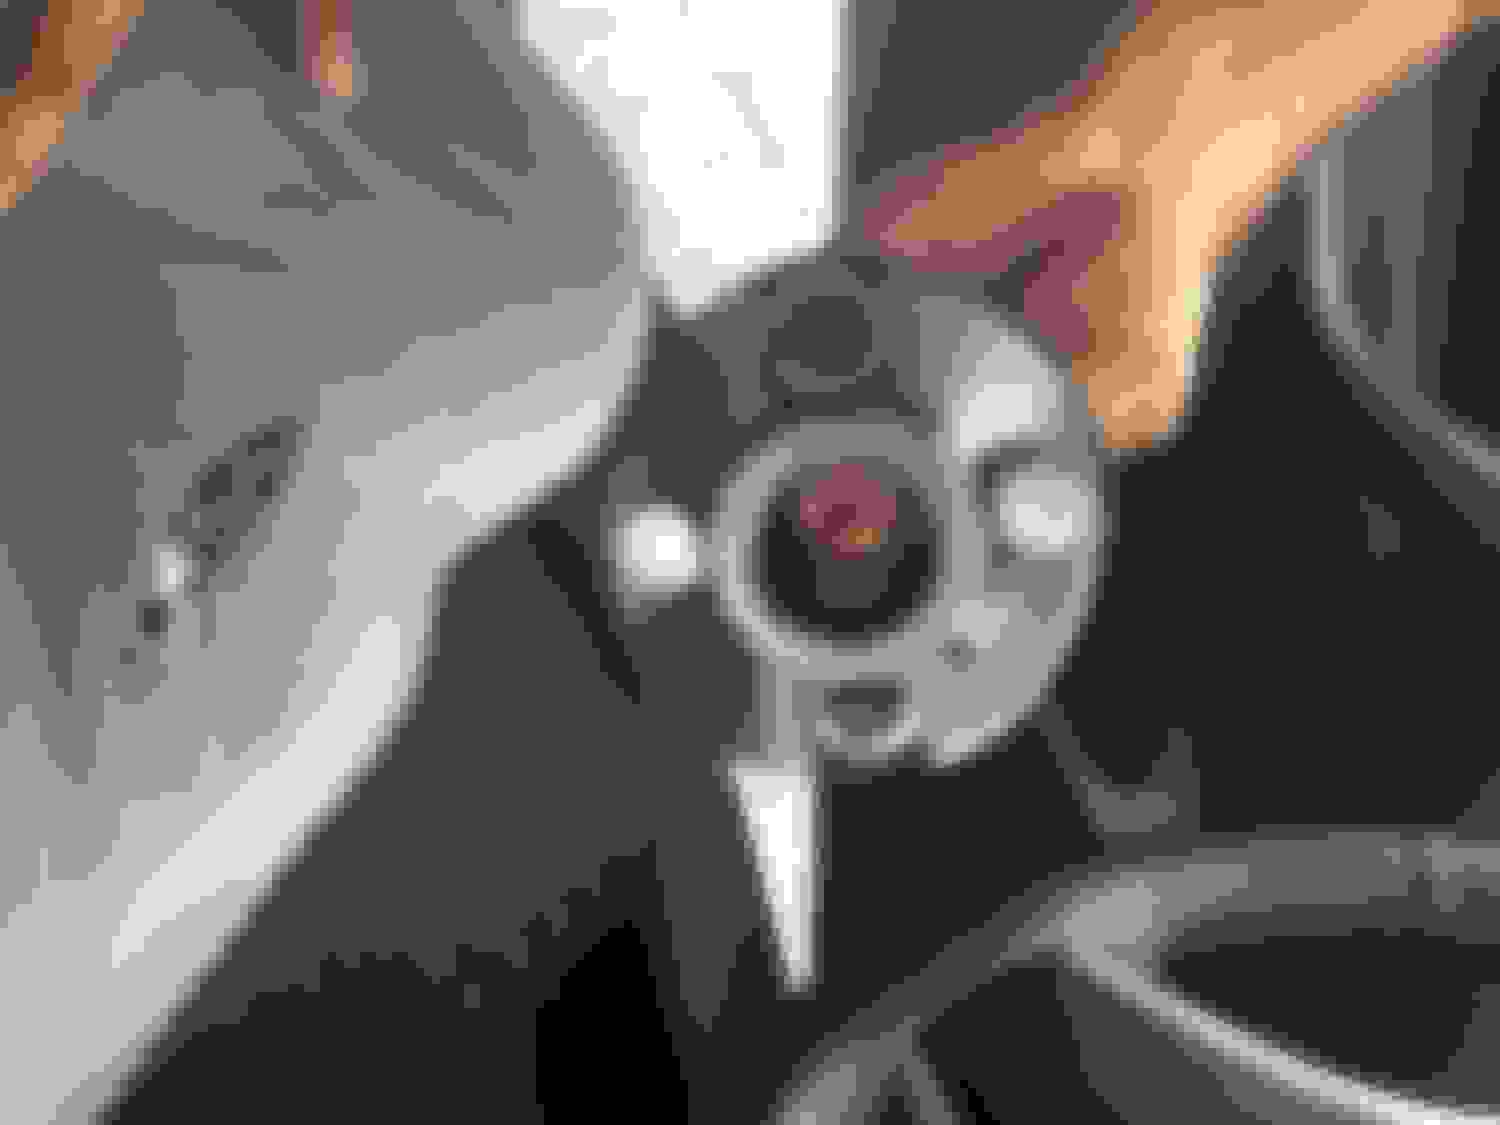
Because I didn't know better at the time, this is what mine looked like when it failed. Notice the notches on the safety pegs:

 06-22-2018, 12:24 AM