When you click on links to various merchants on this site and make a purchase, this can result in this site earning a commission. Affiliate programs and affiliations include, but are not limited to, the eBay Partner Network.
Since my differential rebuild project ran into a snag, I decided to switch my attention to the next project which is the rebuild of the trailing arms.
The project entails the following:
- Removing the arms - disassembling them - sandblasting - epoxy and top coat painting
- Replace the bushings
- Do a rear bearing job
There are plenty of horror stories about removing the trailing arms but I have to admit that I am one of the lucky ones - they came out quite easily. Everything looked majorly crusty and don't know if anyone has been back there recently - may be.
To remove the trailing arm (assuming the half shafts are out which is my starting point):
- Remove the caliper, the brake line that goes from the caliper to the brake hose and the rear rotor
- Disconnect the parking brake from the hub and from the trailing arm itself
- Remove the shock absorber
- Remove/cut the cotter pin from the trailing arm mount bolts
- Unbolt the mounting nut (you need a 5/8" and 11/16" wrenches)
- Use a brass drift to push the bolt from the outside to the inside and then finish the bolt extraction using a pry bar.
- Pull the arm out - you may have to work it up and down to get it loose from its rusty alignment shims.
- Oh, use lots of Kroil (I wonder if that was my secret weapon to get everything out so easily).
The bushings on my trailing arms have got to be the originals. There were sloppy and upon removal of one of them, half of it had disintegrated over the years.
- Using a 5/8" drill bit I worked on the flare side on the inboard side
- Using prying motions I was able to separate the two halves.
This was straightforward. I am putting a polyurethane set back on when the time comes.
Very nice , in your first pic ,it does look like someone has been into the left arm recently , newer shield and clean looking dust shields over the bearing housing.
Right side unit seems to have newer hand brake components as well.
Very nice , in your first pic ,it does look like someone has been into the left arm recently , newer shield and clean looking dust shields over the bearing housing.
Right side unit seems to have newer hand brake components as well.
That's a nice hoist in you garage as well.
Thanks, you are correct - the driver's side trailing arm has had some work on hub - it looks like it was replaced not too long ago by some previous owner. On the hand brake components, I replaced it all when I got the car last October since none of it worked and would not pass inspection w/o emergency brakes.
Waiting on some specialty tools that will allow me to disassemble the hubs remove/install rear bearings. Probably next weekend for the next substantial update.
You may want to reconsider installing poly trailing arm bushings. I had to replace the bushings in my 66 and 68. I also helped two friends replace theirs. It was exciting to drive the 66 home when one of the poly bushings turned to glass and fell out. Jerry
The most difficult part is removing the spindle from the hub and #2 difficult part is removing the inboard bearing - however - with the two specialty tools that one can get from the Corvette vendors this job becomes infinitely easier (spindle knockout tool and the bearing splitter).
After sitting on this project for a couple of months, it is back on! I sandblasted the trailing arms, cleaned, primed, painted. Replaced the bearings, seals and bushings. I used the specialty tools from Corvette America X24325 Rear Wheel Bearing Setup Tool and X2478 Rear Spindle Installation Tool - you will need the bearing kits and the rear wheel spindle bearing spacers kit. You will also need a dial indicator and base to dial the correct shim in. All and all, for a serious DIY, it is not that bad of a job. Instructions are straightforward.,
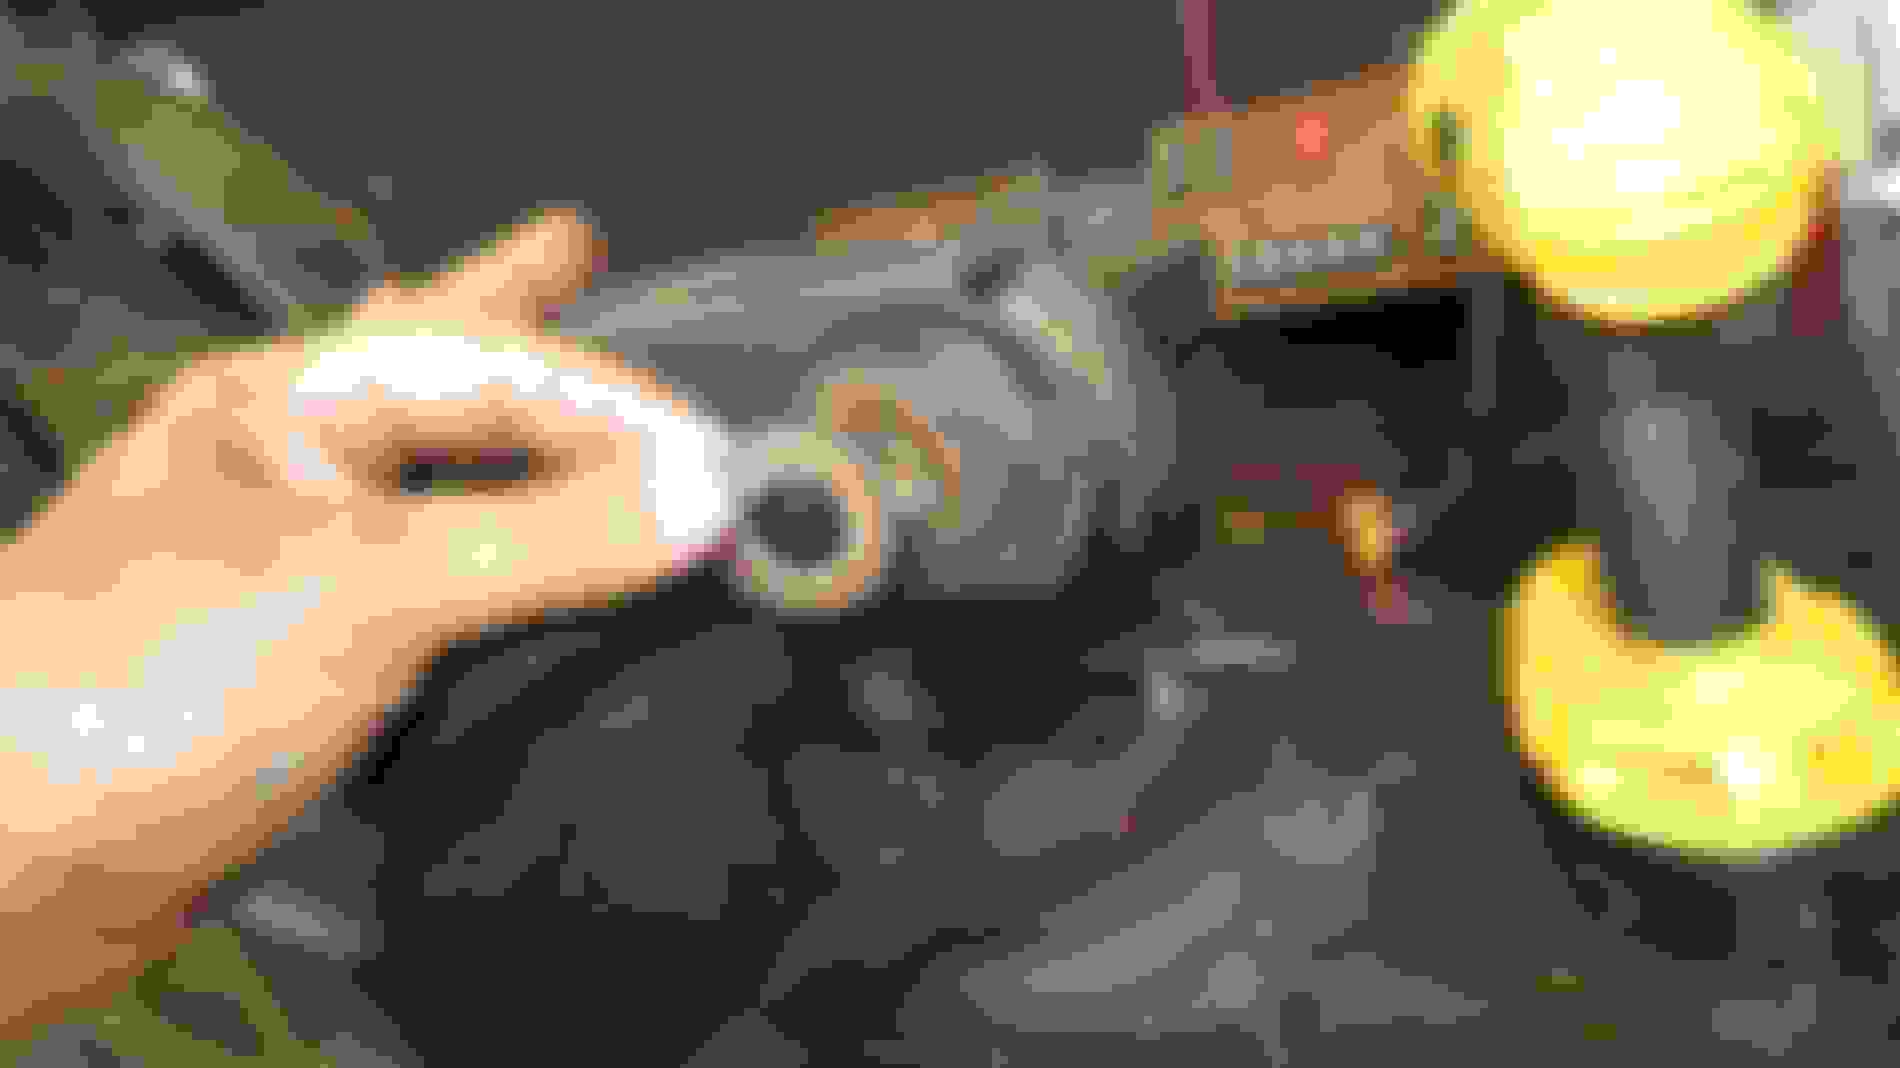
The YELLOW arrow is pointing to the sleeve that you had to stake to keep the bushing together. JUST MAKE SURE that you file or grind on any of exposed sleeve material FLAT that is ABOVE the flat surface of the special tapered washer. You want to make sure your shim lays flat against the washer ...and not have any of this sleeve poking out. It can screw with you when you go to set your toe when aligning your car.
Setting your rear wheel bearing to -0- is best if at all possible. SO setting it at .002" run out adn thinking it is going to stay t that is not going to happen....it will increase in time.
Also verify your rotor run-out is correct also. Many times it is off greatly and will need to be indexed with a shim. Failure to do so can cause for brake caliper issues due to the brake caliper as as you all know...is directly bolted to the trailing arm and are SOLIDLY MOUNTED. Unlike most other brake calipers which ride on pins and can float. SO...bearing and rotor run-outs in this area is critical.
DUB
Thanks Dub. Yes I did make sure to smoothe out the flange on the bushing to avoid like you stated a problem with the shims. Also, I agree with you on the bearing run out. I set both arms to 0 end play and I did check the run out on the axle too. All I have left is to check for proper run out on the rotors before I install in car. So I shouldn't have any problems. I did also take apart both rear calipers to convert them to o-ring seals plus blast and powder coat them in red, just like the front.
Last edited by persuader; Dec 10, 2018 at 08:08 AM.
I ran the grinder in the trailing arm pockets in the chassis and cleaned away loose rust. I then coated the pockets with Ospho to neutralize any remaining surface rust. I then put two coats of primer and two coats of engine enamel.
Installing the arm by myself was not going to happen. I quickly built a stand for the trailing arm out of 1" square tubing and 1.25" x 0.25" flat steel plate - it worked like a charm when supported by the transmission lift Installing the arm was a breeze - I run floss through the trailing arm bush bolt to run it through the frame and the trailing arm - I tried to match the shims to the thicknesses of the shims I removed but really that needs to be adjusted when the alignment is done on the rear end Trailing arms, refurbished rotors, new brake lines (both soft and hard), new shock aborbers, new strut rods - all installed.
The springs are refurbished and are also good to go. I now need to finish the rebuild of the differential case