When you click on links to various merchants on this site and make a purchase, this can result in this site earning a commission. Affiliate programs and affiliations include, but are not limited to, the eBay Partner Network.
I am finally at the point of this ages-long body off rebuild on my 73 L82. As I remove the dirt and undercoating I am looking at the various riveted in backing plates and reinforcements that all have surface rust. After researching the various threads on riveting, I have begun to wonder if these plates really need to come off and get a good cleaning and rust proofing before re-installing. Am I just as well off by spraying them with a rust converter and continue with my plan to lizard skin the interior and undercoating? I know I have to r&r both #4 body mounts, so I will get that experience.
Thanks from someone who is learning that there are a SH*t ton of parts that go into a car! LOL
My 69 had the rust issues as well , i did take all the plates off , good thing I did as most were badly rusted behind, where I couldn't see . I remade the worse ones and sandblasted and have sealed them all prior to putting them back on. Which i have yet to do.
It is a lot of work to do but I got so deep into rust removal I had to do it all.
There re many brackets that get riveted to the car. A good set of bucks, rivet bits and some practice and you can get the job done. The off set bit is very helpful in tight spots like the transmission tunnel and such. You also can use the bits as a punch with a hammer but the adjustable air hammer works on most. Not sure if you are going for originality but good luck!
Thank you both, Bazza77 and Rvzio, that is exactly what I was looking at. Even though this is a CA car with relatively little rust, I am afraid that if I just paint over the outside of the various brackets there will be some underneath. I'd hate to go through all this work and have that.
I've read so many threads on riveting I am a bit confused due in part to the varying ways to rivet and what tools others have used. Rvzio, can you provide a list of the adjustable air hammer, bits, bucks etc as well as the source and material of proper rivets? I am ready to tackle this as soon as these "small" issues are worked out!
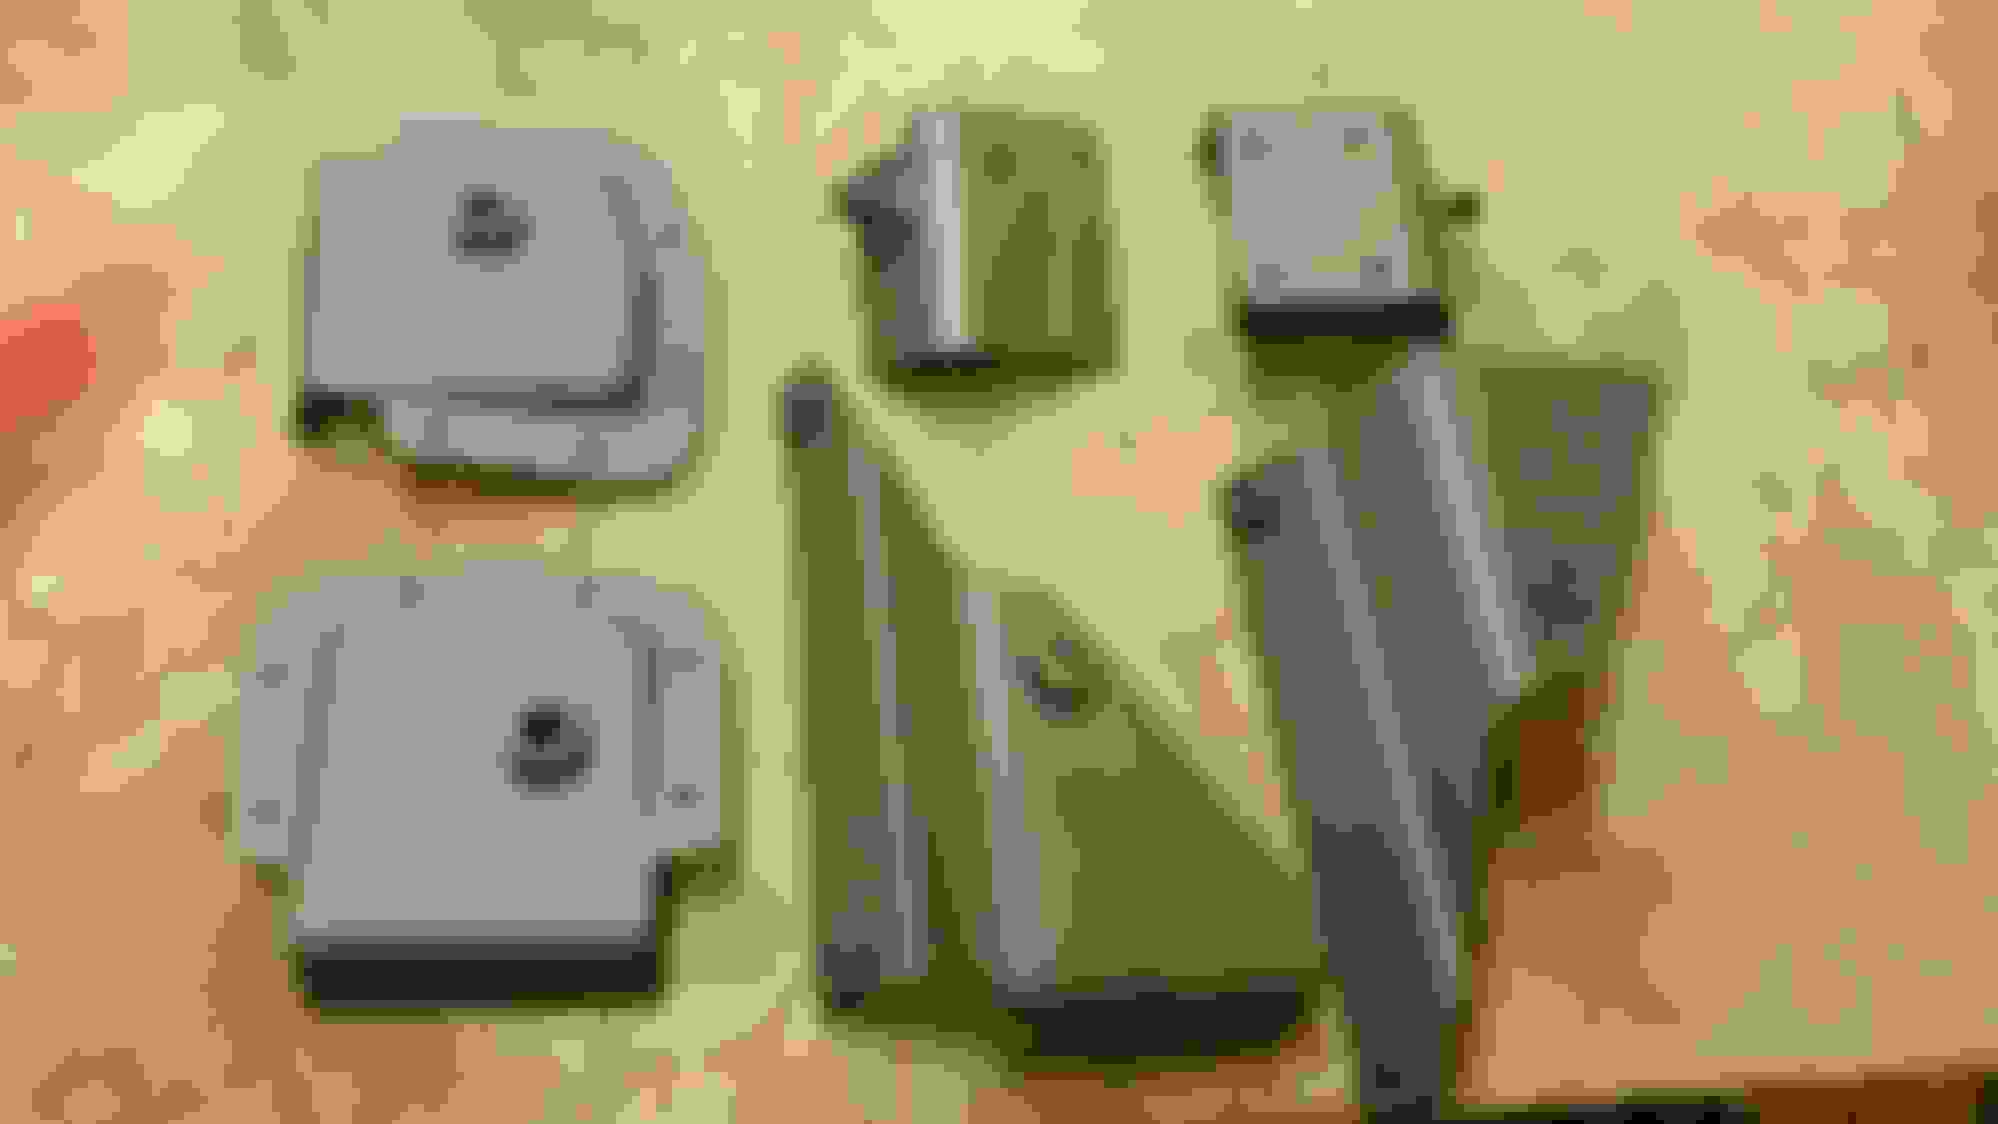
Hi Ted, the assorted bucks I showed I picked up on Ebay for $25. I probably used all of them at one time or another just because of the tight location of some of the brackets and supports. The air hammer I picked up at Harbor Freight for $18.00. The rivets are for the most part aluminum pan head 5/16 and 5/8. You can use a snip to cut some of them for the locations that may be in between those sizes. You get a few bits with the hammer. Spruce Aircraft.com had the offset bit which was very handy. The shaft of the rivet that you will peen over is what to look for on the proper bit size. Some of the vendors who have the rivets may have the bits. The Clecos tool and pins is optional for holding the brackets or a helper for holding the opposite side of whatever it is you are riveting. You can practice o the old damaged stuff if you have any.
RVZIO
Air hammer must have the small air adjustment. Very important for pounding adjustment.
The flat bucking bar can be used on the flat head rivet....and use a rivet set in your air hammer that is for a domed rivet and you will be able to create the same look as factory rivets that were installed.
OR...you use a flat head rivet set tool in your air hammer and the special bucking bar that is offered so you can create the bucked end of the rivet the same as what the factory did..
I have both set-ups due to clearance issues when putting some of these plates and gussets back on where an air hammer will not work and I have to switch it around.
When I did this job on my '63, like others have said, I discovered that there was a significant amount of rust on the back side of most of the brackets. If I'd had any doubts before starting, once removed I was convinced it would be worth the effort.
As for installing the rivets, I would say this, about that, do some initial practicing before you actually do it on the vehicle. Your results will be much more to your satisfaction. The final thing is to be sure to use an adjustable air source. I found that a pressure of around 25 psi gave the best results for me. In most places on the body, you will find it best to have a helper to hold the buck while you use the air-hammer. Or vice versa if your helper is better with the hammer...