??????Replacing Radiator 94 lt1/auto
 04-29-2007, 09:14 PM
#1
Intermediate

Thread Starter

Member Since: Sep 2006
Location: mass.
Posts: 34
Likes: 0
Received 0 Likes
on
0 Posts

I have a 94 coupe with 180,000 miles on it that has a leaking radiator and I want to change it. How difficult a job is this and how long does it take. I am mechanical but other things on this car have taken longer than I\ thought they should (plug wires 4 hours).

 04-30-2007, 04:04 AM
#3
Safety Car

The outside temp sensor is a pain ,the radiator rubber holders you need to watch out for, they fall down and you may not see it when they do and the radiator will not go all the way down.You have to be careful with the A/C tubing.The front has to go back together just right or you cant get the screws in right.
You know same old corvette problems
Figure more time than you think it will take.
You know same old corvette problems
Figure more time than you think it will take.
04-30-2007, 07:25 AM
#4
Race Director


I recommend removing the bolts that hold the horn and AIR pump on, then remove just the intake duct for the AIR pump (leave everything else connected) and move it aside to access the driver side lower screws (you'll see what I mean when you get there).
I just did this job this weekend.. it took +/- 2hrs.
I just did this job this weekend.. it took +/- 2hrs.
04-30-2007, 07:44 AM
#5
Elite Torch Red Member

I recommend removing the bolts that hold the horn and AIR pump on, then remove just the intake duct for the AIR pump (leave everything else connected) and move it aside to access the driver side lower screws (you'll see what I mean when you get there).
I just did this job this weekend.. it took +/- 2hrs.
I just did this job this weekend.. it took +/- 2hrs.
The job is not difficult if you sit back and take in the big picture.
Drain radiator first, disconnect the hoses.
Remove all the visible screws on the upper shroud, remove the nuts(or bolts, I forget, it's been a while) for the fans and push them back.
Now the hardest part, on both sides, there are three screws holding the upper and lower shroud together. The service manual calls for removing the entire assembly as one unit, but most of us have succeeded in only removing the upper.
As mentioned above, removing the horn and Air pump, you can gain access to two of the three on the drivers side, and the passenger side allows access to two of the three.
To get the last ones, I used a gear ratchet(racheting box end wrench). Once all the screws and nuts and bolts have been removed, you should be able to lift off the upper shroud. If you feel any resistance, stop and see where it is. Take care of whatever may be hanging you up and continue to remove the upper shroud. Once this is off(you will have to wrestle around with the A/C lines and stuff, but it can be done without breaking anything if you have patience) you simply lift out th eold radiator. Then clean everything that has collected in the radiator area(you may need a large dumpster for all the junk you will find in there
 )
)place new rad in and reverse the removal.
Note that before you do, take the clips that the three bolts screw into that hold the upper and lower shroud together and reverse them so that if you ever need to do it again, you can access them easier from under the car in the area where the air comes in to the radiator. I wish I had a pic to show you since it's easier to describe in a pic.
Refill cooling system and burp it and you're done.
04-30-2007, 09:07 AM
#6
Le Mans Master

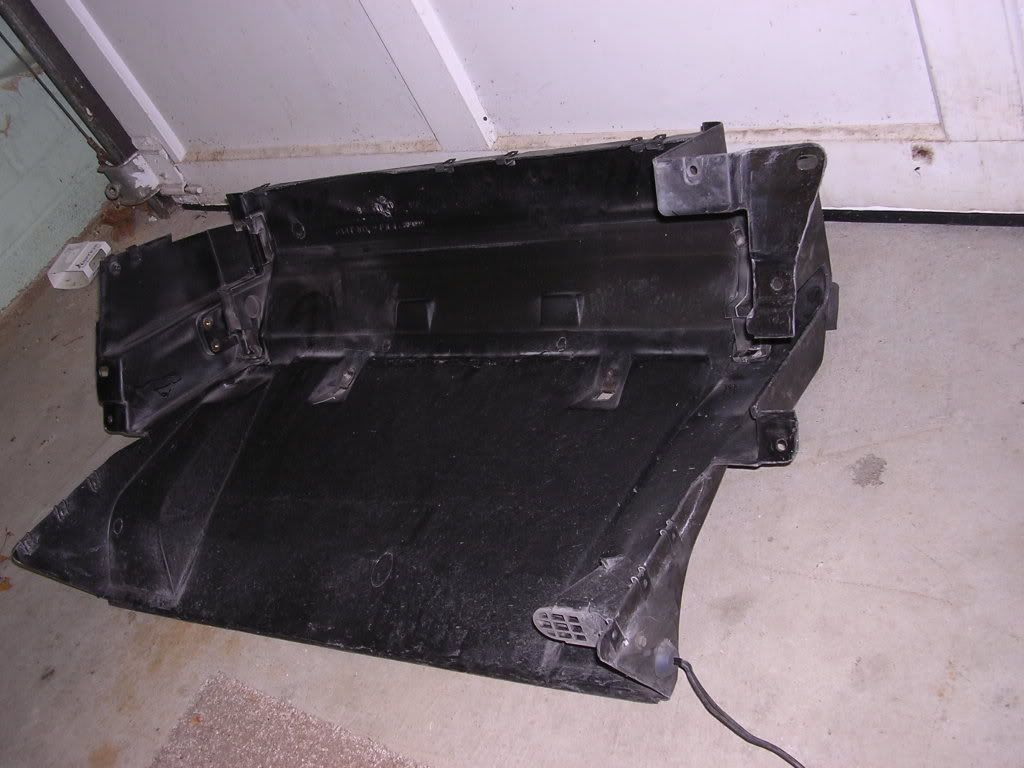
Here are some pix to illustrate what Mojo described.
Remove the clip nuts from the shroud. You'll find them here (three on each side):
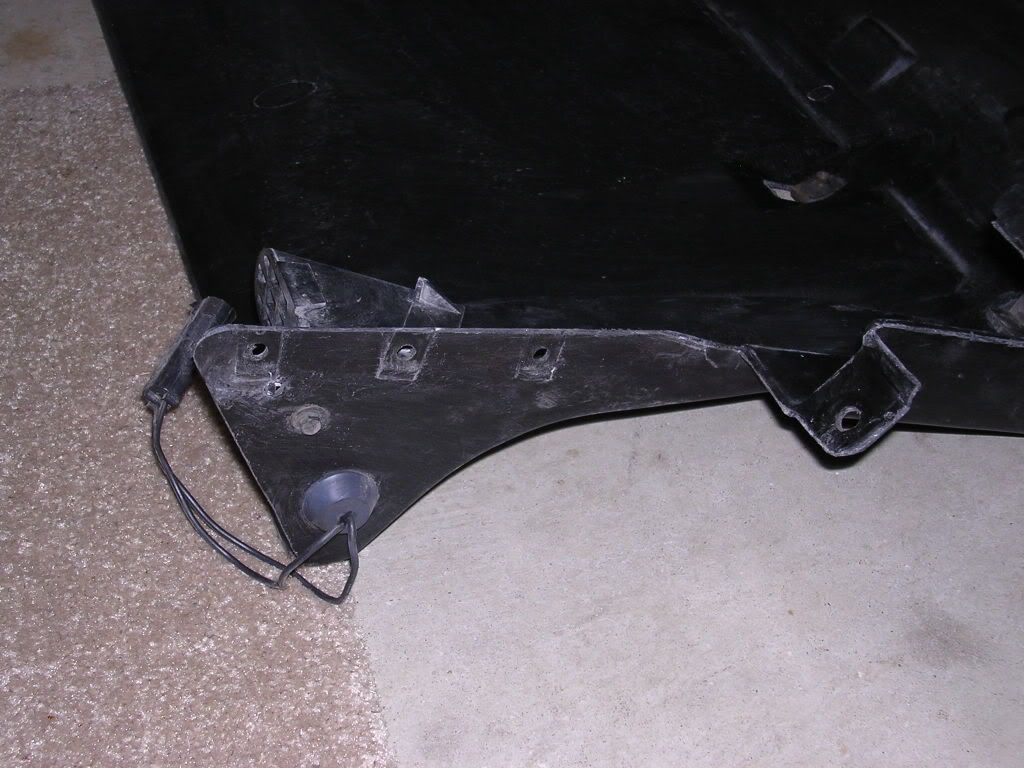
Here's a close-up after they've been removed from one side of the shroud:
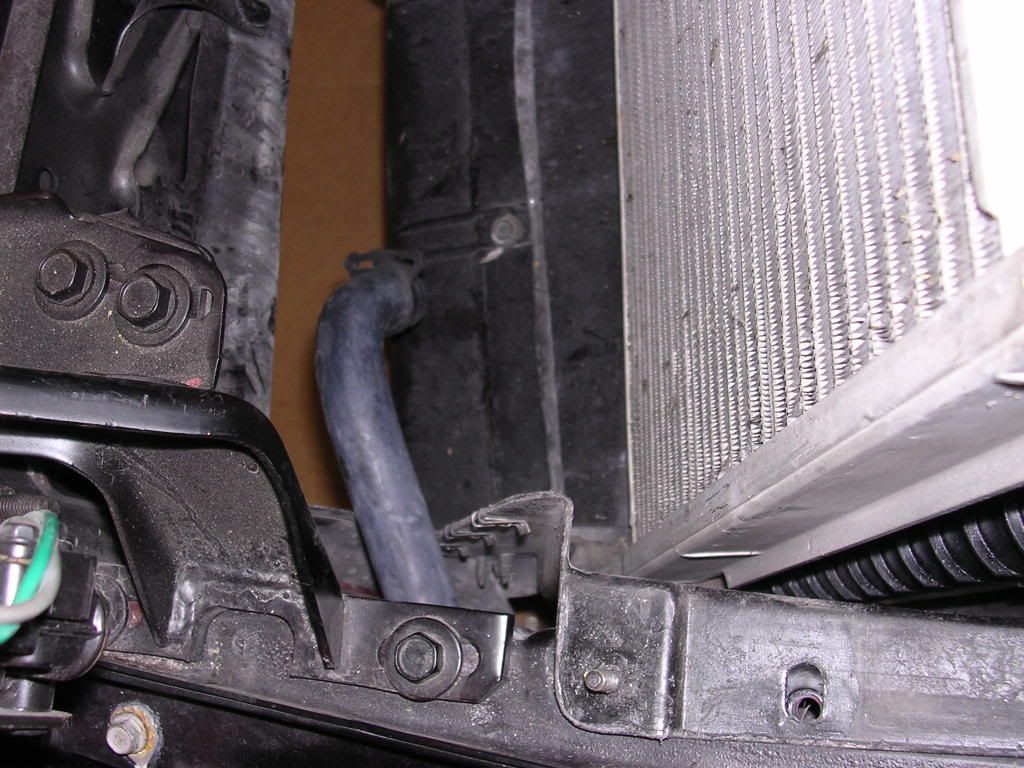
And install them on the mating flanges just ahead of the core support as shown here:
And here:
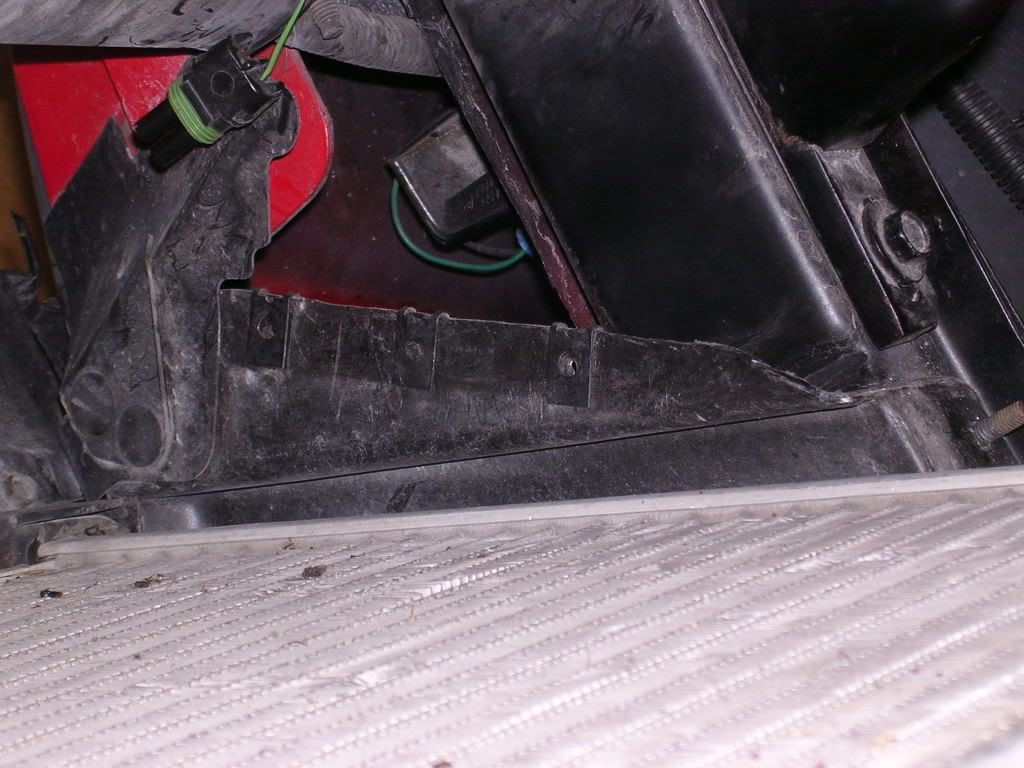
You may, or may not, need to shave back the edges a bit where the nuts are installed so that the holes in the shroud align with the nuts. Some guys say they've had to do this, but I didn't.
Be well,
SJW
Remove the clip nuts from the shroud. You'll find them here (three on each side):
Here's a close-up after they've been removed from one side of the shroud:
And install them on the mating flanges just ahead of the core support as shown here:
And here:
You may, or may not, need to shave back the edges a bit where the nuts are installed so that the holes in the shroud align with the nuts. Some guys say they've had to do this, but I didn't.
Be well,
SJW
Last edited by SJW; 04-30-2007 at 09:10 AM.
04-30-2007, 12:00 PM
#7
Le Mans Master
Member Since: Aug 2004
Location: Metairie Louisiana
Posts: 5,141
Likes: 0
Received 4 Likes
on
4 Posts

http://forums.corvetteforum.com/show...light=radiator
I left the screws off without any problems but after seeing the above pic I may go reinstall them.

I left the screws off without any problems but after seeing the above pic I may go reinstall them.
Last edited by rickneworleansla; 04-30-2007 at 12:03 PM.