Here comes the Paint. PICS
 12-14-2007, 11:40 AM
#41
Drifting

Member Since: Jul 2003
Location: Orlando FL
Posts: 1,613
Likes: 0
Received 0 Likes
on
0 Posts

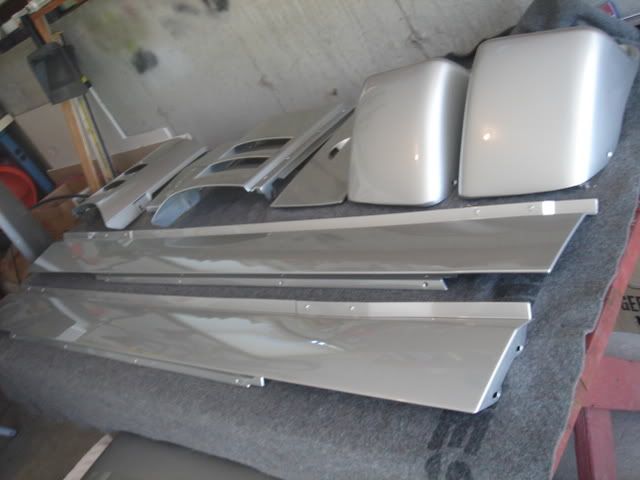
and we didn't paint the door jambs either....thats a whole new level of PITA that i wasn't willing to get into...you have to mask the entire interior!! forget it...you can't tell anyway...
 12-14-2007, 12:22 PM
#42
Le Mans Master


They are available from Ecklers and other vette sites...the online version of Ecklers actually has a picture of my hood when you search the product...i think they add a nice touch too...if they ever fade or peel i think i'll actually have the same thing painted in the same place.
and we didn't paint the door jambs either....thats a whole new level of PITA that i wasn't willing to get into...you have to mask the entire interior!! forget it...you can't tell anyway...
and we didn't paint the door jambs either....thats a whole new level of PITA that i wasn't willing to get into...you have to mask the entire interior!! forget it...you can't tell anyway...
The 90� bend between body and Door jam is a good place to stop.....
How about the top? Did you take all the molding off the top? Or did you mask and spray the whole thing at once?
12-14-2007, 12:32 PM
#43
Drifting
Member Since: Jul 2003
Location: Orlando FL
Posts: 1,613
Likes: 0
Received 0 Likes
on
0 Posts
 12-14-2007, 01:03 PM
#44
Le Mans Master
Dammit, I was wanting to see how you tackled that one.
My top......it seems the only way to make it look good would be to strip all the black molding off....spray it silver and have the molding repainted back to black and then reassemble
The spray first and reassemble goes against the painters code......to many chances to scratch it when putting things back together. Oh well.
12-14-2007, 01:47 PM
#45
Drifting
Member Since: Jul 2003
Location: Orlando FL
Posts: 1,613
Likes: 0
Received 0 Likes
on
0 Posts
i would think that you would have to totally disassemble the top...no other way to do it...i'm sure thats the way it was done at the factory...plus it gives you a chance to freshen up the frame and all the other black parts...that little strip around the top (on the outside) has a few chips in it...so does my windshield surround...i'm still considering just hitting them with some Krylon...its just A LOT of masking work.
but i did use krylon for the wheel wells and under the hood...still looks
but i did use krylon for the wheel wells and under the hood...still looks
 03-25-2008, 10:40 PM
#47
Melting Slicks

Thread Starter
03-25-2008, 11:23 PM
#48
Racer

Member Since: Aug 2006
Location: Denver Colorado
Posts: 319
Likes: 0
Received 0 Likes
on
0 Posts
Looks good, real good. I can�t wait to see it when she�s done. Keep up the good work!
04-09-2008, 11:54 PM
#50
Melting Slicks
Thread Starter
 05-07-2008, 09:03 AM
#54
Burning Brakes

Member Since: Oct 2006
Location: Fort Worth Texas
Posts: 778
Likes: 0
Received 0 Likes
on
0 Posts
Soooooo everything is painted now?????
Looks like the fun work is about to begin (or already started now)!
Betcha' can't wait to "git-er-done"!!!!!

BTW.....that sneak peek.......very nice indeed.
Looks like the fun work is about to begin (or already started now)!
Betcha' can't wait to "git-er-done"!!!!!
BTW.....that sneak peek.......very nice indeed.
05-07-2008, 10:23 AM
#55
Team Owner


Member Since: May 2000
Location: Plantation Florida USAF(Retired) 1966-1990
Posts: 47,998
Received 4,515 Likes
on
3,597 Posts
U.S. Air Force
St. Jude Donor '05-'06-'07-'08-'09-'10-'11-'12-'13-'14-'15-'16-'17-'18-'19-'20-'21-'22-'23-'24
NCM Sinkhole Donor

 07-28-2008, 03:20 PM
#56


I'm in the process of removing my rear bumper on my 89. I have the side light covers removed, and the licesense plate removed. I also have the side screws removed along the rocker panels.
Next, I will need to remove the tail lights to get to the rest of the screws. Are the rest of the screws holding it on just run along that upper lip? Or are there more hidden screws?
Next, I will need to remove the tail lights to get to the rest of the screws. Are the rest of the screws holding it on just run along that upper lip? Or are there more hidden screws?