When you click on links to various merchants on this site and make a purchase, this can result in this site earning a commission. Affiliate programs and affiliations include, but are not limited to, the eBay Partner Network.
Because of reading about how difficult it was to remove the upper control arm nuts, I left the arms bolted in and used a breaker bar to loosen the nuts, it worked good for me.
I did see where one person took a propane torch and heated up the nuts to break the lock tite that's in them. I've heard the big concern with that is not getting them too hot so as to compromise the aluminum.
Once you do get the bolts off, I used a drill bit to drill out the majority of the bushing around the center and they basically slid right out without a press.
Good luck, working on these cars B fun!
I figured some very old thread locker was the issue. I was hesitant to apply heat due to the aluminum. That said, with a little propane torch and the size of these parts I doubt I could really do much harm.
I may bolt them to my workbench. Part of the problem I have with using the vice is I have a rag wrapped around the shaft to prevent the aluminum from galling and that's allows movement which defeats the impact a bit.
On reassmebly did you guys use Loctite? Blue or red?
I've read quite a few threads, some on different sites regarding the nuts on upper control arms. I am in the middle of a suspension refresh on my 1995 C4 and researched deeply into the removal and replacement of these nuts. Many of the posts refer to these nuts as being aluminum and tight with some factory thread lock compound. What I found on my vette is not either of these.
First off, the nuts I removed from my upper control arms are steel... not aluminum. Most likely a grade 2 but there are no markings on them and my experience leads me to believe this is the case.
Secondly they are not held on by thread lock... they are actually just nylon lock nuts. Commonly used in aviation, I've run into them on cars in some cases.
Removal with heat will work, but you don't need to burn out the nylon; just heat the junction nominally to loosen the bond and remove them. I didn't use heat and instead applied consistent and incremental torque to loosen them.
Just like other fasteners in my car these are metric. My measurements suggests that they are M20-2.5 steel nylon lock nuts.
I just ordered replacements for my upper control arms and expect them to be in later this week. I decided to go with a grade 8 as I feel more comfortable with this grade although I'm sure that a grade 2 would perform just as well for less money. Just a personal preference.
I used a little heat and they came right off. The nuts are certainly steel. It's the aluminum shaft I was worried about heating.
The nuts look fairly clean clean and I'm not certain if they are true unlock nuts - they don't appear to be. There is a red residue in them that looks like thread locker. And I intend on reassembling with thread locker - probably the red.
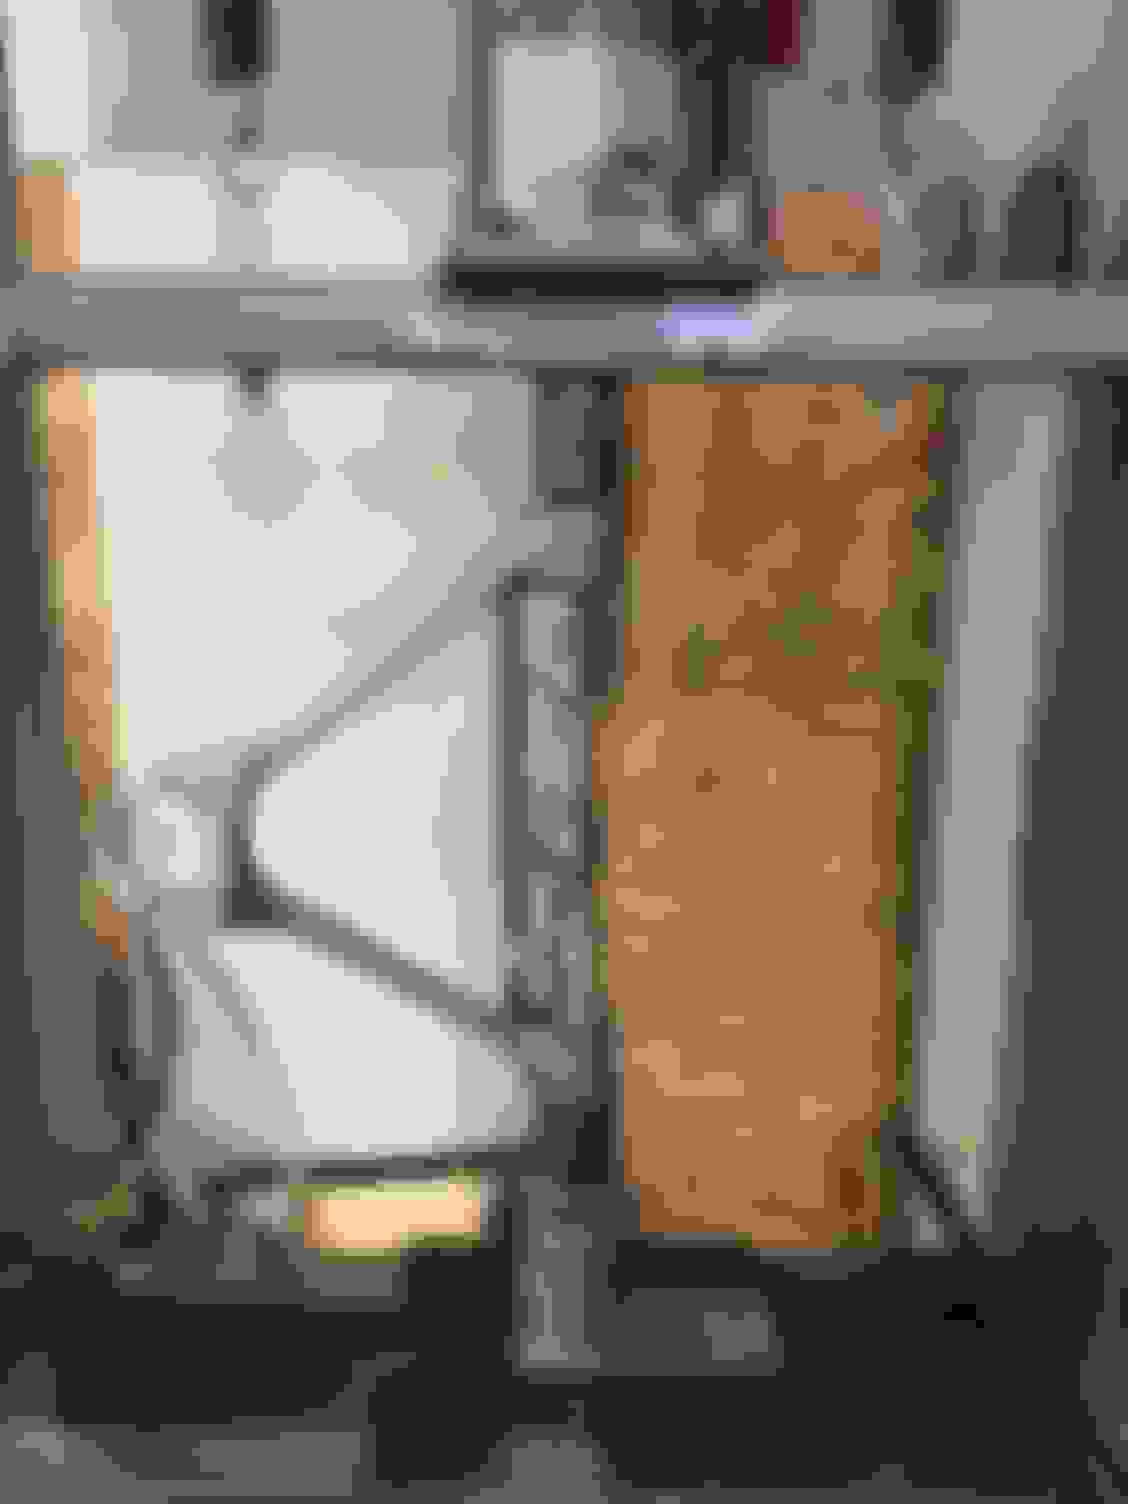
Well that was easy! So easy that I didn't even need to use the handle on the bottle jack. The bushing stayed in the high side of the arm but I'll just remove my brace, bring the press way up and remove it the same way as I did for the lower control arms.
The control arms cleaned up pretty good with dish soap water and steel wool.
The wheel bearings have different looking ABS sensors. Maybe one is not original? The left hand side bearing has a metal back cover over the sensor and is also taller. Right hand, plastic cover. Both bearings feel tight and are not getting replaced at this time.
I used a little heat and they came right off. The nuts are certainly steel. It's the aluminum shaft I was worried about heating.
The nuts look fairly clean clean and I'm not certain if they are true unlock nuts - they don't appear to be. There is a red residue in them that looks like thread locker. And I intend on reassembling with thread locker - probably the red.
You are in the right track. Use the red loctite, and torque to 40 lbs ft.
For the upper balljoints ensure you have grade 8 or 10.9 bolts, washer & nuts.
All this needs new shocks, and inspect the monosprings for delamination. The rear monospring usually goes bad after 2 decades, the exhaust heat is a contributor.
Hey PLRX, I'll definitely take a look at the springs, hoping I don't find what you pictured because that would blow my budget way out! I don't think shocks are in the budget now either. I know the senstracs aren't great but they don't seem blown so I'll save the cost for now.
My new ball ball joints are sitting in an unopened box and I presume they will come with bolts/nuts. I've never seen a spec sheet included with replacement ball joints for bolt torque. Anyone know what those 4 little bolts should be torqued to? Is threadlocker a good idea? I'm thinking blue loctite for the little bolts.
About to buy Loctite and trying to decide between red (high strength) and blue (medium strength) for use on the nuts on the aluminum control arm shaft.
Red pros: stronger bond less chance of the nuts coming off and killing me. I was leaning towards this since the nuts are so critical.
Red cons: requires heat to remove and if I ever end up having to remove them the amount of heat necessary may weaken the aluminum shafts.
Blue pros: not heat required to disassemble
Blue cons: weaker bond compared to red.
What would you or did you use and why?
I vote red. I deal with a lot of aluminum parts and routinely use heat for expansion and removal. It takes more heat than you think to do damage and the red loctite will give well before you come anywhere near that point.
Believe I am in agreement. I used heat to remove them and the aluminum shaft was warm to the touch, no where near the point that I'd consider damaging. Will be picking up both blue and red. Was planning on using blue on the ball joint bolts (the ones that replace the rivets) that never come with a torque spec.
Red was what I used. Better safe than sorry. And after replacing the bushings you shouldn't have to take the arm off again for a very long time, if ever! My goal in doing all of the suspension was to make it a useable and reliable car for me till I'm dead and gone, then it's my kids problem, because that's where my cars are going when I'm gone.
As a tech the rule we go by is red for steel, blue for AL.
So we should use purple in this case because it's a steel nut on an aluminum shaft!
I think either would be fine here but I certainly wouldn't be scared of the red. It would make me feel better and you aren't planning on taking them apart again any time soon are you?
lol, none of the green either. Blue because it stands a better chance of coming apart with the AL intact. Every time I tell myself that something won't have to come apart again, it does! I read 40# somewhere, but do not have any of my reference material handy at the moment.
Last edited by wikdwizard; Feb 17, 2017 at 03:04 AM.
I'm still waiting on delivery for the control arm bushing. In the meantime I have installed the all joints, overall a smooth process. The Moog units feel like quality pieces. After installing the first one the joint was so stiff I thought it was bad. But I continued on and all felt the same so I'm confident that they are really just that tight.
Ive had this uneasy teeny bit of slop in my steering since I've owned the car. I always attributed it to worn ball joints, tie rods or bushing. But seeing how I couldn't find any slop in the old units I dug a little deeper this morning. I swing the ac compressor and asr unit out of the way and wiggled the intermiediate steering shaft as much as I could. Sure enough I do feel a teeny bit of slop. It looks like it is loose where it bolts to the rack. In other words, as if the connection between rack and shaft had a loose tolerance. I pulled the shaft out which really was quite easy. In my hands the unit is rock solid, even the rag joint. I reinstalled but haven't torqued the bolts yet. I'm almost thinking the bolt was loose.
Well I'm getting good and installing and removing this thing. I torqued the bolts and still found the same play so I removed it again.
In the vice I found the movement. However I don't know if this is what I feel in the steering wheel as this is not the natural movement for the shaft (like a lever). Rotationally, there is no play.
I havent rules out the pins in the column but I'm just trying to eliminate the shaft as a cause. What do you guys think?
I don't know how to upload a video. But in this pic the shiny aluminum is the lover part of the the shaft and there seems to be a bushing where it goes through the yoke. This is where I can get some play if I lever the shaft. Again, rotationally I can't find any but that's not to say that in use that isn't a factor.
I removed the bolts to get a better look at the bushing and the aluminum. Both look ok, no obvious signs of damage. Just a big clearance. Maybe a new rag joint would allow less flex here? This one looks to be in pretty good shape thoug. Again, might be totally normal - I don't know if this is an issue or not.
I did use use a marker to mark both pieces so I could reassemble in the correct orientation.