


Hood Liners
Tech Contributor


Joined: Dec 2003
Posts: 19,384
Likes: 87
From: Horncastle Lincolnshire, England
2023 C5 of the Year Finalist - Unmodified
Its easy to reurbish the stock liner. The decal is just a few $$ from RPI Designs or you can use testors paints.
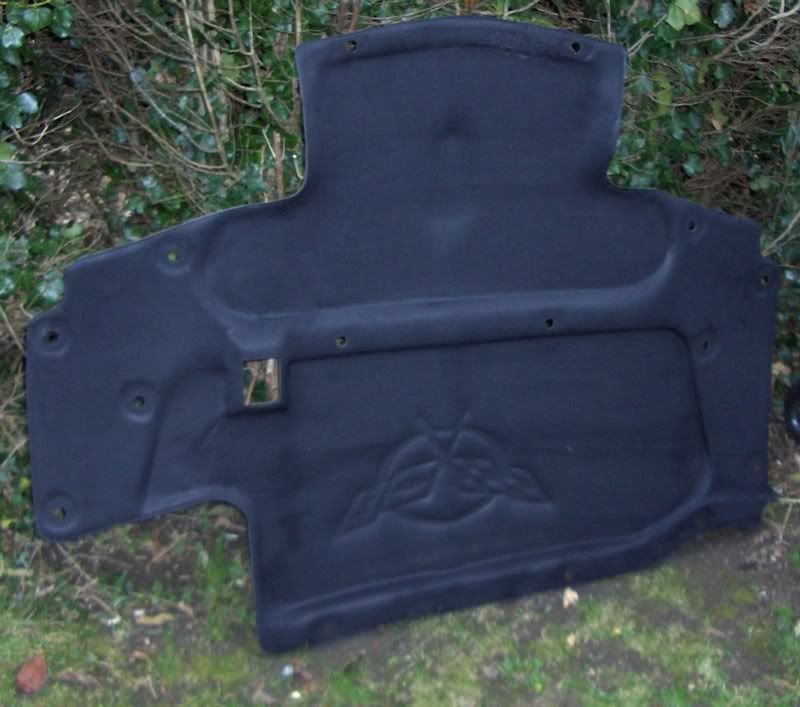
Refurbishing a Corvette C5 Hood Liner
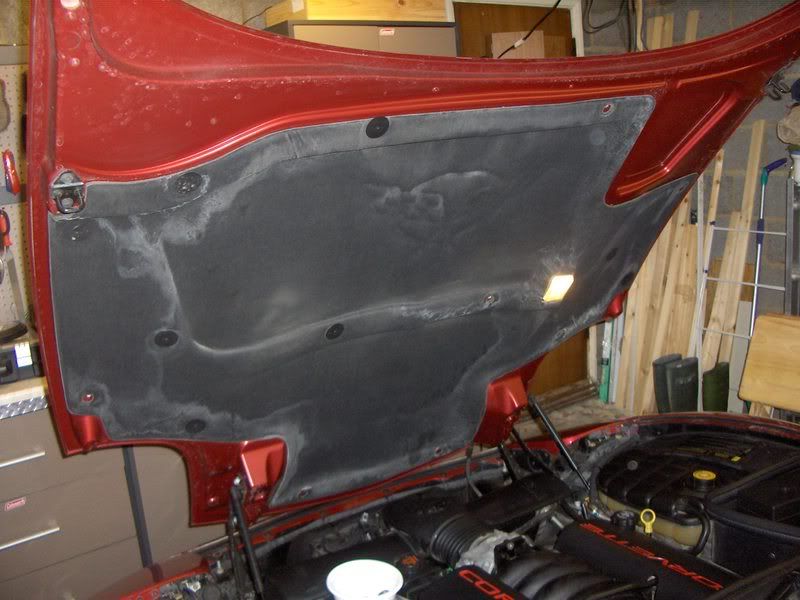
The liner is made of a very delicate material so be careful in how you handle it once it�s removed. The surface is a fabric type finish and hard brushing will cause it to become rough and fibrous. It will also crack easily if you let it flex so if you take it outside beware of strong wind.
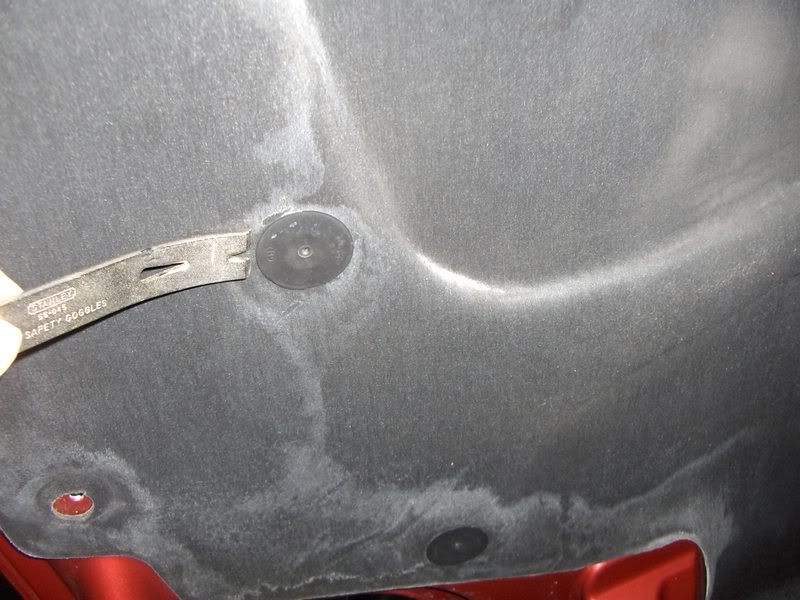
As you take the final fasteners out, support the liner so you don�t crack the liner around the eyelets.
The actual work takes only minutes. The drying time is the only slow process.
As you can see, the liner will have attracted quite a bit of dirt and grime.
OK here we go.
Lift the hood.
Remove the fasteners gently, top, then bottom and middle ones last. This will support the liner better as you take them out. Us a tool with a forked end. I�ve heard of a barbeque fork being used. I used a nail puller work in behind the fastener.
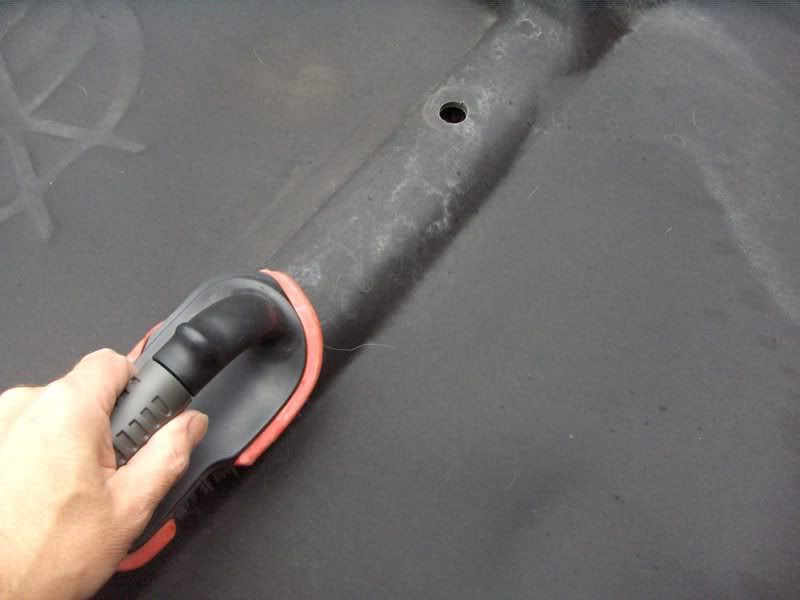
Take the liner outside and brush the surface gently with a soft brush to remove any dirt. Take care not to damage the surface of the liner.
Spray the liner with black paint. The difference between the old and the new surface is immediately apparent.
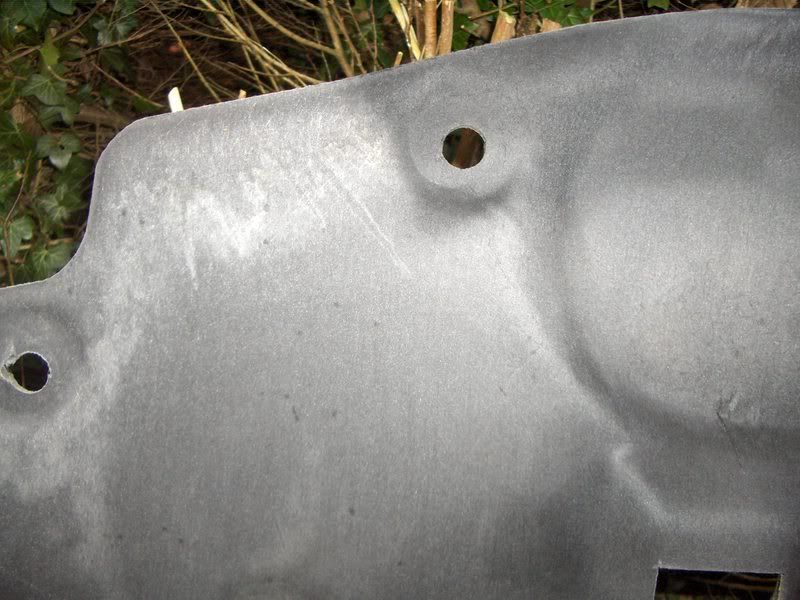
Use as many coats as you see fit. The liner is porous so it will take at least 3 coats to get good coverage. Leave it for 30 mins between coats to allow the paint to dry.
If you plan to paint the Corvette emblem, you may wish to apply extra paint around the embossed area on the liner. This will stop the liner absorbing the coloured paint.
Once the paint is dry (and you may wish to leave it overnight), you can either paint the emblem or apply a decal. I chose the decal. Alternatively if you prefer, you can refit the liner and apply the decal when it�s back in place.
Refit the liner in the hood fitting the middle fasteners first to hold it in place, then refit the remaining fasteners. A gentle push fit is all it takes to reinsert the fastener.
The finished Hood Liner

Refurbishing a Corvette C5 Hood Liner
The liner is made of a very delicate material so be careful in how you handle it once it�s removed. The surface is a fabric type finish and hard brushing will cause it to become rough and fibrous. It will also crack easily if you let it flex so if you take it outside beware of strong wind.
As you take the final fasteners out, support the liner so you don�t crack the liner around the eyelets.
The actual work takes only minutes. The drying time is the only slow process.
As you can see, the liner will have attracted quite a bit of dirt and grime.
OK here we go.
Lift the hood.
Remove the fasteners gently, top, then bottom and middle ones last. This will support the liner better as you take them out. Us a tool with a forked end. I�ve heard of a barbeque fork being used. I used a nail puller work in behind the fastener.
Take the liner outside and brush the surface gently with a soft brush to remove any dirt. Take care not to damage the surface of the liner.
Spray the liner with black paint. The difference between the old and the new surface is immediately apparent.
Use as many coats as you see fit. The liner is porous so it will take at least 3 coats to get good coverage. Leave it for 30 mins between coats to allow the paint to dry.
If you plan to paint the Corvette emblem, you may wish to apply extra paint around the embossed area on the liner. This will stop the liner absorbing the coloured paint.
Once the paint is dry (and you may wish to leave it overnight), you can either paint the emblem or apply a decal. I chose the decal. Alternatively if you prefer, you can refit the liner and apply the decal when it�s back in place.
Refit the liner in the hood fitting the middle fasteners first to hold it in place, then refit the remaining fasteners. A gentle push fit is all it takes to reinsert the fastener.
The finished Hood Liner
Instructor


Joined: May 2008
Posts: 187
Likes: 0
From: Jacksonville Fl
Administrator


Joined: Mar 2001
Posts: 368,641
Likes: 24,870
From: In a parallel universe. Currently own 2014 Stingray Coupe.
C7 of the Year - Modified Finalist 2021
MO Events Coordinator
St. Jude Co-Organizer
St. Jude Donor '03 thru '26
NCM Sinkhole Donor
CI 5, 8 & 11 Veteran
 with all the above. PaulaH does excellent custom work and the one by CarMotorSports is embroidered. Or you can just do it yourself.

Drifting


Joined: Apr 2004
Posts: 1,889
Likes: 21
From: Olathe, Kansas
I have the hood pad decal from Cyberdine Graphics, and it looks great! Just follow the instructions when applying the decal, and you'll be fine.
Go to www.cyberdinegraphics.com
Go to www.cyberdinegraphics.com
Corvette Stories
The Best of Corvette for Corvette Enthusiasts

5 Best & 5 Worst Corvette Daily Drivers
Joe Kucinski
The Headlights of Every Corvette Generation Explained
Joe Kucinski
5 Best & 5 Most Overrated Corvette Track Packages of All Time!
Joe Kucinski
Every 2027 Corvette Engine Explained
Joe Kucinski
Designer Imagines A Corvette That Looks More Like a Corvette Than the Corvette
Verdad Gallardo
10 Ugly Corvettes That We Still Kinda Love
Joe Kucinski
Top 10 Most Expensive Corvettes Ever Sold on Bring A Trailer
Brett Foote
10 Things Every Corvette Owner Needs (2026 Edition)
Michael S. Palmer
8 Most "Only Corvette Owners Understand" Quirks and Problems
Pouria Savadkouei

Safety Car


Joined: Apr 2008
Posts: 3,908
Likes: 10
From: Charleston SC


