When you click on links to various merchants on this site and make a purchase, this can result in this site earning a commission. Affiliate programs and affiliations include, but are not limited to, the eBay Partner Network.
This is my take on the C5 convertible bypass switch. I did all the work first then took it apart to take pictures to document the install and to add a shim under the accessory outlet I moved to the side of the console. So you'll see the work already done in the pictures. I've read other posts with switches installed in the console storage next to the auxillary outlet or replacing the auxillary outlet with the bypass switch and I've seen the bypass switch installed in the dash bezel ash tray cigarette lighter position. The following pics should get you to put the switch in any of the three locations. I bought my switch at Radio Shack part number 2750020 for $4.49. No LED is 2750693 for $3.49. The one I bought had the red led so I wired it to light up when the antenna goes up. Don't really need it but it might be cool if you put it by the ashtray. I put the accessory outlet and plastic cap I removed from the center console storage area into the side of the console in the passenger area. In this location I could use it for other accessories or the passenger could use it, plus it looks like it belongs there. I could have painted the shim washer but didn't. Can't really see it too well in the dark but the picture shows it pretty good.
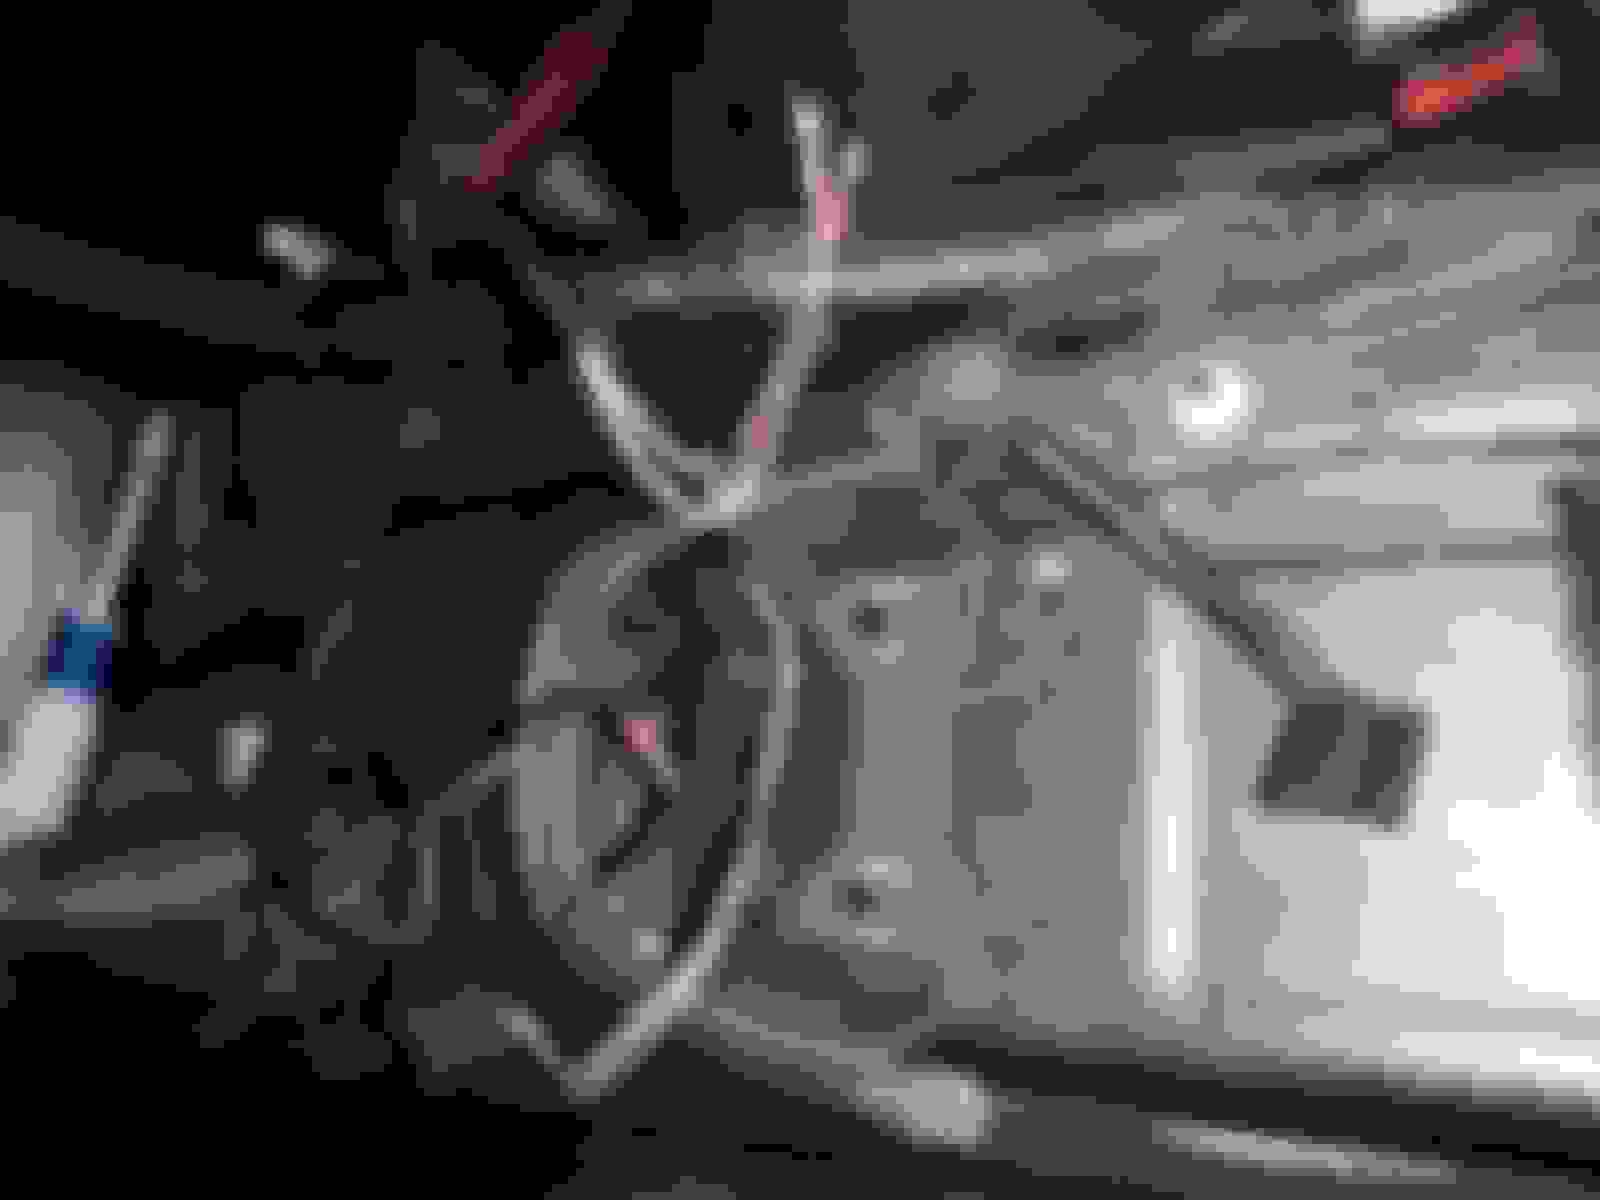
Right hand corner of trunk with plastic trim and corner panel removed and carpet pulled back. Pink wire cut and spliced into. I taped the new pink wires together and routed them under the carpet then under the waterfall and under the center console storage area to the space between the center console storage area and dash bezel.
Waterfall removal. Plastic screw inserts visible on the top and lower side. This needs to be removed to get the center console storage area off.
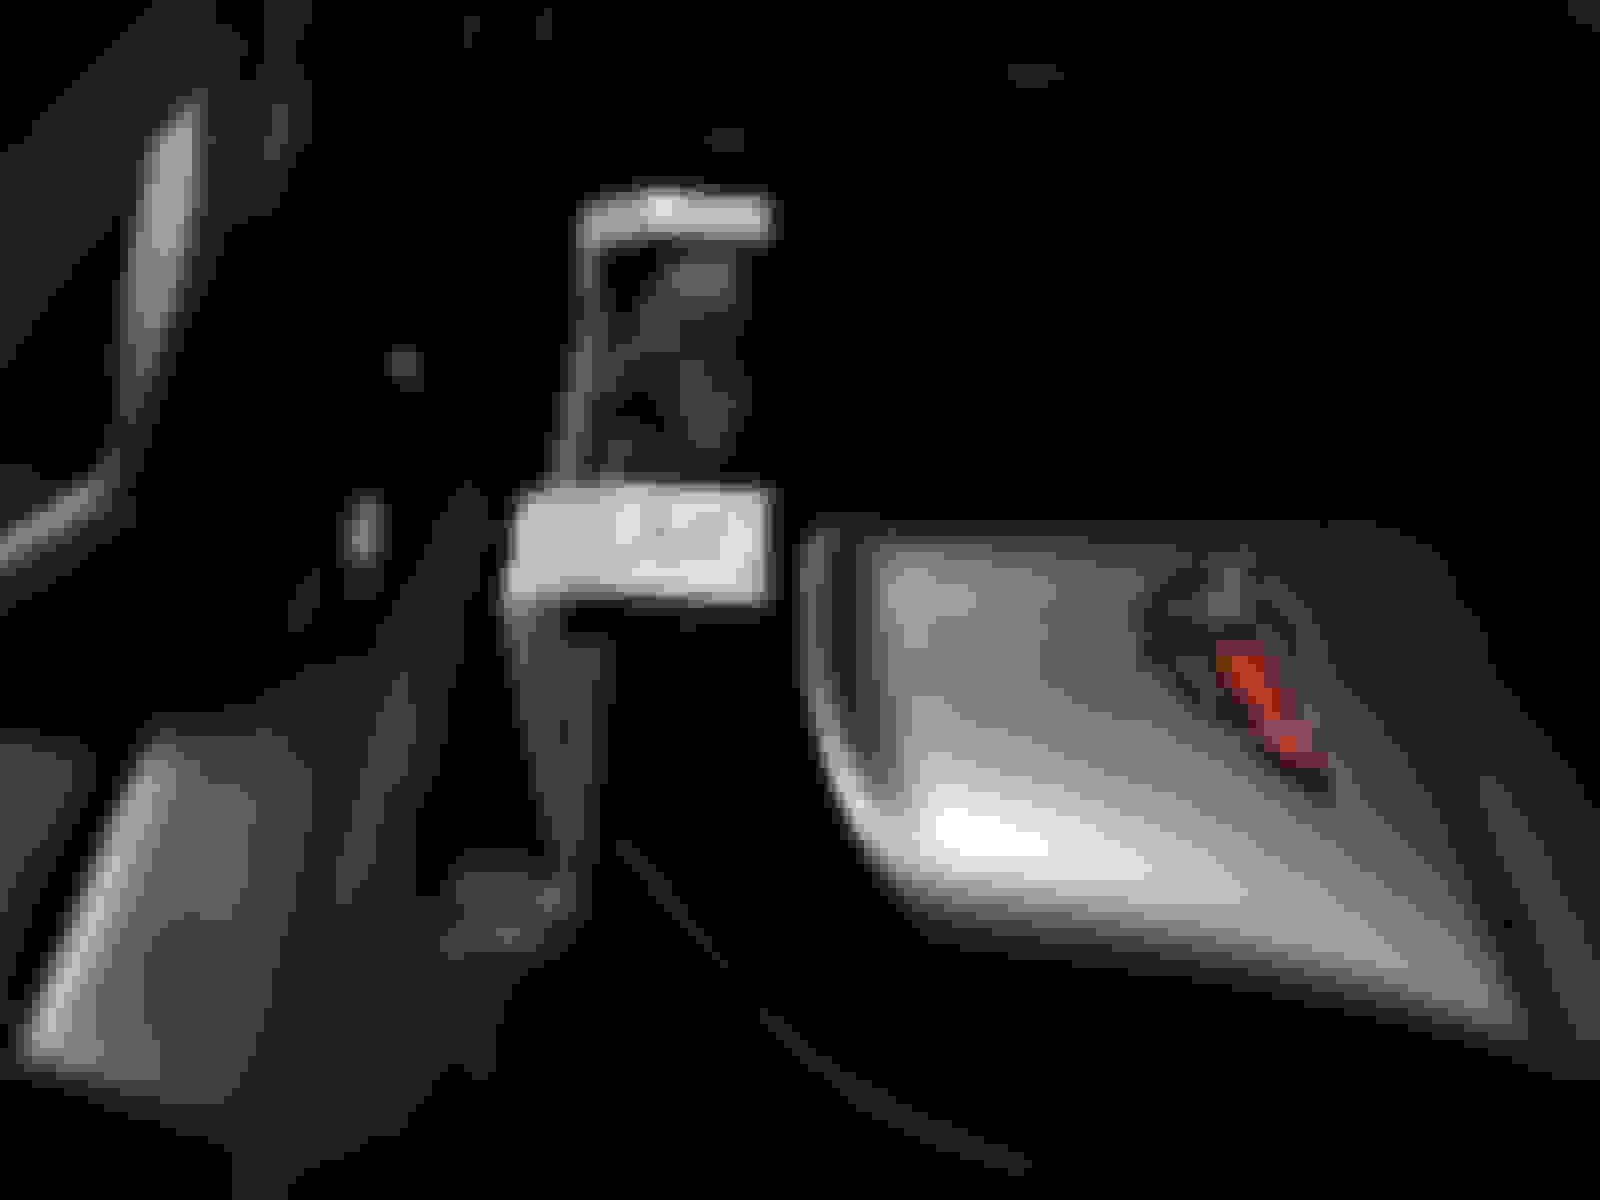
Simply lift/pry up the bezel in front of the center console area, it just snaps in, then remove the wire connector and set the bezel aside. This is the bezel my traction control switch is located. Remove the four silver 10 mm nuts. My new bypass switch is visible where the auxillary outlet used to be. If you don't want to remove the accessory outlet you could drill a new hole for the switch between the auxillary outlet and the gas door switch. Radio Shack switch fits perfect.
After removing center console storage area, uplug any wire connectors and set the center console aside.
If you want to use this cigarette lighter for your switch position then remove the 3 torx screws. Two in the lighter ash tray area and one next to the ignition switch. Pop off the plastic bezel to get to the screw next to the ignition switch.
Once the dash bezel is lifted away from the dash, reach around and unplug the connector to the cigarettle lighter, set the dash bezel aside.
I used a die grinder with a grinder tip to make a hole in the side of the console on the passenger side and moved the old accessory outlet with cap to this location. Don't just drill anywhere in the side, it's a tight fit.
I used a shim under the lighter and plastic plug so the vinyl wouldn't slip out from edge of the lighter. This area is padded, not solid so it needed the washer.
I ground down the accessory outlet retainer to 1-1/4" since the side of the console is padded.
A tight fit but fits perfect. Just be careful where you grind the hole.
The factory connector reaches if you undo the tape and retape it. Notice the blue H-tap on the ground wire for the dash bezel cigarette lighter. This is for the new switch led indicator light. Not really needed if your switch doesn't have an led light.
After the dash bezel is replaced the pink bypass and ground wires route to the forward opening. The connector on the right goes around so it will plug back into the center console gas door switch.
Re-install the center console storage area and nuts. Here's the pink bypass wires and ground wire attached to the new switch. Test the LED to see if it goes on when the antenna goes up. If not then reverse the pink wires on the switch so the LED goes on. Doesn't matter if your switch doesn't have an LED light
Re-install any remaining parts in the reverse order and you're done.
Last edited by MrRenoman; Mar 20, 2016 at 11:41 PM.
Reason: Add text
From: In a parallel universe. Currently own 2014 Stingray Coupe.
C7 of the Year - Modified Finalist 2021
MO Events Coordinator
St. Jude Co-Organizer
St. Jude Donor '03 thru '26
NCM Sinkhole Donor
CI 5, 8 & 11 Veteran
Great write-up and pics, but I believe what you are calling the glove box is normally referred to as the center console storage area. The glove box is on the right side of the dash. In any case, thanks for posting this.
Great write-up and pics, but I believe what you are calling the glove box is normally referred to as the center console storage area. The glove box is on the right side of the dash. In any case, thanks for posting this.
From: In a parallel universe. Currently own 2014 Stingray Coupe.
C7 of the Year - Modified Finalist 2021
MO Events Coordinator
St. Jude Co-Organizer
St. Jude Donor '03 thru '26
NCM Sinkhole Donor
CI 5, 8 & 11 Veteran
Originally Posted by thisMSGgood4me
Addendum to Vetteman Jack's post: What you are calling the cigarette lighter is actually the accessory outlet. The cigarette lighter is right next to the ashtray just below the climate control (in your 5th pic).
Can I assume that to disable the automatic up-down movement of my automatic antenna all I really need to do is cut the pink wire found in the right corner of the trunk?
Am I correct in thinking my radio and CD changer will continue to operate (with diminished reception from the radio) after I cut this wire?
I'm not really interested in an auxiliary antenna switch, in fact, if I never see that coon tail hanger again I'll be happy!
Can I assume that to disable the automatic up-down movement of my automatic antenna all I really need to do is cut the pink wire found in the right corner of the trunk?
Yes
Am I correct in thinking my radio and CD changer will continue to operate (with diminished reception from the radio) after I cut this wire?
Yes
I'm not really interested in an auxiliary antenna switch, in fact, if I never see that coon tail hanger again I'll be happy!
You can always put a toggle in the corner just in case you need reception.
Thanks,
Art
Last edited by MrRenoman; Mar 21, 2016 at 09:45 PM.
Can I assume that to disable the automatic up-down movement of my automatic antenna all I really need to do is cut the pink wire found in the right corner of the trunk?
Am I correct in thinking my radio and CD changer will continue to operate (with diminished reception from the radio) after I cut this wire?
I'm not really interested in an auxiliary antenna switch, in fact, if I never see that coon tail hanger again I'll be happy!
Thanks very much
The pink wire is correct. Radio reception is ok in my area, guess it depends on your location and distance from the transmitter tower. I located my bypass switch in the console area next to the fuel door release button. Found the exact matching button at Radio Shack