When you click on links to various merchants on this site and make a purchase, this can result in this site earning a commission. Affiliate programs and affiliations include, but are not limited to, the eBay Partner Network.
Here the frame (back / front) with the light frame which can be put inside the frame and tightened with a plastic nut, the light is glued over the light frame, the wire come inside the light frame and come out from the threaded hole.
I will put aluminum tape over the frame (front) to reflect the light that come from outside.
This will remove all the lines like it was made from a mould!
For the frame it's not visible, the lines is not an issues, also since I want the piece to be protected from water. I will need to kinda protect it with paint or some treatment, I dont want the humidity to do inside the taillight.
As earlier in the thread, I'm also having a go at some custom LED taillights. I'm taking a different tack though in that I want to retain the original lens so the car looks spec from outside. Behind the lends though I'm 3D printing a new rear low-profile clamshell to the lens with support structure for the LED's.
Design wise I am going for one large red-led 'C' shape in each lens with the opening towards the side of the car. Then in the jaws of the C I have two bars of red LED's for the indicators. You can clearly see those two bars on the lens - it those parts that will illuminate.
So far I bought a lens from ebay. Heating it does not allow it to come apart (like no-way). After some significant damage (not visible from external) the lens came away. I have built temporary support structures from card, and the LED's work very well on the bench. I like the look, but will continue with a full build using the 3D printer to prove it out.
Images to follow...
That will look great once finished, I am pretty sure of it
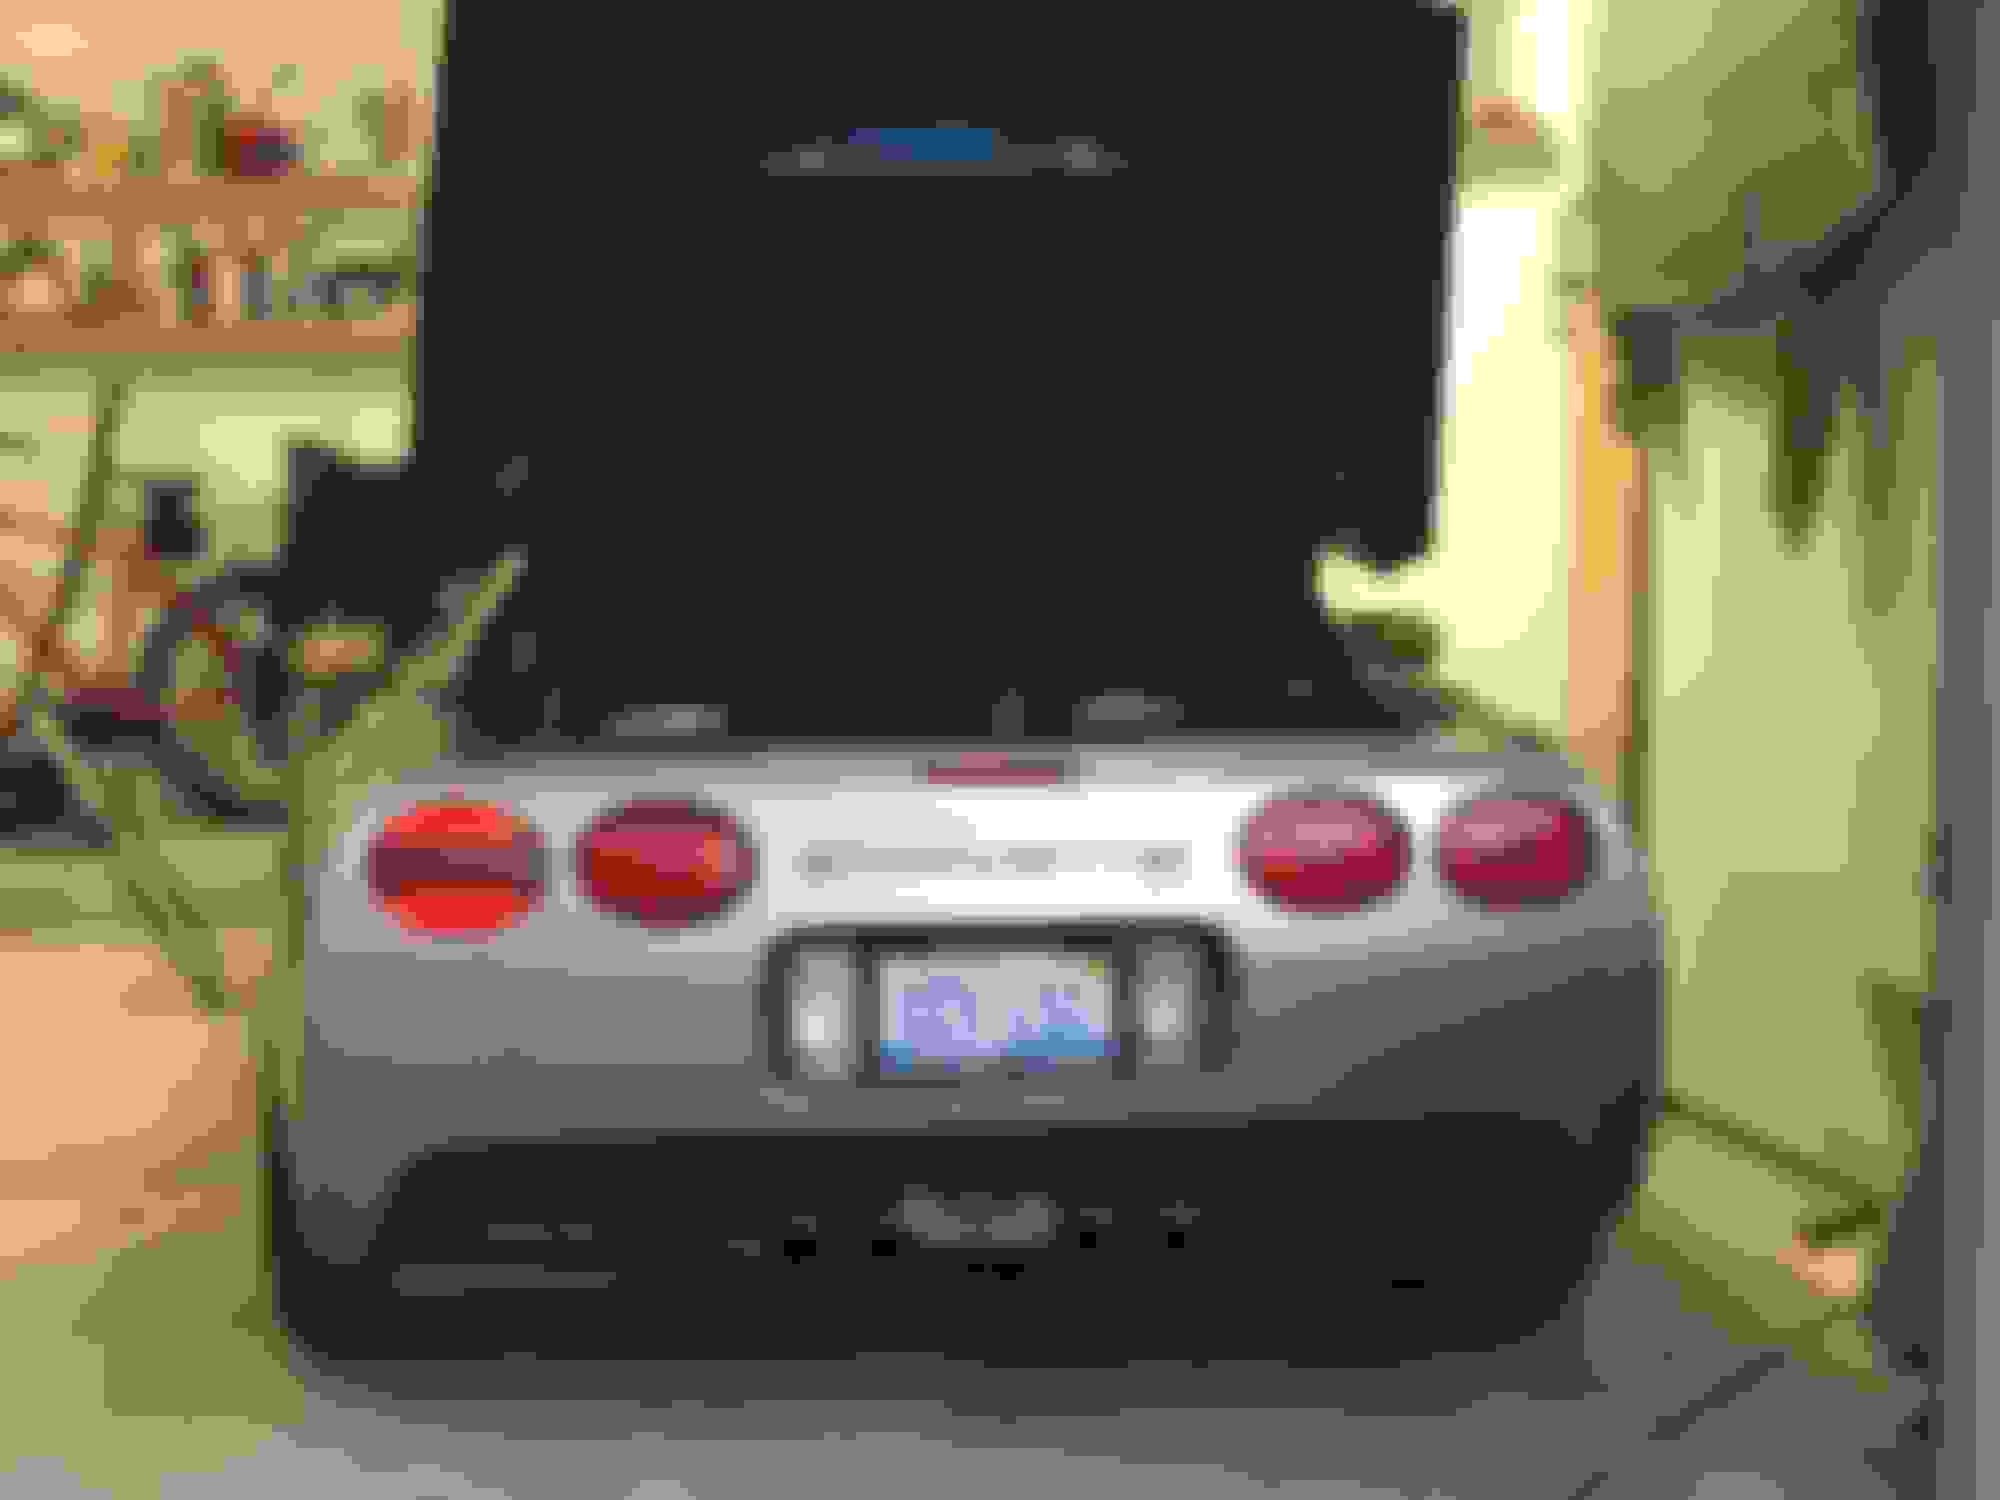
Sorry it's been a while - I'm not a fast worker...
Here's the latest on my custom LED tail lights. I've designed and 3D printed a new clamshell for the back of the original lenses. Here you can see the effect. I'm basically using the strip shapes on the original lens, but illuminating them independently using LED's. Right now I just have the running lights, but brake lights are going to be easy. Here's some photo's of the effect so far.
In terms of price, each clamshell is printed, which is kind free once I bought my $140 3D printer. Then the LED's have cost me $10 for more than I need. The brake lights are a bit more expense at $6 per clamshell (two per taillight). I will post all the 3D models free on Thingiverse when done.
With the other lights off
With the other lights on. Note how the unlit areas of the new lens stay darker. I like that effect.
The brake lights will be in the two very dark strips. The central strip will always be unlit.
Here are the LED's with shiny duct tape acting as a reflector. The two wide channels will house very bight red modules, and the central channel remains empty.
its look great,what material you use to print the base? PLA?
So the light go ON or OFF, no light on the OFF state?
I did not post any update too, I ordered stuffs to upgrade my printer to work with ABS, I received all my lights, I upgraded my power supply, I wait for 2 mofsets and some wires, I should get it soon.
I am not 100% sure about my design, I still need to work on it, I want to be easy to print and be able to split the parts, more parts = more easy to print and I can change material color for some effects.
Sorry it's been a while - I'm not a fast worker...
Here's the latest on my custom LED tail lights. I've designed and 3D printed a new clamshell for the back of the original lenses. Here you can see the effect. I'm basically using the strip shapes on the original lens, but illuminating them independently using LED's. Right now I just have the running lights, but brake lights are going to be easy. Here's some photo's of the effect so far.
In terms of price, each clamshell is printed, which is kind free once I bought my $140 3D printer. Then the LED's have cost me $10 for more than I need. The brake lights are a bit more expense at $6 per clamshell (two per taillight). I will post all the 3D models free on Thingiverse when don
With the other lights off
With the other lights on. Note how the unlit areas of the new lens stay darker. I like that effect.
The brake lights will be in the two very dark strips. The central strip will always be unlit.
Here are the LED's with shiny duct tape acting as a reflector. The two wide channels will house very bight red modules, and the central channel remains empty.
Andy,
Great job, I like the look as well.
But damn you. Now I have to invest on a 3D printer and see what I can do with it. Man more toy to buy and more tech stuff to learn.
Looks like a fun project... I didn't read through everything but here are some tips... I've built my own LED tail lights for a few other vehicles...
Those LED strips typically do not last very long if you are not regulating the voltage...
They are also not typically bright enough in the sunlight to be considered safe in my opinion. Get yourself some high quality individual LED components like Philips brand LEDs and wire them together.
You sound like you know something about these things - is there a common voltage regulator (doesn't need to step down the voltage) that will prevent voltage spikes, reducing the chances of failure?
You sound like you know something about these things - is there a common voltage regulator (doesn't need to step down the voltage) that will prevent voltage spikes, reducing the chances of failure?
What I've done for a lot of my LED projects is get an adjustable 0-30V regulator (ebay) and set it to 10.5 V ... the regulator will have capacitors, diodes, etc to prevent spikes. Some voltage regulators need some difference between the input voltage and the output voltage to operate reliably. Therefore, the (ideal) lowest voltage your battery should output with the vehicle off is 12V. Therefore you get 1.5V of headroom. Now just design your circuit to work off 10.5V. Your resistors for your LEDs can be selected so you still get the necessary current to achieve full brightness. This is the advantage to using your own components instead of cheap light strips that will ultimately fail + be too dim.
Last edited by doublec4; Sep 28, 2017 at 02:29 PM.
From: Philadelphia PA (Birthplace of the USA, UNESCO World Heritage City)
Originally Posted by AndyDove
Sorry it's been a while - I'm not a fast worker...
Here's the latest on my custom LED tail lights. I've designed and 3D printed a new clamshell for the back of the original lenses. Here you can see the effect. I'm basically using the strip shapes on the original lens, but illuminating them independently using LED's. Right now I just have the running lights, but brake lights are going to be easy. Here's some photo's of the effect so far.
In terms of price, each clamshell is printed, which is kind free once I bought my $140 3D printer. Then the LED's have cost me $10 for more than I need. The brake lights are a bit more expense at $6 per clamshell (two per taillight). I will post all the 3D models free on Thingiverse when done.
With the other lights off[/I]
These are honestly the best C5 tail lights I've seen. Very modern look (really updates the car) yet still looks like it could've come from the factory that way (versus a cheap aftermarket look). Really nice job; now if this could only be easily be replicated by those of us without a 3D printer.
Last edited by ArmchairArchitect; Dec 13, 2017 at 12:25 PM.