

Finished modifying my TPIS modified 90mm LS6 intake, pics inside.

Thread Starter
Le Mans Master


Joined: Jun 2002
Posts: 8,352
Likes: 103
From: In the pit, trying to love someone.
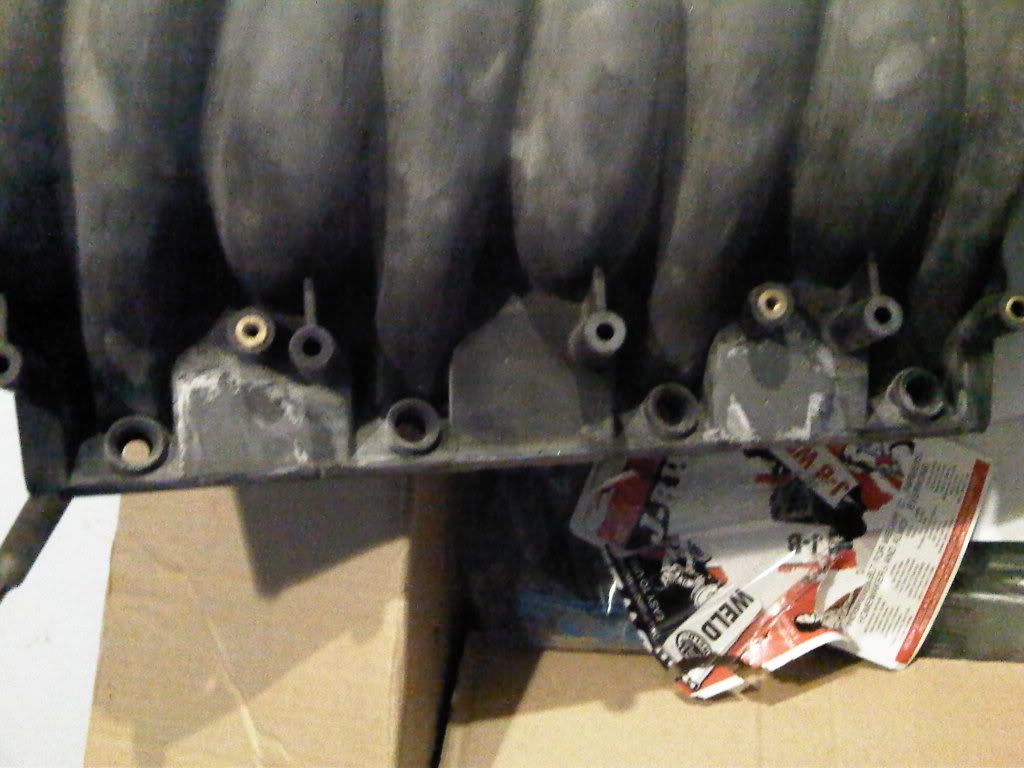
I ordered a TPIS 90MM LS6 intake a month or so ago, and received it in the mail. I wanted to install it with my billet fuel rails, Katech valve covers, relocate my coils, etc. I looked at it and thought "Man, that is an ugly looking intake!" And it was, it was a factory LS6 intake that had been ported and had a 90MM snout glued to the front of it. So I started sanding down all the factory casting marks on the top. I got it nice and smooth, and thought "It's still ugly!" and kept working. There were 4 tabs on the side of the intake, and since I am relocating my EVAP, most of my wiring harness, the coils, and ditching my fuel rail covers, I decided this wouldn't work for me. So I used my dremel and cut the 4 tabs off. Well, under the tabs were low spots for clips to snap in, and my intake was now uglier than before. So I ground all the edges down, and busted out the JB weld and liberally applied it to the intake on all the spots I had cut.

I would apply it liberally to the low spots, let it dry for a few days, and then sand/file the crap out of it. I kept doing this until the surfaces matched and were perfectly smooth. Then, I kept sanding the intake some more. I also worked on the snout, using JB weld to blend in the areas where the glue was very visible, then sanding it down. I also removed the marks made from cutting the original snout off, along with blending the casting lines on the front.
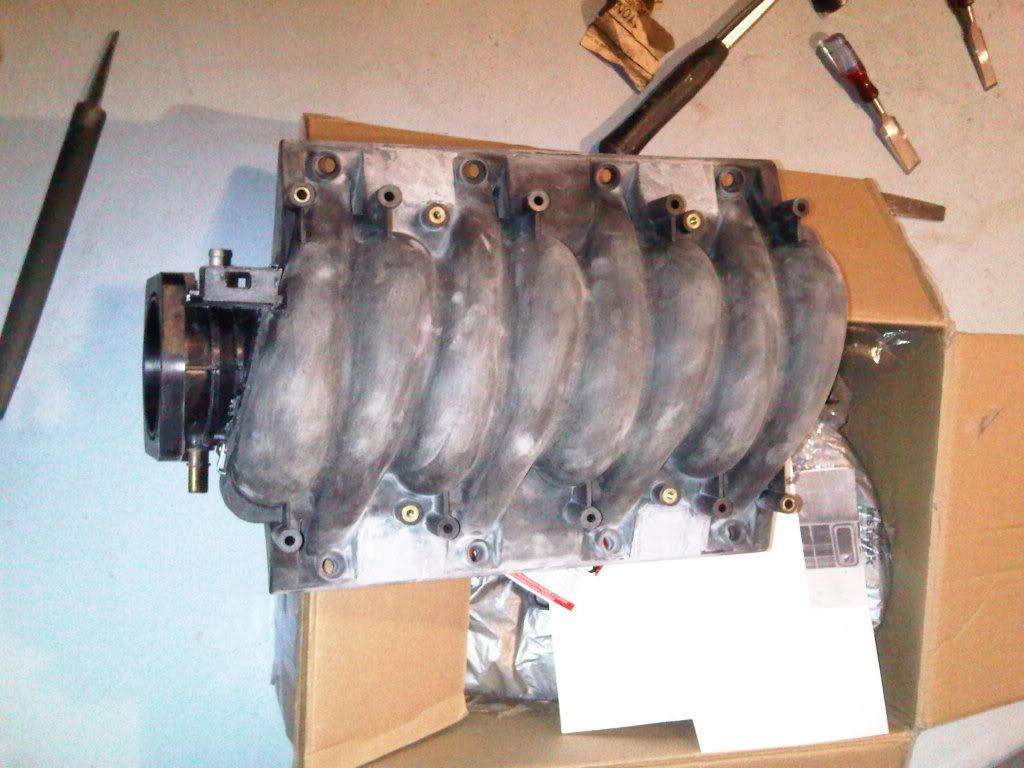
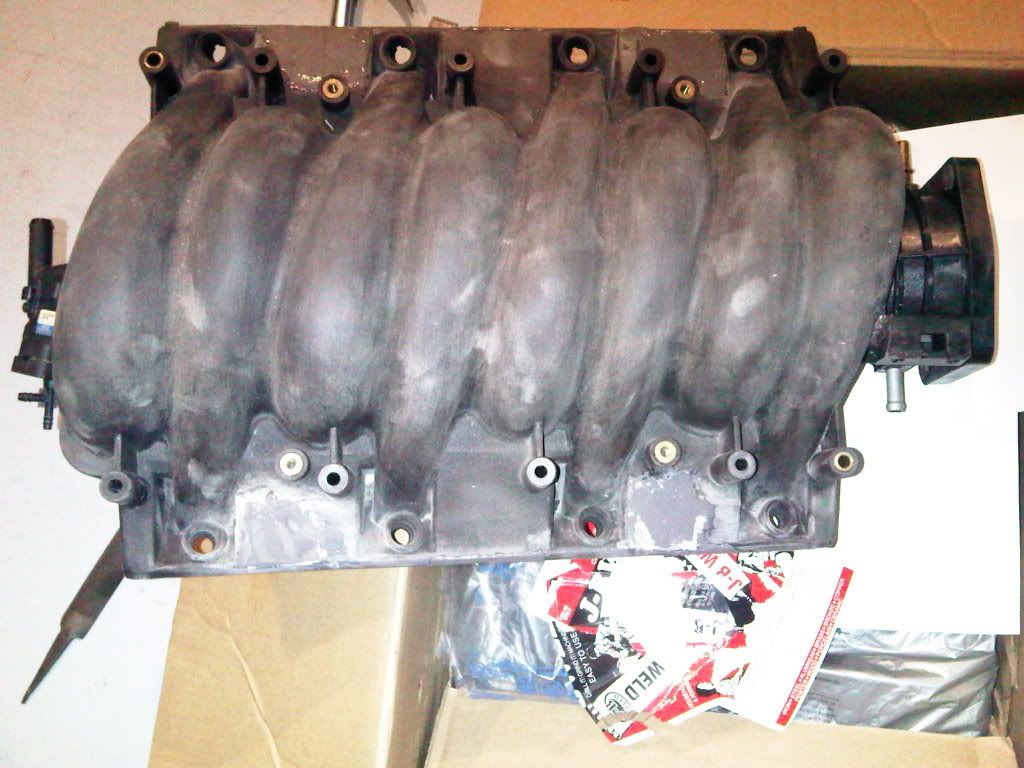
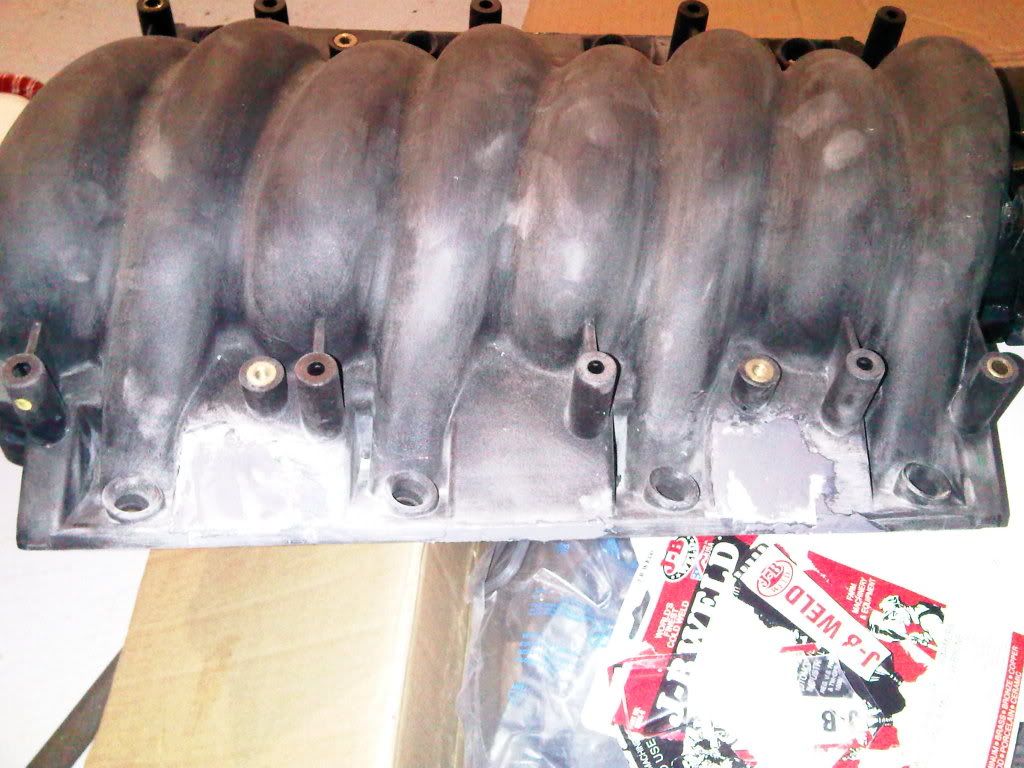
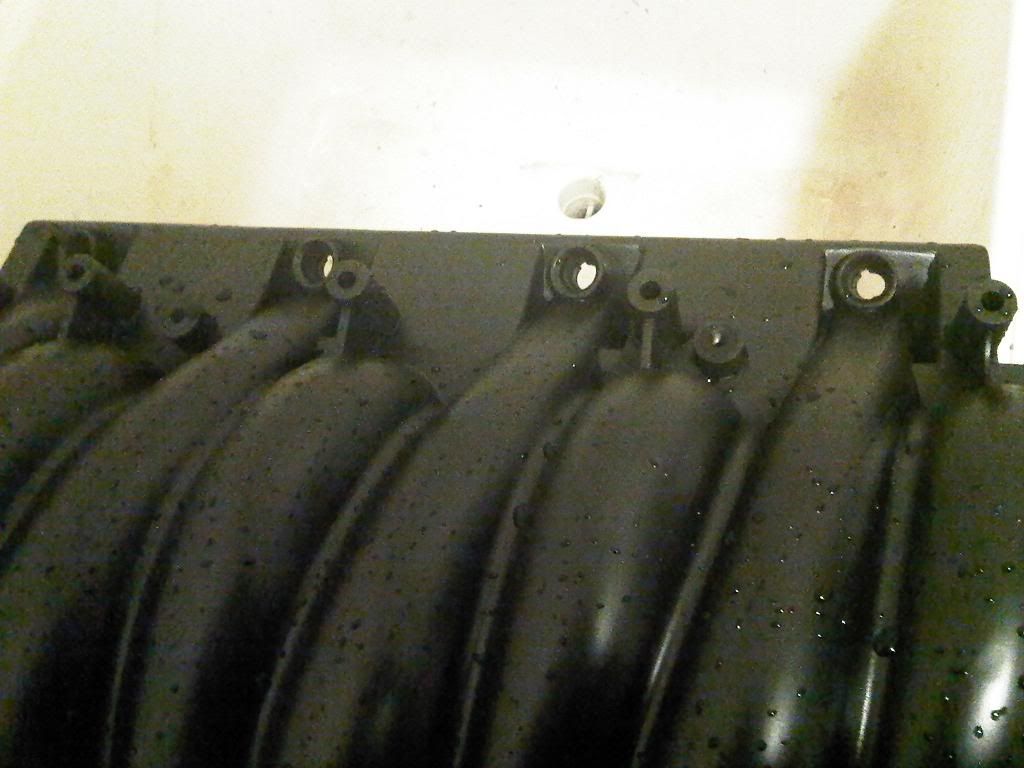
When I was done sanding the intake, I sprayed it with a few coats of sandable primer, and sanded some more. My goal was to make the intake as clean as possible, but still look like a stock piece so I sprayed in such a way that I would have a light texture to it. I know, it doesn't make sense that I spent so much time sanding it, but this way I could make it how I wanted. I then used several coats of a semi gloss black, and here it is. I just washed it in these pics, I plan to put it on tomorrow and don't want any dust from sanding inside the intake so I rinsed it with soap and warm water very carefully. Here are some pics of the finished product. Some of the spots look kinda funky in the pics, but they are all smooth. This intake is wet, and the pics were taken with a cell phone!
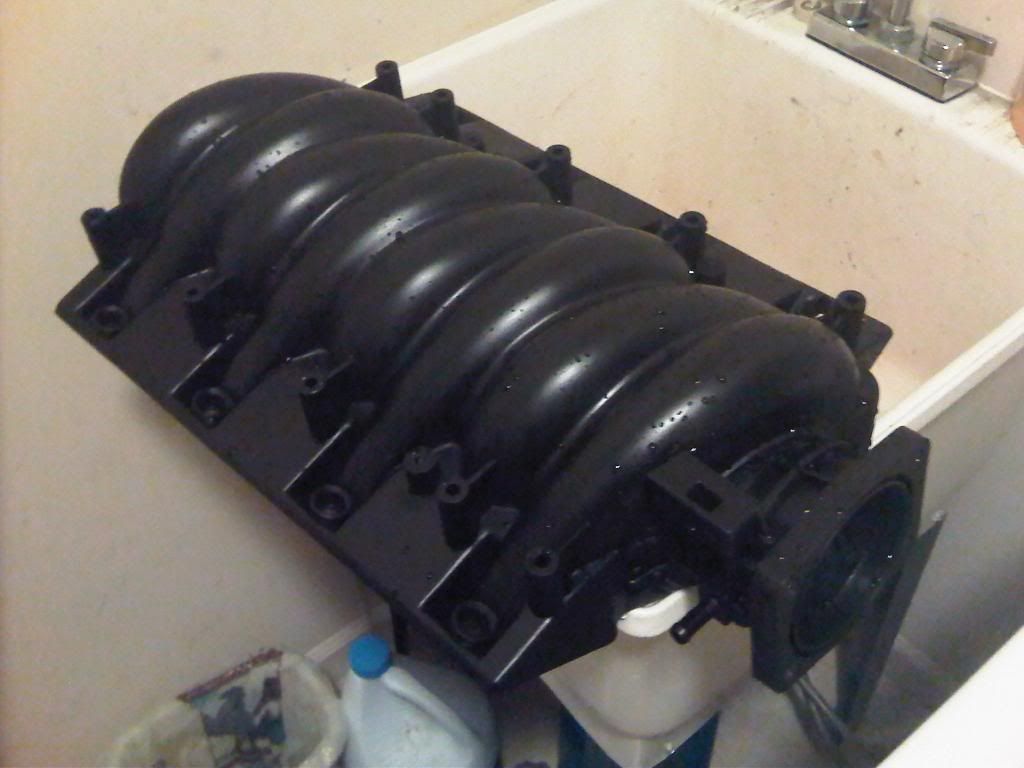
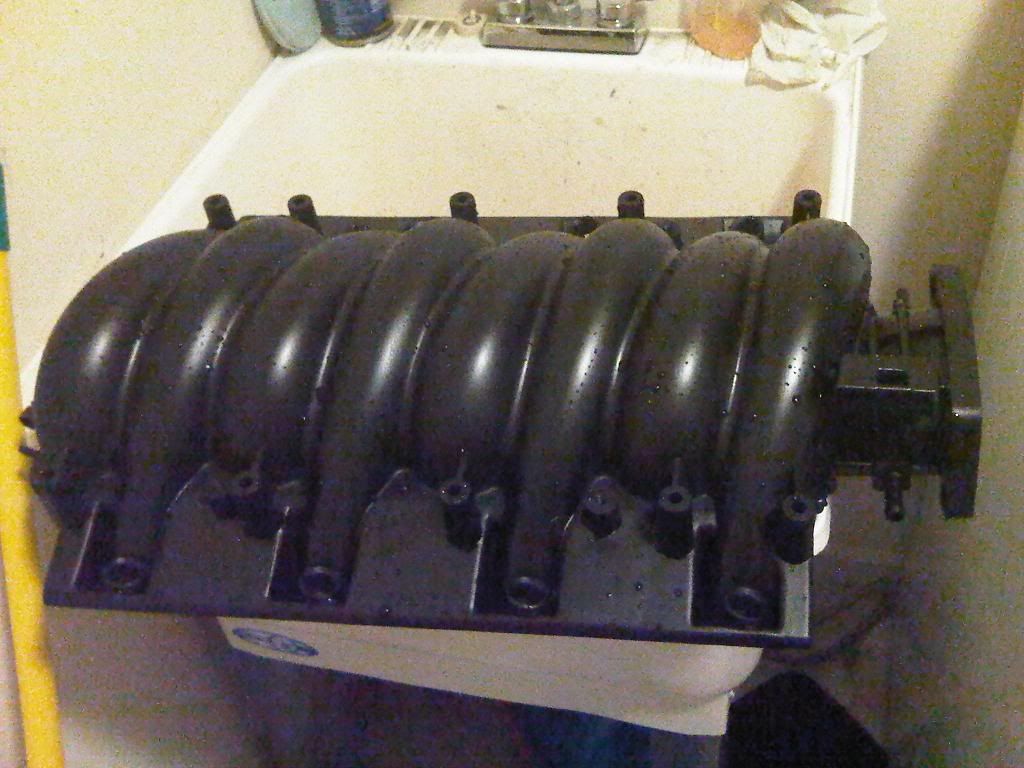
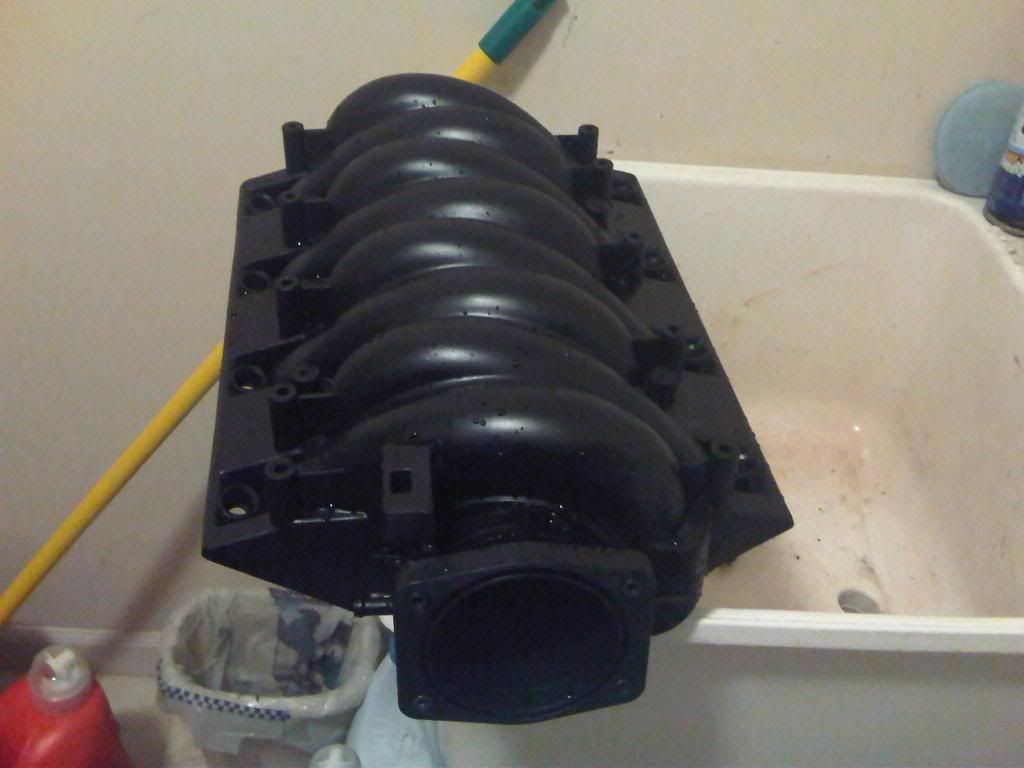

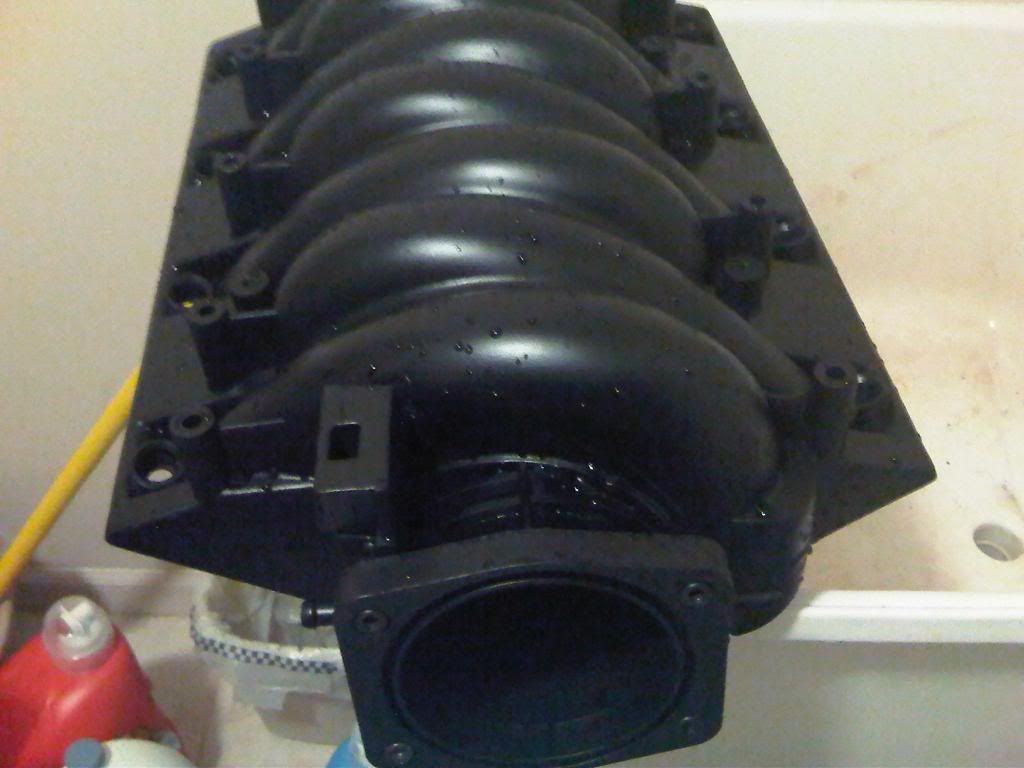

I'll be sure to post pics of my install, I have A LOT to do. This is all going on a 382 LS6. Thanks for looking!
I would apply it liberally to the low spots, let it dry for a few days, and then sand/file the crap out of it. I kept doing this until the surfaces matched and were perfectly smooth. Then, I kept sanding the intake some more. I also worked on the snout, using JB weld to blend in the areas where the glue was very visible, then sanding it down. I also removed the marks made from cutting the original snout off, along with blending the casting lines on the front.
When I was done sanding the intake, I sprayed it with a few coats of sandable primer, and sanded some more. My goal was to make the intake as clean as possible, but still look like a stock piece so I sprayed in such a way that I would have a light texture to it. I know, it doesn't make sense that I spent so much time sanding it, but this way I could make it how I wanted. I then used several coats of a semi gloss black, and here it is. I just washed it in these pics, I plan to put it on tomorrow and don't want any dust from sanding inside the intake so I rinsed it with soap and warm water very carefully. Here are some pics of the finished product. Some of the spots look kinda funky in the pics, but they are all smooth. This intake is wet, and the pics were taken with a cell phone!
I'll be sure to post pics of my install, I have A LOT to do. This is all going on a 382 LS6. Thanks for looking!
Last edited by Mike94ZLT1; Apr 4, 2009 at 12:33 AM.

 .
.


 I wouldn't send out work like that! Looks sweet now.
Tech Contributor


Joined: Dec 1999
Posts: 32,910
Likes: 2,402
From: Anthony TX
CI 6,7,8,9,11 Vet
St. Jude Donor '08
 Hang on just a minute...... I have never purchased anything from TPSI or have anything to do with TPSI but, I don't think TPSI did anything wrong or deserves to be bashed about the work that they did on the intake.
All they do to modify this intake is cut off the OEM Throttle Body mount, prep the front of the manifold and plastic weld on a 90 mm Throttle Body snout. Then they ship it back to you. Its OEM other than the snout and 90 MM TB flange.
Other than that, the LS manifold that you get back is a regular ugly GM intake with provisions to mount accessories for C5 and even other GM line platform stuff from trucks an F bodies. So,,what do you see that TPSI did or did not do that prompted the negative comments?
All Mike94ZLT1 did was sand the runners smooth and carve off the unused OEM mounting tabs, mold parting lines, and bosses that are not being used. Then he filled in the holes and low spots with JB Weld. When you carve and sand fill in stuff on an OEM mold finished part it gets even uglier until you cover up the surgery with paint. Once it painted, yep, it sure does look better.
 Nice job again Mike!
If Mike94ZLT1 pulled it out of the TPSI shipment box and mounted it on his engine,,,,other than the small glue/plastic weld line and the bigger snout, it would look JUST LIKE your OEM GM LS intake manifold.
Yep,,there UGLY!
That my 2 cents.
Bill
Thread Starter
Le Mans Master
Joined: Jun 2002
Posts: 8,352
Likes: 103
From: In the pit, trying to love someone.
TUF-NUF
Hang on just a minute...... I have never purchased anything from TPSI or have anything to do with TPSI but, I don't think TPSI did anything wrong or deserves to be bashed about the work that they did on the intake.
All they do to modify this intake is cut off the OEM Throttle Body mount, prep the front of the manifold and plastic weld on a 90 mm Throttle Body snout. Then they ship it back to you. Its OEM other than the snout and 90 MM TB flange.
Other than that, the LS manifold that you get back is a regular ugly GM intake with provisions to mount accessories for C5 and even other GM line platform stuff from trucks an F bodies. So,,what do you see that TPSI did or did not do that prompted the negative comments?
All Mike94ZLT1 did was sand the runners smooth and carve off the unused OEM mounting tabs, mold parting lines, and bosses that are not being used. Then he filled in the holes and low spots with JB Weld. When you carve and sand fill in stuff on an OEM mold finished part it gets even uglier until you cover up the surgery with paint. Once it painted, yep, it sure does look better. Nice job again Mike!
If Mike94ZLT1 pulled it out of the TPSI shipment box and mounted it on his engine,,,,other than the small glue/plastic weld line and the bigger snout, it would look JUST LIKE your OEM GM LS intake manifold.
Yep,,there UGLY!
That my 2 cents.
Bill
Hang on just a minute...... I have never purchased anything from TPSI or have anything to do with TPSI but, I don't think TPSI did anything wrong or deserves to be bashed about the work that they did on the intake.All they do to modify this intake is cut off the OEM Throttle Body mount, prep the front of the manifold and plastic weld on a 90 mm Throttle Body snout. Then they ship it back to you. Its OEM other than the snout and 90 MM TB flange.
Other than that, the LS manifold that you get back is a regular ugly GM intake with provisions to mount accessories for C5 and even other GM line platform stuff from trucks an F bodies. So,,what do you see that TPSI did or did not do that prompted the negative comments?
All Mike94ZLT1 did was sand the runners smooth and carve off the unused OEM mounting tabs, mold parting lines, and bosses that are not being used. Then he filled in the holes and low spots with JB Weld. When you carve and sand fill in stuff on an OEM mold finished part it gets even uglier until you cover up the surgery with paint. Once it painted, yep, it sure does look better.
Nice job again Mike!If Mike94ZLT1 pulled it out of the TPSI shipment box and mounted it on his engine,,,,other than the small glue/plastic weld line and the bigger snout, it would look JUST LIKE your OEM GM LS intake manifold.
Yep,,there UGLY!
That my 2 cents.
Bill
Few years late on the reply, but Bill is completely correct! The first picture is after I had sanded it, cut stock tabs off, and filled spots with JB weld (which is not that easy to work with!)
Bumping this because people have asked me about it.


