
Full Width GM C6 Racing Spoiler Install


 04-28-2013, 12:19 PM
#24
Burning Brakes

"There is a problem at this point that isn�t in the instructions. The center-most two studs that hold in the CHMSL install in a more recessed manner then on the stock or Z06 spoiler and can�t be used as is. You need to use the two short black screws supplied with the spoiler to hold the CHMSL. Not listed in the instructions. Then add the two remaining studs from the old spoiler to the new one. That means the new spoiler will be held down by SIX total studs (two old ones, four new ones), not eight."
The above information was in the version of the instructions that came with my spoiler as step 4. Unfortunately I didn't see that sentence until trying to use all four of the original studs. I ended up shimming the two that should have been replaced so that they were long enough. So I have the four original studs plus the four additional ones on the ends of the spoiler. I don't think it's going any where!
The above information was in the version of the instructions that came with my spoiler as step 4. Unfortunately I didn't see that sentence until trying to use all four of the original studs. I ended up shimming the two that should have been replaced so that they were long enough. So I have the four original studs plus the four additional ones on the ends of the spoiler. I don't think it's going any where!


 11-10-2014, 05:25 PM
#27
Pro

http://www.rpidesigns.com/shop/item.aspx?itemid=1406
But you can get them from some of the GM forum parts suppliers.
http://www.rpidesigns.com/shop/item.aspx?itemid=1406
The following users liked this post:
Richard F (05-22-2017)
11-04-2015, 04:05 PM
#29

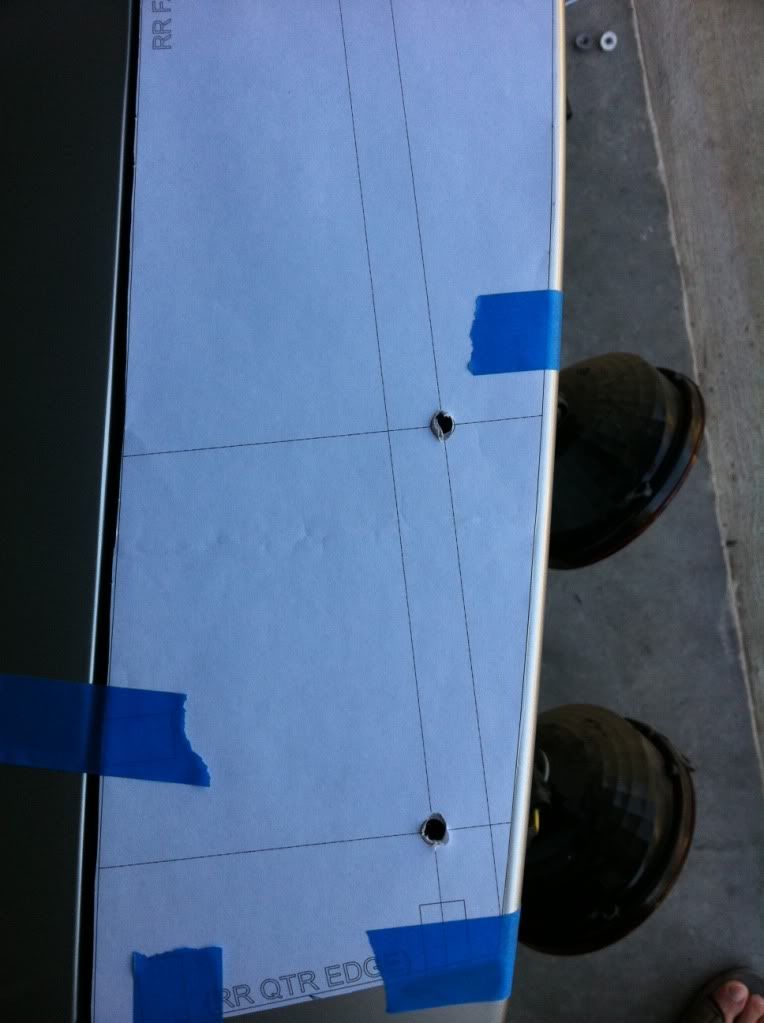
Last weekend I also drilled and put it back far as it would go which kind of ended up being a mistake. Looking at the template it looked like it wasn't going to be flush with the rear but, I think that is probably they way it should go as the 2 far end bolts ended up almost impossible to get to right under the taillight lip. I got it on but, it was a major pia and didn't use tape but, wish I had of along with the bolts.
 11-05-2015, 06:59 PM
#32
Burning Brakes
I also installed a full-width OEM spoiler as one of the first mods when I got my car, but was leery about driling holes in it. So I also used the inside bolts that held the original 3rd brake light and then good ol' 3M double-sided tape for the rest. It's [I]extremely[I] secure with the tape and looks great on the car. Bought mine factory-painted in CRM from a Chevy dealer on eBay and when I opened the box found it broken in half in spite of the "protective wrap" around it. So I took a couple of photos, emailed the dealer and then returned it for another one. Everything worked out fine except for a few days' time lost to shipping back and forth.
12-01-2015, 10:31 PM
#33
1st Gear


Member Since: Nov 2015
Posts: 1
Likes: 0
Received 0 Likes
on
0 Posts
Has anyone ever heard how much downforce this produces at a certain speed? Has anyone ever heard as to how this changes the co-efficient of drag, and perhaps gas mileage?
If you use the two-sided tape, at what speed does it come off? :-)
If you use the two-sided tape, at what speed does it come off? :-)
04-04-2017, 04:10 PM
#34

 [/IMG]
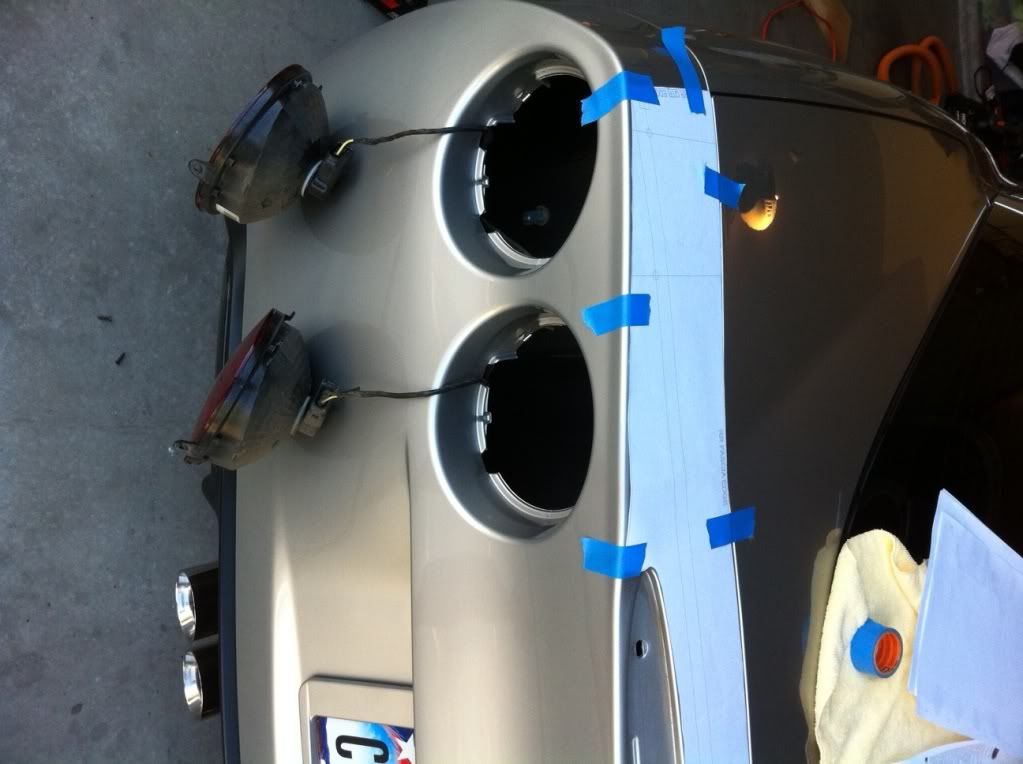 [/IMG]
 [/IMG]
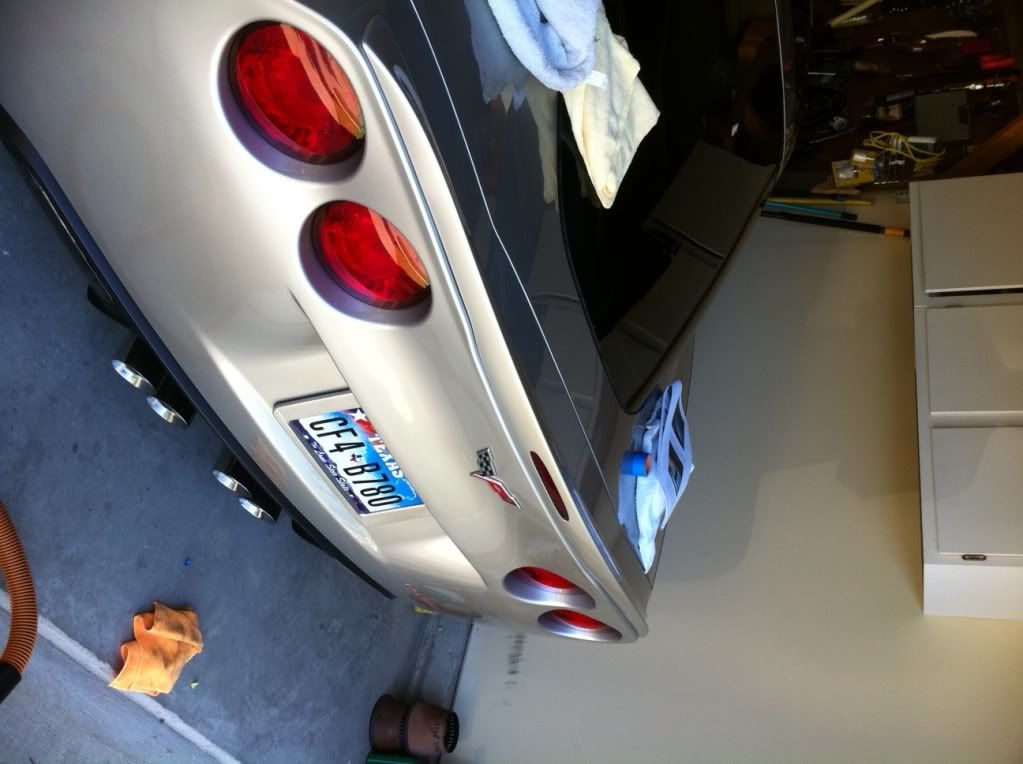 [/IMG]
This looks amazing. I have a carbon fiber on mine but looks like crap. I was thinking about going back to stock. After your install (mine carbon is simmilar) what do you think the chances are that the paint is NOT scratched underneath?
04-04-2017, 07:37 PM
#35
Burning Brakes
Thread Starter
I drilled holes and did a permanent mount. I am not sure you could install the spoiler and have no paint damage from rubbing at some point.


 05-22-2017, 10:17 AM
#37

9. The center opening on the body for the CHMSL connector MUST be enlarged. CAUTION! Instructions say to cut in the existing center electrical cord access channel (for center rear light). What they really meant to say was to cut the bottom lip out of the existing channel. Do NOT, repeat DO NOT make a cut anywhere forward of the existing spoiler depression and save yourself a $300 repair bill. There is a short lip that is hanging from the vertical wall on the front side of the depression. You need only cut maybe an 1/8" off of it to have "nothing" but the vertical wall coming down from the deck into the depression. That�s it. A very small rectangle of the lower lip is removed. One person used a box cutter (utility knife) with a fresh razor blade and carved it out in less than a minute. I used a Dremel and it also took just a minute or two.
--------------
Does anyone have pictures of this step?
--------------
Does anyone have pictures of this step?

