When you click on links to various merchants on this site and make a purchase, this can result in this site earning a commission. Affiliate programs and affiliations include, but are not limited to, the eBay Partner Network.
C6 Corvette ZR1 & Z06General info about GM�s Corvette Supercar, LS9 Corvette Technical Info, Performance Upgrades, Suspension Setup for Street or Track
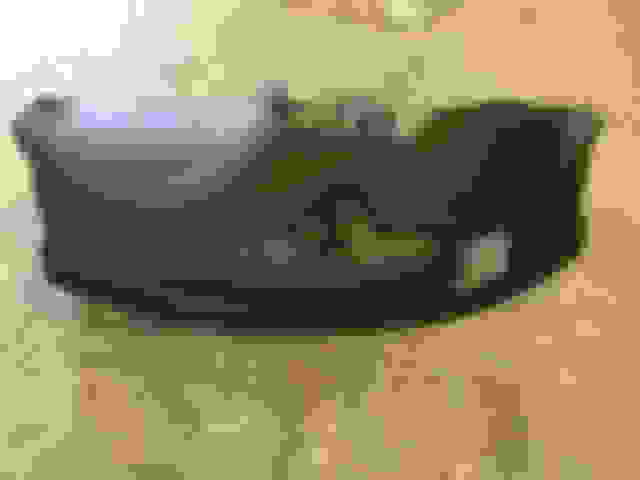
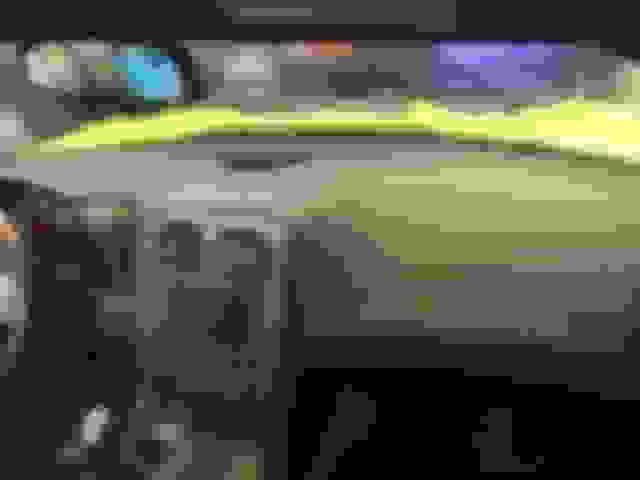
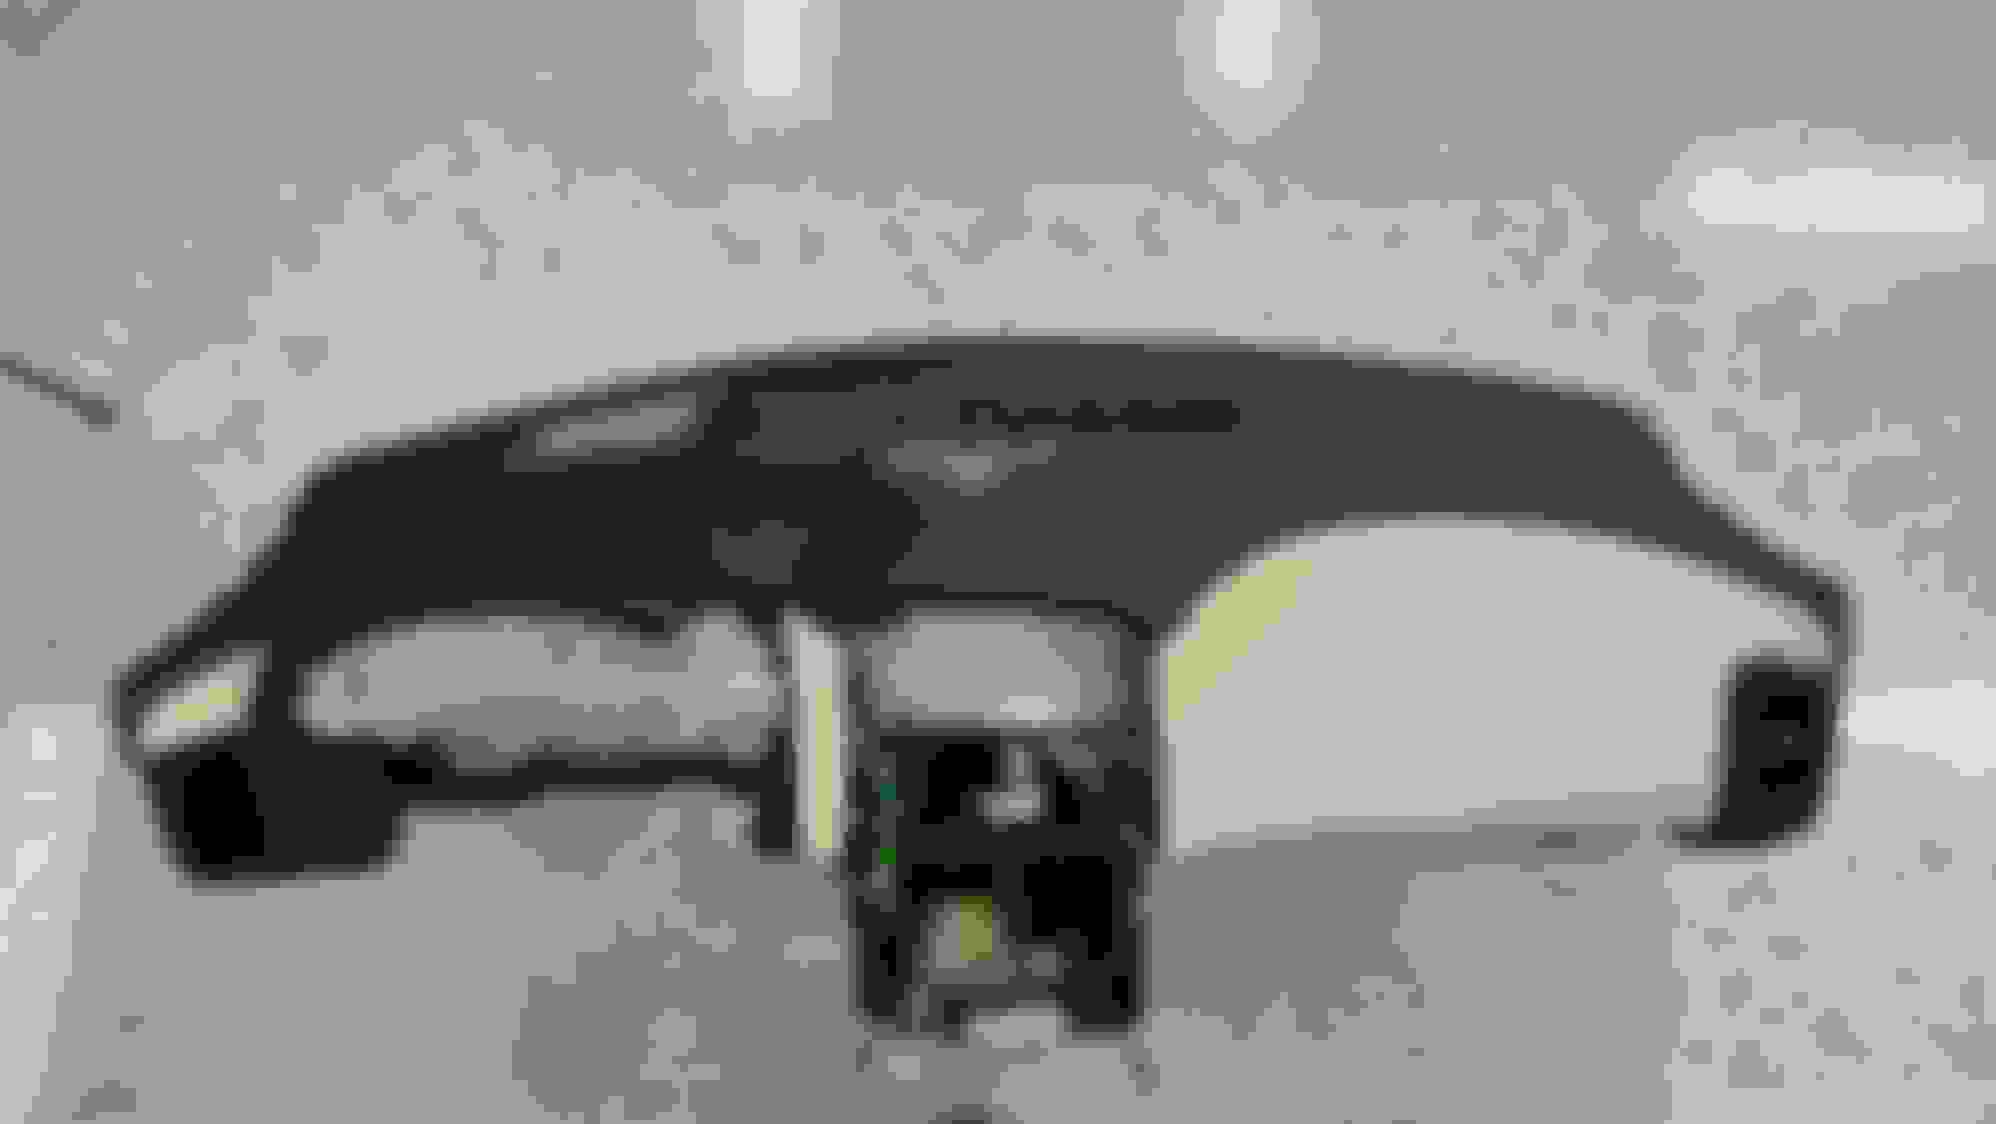
So, for my Father's Day gift, my wife and daughter gave me a full day off to play with my cars. Well, I chose to attack the peeling leather dash on the ZR1 that was annoying me and slowing getting worse as the summer heat started to climb. I searched the CF forums and found this is a common issue with 3ZR dashes. Make matters worse, they are not available anymore from dealers. So, brought the car to my shop and got started at 11:30am and the dash was out of the car before 1:30pm. Not too bad of a job to remove the dash on a C6. This was my first one and if I had to do it again, I now know some shortcuts to do it a bit faster. Leather was peeling/bubbling up by the defrost vent. Started off not too bad but got really bad in June when the heat came around. A couple of weeks ago, it started lifting on the passenger side. A bit embarrasing pulling in at a cruise night. In about 2 hours I had the dash out without much difficulty. There it is. Ready for inspection and DIY repair. I peeled back the leather and it came off almost effortlessly. The real reason these 3ZR dashes fail is due to a lack of adhesive applied at the factory. When I pulled back the leather in the center, near the defrost vent, there was VERY LITTLE adhesive applied in that area. I applied acetone to the base vinyl dash to clean up old loose glue and thorougly prep for the new glue. I used a product called Dap Wellwood Landau Top and Trim Adhesive to reglue the dash.This stuff is what the pros use and it's very strong so use with ventilation and wear a mask. I used a brush to apply the new adhesive. This part of the process took about 1-1/2 hours. It took another couple of hours to re install the dash and components. No extra screws or nuts left over. Looks great! So far, I'm happy with the results. I've owned the car since December 2019 and the dash has never looked so good! I hope it was all worth it and it won't peel anymore. Wish me luck, lol.
Came out way better than I thought I could get it. Looks absolutely perfect. Added some staples in hidden edges to add some strength as well. Got the dash back in last night in about 2 hours. Takes a little longer for me since I have aftermarket guages, boost control and lots of associated wiring. Just need to vacuum and clean up and job done.
I used DAP weldwood adhesive and an $8 seam roller I bought on amazon. I'll have a video up on my youtube channel documenting the process in a bit more detail.
You could do this on the side lol, i dont have what it takes to tackle that kind of job, I was very fortunate to get a new dash from GM and installed by a dealer. My ventures wind up costing more to fix what I have done than the original problem. Mine has been good for several years. Hats off to you and looks perfect.
Wow that looks fantastic. Great job! How much glue do you use and where do you apply it? I mean, do you paint a layer of glue or just make a strip near the perimeter? Do you have to clamp it together while it dries or what?
Wow that looks fantastic. Great job! How much glue do you use and where do you apply it? I mean, do you paint a layer of glue or just make a strip near the perimeter? Do you have to clamp it together while it dries or what?
I brushed on the adhesive sparingly in sections starting with the passenger side curved area. Apply the adhesive to the underside of the leather(suede) as well as the vinyl dash. Cover both surfaces entirely and keep them separated. Wait about 10 minutes to dry before resetting the leather to the vinyl dash. Once the stuff is tacky (8-10 minutes) and you attach the leather to the dash, it will bond to itself and cannot be reset if you make a mistake. The edges of both the leather and dash also need coverage. Hope that helps.
Fantastic job man! Looks great. Need to get this done on mine, but no way I'm comfortable tackling removing the entire dash.
Originally Posted by steve2050
It's hot up here in Toronto now but maybe I'll come to Tampa over the winter
Besides, I can't cross the border due to the damn Covid BS.
I wish you would have done a step by step video. Steve you can spend the quarantine time in Tampa repairing dashes. I know at least five guys that need it lol
Last edited by phils C5 vette; 06-23-2020 at 06:20 PM.
Great job! I count myself fortunate that my 3LZ dash still looks new but am dreading the day when I�m sure it�ll start to come apart. Considering I�ve already taken apart the interior a time or two, glad to know this won�t be too difficult should I need to tackle it down the road.
Excellent job. If you have time, could you list the steps in order? Such as 1) disconnect battery and wait 10 minutes. 2) remove center console 3) remove steering wheel airbag and wheel, etc? If there are any hard to get to screws or special tool required (such as short wrench, long extension, etc) this would be very helpful.
Excellent job. If you have time, could you list the steps in order? Such as 1) disconnect battery and wait 10 minutes. 2) remove center console 3) remove steering wheel airbag and wheel, etc? If there are any hard to get to screws or special tool required (such as short wrench, long extension, etc) this would be very helpful.
We re&re dashes at work on occasion because we work on some collision cars and the passenger airbag deploys. I watched the video below and got some idea where not to waste too much time. Honestly, it's a 5 or 6 on a difficutly level.
Good write up! Mine started to bubble a little on top part and where it says corvette on passenger air bag. I bought the car like that knowing this is somewhat a normal thing with these dashes. My car rarely sees direct sun and I have the cover craft dash shade that I put out if there car goes out doors. I too get annoyed seeing it every time I take the car out. I was thinking removing the windshield. I don�t have the skills or tools to remove the dash.
Bumping this thread. Think i'm finally going to tackle my peeling 3LZ dash in the next few weeks. Anyone repaired their own dash in a similar fashion? I emailed my local upholstery shop a picture and he told me the whole leather dash piece would need to be thrown out and a new piece made which seems a bit exessive. Think im going to try re-gluing myself.

 06-22-2020, 06:57 PM