When you click on links to various merchants on this site and make a purchase, this can result in this site earning a commission. Affiliate programs and affiliations include, but are not limited to, the eBay Partner Network.
Whaaaat I never got any of that cool stuff with mine
Oh, this was all purchased separately. After seeing your build and seeing someone post about moving everything coil wise to the fender, I decided it was a good idea. I was originally just going to put some socks on the plug wires but figured this would be even better and clean up the bay in the process.
Oh, this was all purchased separately. After seeing your build and seeing someone post about moving everything coil wise to the fender, I decided it was a good idea. I was originally just going to put some socks on the plug wires but figured this would be even better and clean up the bay in the process.
At least your turbos are on haha. I still need to get mine mounted. Such a PITA
Yea, those extensions are plenty long, you will have some extra slack in them when you get them mounted in the fenders for sure.
Double check everything when mounting the brackets to make sure they dont interfere with the fender fitting back on. If you look back at my pictures, that was my optimal fitment while still having enough mounting points to keep it solidly mounted inside the fender. I would also recommend at least some blue loctite and lock washers for the mounting screws. Its one thing to pull the fender off to diagnose a misfire, but if i had to pull it off just to tighten down a mounting screw, id be much more irritated.
I appreciate it man. I was mocking them up to get an idea of fitment and realized there are very few places to put them and not have them interfere. I played with the idea of removing the washer fluid but I always get those "race car" ideas and then slap myself into remembering this is 100% a street car and I need to knock that off!
I didnt like how on the drivers side I can only mount up 2 of the 4 holes to get it to fit so I may try to rig something up. Not sure I can get 3 to mate up, were you able to?
What wires did you use for the relocation? I got some Taylor�s on mine and seem to work good. I would just like to relocate the coils to clean it up some.
I ordered everything from Summit and just bought what I needed to make the wires myself.
Everything is Taylor, though.
I bought like 25' of 8mm wire, boots for both sides w/ connectors, a crimping tool and isolators. This was actually about half the cost of buying a kit from MSD or Taylor that had what you'd need to do the wire and I also got a set of spark plug wire crimpers in the process. Win Win for me and I can make the wires exactly the length I need to clean the bay up as much as possible.
I ordered the harness extensions off of Amazon and I got the coil brackets from ICT Billet.
All-in-All I think it cost me around $200 to do it so I'm not mad at all.
Its been a long while since I've updated this because things have been moving VERY slowly due to my busy life and a few failed attempts at mounting the turbos (figured out the trick finally), but I've got a few progress pics to add. Ive been fixing/altering things I didnt/dont like about the car or want to make look better so there have been some things going on behind the scenes but this is the most progress ive made on the turbo kit in a while. Realistically i could get the rest done tomorrow but I'm going to alter a couple more things I didnt like with the kit and make sure the end result is a well oiled machine.
So far the kit is not bad but the instructions are like a 3/10 and that might be giving them credit. Aside from the snag of getting the turbos mounted everything has fit well and looks good. This kit would have been heaps better if they were able to control boost with just 2 wastegates as that would have freed up a ton of extra room and simplified the setup that much more. Either way, I'm satisfied. I did have to purchase some things *(mainly fittings) that either didnt come with the kit or I felt could have been better thought out. All that aside, for the cost, its pretty hard to complain.
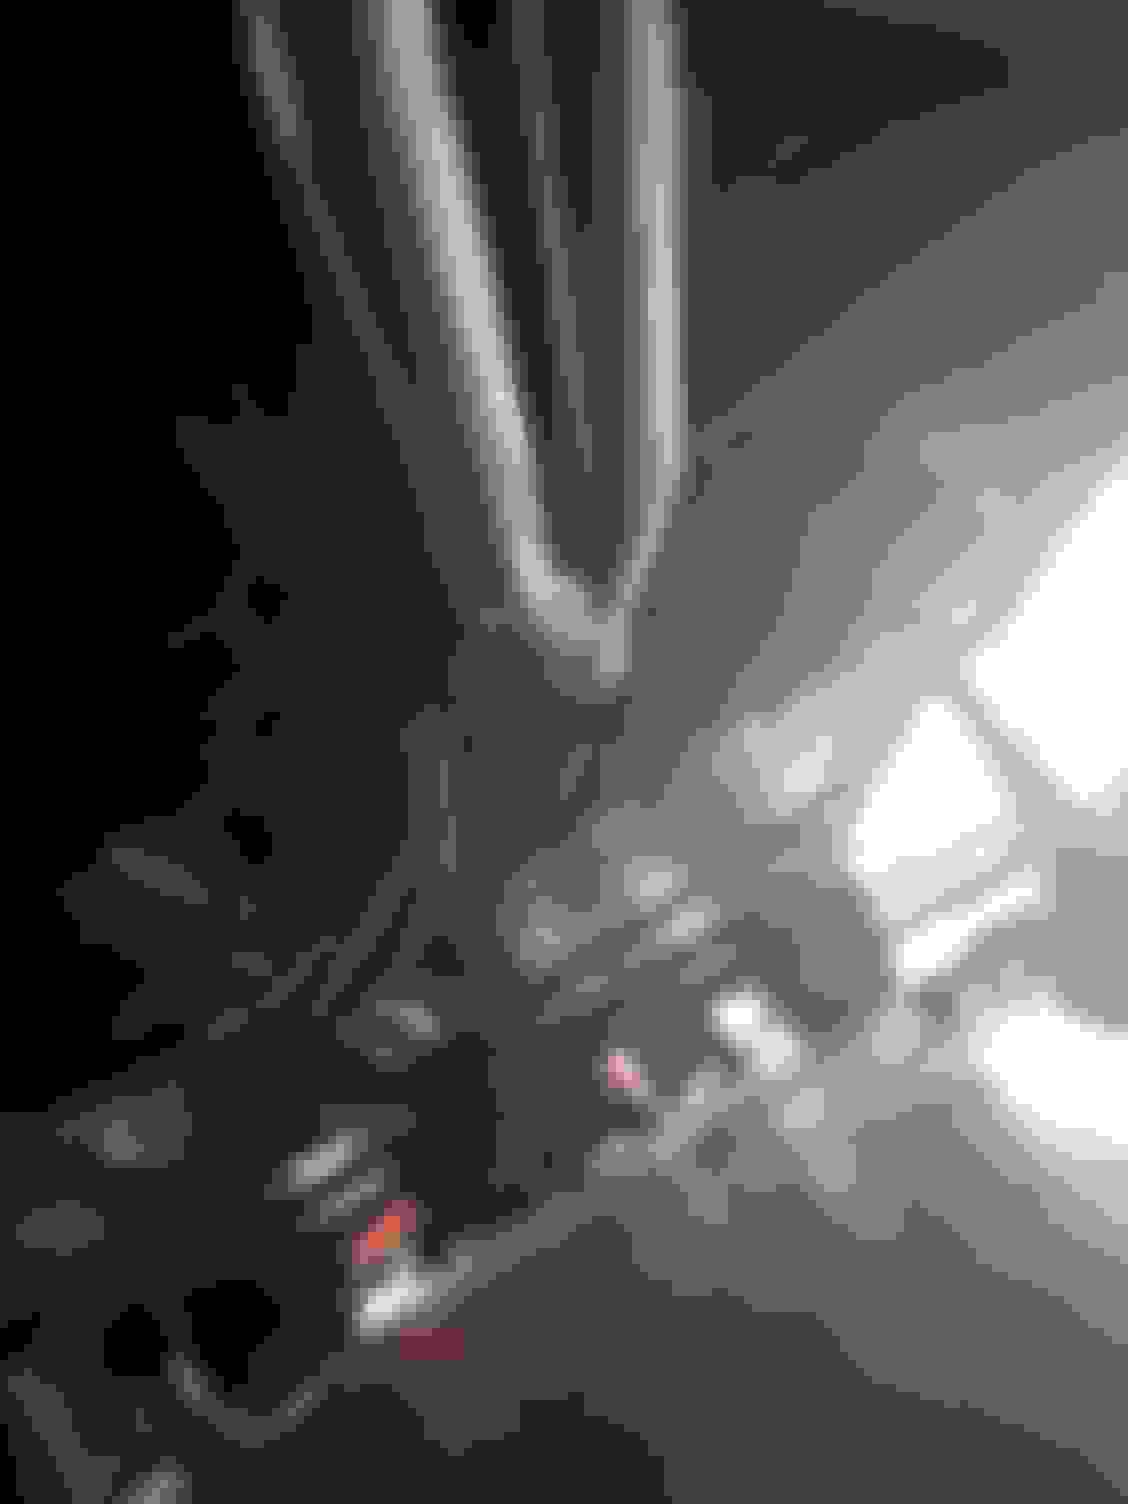
Ignition coils turned out better than I'd hoped for as well and fit snugly behind the fenders, inconspicuously.
Return lines look like theyre going to be reallly close but i think theyll work. I bought new fittings instead of using the supplied ones to try to make sure they work. As far as the intercooler brackets go, i used what they supplied. I havent put the deflectors on as i have a large radiator so i need to cut them down a bit to fit. Did you not get any brackets with your kit?
I ordered everything from Summit and just bought what I needed to make the wires myself.
Everything is Taylor, though.
I bought like 25' of 8mm wire, boots for both sides w/ connectors, a crimping tool and isolators. This was actually about half the cost of buying a kit from MSD or Taylor that had what you'd need to do the wire and I also got a set of spark plug wire crimpers in the process. Win Win for me and I can make the wires exactly the length I need to clean the bay up as much as possible.
I ordered the harness extensions off of Amazon and I got the coil brackets from ICT Billet.
All-in-All I think it cost me around $200 to do it so I'm not mad at all.
Do you happen to have the part numbers for what you ordered? I much prefer the Taylor wire plug boots over MSD's plug boots.
Do you happen to have the part numbers for what you ordered? I much prefer the Taylor wire plug boots over MSD's plug boots.
Sorry for the late reply, apparently I didnt have notifications set up for responses here.
The Taylor part numbers are as follows:
30' black 8mm wire spool - 35071
130 degree boots to go on plugs - 36005
135 degree boots for coil packs - 46069
I also bought a crimping tool made especially for the 8mm wire and it worked flawlessly. Dielectric grease was also a must if you have never made the wires yourself before.
The build has been pretty slow-going due to getting married, honeymoon and a newborn baby but I have managed to get a bit more done. I'm about to the last day or two of install, just need to find the time to get in there and wrap it up. Here are some pictures of what all has been done. I got the passenger side coils mounted and wires made as well as getting the headlights and fenders reinstalled, finally figured out what fittings to use for the drivers side drain so I wouldnt need a scavenge pump (thank god!) and got all of the drivers side cold side as well as downpipe installed. Anyhow, here are some pictures of what the cold side piping looks like and a couple views from the underside of the car with the turbo and piping all in place.
Got some more done today. Need to get yet another fitting for passenger turbo drain, secure oil feed line and tighten everything down. Once that's done the turbo kit is 100% installed. Still need to wrap up a few things with fuel lines and vacuum but it's almost there.
Surprisingly well, or at least better than I anticipated. Aside from having to trim some of the pinch welds on the drivers side of the car for the wastegate to fit properly, there hasnt been any other modifications to the car I needed to make. Everything is VERY tight clearance wise, though, so its definitely something that requires patience. Aside from the turbo drains back to the oil pan, everything has fit pretty well. The passenger side is really the main issue as you already have little space with the starter, then you need to add a turbo, drain line and drain fitting as well as extra wiring for the starter. I went ahead and grabbed a DEI starter heat shield for peace of mind and it was so tight down there that I had to literally cut the starter shield and remove the entire turbo/starter assembly to get it on. Again, patience lol.
Anyone going for a max effort build would probably be deterred by this as youre limited to the size of turbos the kit comes with (GT35R) but for a fun street car, I feel this kit will be ideal. Also, for someone not wanting to drop 10k on a UPP, TTiX or other big money kit, it suits well. Having no scavenge pump and gravity drain turbo setup was a HUUUGE plus for me as I hate those things.
I will say this, I am now on my 3rd FI setup for this car and so far, I like the layout of this one the best. I had a D1 Procharger that was great but everyone runs centri's on these cars. It makes sense, its easy, makes great power and aside from the occasional belt issue, the kits are pretty maintenance free. If you want to be different and spend 4 or 5 grand on a turbo kit, this is definitely a good choice sans On3's terrible customer service.
No big news. The kit if fully installed, just working out vacuum line routing and getting my intake manifold and catch can setup all reworked to look and function better. My house just sold so that should light a fire under my behind, though. Last thing I want to do it have to tow this thing around. Just ordered a few more things for her today and need to find a welder close by to weld some bungs on my intake manifold for me and I should be golden.