When you click on links to various merchants on this site and make a purchase, this can result in this site earning a commission. Affiliate programs and affiliations include, but are not limited to, the eBay Partner Network.
2020 Corvette of the Year Finalist (track prepared)
2019 C6 of Year Winner (track prepared)
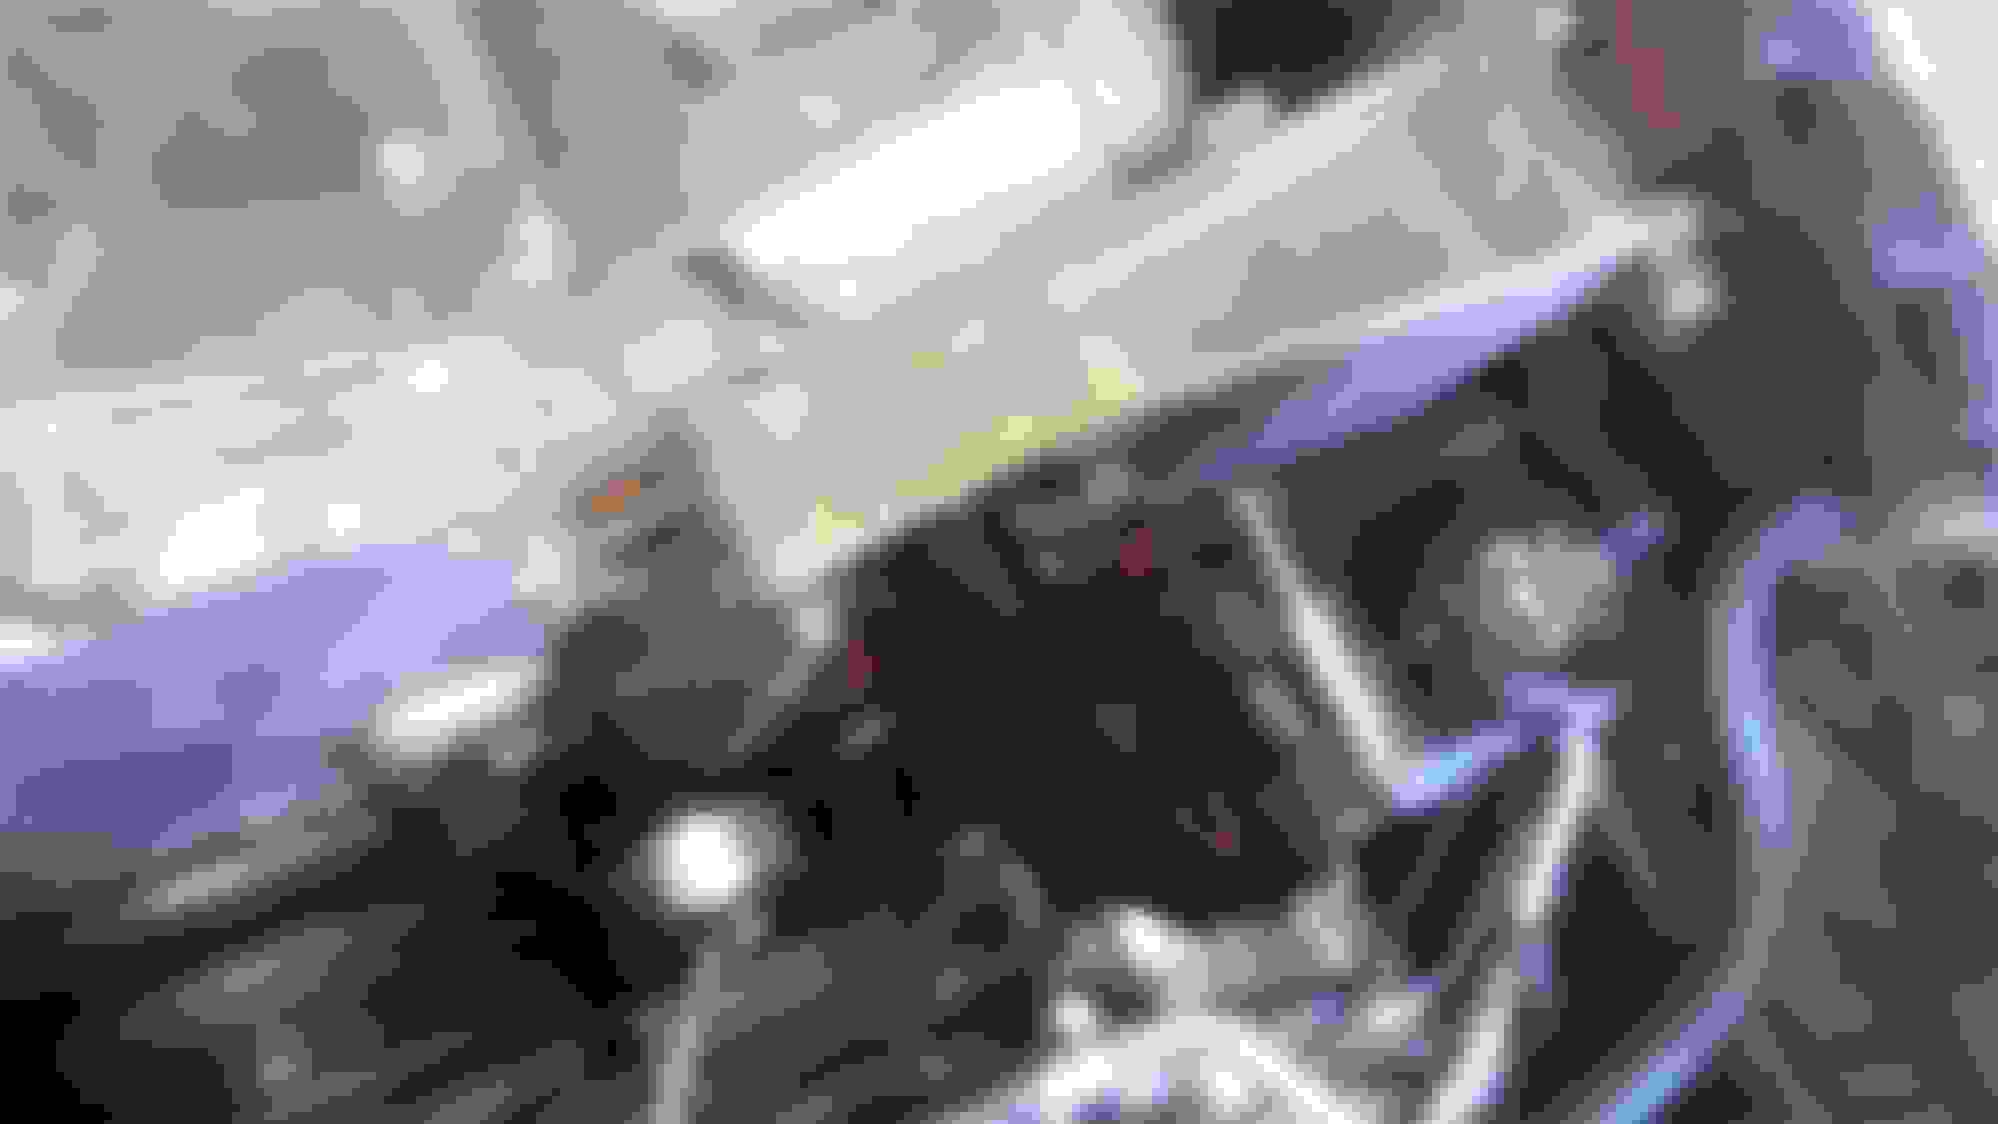
Step 20 � remove the front crossover tube and intake vacuum line
Remove the two 10mm bolts holding the front crossover tube to the heads. Each end has a small rubber O-ring which can be lost quite easily so remember to watch out for this.
You�ll also need to remove the little rubber hose connected to the valley cover (the other end would have been removed when you took off the intake manifold):
Last edited by subfloor@centurytrans; Apr 25, 2018 at 11:41 AM.
2020 Corvette of the Year Finalist (track prepared)
2019 C6 of Year Winner (track prepared)
Step 21 � unbolt the ABS bracket
Remove the two 13mm bolts holding the ABS bracket to the cradle. This can be an optional step but I�ve found it makes moving the cradle around on the ground much easier.
Last edited by subfloor@centurytrans; Apr 25, 2018 at 11:42 AM.
2020 Corvette of the Year Finalist (track prepared)
2019 C6 of Year Winner (track prepared)
Step 22 � disconnect the alternator bracket and power steering assembly
An alternate approach involves unbolting just the power steering pump from the bracket, but I find this is simpler overall.
There is a total of four 15mm bolts that need to be removed as shown in the next three pictures. One of them comes out completely and the other three need to be unscrewed enough so that the bracket can be pulled away from the engine as shown in the final picture. It�s a slow and annoying process as some of the bolts can only be turned a partial revolution each time before having to readjust the wrench.
Showing the bracket pulled away from the head:
Last edited by subfloor@centurytrans; Apr 25, 2018 at 11:44 AM.
2020 Corvette of the Year Finalist (track prepared)
2019 C6 of Year Winner (track prepared)
Step 23 � remove the exhaust manifolds and coolant temp sensor
The six arrows show the location of the 13mm exhaust manifold bolts:
Remove the coolant temperature sensor located on the driver side head towards the front:
Showing the exhaust after it�s been unbolted from the heads:
If your car is a wet sump then there�ll be an additional step of removing the dipstick bracket in order to access the center exhaust manifold bolts on the passenger side.
Remove the 15mm bolt, pull the bracket off as well as remove the dipstick and then you�ll have access to the exhaust manifold bolts:
Showing the passenger side after the headers have been disconnected:
Last edited by subfloor@centurytrans; Apr 25, 2018 at 11:46 AM.
2020 Corvette of the Year Finalist (track prepared)
2019 C6 of Year Winner (track prepared)
Step 24 � Put the front of the car up on jackstands
If you can�t get a floor jack under the nose of the car, I usually just get it started by placing a smaller jack at one of the jacking points underneath the fender:
Placement of the floor jack under the center of the cradle:
Car sitting on two jackstands:
Last edited by subfloor@centurytrans; Apr 25, 2018 at 11:47 AM.
2020 Corvette of the Year Finalist (track prepared)
2019 C6 of Year Winner (track prepared)
Step 25 � disconnect the shocks and upper control arm bolts
The four arrows show the location of 15mm upper control arm bolts:
The rear shock bolt:
The front shock bolt:
The first step is to jack up the shock and control arm front underneath to take pressure off the upper control arm which makes removing the bolts much easier. I usually jack it up enough such that I can see the frame of the car start to lift up off the jackstand(s):
Use a 13mm deep socket and 13mm open end wrench to remove each of the two shock bolts:
What the assembly looks like after everything�s been disconnected:
Last edited by subfloor@centurytrans; Apr 25, 2018 at 11:50 AM.
2020 Corvette of the Year Finalist (track prepared)
2019 C6 of Year Winner (track prepared)
Step 26 � remove the tunnel plate and exhaust
I REALLY hate this part as there are what seems like several thousand 8mm bolts that need to come out and it always seems to take forever (although there are only 38).
Hopefully your tunnel plate won�t be as dirty as mine, which is a result of a rear main seal leak. At this point you�ll need to have removed the rest of your exhaust if you haven�t done so yet. I�m running open headers which is why I don�t have any pictures of the exhaust installed.
Rear of the tunnel plate:
Towards the front:
Showing the torque tube after the tunnel plate has been removed:
Last edited by subfloor@centurytrans; Apr 25, 2018 at 11:54 AM.
2020 Corvette of the Year Finalist (track prepared)
2019 C6 of Year Winner (track prepared)
Step 28 � remove the starter
First, remove the two 13mm bolts connecting the starter to the engine (shown in the previous picture), followed by the main power lead connected to the solenoid:
Next is the tan colored connector which can be extremely brittle if you�ve been running headers:
Showing the connector after it�s been removed:
Last edited by subfloor@centurytrans; Apr 25, 2018 at 11:57 AM.
2020 Corvette of the Year Finalist (track prepared)
2019 C6 of Year Winner (track prepared)
Step 32 � disconnect the steering linkage
Prior to dropping the cradle staring in step #36 you�ll need to disconnect the steering wheel linkage from the power steering box. As shown below there is a single 11mm bolt that needs to be removed completely, at which point you can slide it back as shown in the following picture.
In order to not lose the bolt I just screw it back in:
Last edited by subfloor@centurytrans; Apr 25, 2018 at 12:02 PM.
2020 Corvette of the Year Finalist (track prepared)
2019 C6 of Year Winner (track prepared)
Step 33 � support the cradle with a transmission jack
This is a pretty simple step as you�ll simply need to place the transmission jack under the cradle as shown in the following few pictures, making sure that it�s sufficiently bearing a load. Usually I just jack it up enough so that I can see the cradle rise up just a little bit. The purpose of doing this is so that when you start to unbolt the cradle it stays in place.
Last edited by subfloor@centurytrans; Apr 25, 2018 at 12:03 PM.
2020 Corvette of the Year Finalist (track prepared)
2019 C6 of Year Winner (track prepared)
Step 36 � unbolt and lower the cradle (and possibly the front sway bar)
There are four 21mm bolts holding the cradle to the frame as shown below. Before unbolt them, double check to make sure the transmission jack has been pumped up enough underneath so that the cradle doesn�t start to separate from the frame as soon as you start loosening them. At most you should only see the cradle separate from the frame a very small amount.
If you�ve got either a Z51 or Z06 then you�ll most likely need to unbolt the front sway bar in order to access the two front cradle bolts. I no longer have a sway bar so I couldn�t show you how it�s connected but it�s pretty straightforward.
Passenger side front:
Passenger side rear:
Driver side front:
Driver side rear:
Once all four bolts have been removed slowly start to lower the transmission jack. I suggest doing it in very small increments to make sure it�s not caught up on anything. It usually will drop down fairly easily unless you�ve forgotten to disconnect something. If you see one side coming down but not the other, this is usually just a case of not bringing it down evenly and jacking it up and starting again usually fixes the problem. Under no circumstances though should you ever have to pry it apart from the frame.
The next few pictures show what the cradle looks like after having been lowered, from various angles underneath the car:
Last edited by subfloor@centurytrans; Apr 25, 2018 at 12:08 PM.
2020 Corvette of the Year Finalist (track prepared)
2019 C6 of Year Winner (track prepared)
Step 37 � lower the engine
Yes, you read that correctly � I said lower the engine.
The logic behind this is twofold � one, it ends up giving you additional room to gain access to the bellhousing and upper torque tube bolts and two, it makes separating the torque tube from the bellhousing much easier (as well as reinstalling it later one).
You do however have to be very careful though depending on what brand of leveler you�re using and how long the boom of the engine hoist is. As shown in the following picture you can see how close the back of the leveler is to coming in contact with the cowl. If you start lowering the motor without checking the clearance it�s extremely easy to damage and/or break the cowl.
I had the very same issue when I pulled the motor this time because when I started, the large nut on the leveler was sitting directly on top of the cowl. What I ended up doing was supporting the motor from underneath with my large floor jack, lowering it so that the leveler was below the cowl and then tightening up the tension on the engine hoist again.
A little more...
And right where we need it, which will be level to the ground:
Last edited by subfloor@centurytrans; Apr 25, 2018 at 12:10 PM.
2020 Corvette of the Year Finalist (track prepared)
2019 C6 of Year Winner (track prepared)
Step 38 � disconnect the torque tube clamp (automatics only)
If you�ve got an automatic car you�ll need a T55 Torx socket to loosen the bolt at the front of the torque tube. Remove the rubber plug from the torque tube and you�ll have access to the bolt shown by the red arrow. If the head of the bolt is not facing downwards you�ll need to spin the motor by hand until it�s in the correct position by using a long 15mm wrench on one of the bolts shown by the yellow arrow.
If you�ve got a manual car then the driveshaft simply slides into the back of the flywheel so no additional work will be necessary once you start to separate the torque tube from the bellhousing.
Last edited by subfloor@centurytrans; Apr 25, 2018 at 12:11 PM.
2020 Corvette of the Year Finalist (track prepared)
2019 C6 of Year Winner (track prepared)
Step 39 � disconnect the wiring harness from the engine bellhousing
As you can see from the two pictures mine were already disconnected previously as they�re a major PITA to get to sometimes. Nevertheless, they illustrate where to find them on the bellhousing.
Driver side:
Passenger side:
Last edited by subfloor@centurytrans; Apr 25, 2018 at 12:12 PM.