When you click on links to various merchants on this site and make a purchase, this can result in this site earning a commission. Affiliate programs and affiliations include, but are not limited to, the eBay Partner Network.
2020 Corvette of the Year Finalist (track prepared)
2019 C6 of Year Winner (track prepared)
How to pull your engine in 45 easy steps
How to pull your engine in 45 easy steps
Yes, that�s correct � 45 easy steps! I�ve been meaning to do this for pretty close to forever but usually get part of the way through, only to get tired of being under the car but not have my phone so I end up saying f**k it and stop. The last time I actually persevered and took pictures of the entire process was on my iPhone 4 which is where the �pretty close to forever� comment came from. Given that I can�t find my stupid iPhone cable I decided to start over again and take fresh pictures since my current camera is much better.
So before we begin, here are some standard disclaimers:
This is not the best way to pull the engine, nor is it necessarily the fastest, most efficient or the only way - it is simply A way, that�s it. For people who�ve done this before I�m sure you�ll look at one or more of the steps and go �hey, that�s not the easiest way to do that!� As an example, I�ve talked to people who don�t bother dropping the cradle although I have no idea how that�s even possible. I�m hoping that experienced people may also see something I�ve done and think �wow, that�s a lot easier than how I�ve been doing it�. If nothing else it should provide a starting point for someone wanting to take on the job.
My car is a full fledge race car now so it�s missing certain equipment like the entire AC system, a full exhaust, cats, O2 sensors etc. Wherever possible I�ve mentioned this in the document and going from memory, outlined the steps needed to remove a specific part that I otherwise don�t have pictures for.
My car is an automatic so a few of the steps will be slightly different if your car is a manual. As with the previous disclaimer, I�ve done my best to note the different step(s) needed as I�ve pulled the motor from a friend�s manual car before.
I apologize for the quality of the pictures up to and including step 23. I started off using my older phone (to avoid potentially breaking my newer one) but after realizing that the newer one took MUCH better pictures I switched back to it. When I write the companion guide on how to put everything back together I�ll try to replace as many of the lesser quality pictures as possible.
I�m completely open to treating this as a living document so if any of the steps are missing vital information or need clarification I�m open to making any needed changes.
So without further ado let�s start.
Last edited by subfloor@centurytrans; Apr 25, 2018 at 11:16 AM.
2020 Corvette of the Year Finalist (track prepared)
2019 C6 of Year Winner (track prepared)
Step 1 � Drain the coolant system
If you�re running straight water like I am, I just let it drain in the driveway. If you�re running antifreeze then you�ll probably want to catch it in a drain pan.
The first thing to do is loosen the drain plug located at the bottom of the radiator. The location may vary ever so slightly depending on the year of the car or if you�re running an aftermarket radiator like I am, but for the most part it�s in pretty much the same spot as shown below:
In addition to draining the radiator you�ll need to disconnect the water pump hoses as shown in the next picture in order to get as much coolant out as possible. I�ve also found that with everything disconnected it helps to jack up the back of the car to help gravity do its thing.
Last edited by subfloor@centurytrans; Apr 25, 2018 at 11:18 AM.
2020 Corvette of the Year Finalist (track prepared)
2019 C6 of Year Winner (track prepared)
Step 2 � Remove the hood
There are two 13mm bolts on either side of the hood as shown below. Before removing them though I�d highly recommend tracing the outline of the bolts with a thick Sharpie as it�ll help immensely when reinstalling it later.
Although it is possible to do this on your own I�d suggest having somebody help you. Also, if you�re worried about possible dropping the hood and hitting the bumper then putting a towel or blanket down to protect it is probably a good idea.
The first thing to do is open the hood the entire way and then crack all four bolts so that you can feel the hood wiggle a bit. Once you�ve done that, with somebody holding their side to stabilize the hood, remove the two bolts on your side. At this point you can have your helper switch sides to allow you to remove the remaining two bolts.
Do be careful once the last bolt is removed because even though the hood isn�t very heavy it can get a little unwieldy.
If you don�t have somebody to help you then what has worked for me in the past is to open the hood just enough to be able to access the bolts and then support it at the back by the windshield. This method will let you disconnect everything but without having to worry about having it fall.
With the hood removed I usually just lay a blanket down at the side of the house and lean it up against it.
Last edited by subfloor@centurytrans; Apr 25, 2018 at 11:20 AM.
2020 Corvette of the Year Finalist (track prepared)
2019 C6 of Year Winner (track prepared)
Step 3 � cover the fenders and front bumper
I usually just use two large bath towels (much to my wife�s dismay as I always seem to find the good ones) as shown below. Even though I haven�t covered the bumper I�d recommend doing it if it�s your first time.
Depending on how dirty your fenders are you might want to clean them beforehand so you don�t end up grinding the dirt into the paint as you�ll end up leaning on them for several of the steps.
Last edited by subfloor@centurytrans; Apr 25, 2018 at 11:21 AM.
2020 Corvette of the Year Finalist (track prepared)
2019 C6 of Year Winner (track prepared)
Step 4 � disconnect the battery
Pretty straightforward, but super important nonetheless. I�m not running a stock battery anymore but I am still using the OEM cables. I also happen to be doing a dry sump conversion which is why I pulled the battery completely out of the car.
Here�s my 5lb Shorai motorcycle battery, isn�t it cute?
Last edited by subfloor@centurytrans; Apr 25, 2018 at 11:22 AM.
2020 Corvette of the Year Finalist (track prepared)
2019 C6 of Year Winner (track prepared)
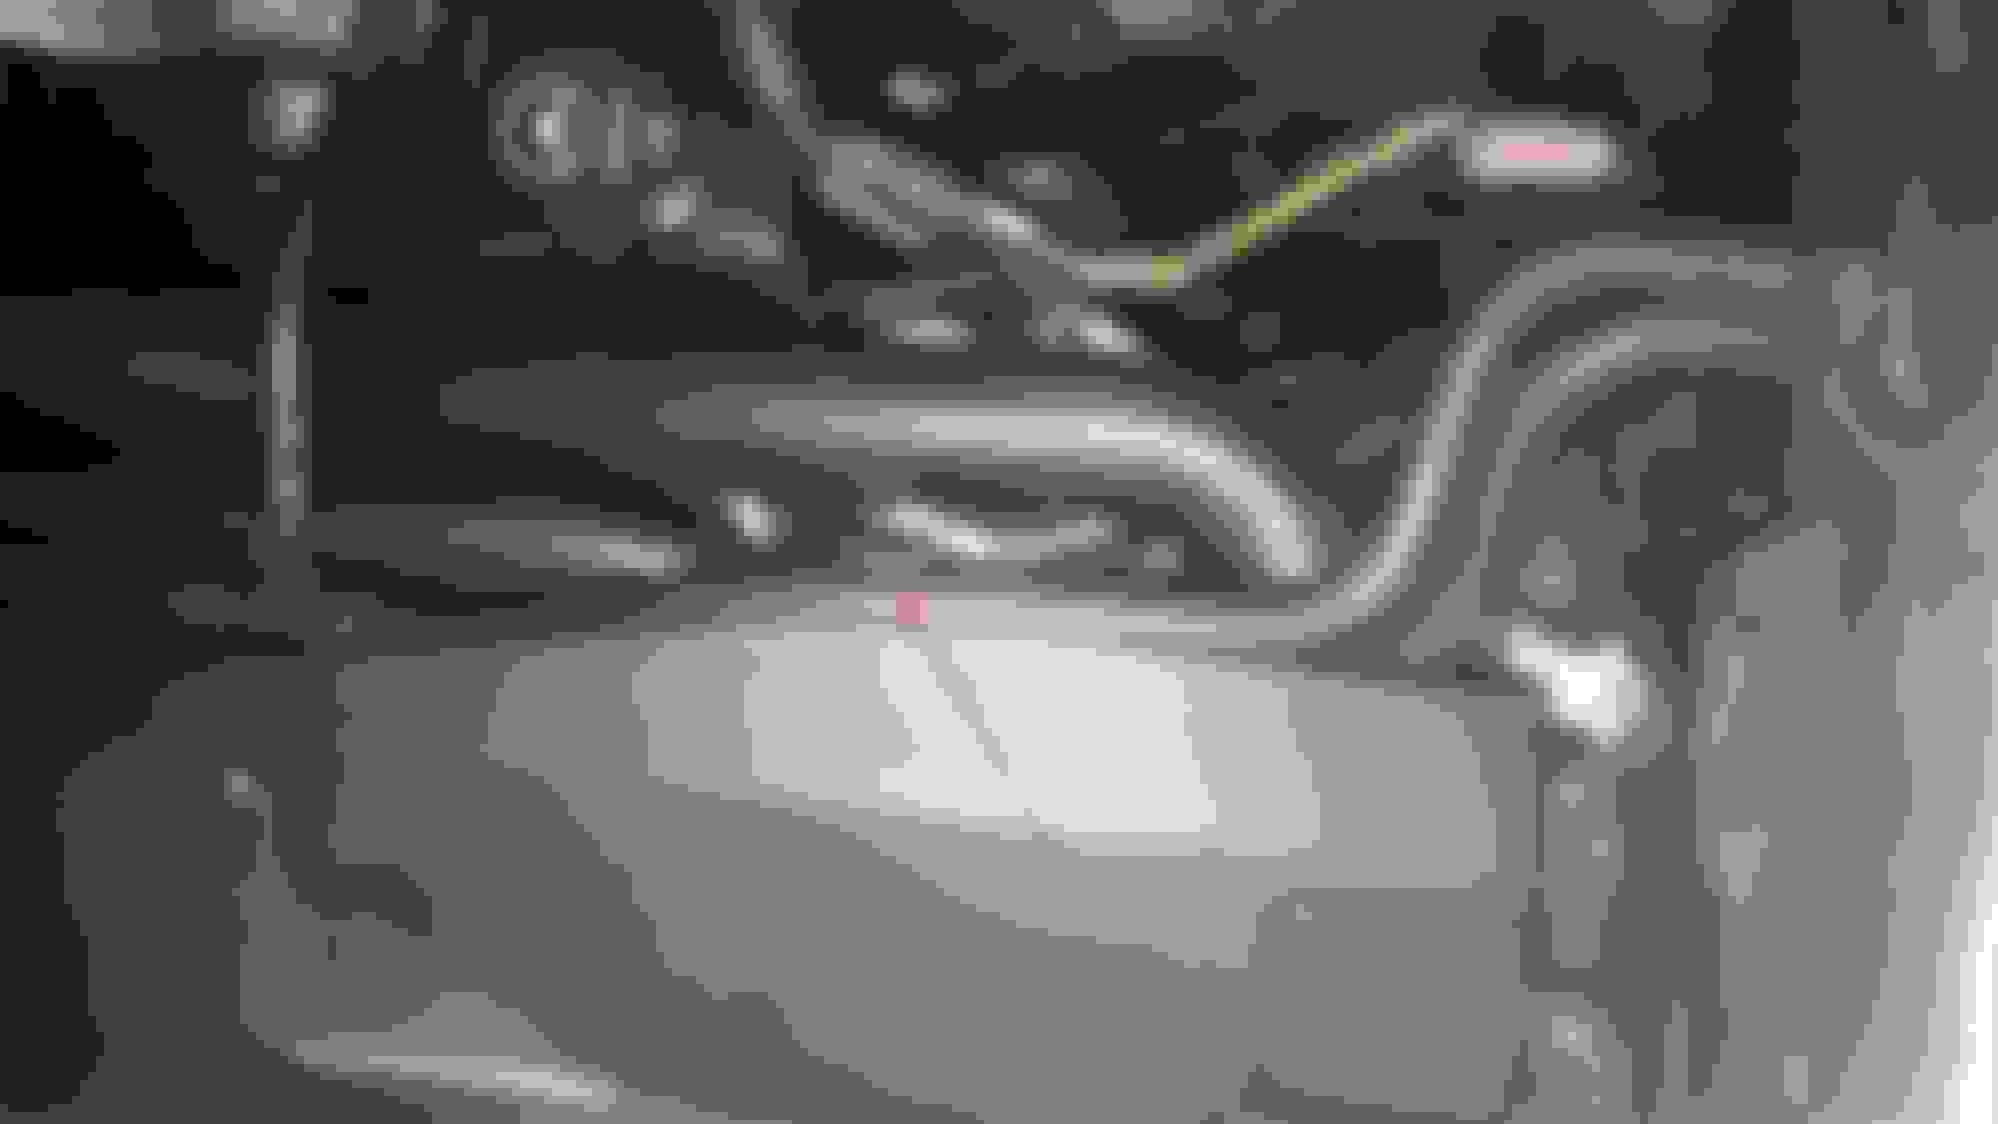
Step 5 � remove the air intake (and associated connections)
As shown in the picture there are 5 things you�ll need to disconnect - the two push pins, the MAF sensor connect, accordion hose and the clamp holding it to the throttle body.
This is a closer picture of the back of it.
Last edited by subfloor@centurytrans; Apr 25, 2018 at 11:24 AM.
2020 Corvette of the Year Finalist (track prepared)
2019 C6 of Year Winner (track prepared)
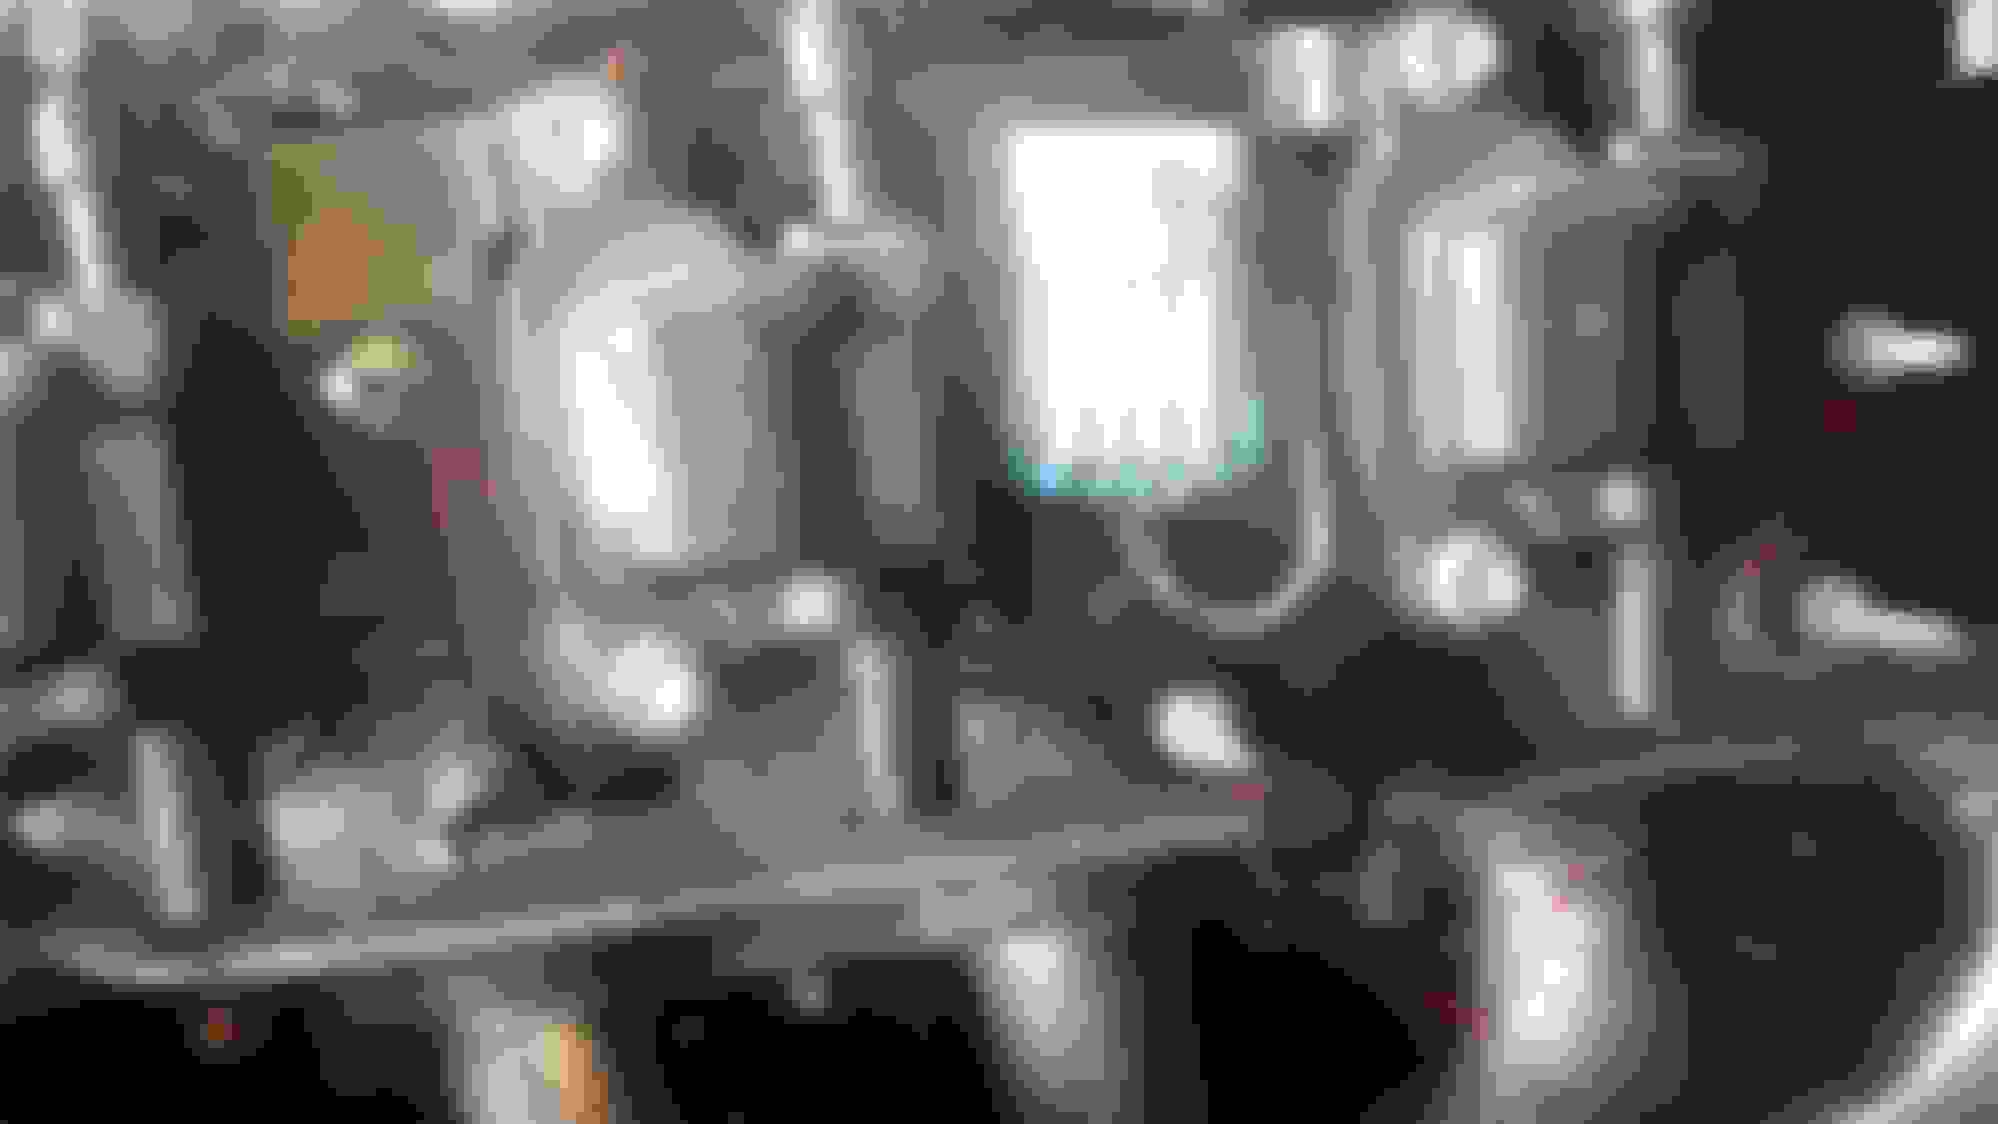
Step 6 � remove the upper radiator support bracket
This the bracket that sits over top the radiator. The first step is to remove the four 10mm bolts (two on each side) followed by the several hoses resting in clamps on the rear of the bracket as shown below.
Last edited by subfloor@centurytrans; Apr 25, 2018 at 11:25 AM.
2020 Corvette of the Year Finalist (track prepared)
2019 C6 of Year Winner (track prepared)
Step 7 � remove the intake shroud
Mine has been in and out so often that it�s not really connected properly anymore and basically just sits there. As such, I can�t really give you good guidance on how to remove this one.
Last edited by subfloor@centurytrans; Apr 25, 2018 at 11:26 AM.
2020 Corvette of the Year Finalist (track prepared)
2019 C6 of Year Winner (track prepared)
Step 15 � remove the spark plugs
No picture included, no picture necessary.
While this step could be considered optional, I like to take them out as I’ve broken a few (more than once) while trying to remove the exhaust manifolds.
Last edited by subfloor@centurytrans; Apr 25, 2018 at 12:26 PM.
2020 Corvette of the Year Finalist (track prepared)
2019 C6 of Year Winner (track prepared)
Step 16 � remove the coil packs, spark plug wires and oxygen sensors
My car no longer have oxygen sensors so I don�t have pictures, but the connectors are pretty close to the coil pack connectors as shown by the arrow in the following picture:
Remove all the spark plug wires from each side, pretty straightforward:
Remove the five 10mm studs holding the coil packs onto the valve covers. I�m only using three bolts on each side, hence the reason there�s only three shown:
Last edited by subfloor@centurytrans; Apr 25, 2018 at 11:36 AM.
2020 Corvette of the Year Finalist (track prepared)
2019 C6 of Year Winner (track prepared)
Step 19 � remove the intake manifold and oil pressure sending unit
I list this step as optional as I�ve known some people who have gotten the motor out with it still installed. Since it takes less than five minutes to remove I usually just go ahead and take it off.
There are five 8 mm bolts on either side:
While the front five bolts can be removed completely the rear one on either side will not as it�ll hit the cowl when you try to take it out.
Using either a socket and swivel or small wrench as shown below, loosen both of the rear bolts so they at least can be pulled up and out of the manifold:
After the eight bolts are completely out, lift the two rear bolts up and out of the head which will allow you to start removing the intake manifold. Initially you�ll run into some resistance and that due to the rear brake booster line running into the oil pressure switch as shown in the next picture. Remove the oil pressure sending unit connector and you�ll then be able to get the hose around it:
Last edited by subfloor@centurytrans; Apr 25, 2018 at 11:40 AM.
Designer Imagines A Corvette That Looks More Like a Corvette Than the Corvette
Slideshow: A Jaguar designer's personal project imagines what a modern front-engined Corvette might look like if Chevrolet revisited the golden age of the Stingray.