When you click on links to various merchants on this site and make a purchase, this can result in this site earning a commission. Affiliate programs and affiliations include, but are not limited to, the eBay Partner Network.
In the home stretch now, with both fenders on and wheel well liners being installed this evening. A couple of notes for anyone working on their own version of this project. When reinstalling the headlights, be very, very careful and proceed slowly and cautiously. They are like puzzle pieces that have to be oriented juuuust so, or they will hang up and scrape on something. Never push too hard or force it, just keep moving it slightly until it slips into place. Also remember that there are lots of attaching points for the fenders, so never tighten any one of them down until everything is aligned properly everywhere. And sometimes you will have to loosen one or more, make an adjustment, then retighten.
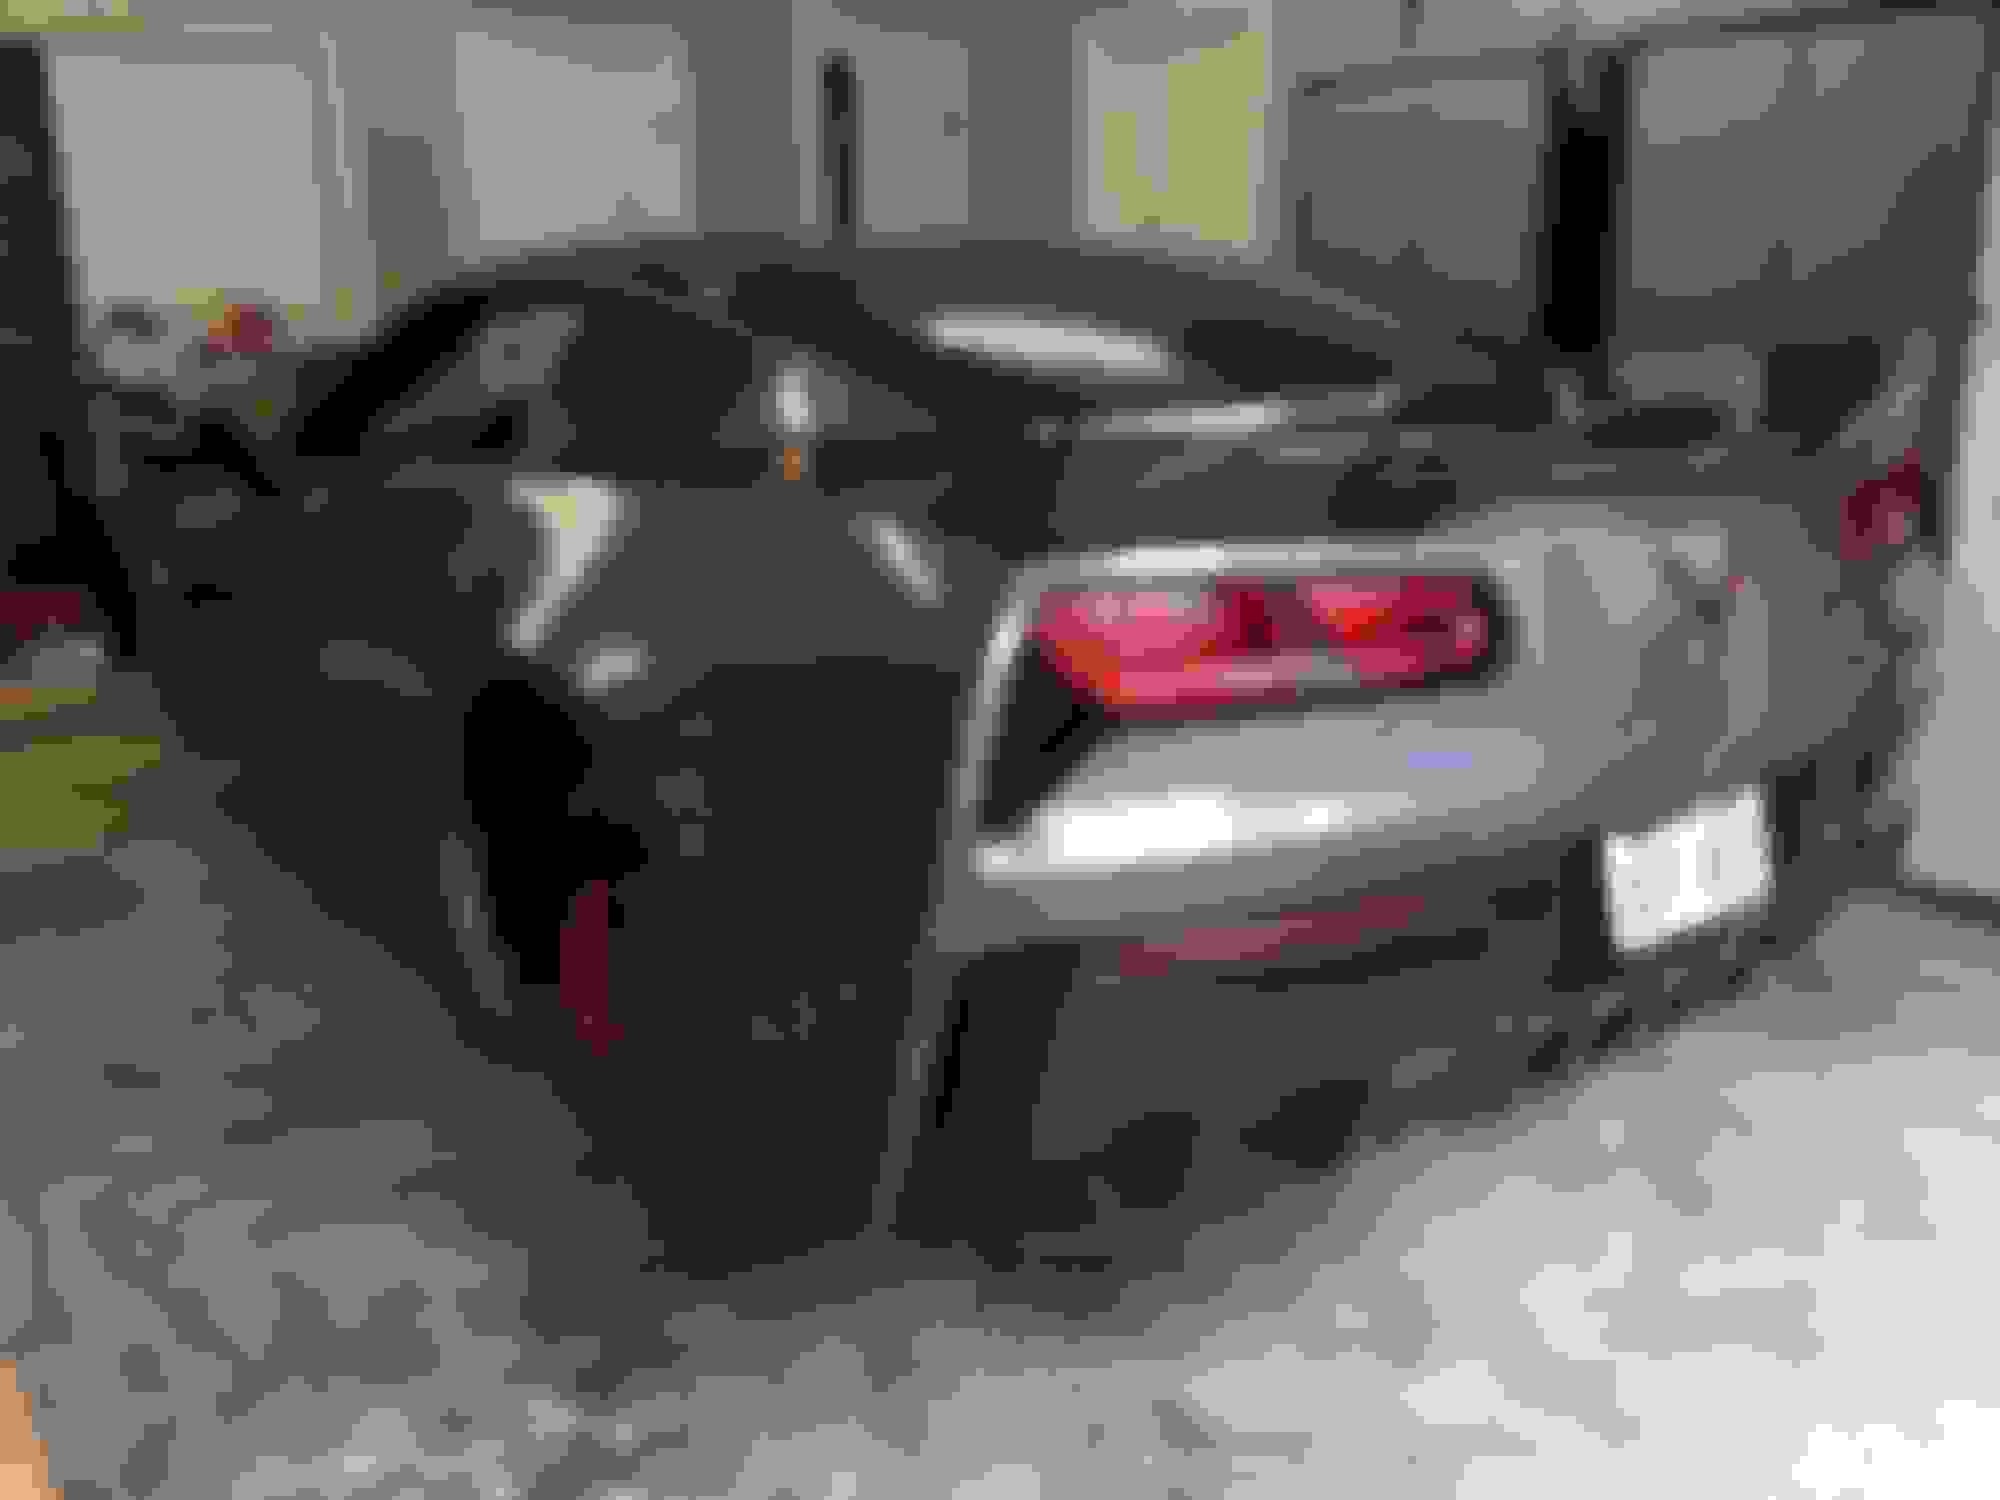
The nose (front bumper cover) went back on very easily. Start with the hood up and have the panel resting on a pad on the floor in front of the car. The key here is to lift it and tilt it so the upper edge rotates back toward the windshield and the lower edge rotates forward. Now slide it aft so that the upper edge rests on top of the frame bar above the radiator and then let it rotate slowly back toward level. There are two sets of tabs / clips on either side of the headlights which will fit into the space behind their counterparts on the fenders (one set of these is plastic, that you transferred from the old fender, and the other is metal which you screwed back on to the frame next to the headlight). The outboard set of tabs pushes inward and rearward, while the inboard set pushes downward. If you have already installed the front wheel well liners, before you push the outer tabs all the way home make sure the outer edge / lip of the liner tucks behind the fender. Then get underneath and replace the pan which attaches all across the bottom of the bumper cover. Also install the screws and plugs along the upper edge, at the front of the engine bay. The only thing I have left is the rear wheel well liners, and I'm holding off on them for a day or two while awaiting the remainder of the rear brake cooling duct parts. I also have new track wheels and tires arriving this coming week, so I'll have outdoor pictures of the finished product then.
Wow its looking great..make sure you keep all of the old parts because if you ever want to trade it in for a new one, no dealer will accept a modified car for trade. A friend learned that the hard way. Tried to trade in and was told by many dealers no thanks.
Wow its looking great..make sure you keep all of the old parts because if you ever want to trade it in for a new one, no dealer will accept a modified car for trade. A friend learned that the hard way. Tried to trade in and was told by many dealers no thanks.
Looks great. Congrats. Just curious, did you go with wider tires? Perhaps its just the angles or something but those wide body panels seem to dwarf those rear tires.
Good to see you got 'er done. Lots of good info in this thread. Any issues (strange noises).
The only strange noise was that Borla ATAK exhaust finally firing up after so many days up on jack stands in the garage. Sure was sweet to hear!
JV
Originally Posted by Rave
Looks great. Congrats. Just curious, did you go with wider tires? Perhaps its just the angles or something but those wide body panels seem to dwarf those rear tires.
It does look pretty skinny legged back there! My wider set of track wheels and tires should come in from CCW this week. The HRE's that are in this picture will get spacers in the rear to help them fill out the wheel well back there. Also, I still have to adjust the coilovers for ride height when the other wheels get mounted.
Awesome work and the car looks great! I've tackled some big projects like mini tubbing my C5, but am not quite sure that I'd be able to pull that project off.
It does look pretty skinny legged back there! My wider set of track wheels and tires should come in from CCW this week. The HRE's that are in this picture will get spacers in the rear to help them fill out the wheel well back there. Also, I still have to adjust the coilovers for ride height when the other wheels get mounted.
JV
Those changes should add the finishing touch! Quite an accomplishment!
Those changes should add the finishing touch! Quite an accomplishment!
Thanks, I'll be sure to add more pics when I get them mounted up.
Originally Posted by Snake.Oiler
Everything looks great. Terrific job! What was the resolution about the brake ducts? I assume you figured it out?
Yep, just needed to go to the parts counter in person and find the right exploded diagram, then told the nice lady "I'll take everything in this picture for both sides" The oem Z51 duct is a single piece but the Z06 has a Rube Goldberg arrangement. Just a matter of getting all the pieces.
Designer Imagines A Corvette That Looks More Like a Corvette Than the Corvette
Slideshow: A Jaguar designer's personal project imagines what a modern front-engined Corvette might look like if Chevrolet revisited the golden age of the Stingray.


 Sure was sweet to hear!


