When you click on links to various merchants on this site and make a purchase, this can result in this site earning a commission. Affiliate programs and affiliations include, but are not limited to, the eBay Partner Network.
Beatle Juice/inmate No. 2791267 (see pants in reflection):
Stage 1/2/3 are only for the wide bodies. But you can upgrade to on of their spoilers (it will stick out a tiny bit) or buy one from a vendor/ebay that is shorter.
Last edited by village idiot; Jan 12, 2019 at 06:06 PM.
There's other you can buy but you'll need to drill holes for rivnuts. Just make sure its bolt on for the Z51 spoiler or else it'll stick out a bit as mentioned.
Last edited by Blu-Beast; Jan 12, 2019 at 06:48 PM.
There's other you can buy but you'll need to drill holes for rivnuts. Just make sure its bolt on for the Z51 spoiler or else it'll stick out a bit as mentioned.
he already has the holes in his bumper so no need to get the no drill version.
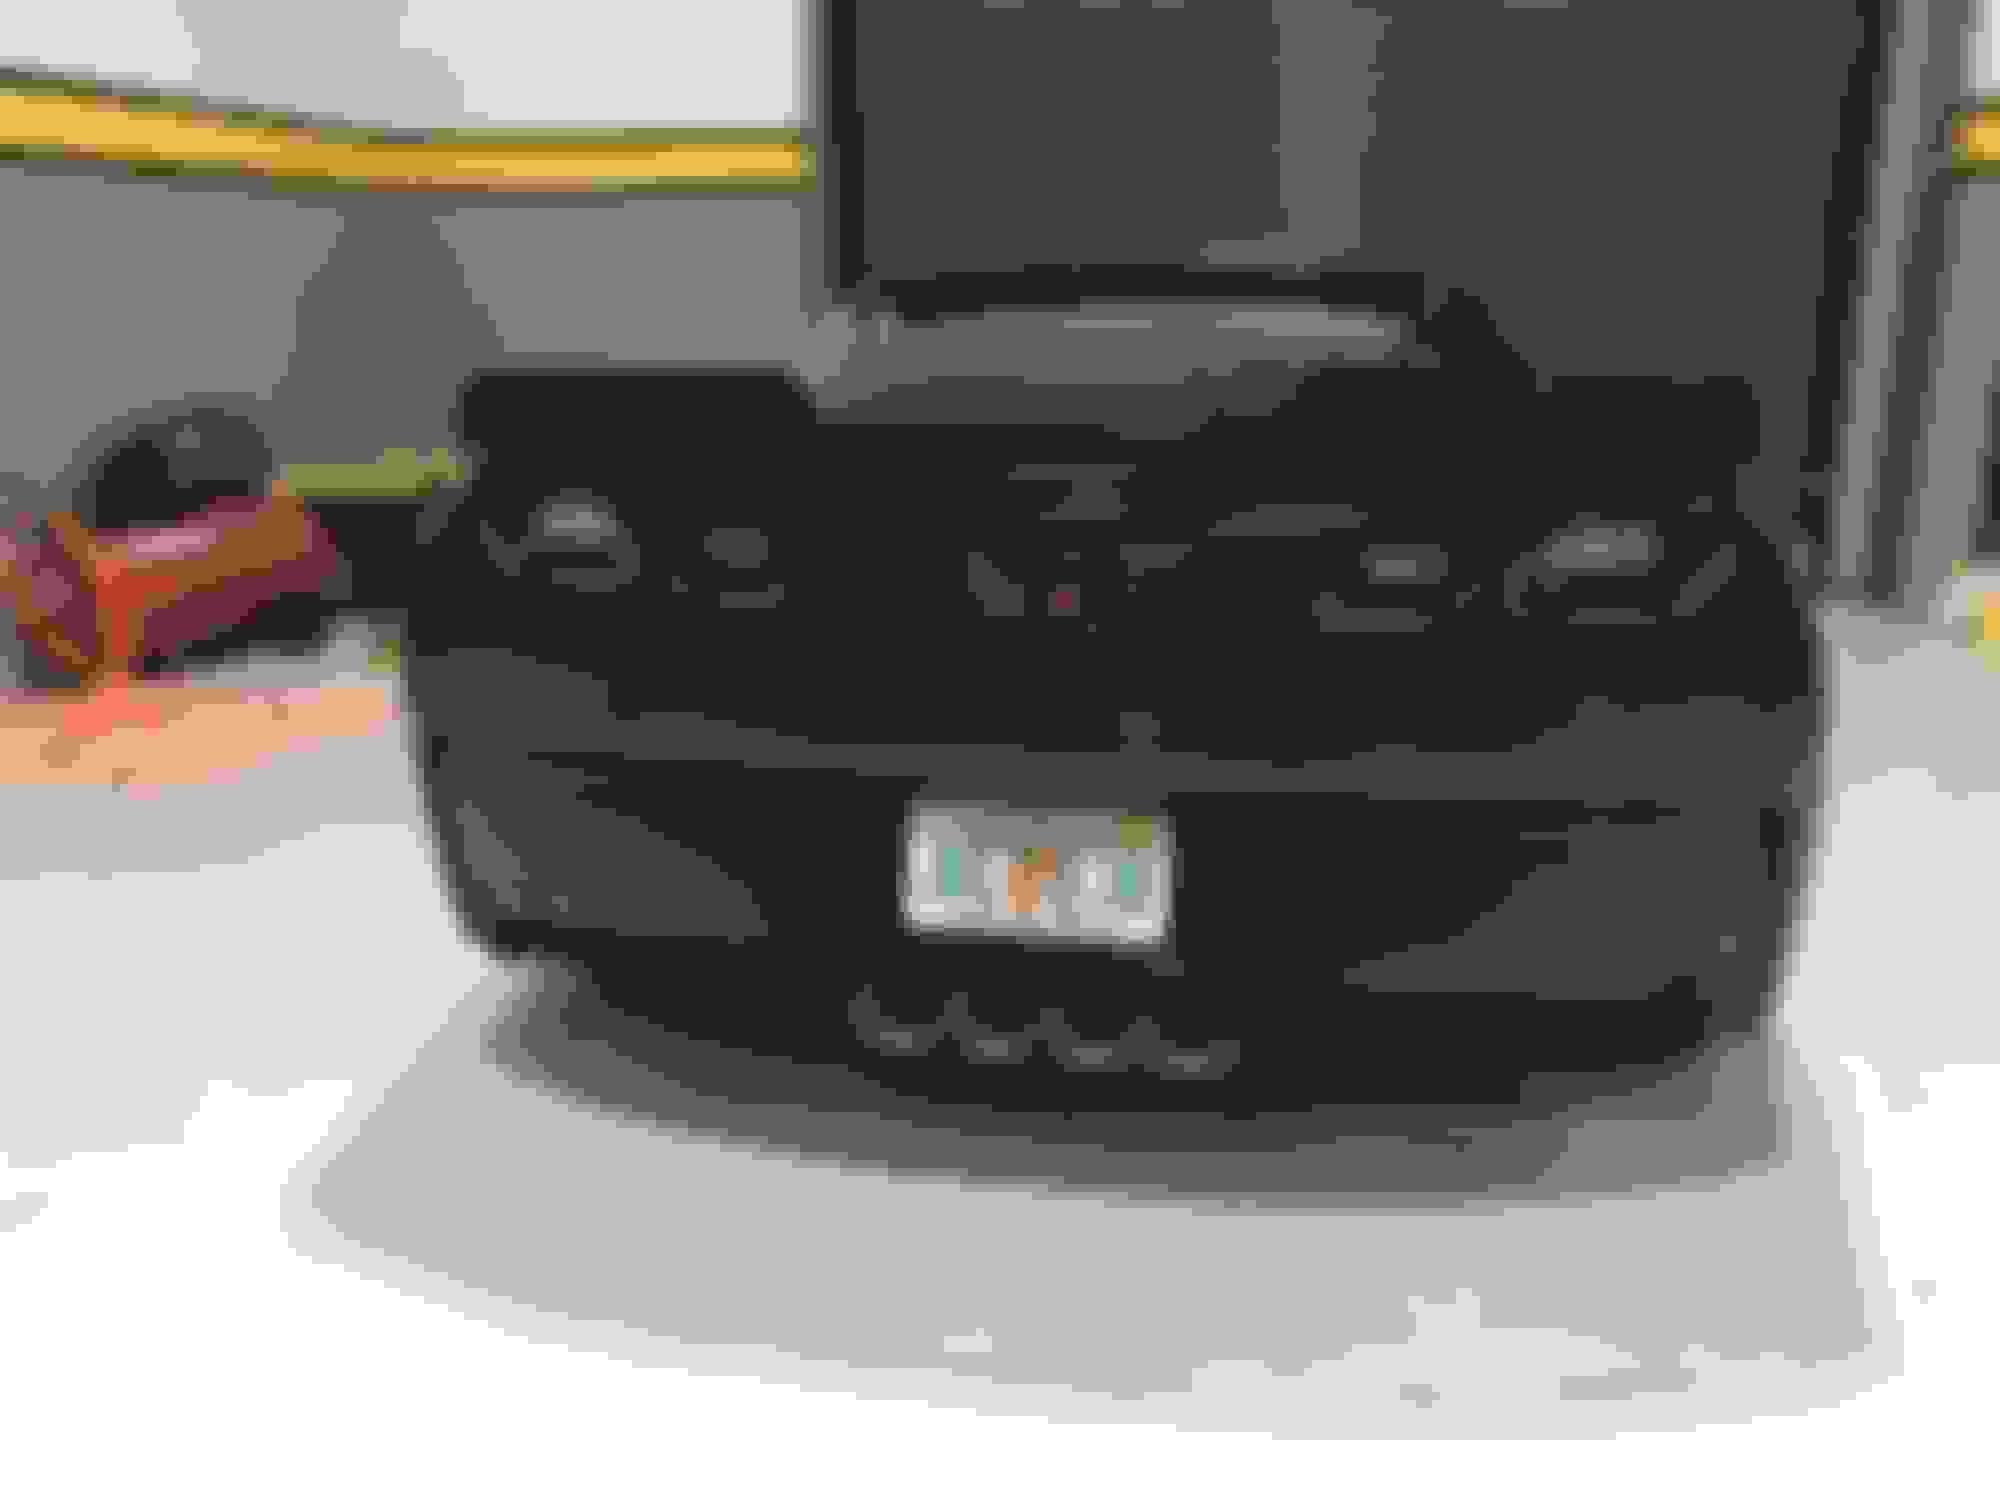
stage 2 and 3 wickers OEM GM Wing on c7 stingray. I added the clear OEM tails as well to complete the look there is a 40mm overhang on the fenders, but if you dont look for it you' Bone Stock Post Install with Clear tails Post Install with Clear tails Post Install
ll miss it.. definite upgraded look....
Hope that surgery works out for you - dealing with sciatica for 20 years docs dont have a clue whats wrong no fun so good luck would be amazing to have a day without pain
Last edited by rsvette12; Jan 13, 2019 at 11:21 AM.
go get surgery bro.. 35 years too long 12 yeara for me too long too. today I wishing o didnt get it done hurting bad bit hope to god in a few months itll change. best of luck brotha...
BTW When you remove the initial spoiler, you have top drop the bumper, there are like 8-10 bolts that are drilled through and have 10mm nuts. unbolt the spoiler and youll have to use a pry tool to detatch the 3m double faced tape.. once you clean it off line up the new spoiler, prep the surface and the tape on the stage 2, pre align it press down on one side add a nut hand tight the other side line it up and press and nut down the rest is obvious tighten the nuts and put the bumper back on whole process is about 75 mins.. BTW I used the box from the spoiler to prop the bumper up... If youre considereing doing the clear tails do it at the same time otherwise youll go through 90% of the crap again in dropping the bumper i attached a vid that will get you through disassembly up top theres like 10 more 7mm screws underneath..
i got a 14 with this spoiler I wanna put a level 2 spoiler on it how can i put the ends on to this spoiler? there are no screws.
Thanks for any advice
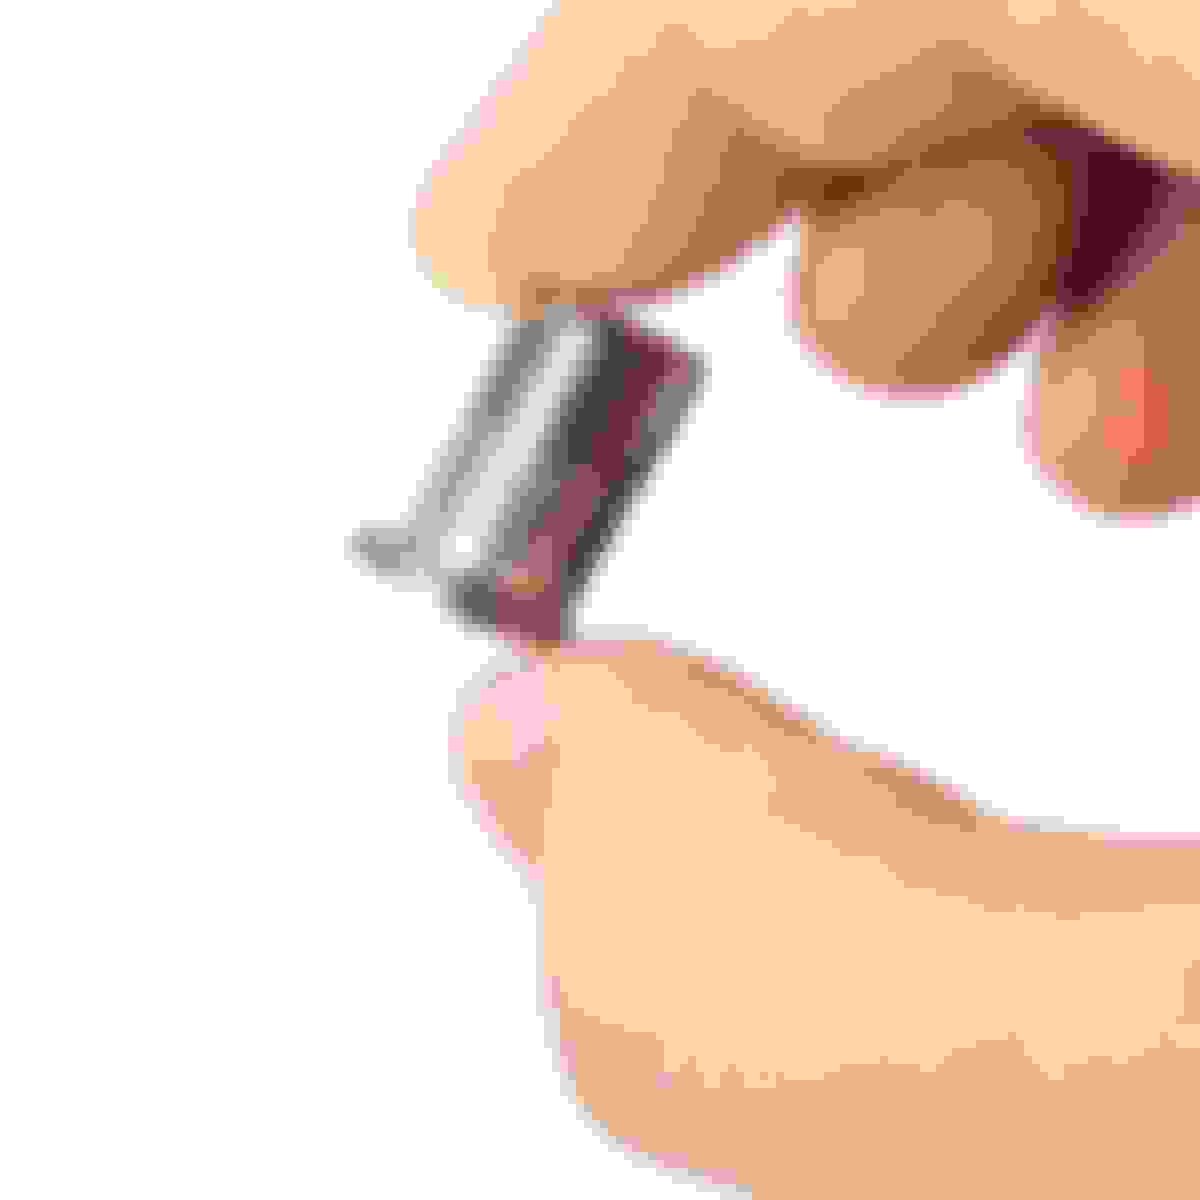
Could use Thread-Serts. They come in many rivet tool kits. I have used them on my Street Rod. They install with a rivet gun with a threaded rod tool end.
Just checked the Stage 2 Aero Spoiler on my Grand Sport. There is 20 1/2 inches between the end of the spoiler extensions. So for a base car, which is ~3.5 inches narrower, you would have ~ 17 inched between the inside ends. Looks like it is plenty of thickness in your spoiler to have the Thread-Sert work.
I personally 'cheaped out', bought some rivenuts and the Stage 2 Winglets. Slid the winglets on the respective sides, drilled hole using winglets as a template. Screwed on wing......if you go this route, you will not be able to use the Stage 3 Clear piece as the holes will not align. There is no over-hang on the sides and its looks great. YRMV.
I personally 'cheaped out', bought some rivenuts and the Stage 2 Winglets. Slid the winglets on the respective sides, drilled hole using winglets as a template. Screwed on wing......if you go this route, you will not be able to use the Stage 3 Clear piece as the holes will not align. There is no over-hang on the sides and its looks great. YRMV.