When you click on links to various merchants on this site and make a purchase, this can result in this site earning a commission. Affiliate programs and affiliations include, but are not limited to, the eBay Partner Network.
What is the best method to add material to front fender at door to close the gap on a 68? Once material is added what is best method to shape and match door curves?
What is the best method to add material to front fender at door to close the gap on a 68? Once material is added what is best method to shape and match door curves?
PHOTOS NEEDED! I have no idea where your problem is at in the gap.
Along with a description from you to how high or low the panels are flush with each other in that area...And also a photo of the bottom of the door gap at the very bottom where it meets with the fender and rocker area...and that photo needs to be straight on and NOT looking down on it.
I know what you are asking...but I also know that when I finally see what is going on...like I have in the past for situations just like this here on teh forum......sometimes there is an issue in the gap that can greatly aid in the gap and reduce the amount of adhesive.
Now...if you choose to not post photos...then...oh well.
DUB
Here are some pictures of my situation . This is a 1 piece replacement front end. I have added fiberglass to edge of fender to close the gap. I think I have made gap to wide. I have not tried to open bottom gap. There is also some fiberglass on door that needs to be sanded from a separate repair.
Last edited by flyinfree; Mar 31, 2017 at 10:20 PM.
PHOTOS NEEDED! I have no idea where your problem is at in the gap.
Along with a description from you to how high or low the panels are flush with each other in that area...And also a photo of the bottom of the door gap at the very bottom where it meets with the fender and rocker area...and that photo needs to be straight on and NOT looking down on it.
I know what you are asking...but I also know that when I finally see what is going on...like I have in the past for situations just like this here on teh forum......sometimes there is an issue in the gap that can greatly aid in the gap and reduce the amount of adhesive.
Now...if you choose to not post photos...then...oh well.
DUB
Dub,
I've tried to get photos from every angle. please let me know if you need additional photos to help me.
The front edge Top of the door is fairly flush. what I need to do is add material to the back edge of the fender. I can add fiberglass if that is required but once I get it sanded flush how do I create an even gap. What is ideal width if the gap prior to paint.
On the back edge of door I am repairing damage at top behind handle. I think so can handle this. I seem to have a nice gap but the very bottom of the door is close to a half and in recessed compared to rear quarter. Rear quarter still has paint I assume it is possible this has been built out in the past???
Last edited by flyinfree; Mar 31, 2017 at 10:14 PM.
OK...first off I am assuming you are not using the 'eye brow' trim at the end of the top hood surround where it meets withe the wiper door??? If you are planning on using the eye brow trims.,..the front clip was not set down far enough...it is too high.
When you know you have an issue with panel fit or flushness. Please take a piece of two inch masking tape and tape it beside that areas and write on it clearly with a black Shaprie so I can read it.
I can clearly see the rear of the door issue you have....but that can be slightly corrected at the lower front hinge area by shimming the hinge out a little bit and see if the tilt in the door would aid in reducing the amount of filler needed to get the door at the rear to be flush with the 'unknown' rear quarter panel 'dog leg' section.
I have also seen these doors have this same problem and the car has never been hit or damaged.....so...when that happens..I have to fill it the back edge of the door and live with the thickness being slightly noticeable....or see if I do shim out the bottom hinge....or remove an upper hinge shim....if that is going to effect anything.
Originally Posted by flyinfree
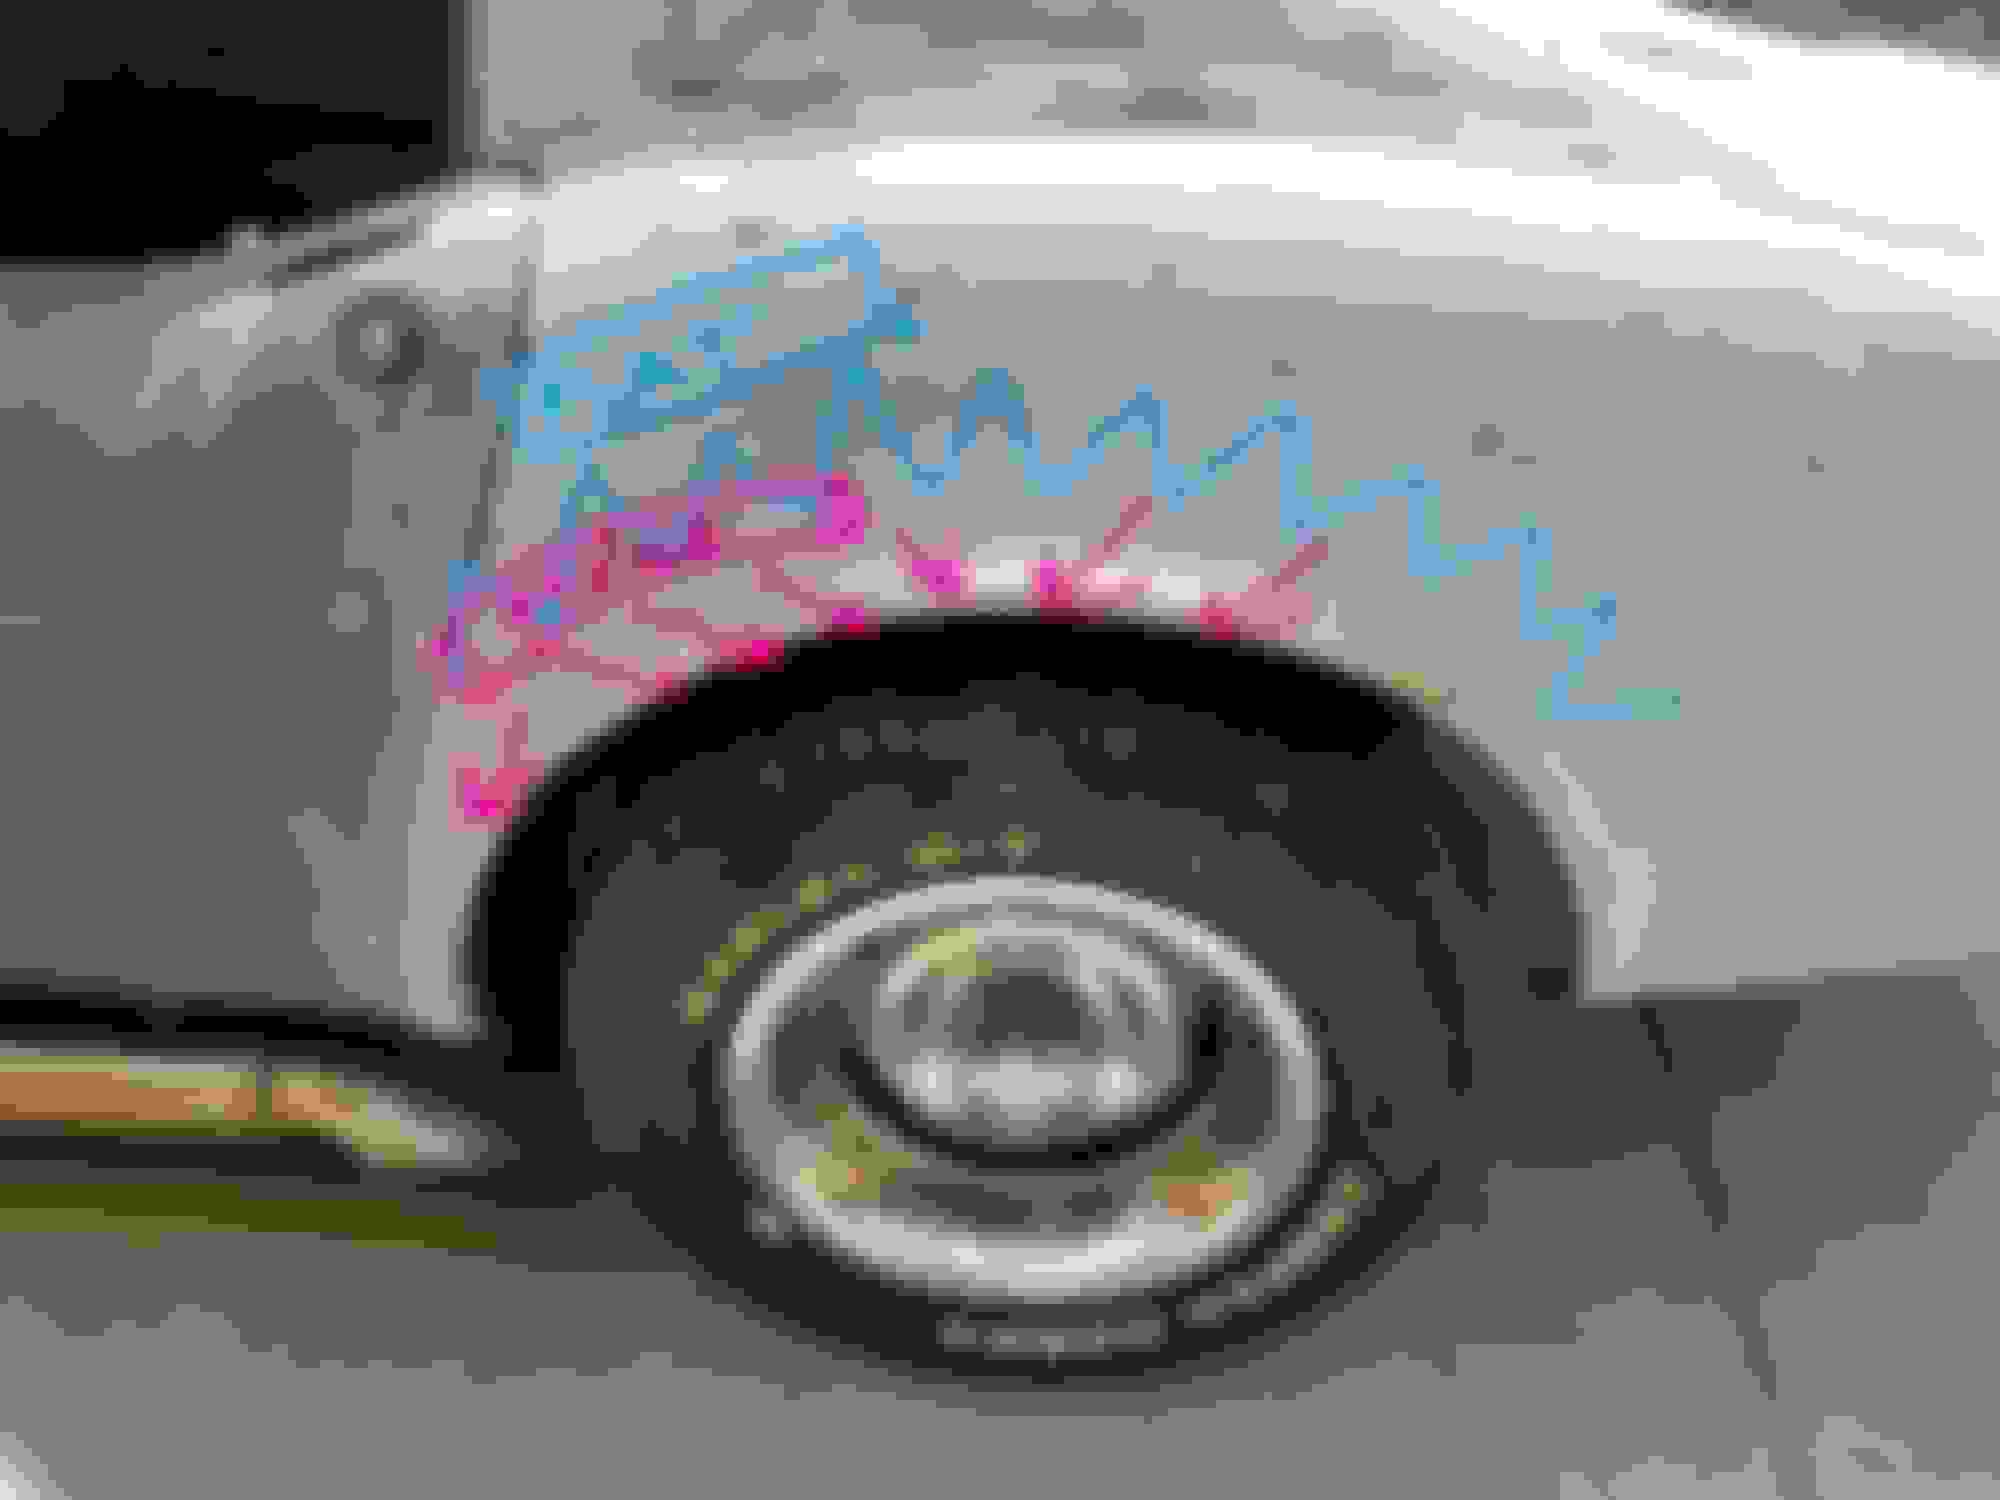
For example...in this photo... can clearly see a gap...but I have no clue if the door is set in from the edge of the fender...and if so...how much.
Please keep in mind I know you know I am not there to see what you have going on...and IF I were there...you would watch me going back and forth writing on masking tape that I applied on the car so I can see how far set in some panels are to the others so when I look at the numbers I wrote down..I can mentally see what I need to do.
SO...if the rear of the door....(level with the striker pin)...you check the door and quarter panel and the door is flush with the quarter...that then would let me know that it is adjusted far enough out...but then when I go up to the top and then to the bottom and the flushness changes...that would then make me look at the front of the door. It is a process of seeing what needs to be done instead of applying a bunch of material.
Dub,
You are correct I will not be using the "eye brow" trim. Previous owner removed that and added a long hood. I actually wrecked this car and purchased a 1 piece front end. After installing the font end I had to build that area up with fiberglass and shape o the best of my ability and experience which was none. When I set the front end I used some measurements I found on the forum and in manuals but it was so long ago I cannot remember what they were. I included a picture of the front of the hood to front surround just incase you see some issue I am missing. Hood gap and flushness seem better than a lot cars I see at shows.
When I installed the front clip there were areas along back side of the fender that left a gap that was very large I actually added fiberglass to these areas I an attempt to close the gap. I have had issues with he previous set of doors I bought so now I am trying to get this squared away with my new doors. The flushness along the font of the door is actually pretty good. I was planning to VPA to correct any imperfections once I got the gap set. Currently the gap is all over the place because I added material to the front clip. I do not think the current door gap at front of the door has any relevance to the rear of the door.
I have tried to adjust the issue at the bottom of the rear door with door shims. After much trial and error this is where I ended up. As I added or removed shims I could never eliminate the door being recessed. when I added or removed shims I would have other areas that the problems became worse in my opinion.
Let me know if you need any additional photos.
Your advice is truly appreciated.
Door Gap in rear is consistent from top to bottom at 3/16 inch Door is recessed from rear quarter about halfway down door and gradually gets worse. it is 1/2 inch at bottom. i think the font end is set fairly close. im sure it could be better but this was my first time doing any body work. Just for reference on rear height of door.
Last edited by flyinfree; Apr 2, 2017 at 02:20 PM.
OK...I understand what is going on at the rear of the door...but is the front portion of the door where it meets with the fender flush from top to bottom?
For what it is worth...the last photo of your last post ...where you are measuring the gap at the top of the door...is kinda pointless....due to the door will need to be flush at the top where it meets with the upper panel....just behind the door handle area. That shape in the door matches with the curve in the upper panel. Thus...that gap at where you are measuring can be made to 'whatever'...and not so much moving the door. Just in case you were adjusting the door to achieve a specific measurement you had found somewhere in the internet.
Dub,
Yes the front of the door and fender are flush. so achieved this wish the shims in the door hinges.
The door I have is damaged at the top so I cannot get a good reference on how it lines up with top rear quarter. The round portion just below the area I was measuring is linging up with the rear quarter body line but the area of the outer door has been damaged and will need to be reshaped.
I went ahead and stripped some paint in the rear quarter behind door and found what appears to be some of my problem. it looks like there has been material added and repairs done in the area above that coming around the wheel.
I will wait til you get all that paint off so we can see what it looks like.
The wide gap at the front of the door can be corrected by using Vette Panel Adhesive....to close in the gap to the door. That is what I use and I cannot remember the last time that I had to laminate up a gap using mat and resin.
DUB
Thanks Dub,
As I remove to gray top coat i am getting to a whitish gray layer. I think this is primer can you tell from the color what type primer this is. Csn I remove it with steel wool and thinner or will it need to be sanded?
It is actually hard to say. Test a small spot with the thinner and steel wool and see what it does....if not then sand it off..it is not like that area is huge and hard to sand off quickly.
AS for the rest of the quarter panel.....who knows....because if someone used a polyester primer ...lacquer thinner and steel wool will not remove it.
DUB
DUB,
I found more damage in this rear quarter. The wheel well area was rebuilt with woven fiberglass rather than the random fiber mat. At this point I think my best move is to replace the quarter panel? Do you agree?
DUB,
I found more damage in this rear quarter. The wheel well area was rebuilt with woven fiberglass rather than the random fiber mat. At this point I think my best move is to replace the quarter panel? Do you agree?
NO....do not jump the conclusion that you need a quarter panel replaced.
I find repairs like that many times and I do not replace the panels UNLESS the amount of damage....and the time it will take ME to fix it....exceeds the cost of the quarter panel and the time it will take to install it.
SO...unless you strip the entire quarter panel to see all what is wrong with it....you might find that fixing what you have will be a way to go....or that is needs to be replaced due to you do not want to fix it.
Although I appreciate the close up photos you post. Posting a photo further back is also needed so I know where the damage is located.....because....just because you wrote that it is in the wheel well area...there are some areas of the wheel well lip that are easy to fix....so-to-speak...versus other areas.
DUB
DUB,
Here are some pics from further away. I removed the primer and filler and I think the rear quarter is in much better shape than I expected. The edge around the wheel will need to ve repaired and reconstructed. That definately concerns me. I also need to deal with the woven mat. These repairs were done in around 1981. The fabric pattern never came to the surface. Im hoping to grind the surface and add resin and marr over that area. Will this work or does the mat need to be completly removed?
Last edited by flyinfree; Apr 15, 2017 at 03:02 PM.
IN MOST SCENARIOS... when I come across other peoples repairs..I grind them out. The contradiction to this is when I grind out their bad work...IF...REPEAT....IF I have to leave a very little bit of their repair in order for me to lay new mat and resin on top of it I will. BUT...that all depends if I can grind down their work enough so I know I am add a good thickness of my own mat and resin....if that made any sense.
IF I have to grind out all the crappy work..and that then allows the area to be loose or weakened and then having to be supported in some manner so I can laminate in new mat and resin...I do that also.
I can say that those two cracks that go through the wheel well lip are going to be QUITE CHALLENGING and you should NOT take them lightly when you are laminating. Because that is where a crack can start IF the repair is not really, really good. UNLESS you want to slap a huge blob of adhesive and whatever on the backside of where those cracks are.
DUB
DUB,
I'm finally back. I have ground all the old woven mesh fiberglass repairs out from backside of paneland l repaired it by laying random fiber. I then ground the front of the panel, laid fiberglass and shaped the panel by hand. Structurally I feel it is a good solid repair. Cosmetically I need advice. From what you can see am I to a point that I should use VPA to recreate an acceptable fender edge or are there other steps I should take?
Is there any trick to creating the edge?
Here are pictures. I know you will probably need different pictures so just let me know what pics you need.
Thank you in advance.
AS for 'creating an edge' ...I am lost because I do not know what you actually mean by 'EDGE"????
You need to be very precise in describing on where you need this edge repaired/filled.
The reason I am asking this is because I am afraid that you are referring to the edge of the wheel well lip edge.
DUB
DUB I am talking about the body line rather than the edge. The underside of the lip has been restored and repaired and is good and solid. I am talking about the body line from the actual fender to where it transitions to the flat faced edge.
DUB I am talking about the body line rather than the edge. The underside of the lip has been restored and repaired and is good and solid. I am talking about the body line from the actual fender to where it transitions to the flat faced edge.
Use VPA on that...even if you have to slightly grind down your repair so you can allow some of the VPA to fill it in and not have it be a raised area where teh repair is.
DUB
I am no vette expert, but I did a similar but smaller repair to this with vpa and filler glaze. Applied as smooth as possible to same contours. and shaped it with a flat block and round durablock, like 80 grit (up to 220)
. block down the contours with semi rigid flat. right up to the concave part where it starts to skip.
Then i used the round with pressure on each end to contour the same shape of the arc curve. and rolled it cross pattern(trying to use unmolested areas as hi's). you can use a caliper and lightly scribe the flat curve edge as a reference
repeat with more filler til it shaped good and used poly hi build with guide coat to check it good.