When you click on links to various merchants on this site and make a purchase, this can result in this site earning a commission. Affiliate programs and affiliations include, but are not limited to, the eBay Partner Network.
But ..I would wait til you get the clip back on before I spend any more time on the seams of the front clip..
Remember...you are going to use heat to get the factory adhesive to let loose...so at the door gap area...where you have done the seam repair and filling...that may be effected when you go to pull the clip off.
Kind of like.it is somewhat pointless in fixing all the cracked seams in your sheet rock inside your house if you are paying company to move your house down the road several miles. 'Things' can happen.
Seeing how you are quite dedicated in taking the time to do ting right....hopefully you have no issues.
DUB
Thanks DUB, I only did this one seam a bit because I had already ground it down before I found the cage issue. I figured I better get a little VPA back on it to ensure it didn't come apart on me when I pulled of the clip.
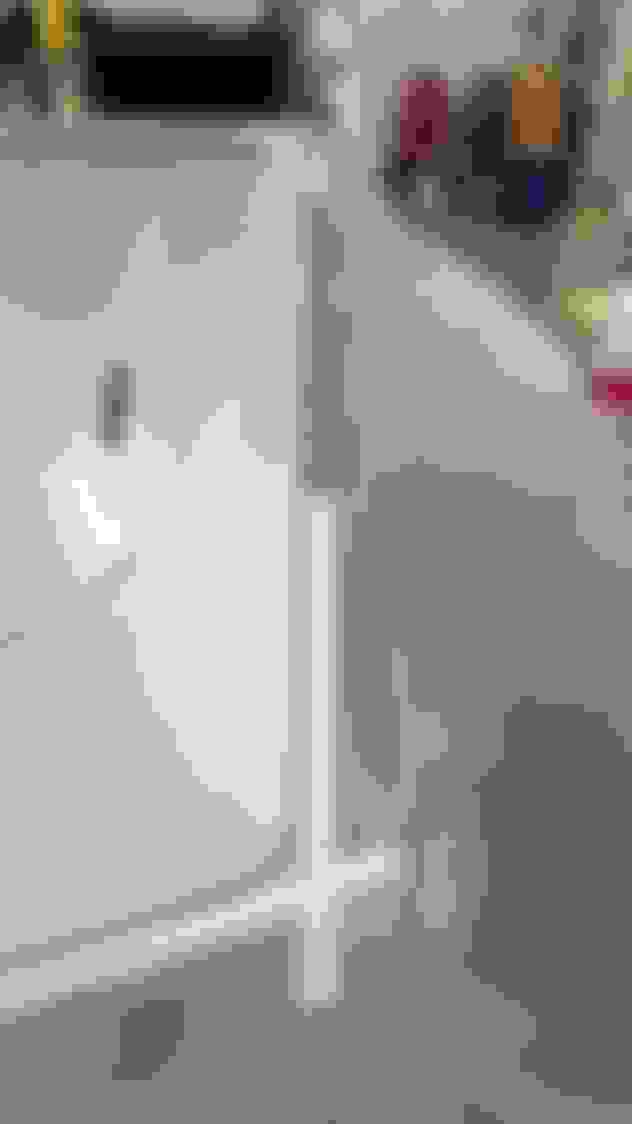
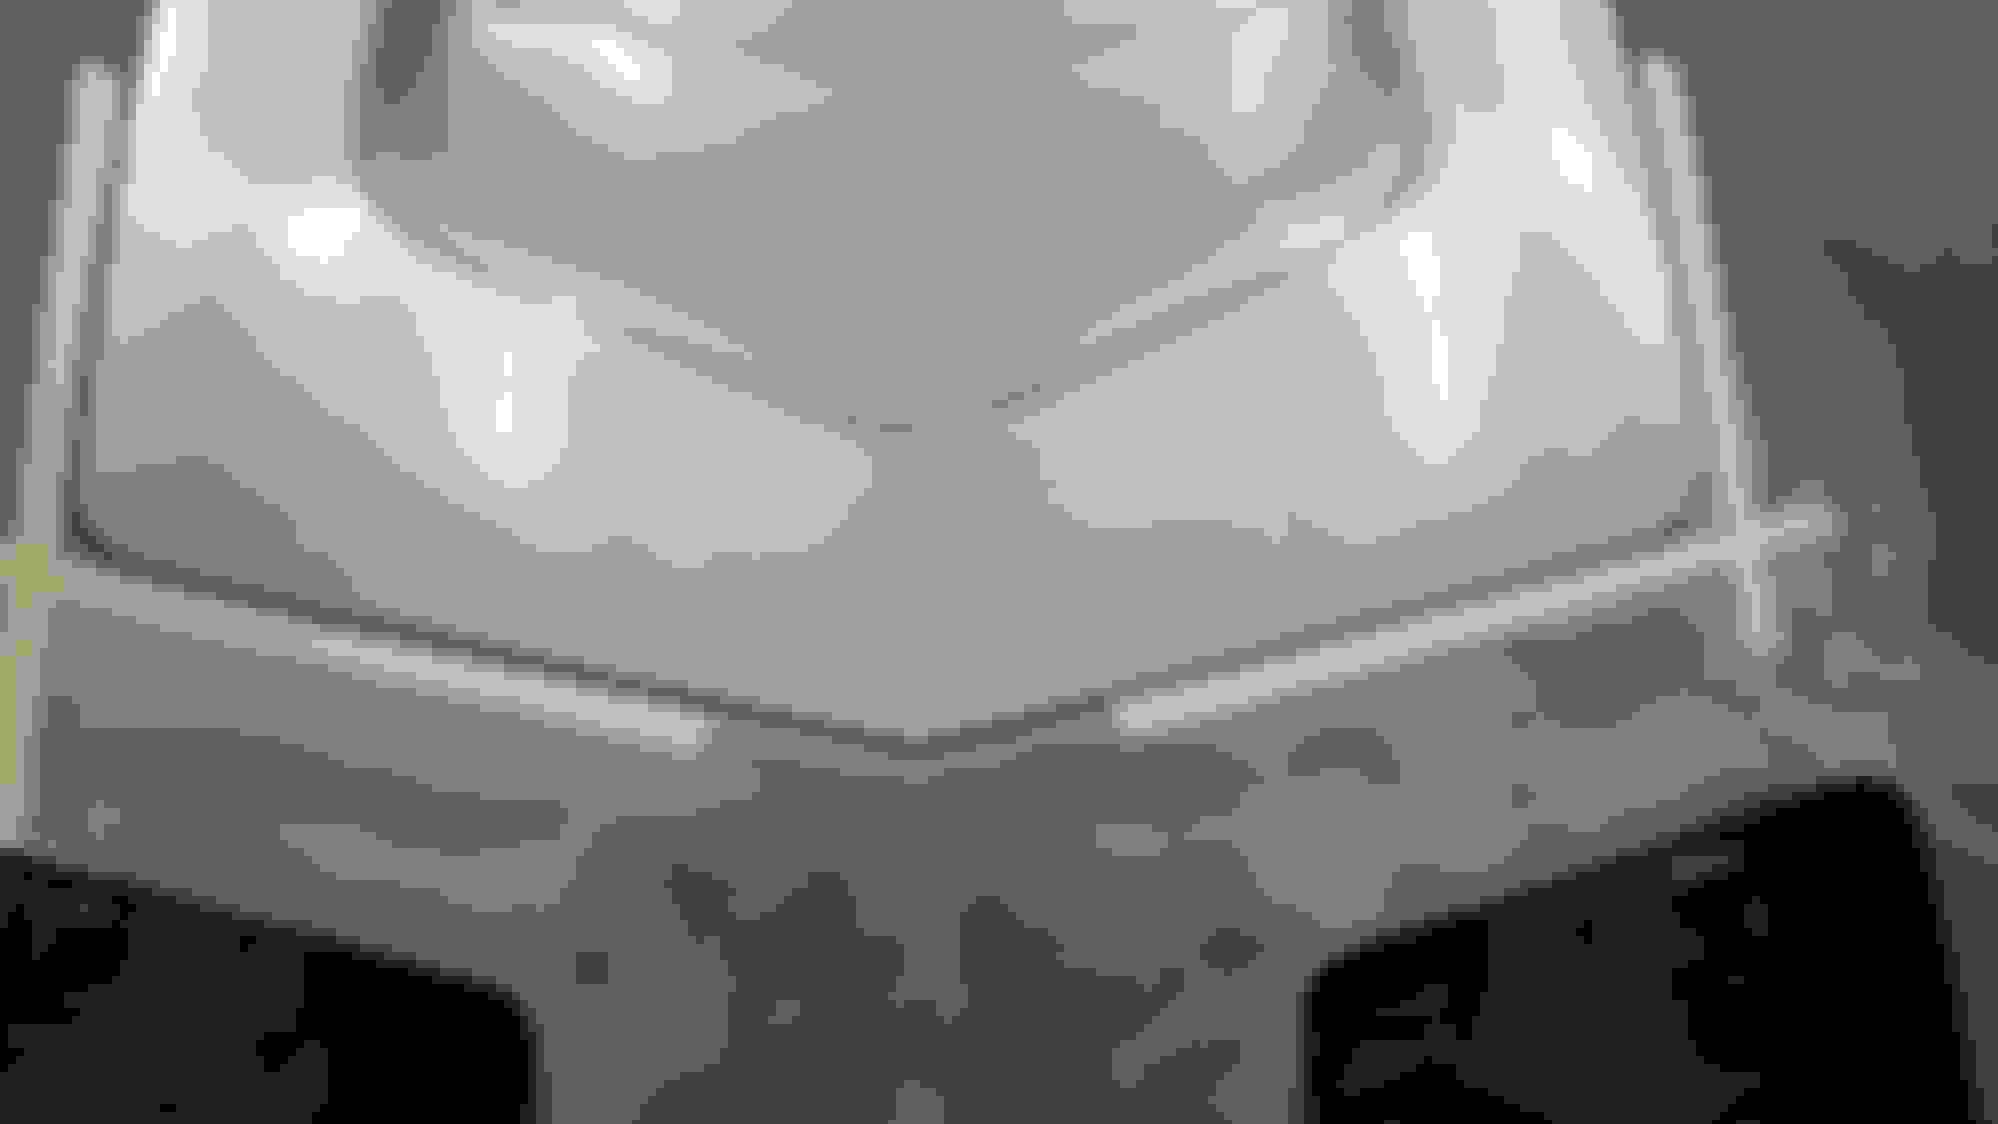
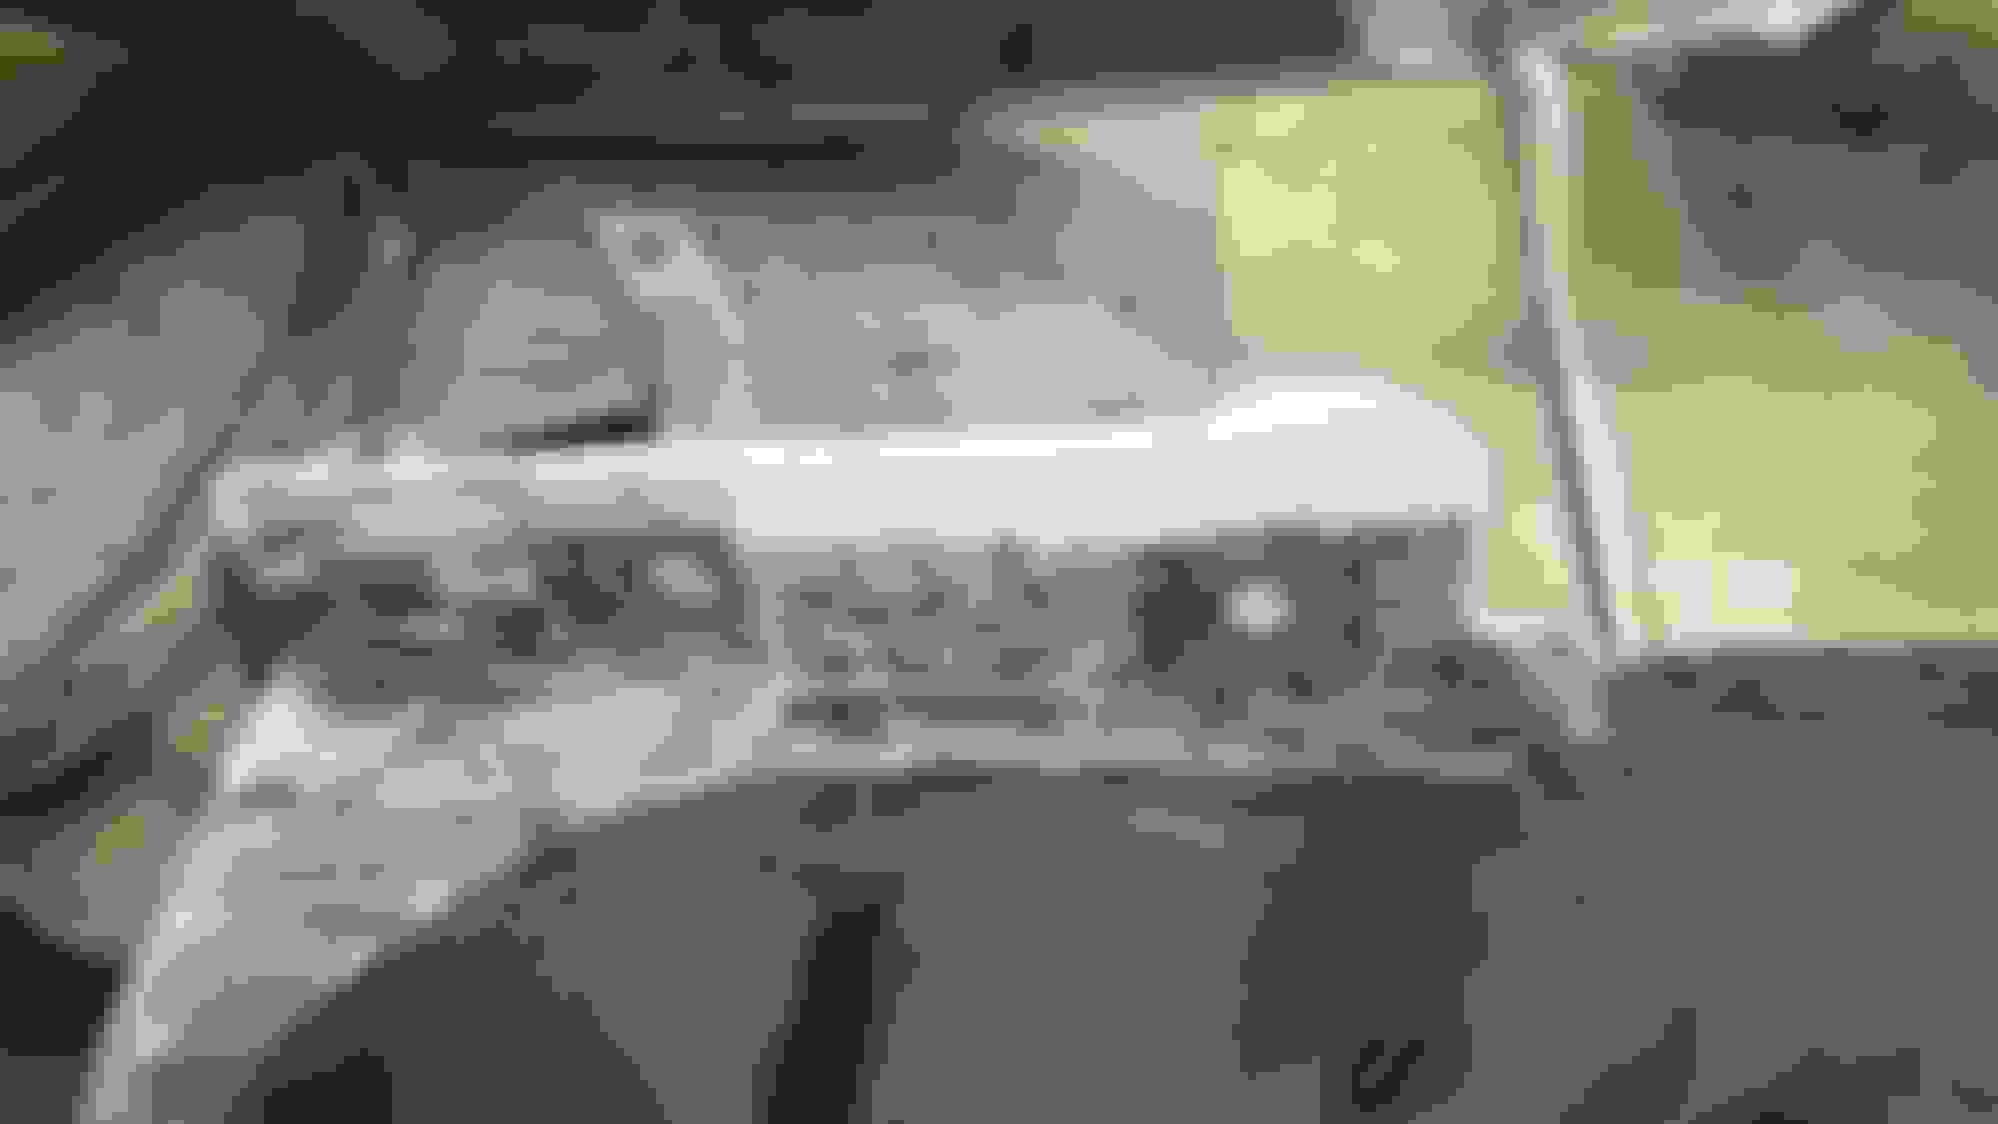
I put the wiper door,grill and hood in place to get some measurements and ran into a bit of an issue I can figure out. According to the assembly manual the distance from the corner of the wiper door to the corner of the hood hood is supposed to be 3.08-3.12". As you can see in the pictures I have exactly 3.1 on the right side but the left side is 3.3 and I have no idea where I can get the .2" from without messing something else up? I bolted the wiper door using the same hardware and shim it came with. It had a 1/16" shim on each side of the upper half of the mount so, I can't figure out what is out of whack. Any suggestions?
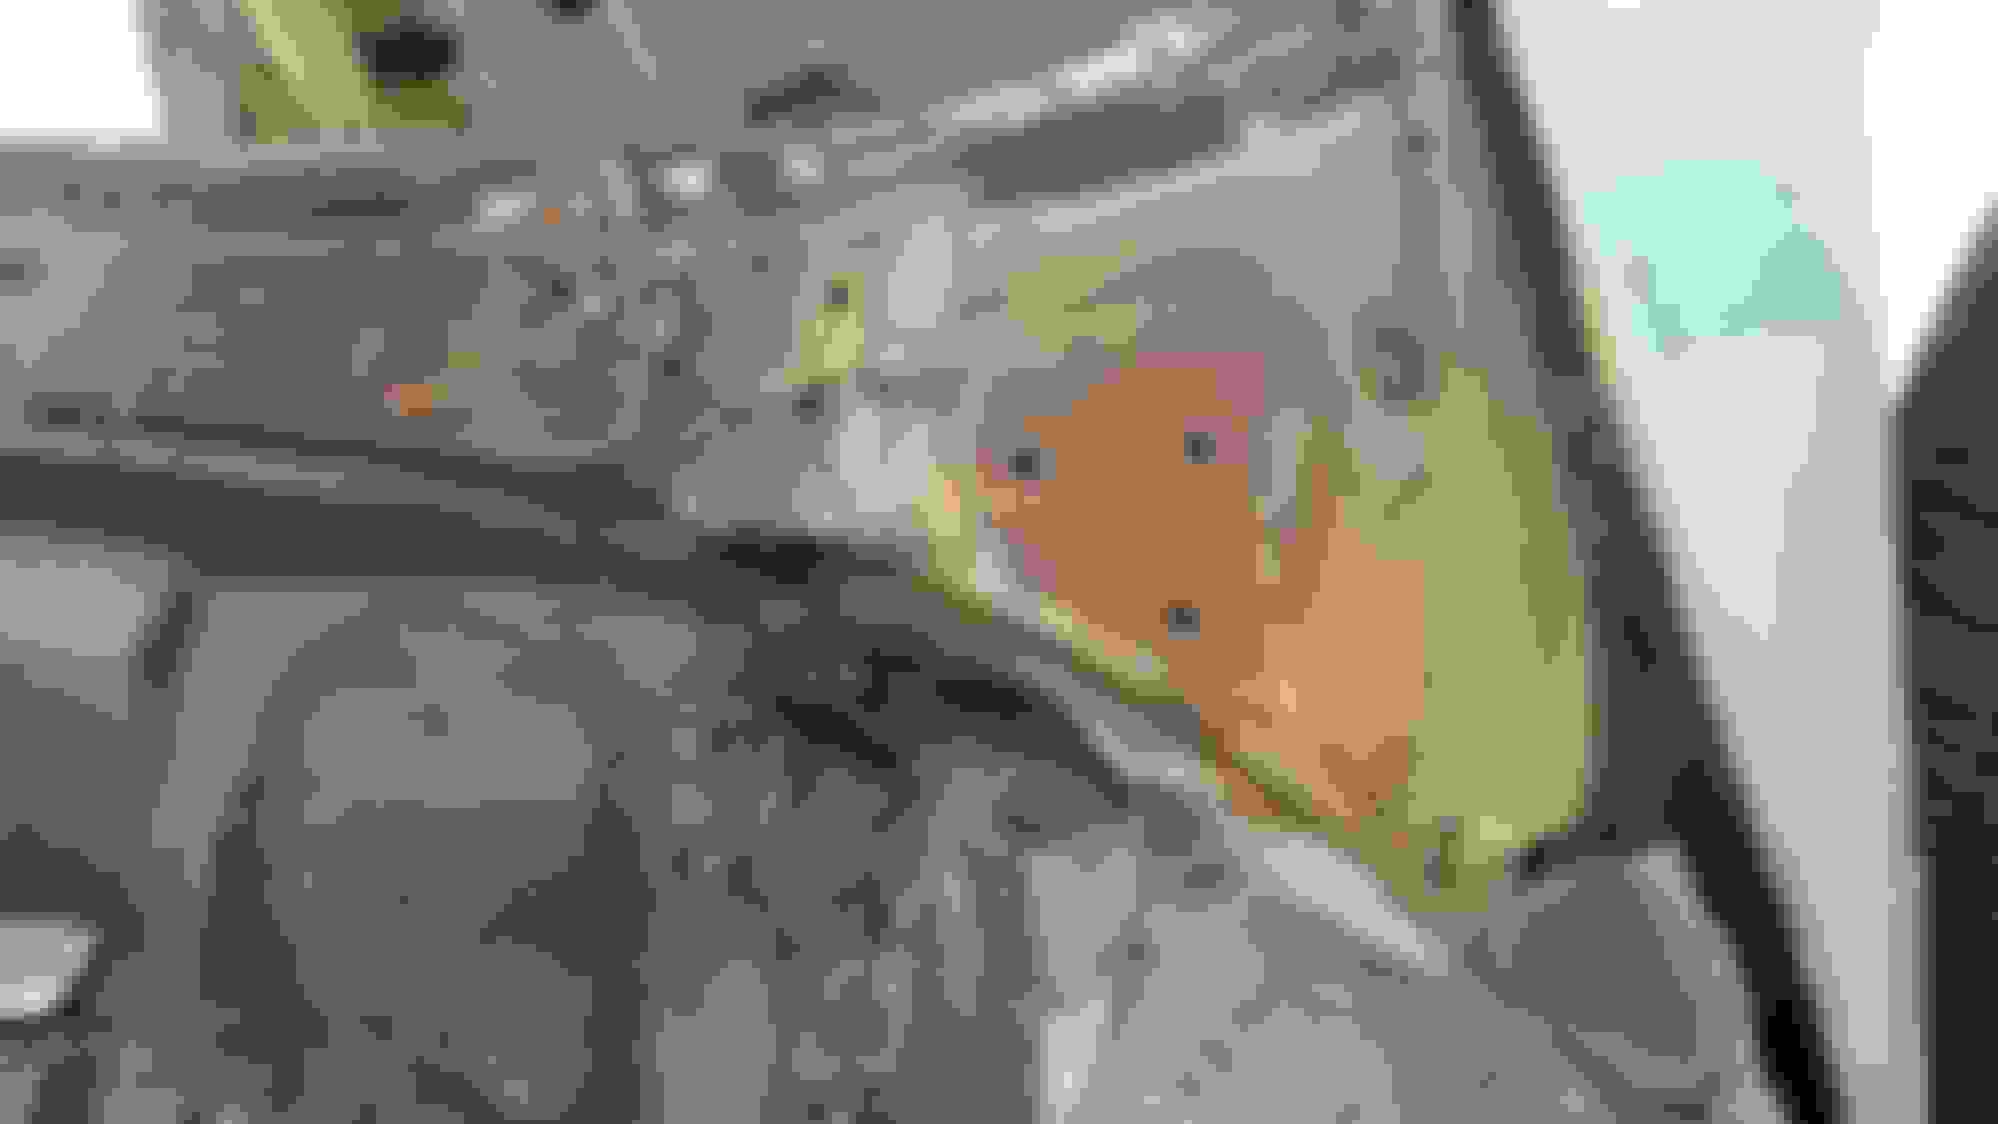
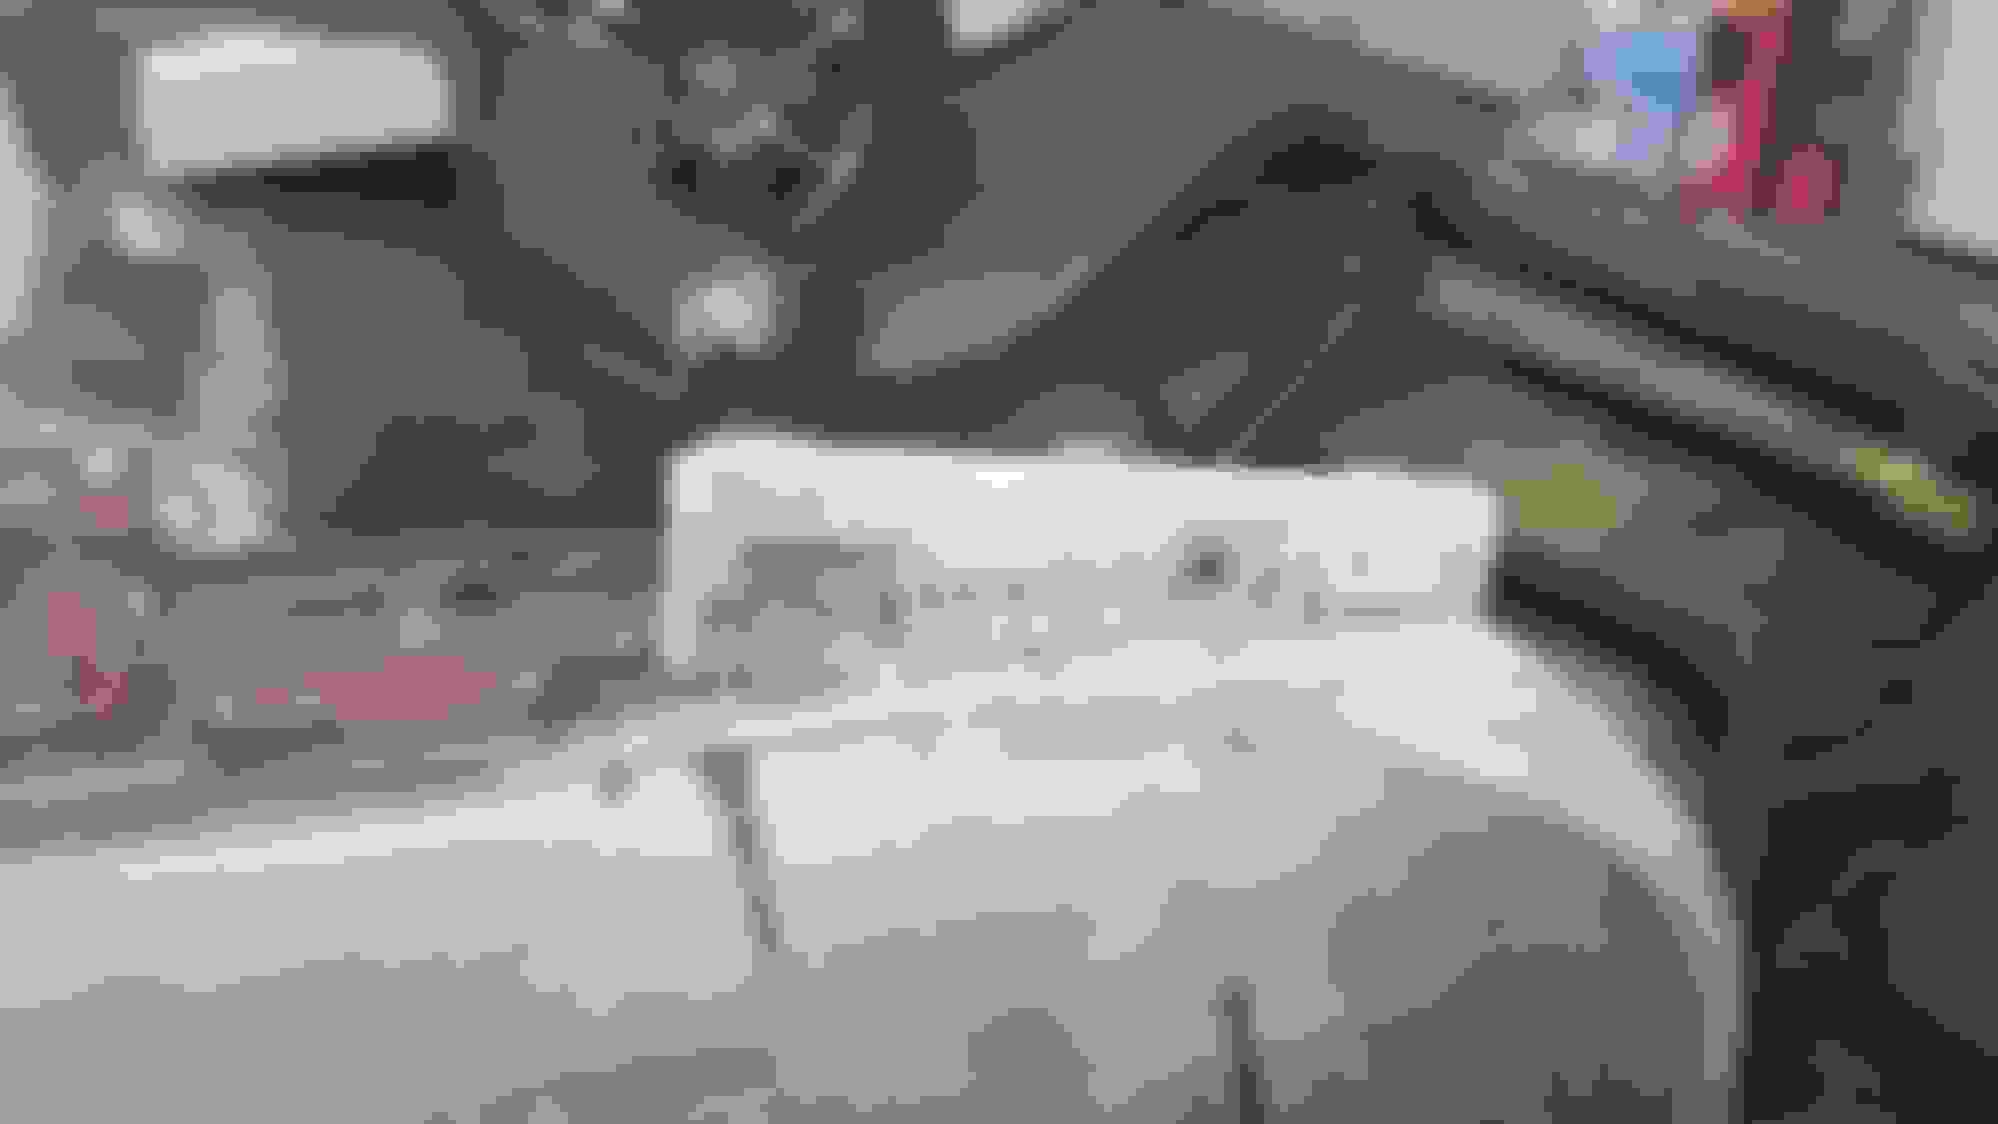
Ok the front clip is off and the upper plenum pieces have been removed to expose the the corrosion. Looks like I caught it before it went under the firewall?? Here are all the pictures so, Please let me know what you think and how you recommend, Blast and prime or, cut and weld?
I would put rivets back in the holes so when I would sand blast the pitted rusty areas. I am not allowing sand or my media to get into the bird cage.
Then I would drill out the rivets . You can use screws if you want.
Then I would apply whatever coating to make sure the rust does not come back.
Then you need to clean off any rust that may be on the back of the panels you removed off your cowl area. Then apply some of the SEM CATALYZED BEIGE SEAM SEALER before you pop rivet and bond that panel back in place and make sure to get the sealer to ooze out and seal off this area really well.
You cal fill in these holes on each side also where the yellow arrow is pointing.
Are you going to paintit your self? Are you using base coat clear coat or one step? If so borrow or rent a paint booth for the clear application. I used PPG and it was tough spraying in my home made booth at home. The first gallon was bad and had to remove the clear using hand sanding the whole car. I practice on the hood all applications and being my first time was a lot of fun.. I do believe you might have a Levine up your way so get a quote on all your paint and supplies before you start. If you have any questions just respond on this site . I am in ct
Often times the main problem that DIYers run into when they paint their own car at home is that they often times do not due their homework and realize that the filters are important along with MANY other factors...such as air flow dynamics and also the CFM of their exhaust fan.
Then also applying a coating to lock down any small particles that can get stirred up during the paint process. Then using proper paint suits and head socks and anything that can aid in keeping the trash out of the 'booth'. If a person wants a clean paint job...then it is best to get the both as surgically clean as possible in regards to the small particles that are on the floor that can be disturbed and pulled onto the paint/clear
I have seen and been a part of DIYers who have erected simple home made paint booth that turned out really CLEAN paint jobs and met EPA guidelines on exhaust filtration.....and took suggestions so when they painted it...it came out as intended.
This response is so that if someone chooses to go that route....it can be done.
I agree that renting a paint booth would be nice but I will be painting my car at home. I have painted several cars in the past in a garage, portable shed, old shop, and a paint booth and have had good results. As DUB say's, it takes a lot of time to prepare and clean everything. I also expect to have to cut and buff it get it perfect or, at leased perfect to me.
I do intend to put together something of a booth but haven't finalized a plan yet. I don't want to break the bank doing it. Mainly looking to create some ventilation and partition off the part of the garage I don't want overspray in. More to come on this topic.
Will
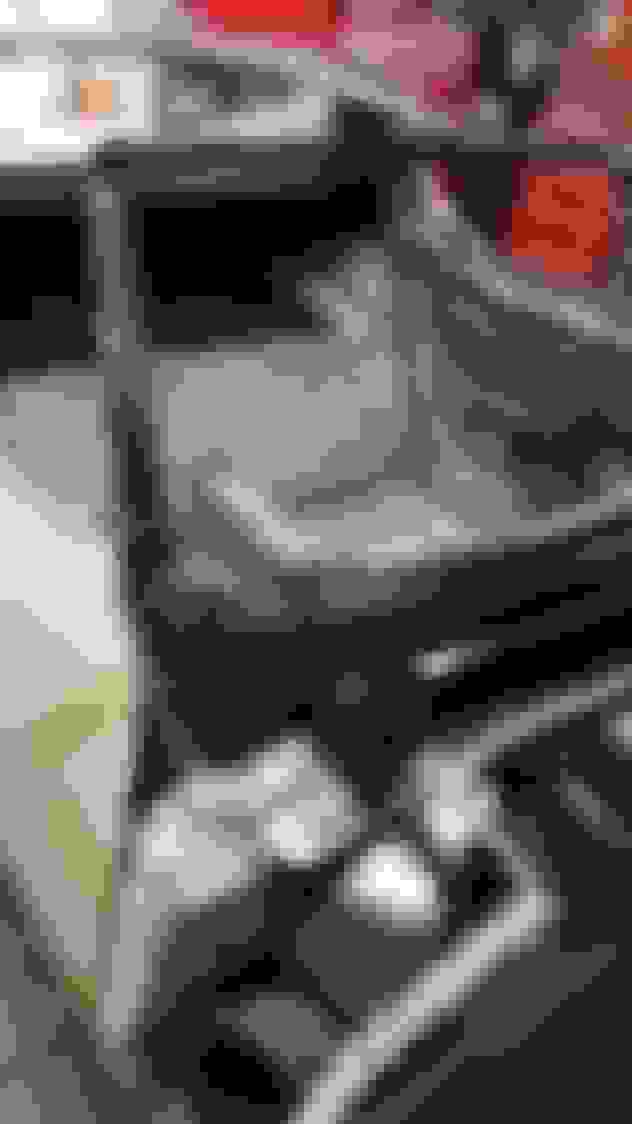
Well after much deliberation and a conversation with DUB, I decided to go ahead and prevent the pesky header bar rivets from causing me any future grief. The bar was bonded well and didn't show any signs of being a problem. I have spent my life working aircraft sheet metal and composite structure so, I decided to just chisel off the rivet butts and simply pop the bar off. I then ground out the rivet heads from the bond strip. As you can see the chice to do this was good because the inside of the bar was starting to rust and would have just kept going.
After I get the bar all cleaned up and painted I will buck some good aircraft button head rivets into the holes to simulate the originals and bond the bar back in. The aircraft rivets heads are much smaller than the GM rivets and will never swell up enough to cause a problem. I will flatten the heads a bit too just to make double sure.
Will,
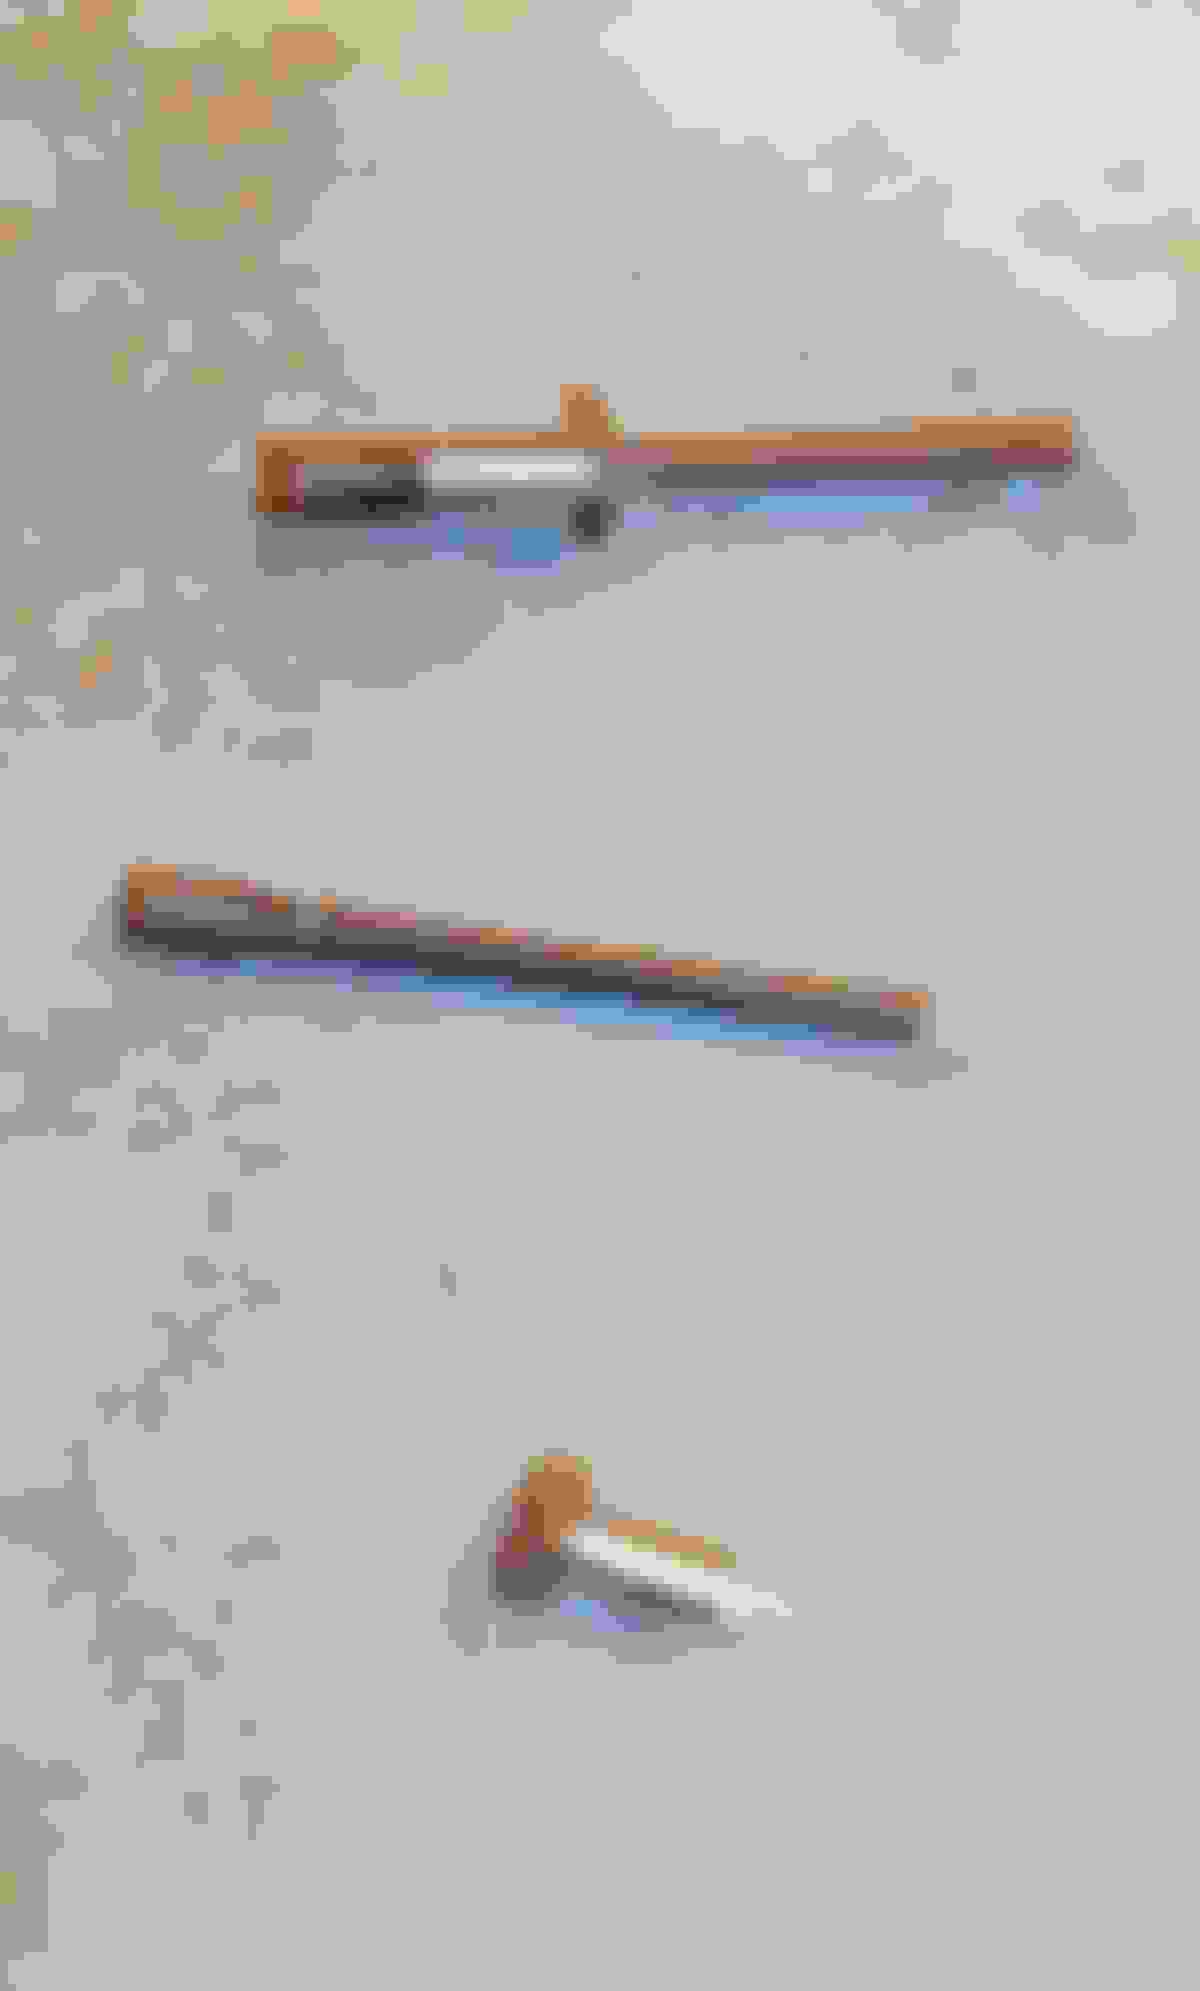
These are the rivets I use that we talked about. I have them in all steel and also all aluminum. The ones in the photo as an example are all aluminum. You can also use a larger fender washer under the head of the rivet when using them so you can span out the grip strength of the rivet on the piece of fiberglass especially on the fiberglass gussets that get riveted to the birdcage where your top hood surround bonds to it..
Will,
These are the rivets I use that we talked about. I have them in all steel and also all aluminum. The ones in the photo as an example are all aluminum. You can also use a larger fender washer under the head of the rivet when using them so you can span out the grip strength of the rivet on the piece of fiberglass especially on the fiberglass gussets that get riveted to the birdcage where your top hood surround bonds to it..
DUB
Thanks DUB,
Here are the ones I have called CherryMax. They come is just about any length you need. They work just like the ones you have but they have a little lock ring on the head that locks the stem in place so it doesn't fall out.
Here is the "Back Driver" that I told you about. You use this when you want to drive the butt end of the rivet. the tube keeps you on the shank of the rivet and also helps to make all the driven butts the same diameter.
Thanks for the interest. I have been making slow progress lately because I went to Carlisle last week but, I did get some progress made this weekend. I will post some pictures this evening.
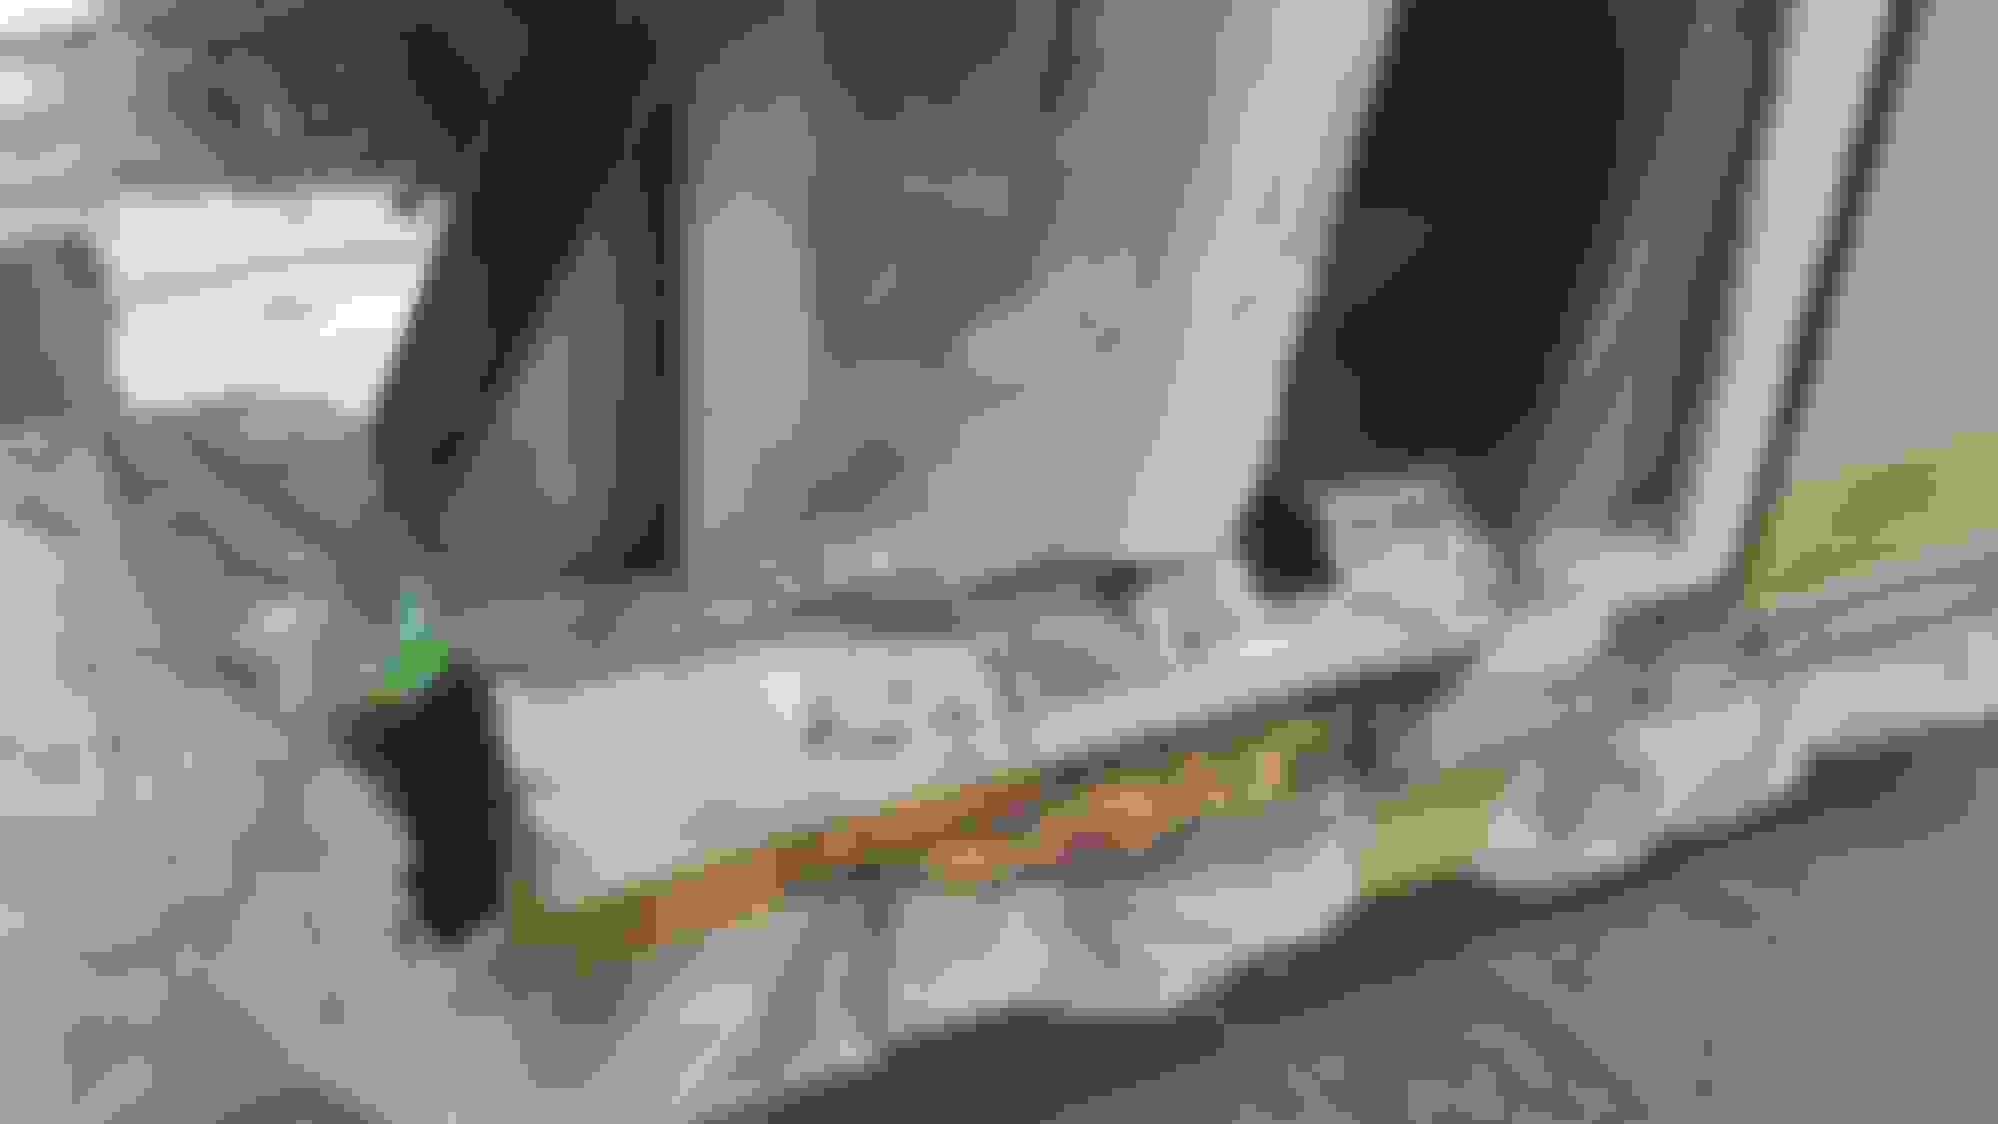
Okay, I was able to get the bond strips reattached and a few small repairs made to a few areas. The lower fender flanges had been hacked up to clear side pipes so, I rebuilt them to a functional standard. I think once they are painted it will be hard to tell. I also filled in a big hole someone cut in the right hand inner fender skirt.
The headlight header has been painted and rivets have been driven into the holes. I used SEM universal panel adhesive to bond it back onto the bond strip.
Next step, I plan to work over the seams on the bottom of the front clip while its off and upside down so I don't have to work on my back. I will also epoxy prime some of the hard to access areas before the dry fitting begins.
nice work will, i have been saving all your pictures so i can reference them when i dig into my car.. i am sure i am gonna run into the rust area you did, so a picture is great too look at..i do need too find the rivets you and dub are talking about? if you could give me a link too them please? that goes for DUB also? thanks troy
 07-23-2018, 08:59 AM