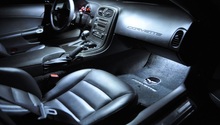
C5 C6 Corvette: How to Replace Interior Lights with LEDs
Modifying your interior lights may seem like a big job, but it's not so difficult when you break it down. This guide will take you through all the steps and parts you'll need to replace the interior lights with LEDs.
This article applies to the Corvette C5 (1997-2004) and C6 (2005-2013).
Modifying the interior lights of your Corvette doesn't have to be a pipe dream. This how-to guide will show you what modifications you can make and which LEDs are best for the job.

Materials Needed
- Neo Wedge Type B (T4) LEDs w/ 10 mm base
- Neo Wedge Type A (T3) LEDs w/ 8 mm base
- Type 194 SMD LEDs
- Type 561 Rigid Loop LEDs (Type 212-2 Festoon for the '97 C5)
- Flathead screwdriver
- T-15 Torx screwdriver
- Soldering iron & solder sucker
- 9V battery
- Pair of positive and negative leads
Pro Tip
Before you start, make sure you have plenty of extra LEDs. Test the components you have taken out of your car with a 9V battery before re-installation. If one of the LEDs does not work, try rotating it 180 degrees.
Step 1 – Change the door switches, dimmer and DIC panel
Using a flathead screwdriver, remove the door switches, dimmer and DIC panel. Replace the stock bulbs of the door switches and DIC panel with Neo Wedge Type B LEDs. Use the narrower Neo Wedge Type A LEDs for the HUD panel dimmer switch.
Figure 1. Door switch LED. 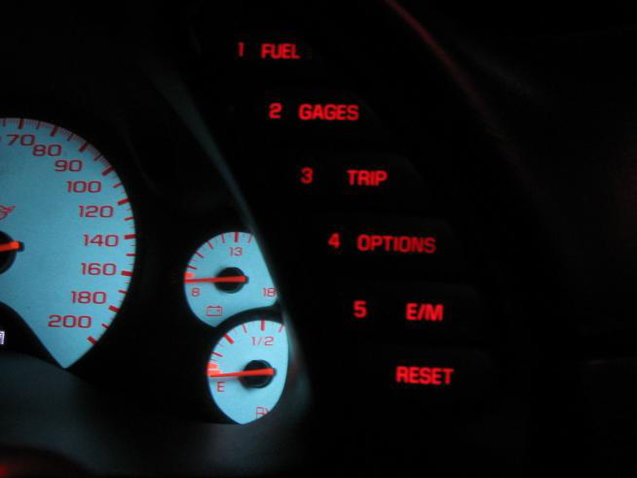
Figure 2. DIC panel LED.
Step 2 – Change the map lights
The map lights are protected by translucent plastic covers. Take off the map light cover using a flathead screwdriver to replace each bulb. For C5 Corvettes, use Type 212-2 Festoon LEDs, and for C6 Corvettes, use Type 194 SMD array LEDs to replace the stock map light bulbs.
Pro Tip
For the late 2000 Corvettes, check your map lights to see if LED array or Festoon bulbs have already been installed.

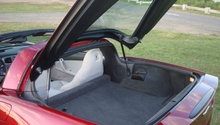
Step 3 – Change the footwells and cargo lights
Pry out the light panels of the footwells and cargo lights. Remove the stock bulbs and install the Type 194 SMD Plug 'n Play LEDs.
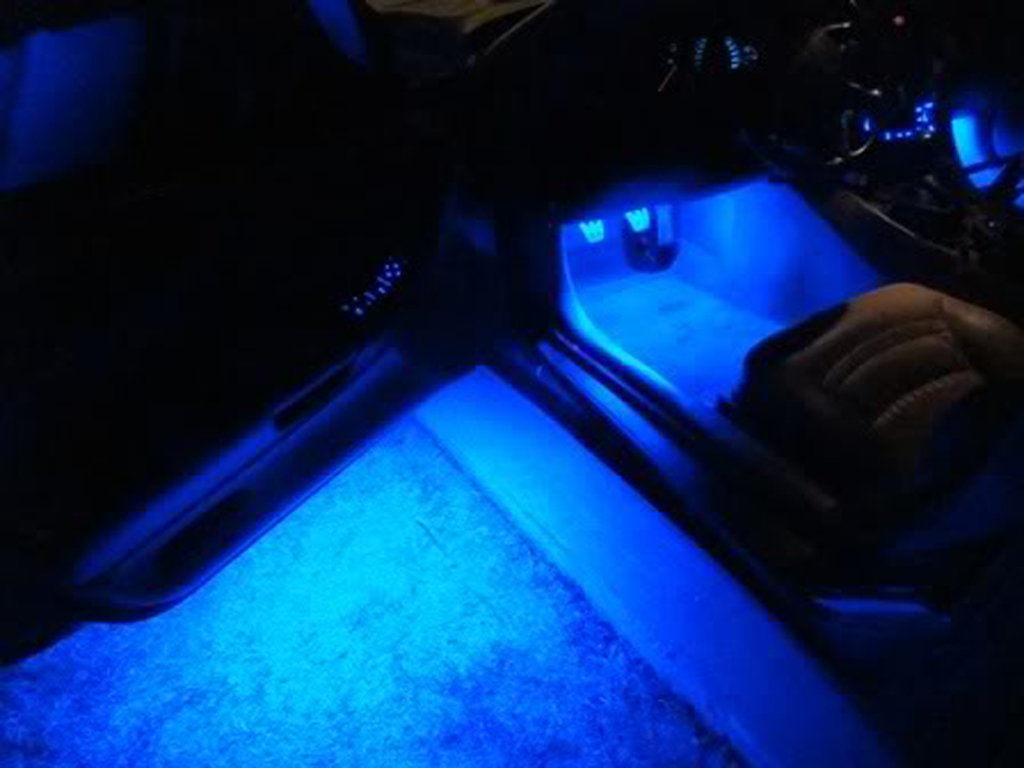
Figure 4. Blue foot wells. 
Figure 5. Bright white cargo LEDs.
Step 4 – Change underhood lights
For underhood lights in the '97 C5 Corvette, replace the stock bulbs with 212-2 Festoon lights. Replace the bulbs of all other C5s with Type 561 rigid loop LEDs.

Step 5 – Change the automatic gear shift indicator
Remove the cover of your center console and pull out the shift boot. Replace the stock bulbs with small Type 194 Wedge Base LEDs; you can also replace them with a horizontal strip of LEDs trimmed to a length of 6 lights.
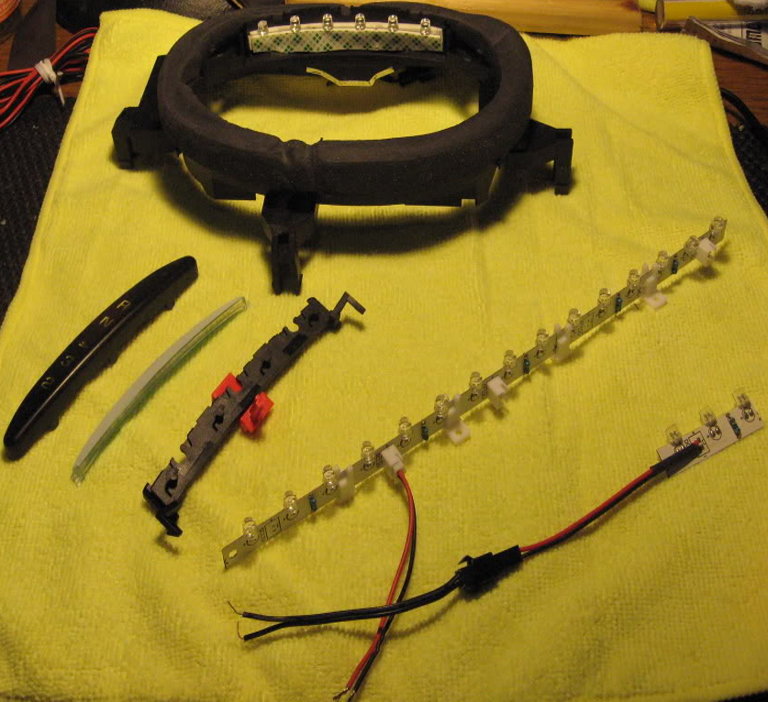
Figure 7. LED strip lights. 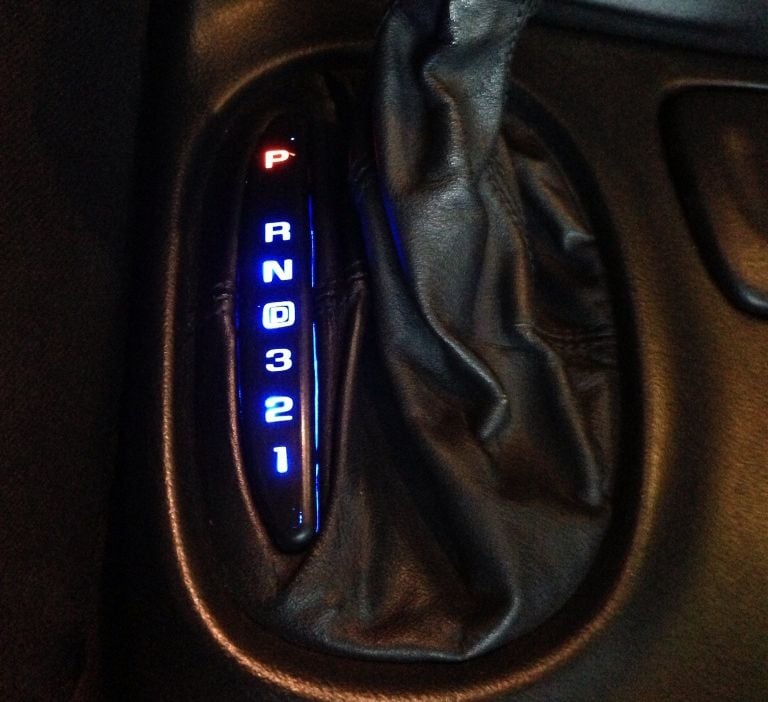
Figure 8. Center console with LEDs.
Step 6 – Change the HVAC and radio lights
Remove the cover of your center console to access the HVAC and radio. To remove the HVAC and radio, unscrew their mounting screws and then using a plastic trim removal tool, gently pry them out of the center stack. Lay down the HVAC and radio in a workspace where you can keep track of the components, and make sure you are properly grounded before taking them apart. Remove the casing of each component and then remove the circuit board. Desolder the stock bulbs from the board and attach the new LEDs. Before re-installation, test them with a 9V battery.
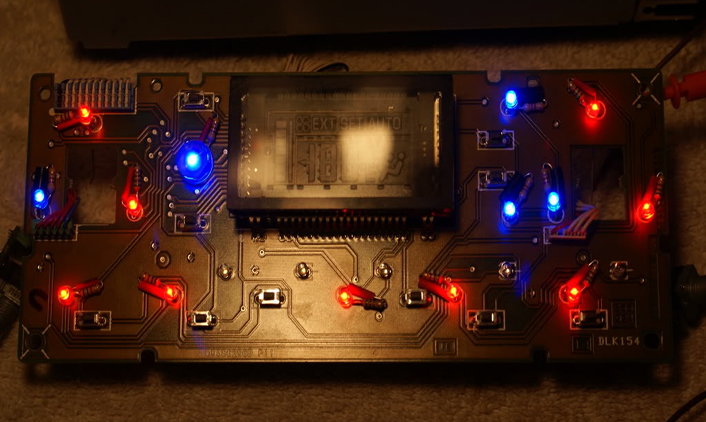
Figure 9. Radio LEDs. 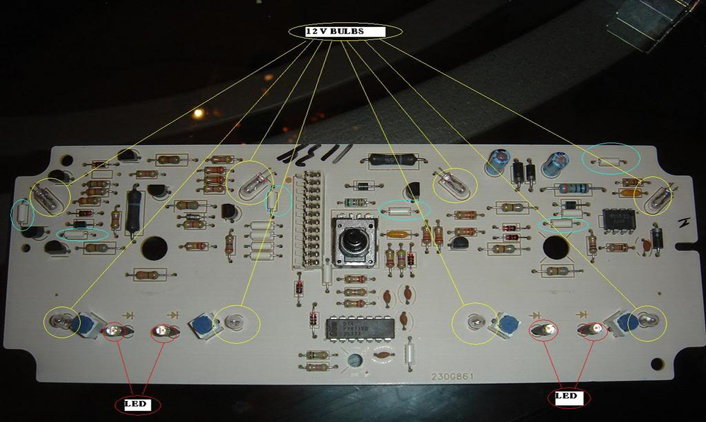
Figure 10. HVAC LED placement. 
Figure 11. Door switches, HVAC and radio.
Featured Video: How to Remove a Stock Radio/Stereo from a C5 Corvette
Related Discussions
- New Interior LED Mod Thread - CorvetteForum.com
- 100% Plug 'n Play LED Interior Light Upgrade from JWM - CorvetteForum.com
- Center Console and Radio Bezel Removal - CorvetteForum.com