C6 C7 Corvette: How to Bleed Brake System/Change Brake Fluid
Bleeding your brake lines isn't as hard as you'd think. You can do it yourself in a matter of minutes with the help of a friend.
This article applies to the Corvette C6 (2005-2013) and C7 (2014-2015).
Bleeding your brake lines is a relatively easy task you can take on yourself and save the money you would have spent at your mechanic's garage. It is important to take your time when doing this task and, especially with the Corvette, bleed them in the correct order. If you change any component of your brake system, bleeding your brake lines should be something you do as a last step before the job is done. If you haven't changed your brake fluid or you don't have a clue when it was changed last, it's something you should do to make sure that your braking system is in good working order. Use caution when changing brake fluid! Not only must you make sure no contaminants get into the master cylinder, you'll also want to make sure you do not get any fluid on any painted surface of your car or electrical components.

Materials Needed
- Floor jack or jack stands
- 12 mm box-style wrench
- Clear bleeder hose(s)
- Shop rags
- Bucket
- Brand new brake fluid
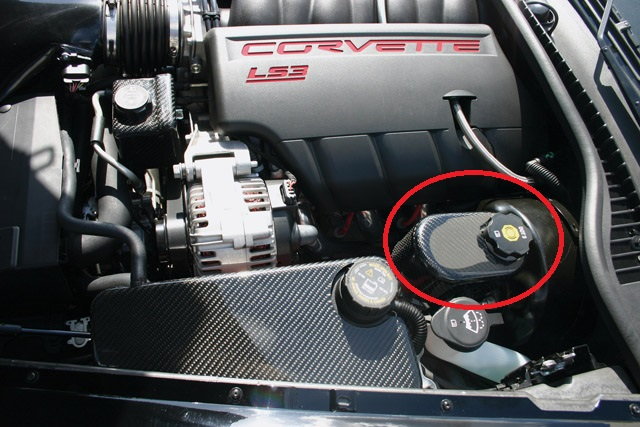
Step 1 – Open the master cylinder and add new brake fluid
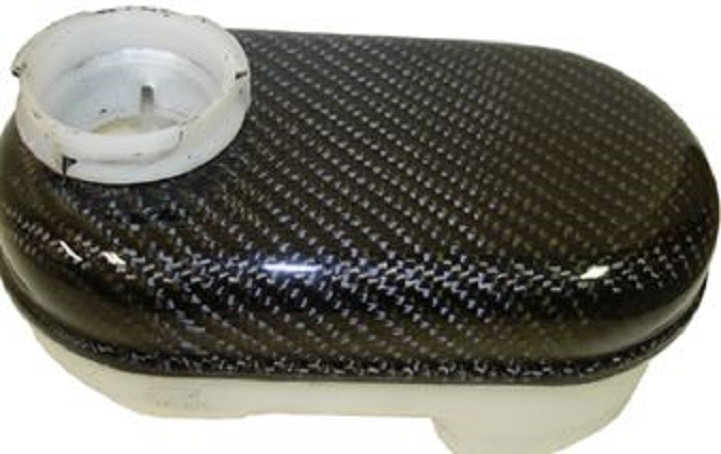
Using a clean, lint-free shop rag, wipe down the master cylinder from top to bottom. Use extra rags and place them underneath the cylinder, and use another to wrap around the lid when you remove it. You do not want to splash brake fluid on any component or painted surface; make sure that no dirt or contaminants fall into the reservoir. Use the manufacturer's recommended brake fluid only, such as Delco Supreme 11 or its equivalent.
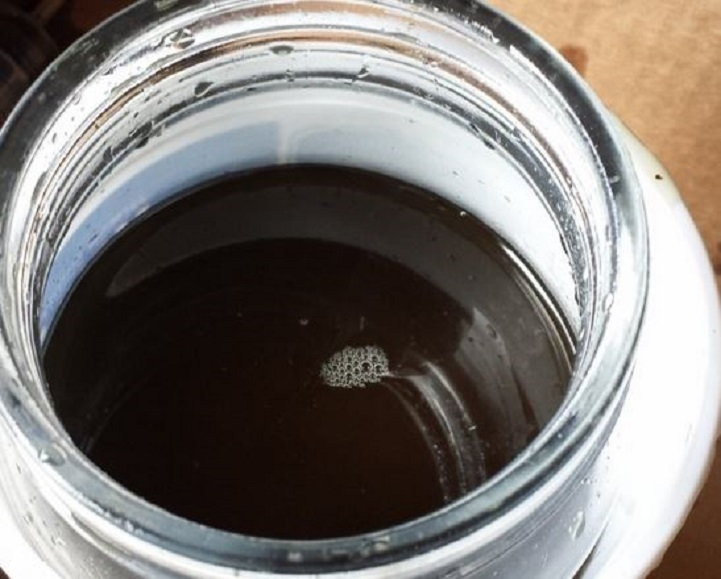
Step 2 – Partially fill a container with new, clean brake fluid
The bucket will be used for bleeding the old brake fluid, but you will need to have enough clean brake fluid to submerge your bleeder tube. This will allow you to see the air bubbles as they are purged from the system, as well as see when the dirty fluid stops flowing and turns to the proper translucent coloration.
Pro Tip
Be sure not to spill any fluid on your rims, tires, or even work floor. Clean up any spills or splashes immediately.
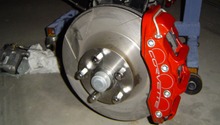
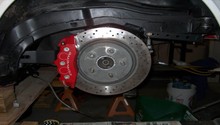
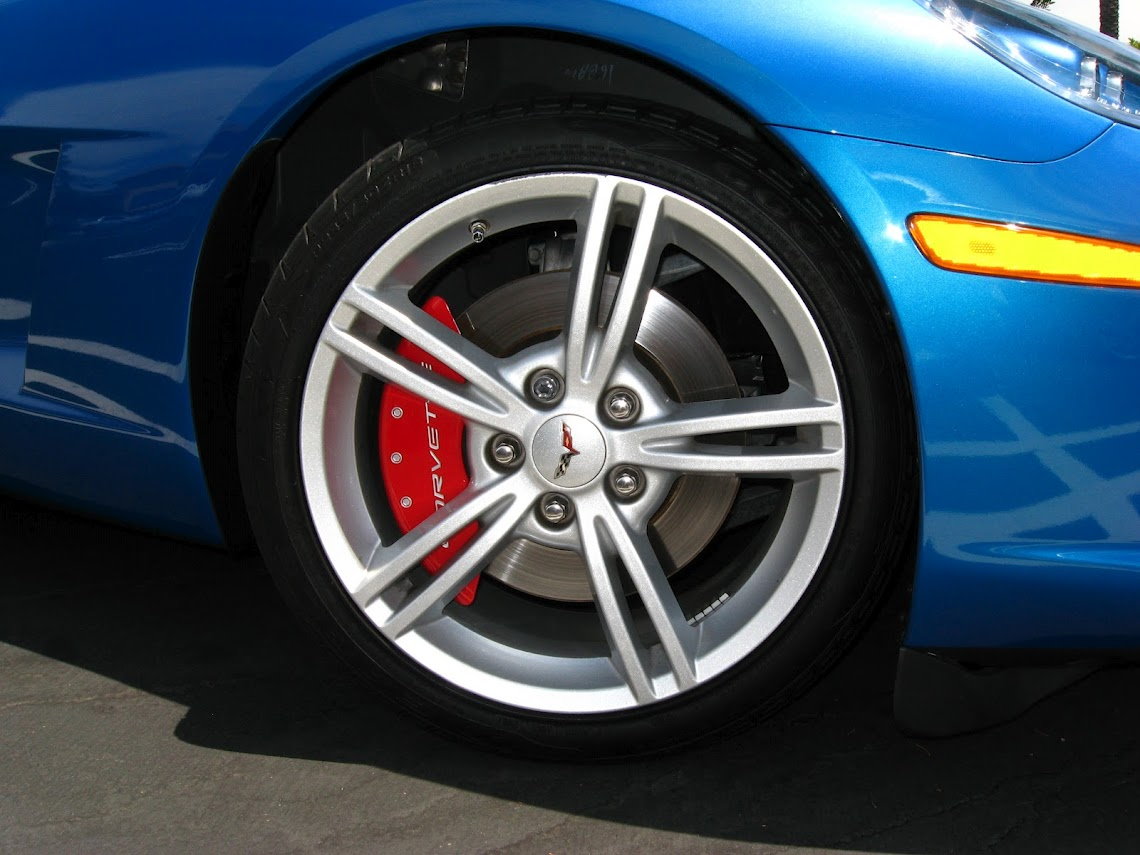
Step 3 – Start with the right rear wheel
Use your 12 mm box-style wrench and position it on the hydraulic circuit bleeder valve. Install the transparent hose over the end of the bleeder valve. Insert the end of the hose into the container of clean brake fluid. Have your assistant completely depress the brake pedal using consistent slow pressure and then hold it there. Loosen the bleeder valve to release trapped air and dirty fluid. When it stops flowing, tighten the bleeder valve. Have your assistant slowly release the brake pedal and then wait 15 seconds. Repeat the process until no more air bubbles come out, and the fluid runs translucent and looks clean. Re-tighten the bleeder valve and release the brake pedal.

Step 4 – Check master cylinder and refill with clean brake fluid
After each bleed, you will need to re-check the master cylinder and make sure that it is at least half filled with fresh, clean brake fluid.
Step 5 – Repeat the above steps for the other wheels in proper order
The steps will be the same for each wheel; however, you need to do your bleeds in the following order:
- Right rear
- Left front
- Left rear
- Right front

Pro Tip
Remember to check the level in the master cylinder between each wheel.
Step 6 – Check brake pedal "feel"
If the brake pedal feels spongy, repeat the entire bleed process again. If the brake pedal still feels spongy after a second bleed procedure on all wheels, inspect the entire brake system for a leak somewhere. If no leaks are found, you will need to perform a more complex pressure-bleed process for the hydraulic brake system to purge any trapped air.
Pro Tip
After bleeding the lines properly, your brakes should feel familiar, and maybe a little stiff or responsive sooner than they were before this process. Your brakes are probably the most important piece of equipment on this high-performance machine. You won't want to cut corners or ignore any issues no matter how small you might think they are.
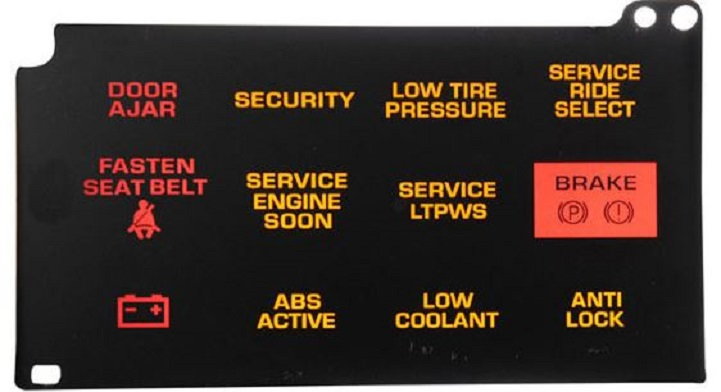
Step 7 – Turn on the ignition without starting the engine
Watch for the brake warning light to illuminate and then turn off. If it stays lit, do not drive the car, but re-check your work. If you cannot find anything, have it towed to a garage rather than drive it anywhere.
Related Discussions
- Anyone Know the Brake Bleeding Order on a C6? - Corvetteforum.com
- How to Bleed Brake System - Corvetteforum.com