C6 C7 Corvette: Why Does My Brake Pedal Go to the Floor?
In most cases, getting your brake pedal up off the floor is an easy DIY job; however, an assistant should be on hand to assist you.
This article applies to the Corvette C6 (2005-2013) and C7 (2014-current).
While corrosive to automotive paint and plastics, brake fluid is an important hydraulic fluid that should not be overlooked when caring for C6 or C7 Corvettes. The way brake fluid works is by moving components, such as heat and water, through the braking system. This ensures proper functioning of the brake pedal. However, when air is trapped within the brake system, the pedal can go to the floor and/or fail to properly engage–even when the brake pedal is depressed.

Materials Needed
- Bleeder tool
- Oil suction gun (or turkey baster)
- Microfiber cloth
- Box-end wrench
- Tube, which will come included in your brake bleeding kit
- Brake fluid
- 2 containers
Step 1 - Remove the tires
Loosen the lug nuts, raise the car using your jack, and secure it with jack stands. Then, remove the tires completely.
Step 2 - Check for air bubbles
Bleed the brake lines of harmful air bubbles, which could significantly reduce the hydraulic pressure in your vehicle's braking system. Use a bleeder tool–which in layman's terms means a vacuum pump that has an attached reservoir–to effectively "bleed" or "drain" unsafe air bubbles from your vehicle's brake lines. "One man" and "two man" varieties are available at most parts stores for approximately $40 to $50. Choose the brake bleeding tool kit that best meets your needs and fits your budget. You simply put the hose in the reservoir, and either pump or suck the fluid in or out.
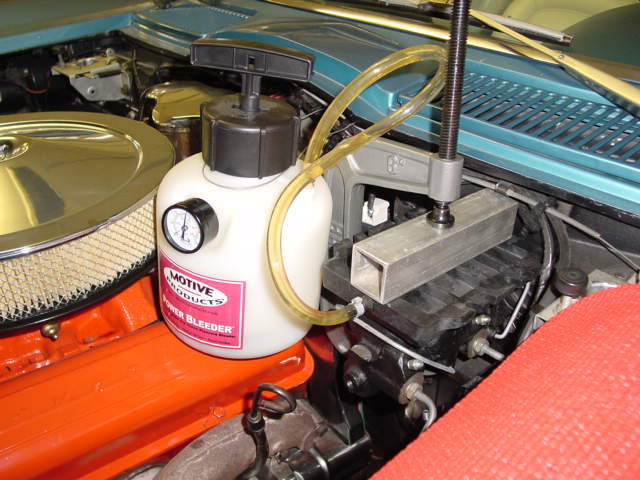
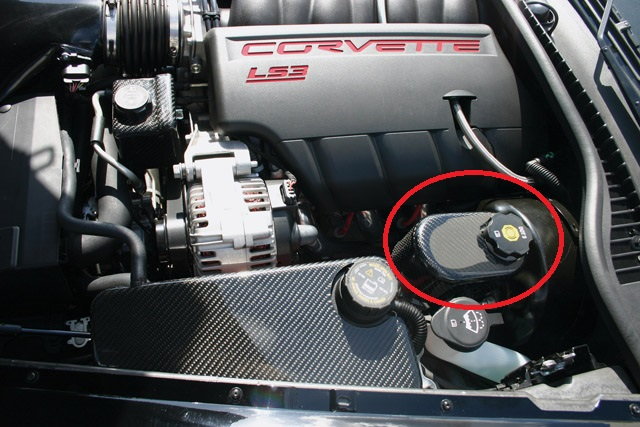
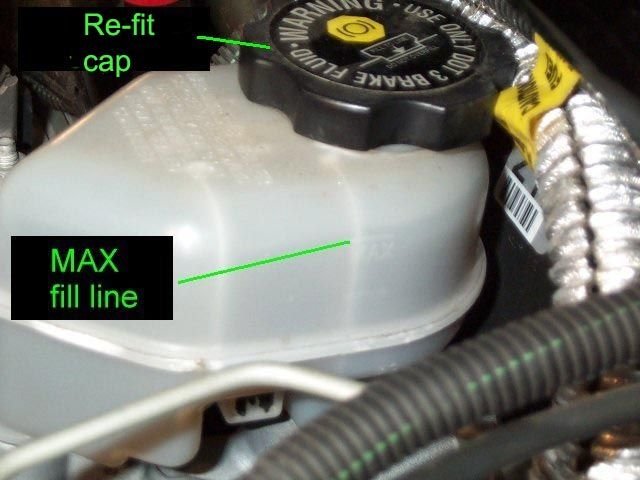
Step 3 – Open the master cylinder reservoir
Remove the black reservoir cap. Suction out the old brake fluid using an oil suction gun or other device. A turkey baster will also get the job done, if you have one.
Step 4 – Wipe down the reservoir using a clean microfiber cloth
Take special care not to leave behind excess oil and other debris.
Step 5 – Add new brake fluid
Fill the reservoir with brake fluid, taking special care to avoid an overflow of product. Re-fit the master cylinder reservoir with the black cap you removed in Step 3.
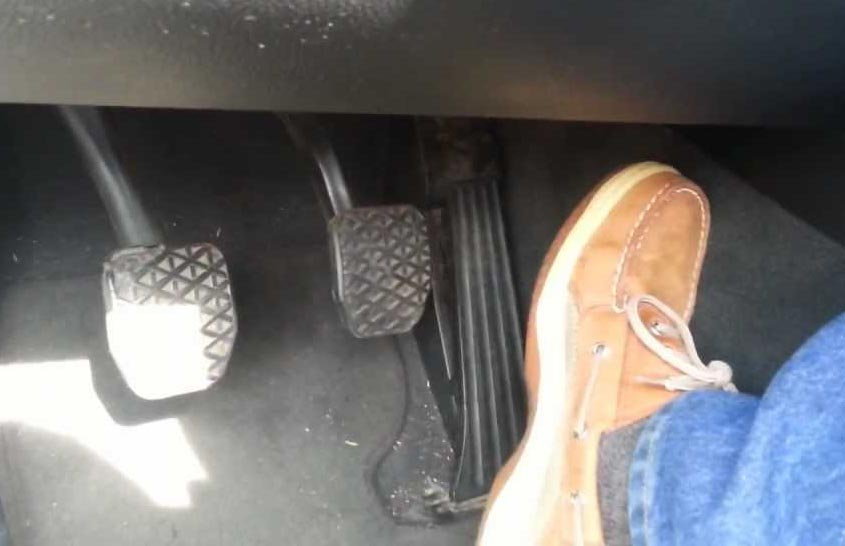
Step 6 – Depress the brake pedal approximately 10 to 20 times
Have a friend gently depress the brake pedal with their foot in an up-and-down motion. Do not panic if the brake pedal is still on the floor at this point.
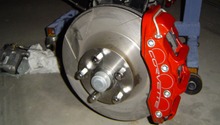
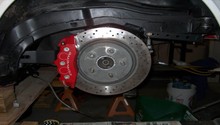
Step 7 – Check the bleeder valves, which can sink when not properly fastened
Open the bleeder valves. Fit the box-end wrench to the bleeder bolt, and then loosen the bleeder valves. However, do not open the valves completely. You will properly fasten the bleeder valves–one by one–as the procedure goes on.

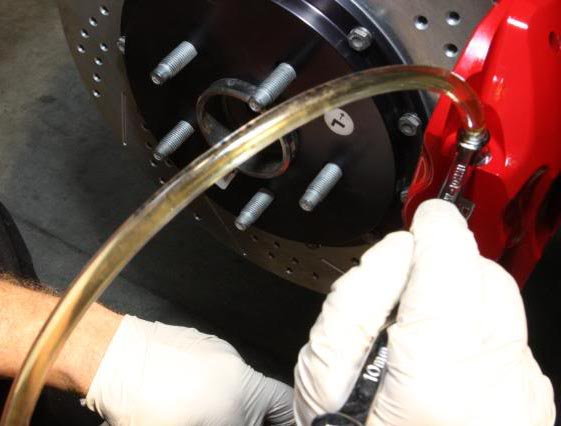
Step 8 – Attach the clear plastic tube
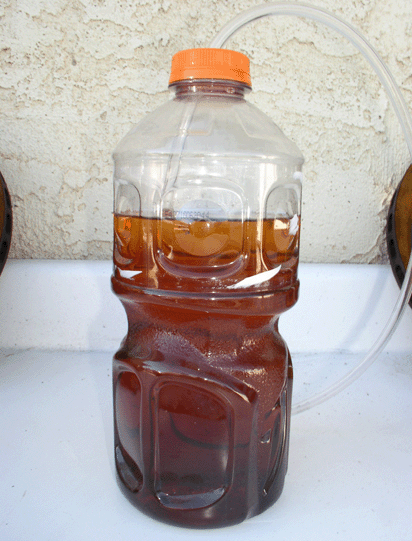
Fit one end of a piece of clear, plastic tubing over the brake bleeder bolt. Fit the other end onto a clear bottle. Be sure to leave a layer of brake fluid at the bottom of the bottle to trap and prevent air from being deposited back into the reservoir.
Step 9 – Protect the brake pedal from movement
Place a piece of wood–approximately 1 X 4 should suffice for a C6 or C7–under the pedal to prop it up off the floor.
Step 10 – Add additional brake fluid
Add enough brake fluid to fill the reservoir, and then re-cap the reservoir.

Step 11 – Add more pressure to the brake pedal
Have a friend depress the brake pedal approximately 10 to 20 times.
Step 12 – Rotate the bleeder bolt in a slow counter-clockwise motion
A quarter turn is all you need in this step. (See Figure 4 for location).
Step 13 – Capture brake fluid runoff
Capture fluid runoff in a jar or other similarly shaped seal-able container. Choose a container that you can safely seal off from children and pets for approximately one to two days. Mix in cat litter to accelerate the evaporation process. Rely on a 2:1 ratio, with the jar containing two parts cat litter and one part brake fluid. This does not have to be an accurate measurement.
Step 14 – Protect your vehicle's exterior
Take special care not to contaminate automotive paint or plastics with brake fluid during the removal process.
Step 15 – Remove pressure from the brake pedal
Have your assistant release the pedal. He will know it is released when it shifts upward. Repeat until brake fluid you added in previous steps runs out. Continue to add more brake fluid as the reservoir empties.
Step 16 – Tighten the bleeder bolt
Tighten the bleeder bolt, and then proceed to the next wheel, moving from front to rear and left to right.

Step 17 – Seek outside professional help
Consult an automotive brake specialist if the pedal continues to go to the floor. In this case, the problem could be the brake master cylinder. Costs vary for this type of repair by amount of damage. However, generally speaking, the cost to repair damage to the master cylinder is expensive, running hundreds of dollars for parts and labor.
Related Discussion
- Brake Pedal to the Floor - Corvetteforum.com