C6 Corvette: How to Install an Android Tablet
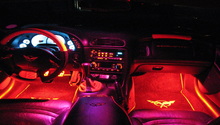
Installing an Android tablet to your Vette's interior will add luxury to the dashboard. Continue reading to achieve this luxurious installation.
This article applies to the C6 Corvette (2005-2013).
You can make this installation extremely difficult or somewhat easy. This install certainly isn't for the faint of heart, and you will definitely need to take your time. Oh, leaning heavy on the forum probably wouldn't be a bad idea either. This step-by-step guide will go over installation of the replacement head unit and skip completely over the electronic details.

Materials Needed
- Dremel tool and kit
- Small head screwdriver kit
- Needle nose pliers
- Steel punched flat bar
- All purpose shear and metal cutter
- Compatible wiring harness
Step 1 – Remove the center console and radio bezel
We are going to skip over this process to head straight in to the fabrication and installation of the tablet. Here is a great How-to discussion to remove the console and radio bezel.
Step 2 – Fabrication of the radio casing/mount
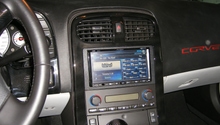
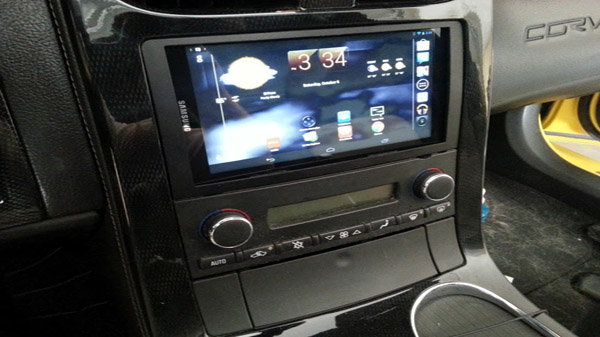
You have removed the radio from the casing/mount and you are ready to go. This is where you'll need your Dremel tool. Depending on what size of tablet you're using, you'll likely need to adjust the space, so it will fit flush in the casing/mount. This is where a little trial and error will take place on your part, and some will also be personal preference. Before you start cutting, place the tablet in the open area of the console where the radio was removed. Take a mental note of what and how you'll need to adjust the tablet, so it will suite your taste. We'll assume you want it as close to the center as possible. Use the Dremel tool to remove the excess area in the existing mount, so the tablet will sit where you want it to. You'll remove area from the top of the casing/mount. In the end, the tablet will be virtually flush with the AC control console.
Pro Tip
Take your time with this step. You can replace the casing/mount, but why not take your time, so it is done right the first time. You can also mask off areas with tape to help guide your progress and not remove wanted areas.
Step 3 – Backing fabrication
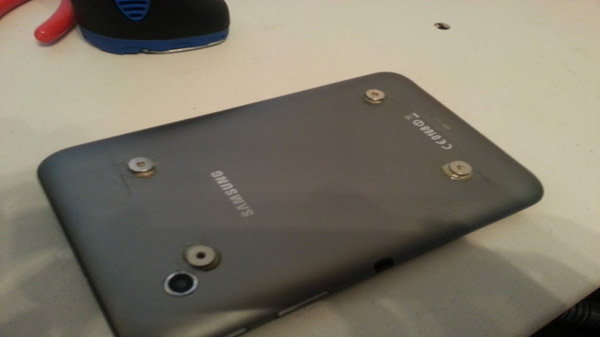
Now that the casing/mount is done, we need a way to secure the tablet in place, so that it doesn't fall backwards in the car. The casing/mounting is strong, but better safe than sorry. There are many ways to do this step. Some people use simple wiring. Others get really creative and place screws in the backing of the tablet to attach metal backing strips to the casing. It is recommended keeping it as simple as possible at all times. Steel punched flat bar is readily available at most hardware stores. It's easy to use for bracket backing. You can also use double sided velcro on bars to attach the tablet securely. In the end, it can be easily removed if it needs to be replaced or you decided to sell it for an upgrade.
Step 4 – Secure the tablet and bracket
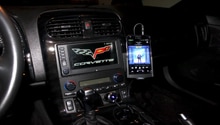
First you will need to connect the wires that were in the OEM stereo into the wiring harness you've purchased, which will plug into the tablet. This will ensure that tablet stays charged and the steering wheel controls work with the tablet. Once you have the backing fabricated, it's time to put the tablet in place. Put the tablet in position and then firmly secure the backing to lock it into the casing/mounting. Before tightening everything down, make certain it is exactly where you want it to be. Once again, better to take your time to get it perfect rather than regretting your rush.

Related Discussions
- How to Remove the Center Console and Radio Bezel - CorvetteForum.com
- Android 7" Tablet Installation - CorvetteForum.com
- Corvette Android Installation Pictures - Google