C6 Corvette: How to Remove Headlight Lens and Bezel
Learn how to remove the lens and bezel of your C6 Corvette. These steps will come in handy when you want to replace or clean the bezels and lenses.
This article applies to the C6 Corvette (2005-2013).
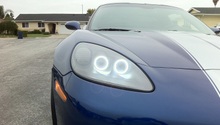
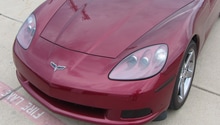
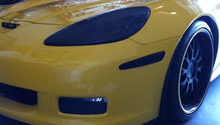
In the C6 Corvette headlight assembly, the bezel component holds the headlight lens in place. The bezels on the Corvette are a work of art and add a cool finish to the stealth look of the C6's headlight assembly. In this step-by-step breakdown, you will learn how to remove the headlight lens and bezel, as well as how much it costs to do it yourself versus seeking professional help.

Materials Needed
- 7mm socket
- 7mm star screwdriver
- Oven
- Socket-sized prying bar
- Hair dryer
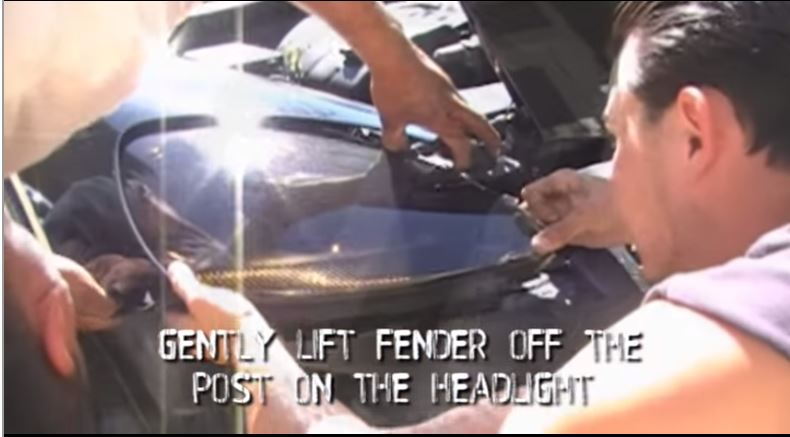
Step 1 – Remove the fender liners and front bumper
Remove the plugs that hold both fender liners in place. Then, remove the screws fastening the C6 Corvette's front upper bumper in place. Remove the fastening pins just in front of the tire, which are located behind the headlight. Then, loosen the screws holding the fender and this will allow it to lift up off of the headlight gasket.
(Related Article: How to Remove Front Bumper - CorvetteForum.com)
Pro Tip
Before working on your car, remove the positive (red) and negative wires from the battery.
Step 2 – Remove the headlight
To remove the headlight, unscrew the three nuts and their rubber washers below the headlight, plus the wire plug. That will enable the headlight to be removed. Care needs to be taken when removing the nuts and washers because hastily removing them results in breakage of any component of the headlight assembly.
Pro Tip
Any breakage of a component on the headlight results in purchasing the entire light. So care should be taken when working on the headlights.
Step 3 – Heat the light to remove the adhesive
The headlight lens and bezel are held together by a factory adhesive. The adhesive can be melted in an oven heated between 200 to 235 degrees for around 15 minutes. Once it's melted, then you can access the interior portion of the headlight assembly by gently prying the lens and bezel apart with a flat head screwdriver or bar. When prying, start at the top of the headlight where it's curved. This procedure may require having to put the headlights back in the oven if the adhesive hardens as you pry.
Pro Tip
The adhesive holding the lens and bezel is reusable. If you plan to reuse it, remove it in the shape it was in and melt it. If you shred it while melting, it can get messy. Once it get's messy, it won't adhere well and cause a leak.
Step 4 – Glue in the new lenses or bezels
If you are replacing the lenses or bezels, factory adhesive can be reused if melted. However, where the factory adhesive is in a poor state for reuse, options like the butyl rubber sealants or black silicone adhesive from Autozone can work. Motoring enthusiasts recommend the two as equally effective to glue back the headlights assembly. When gluing back the new headlight lenses and bezels, Corvette DIY experts recommend using a 1500 watt hair dryer to heat the lens and keep it clear. That ensures no adhesive stains are left on the lens and the adhesive is in working condition. That's why its necessary to use a new adhesive to hold the headlight components together.
Featured Video - How to Remove Headlight
Related Discussion
- How to Remove Headlight Assembly - CorvetteForum.com