Corvette: How to Replace Emblems
Replacing a front, side, or rear emblem or nameplate on a Corvette is a relatively easy task to perform. Learn the simplest instructions for getting the job done fast!
This article applies to the C5, C6 and C7 Corvette (1997-current).
If one or more of your emblems is fading fast or is in generally poor condition due to wear and tear, remove and replace the faulty parts using a few simple tools. Because you will most likely own most of the tools you'll need to carry out this easy DIY job, you won't need to rush to your local hardware store for parts. If you don't own every tool on the list, don't worry. Handy DIY alternatives that you can use to get the job done just as well are provided here.

Materials Needed
- Heat gun/blow dryer
- Plastic, flat-bladed tool or 10-15 pound fishing line
- WD-40 or mixture of one-part isopropyl alcohol, one part water
- Microfiber cloth or lint-free towel
Step 1 – Park your vehicle in a cool, dry location
To replace the front bumper fascia emblem on your Corvette, you will first need to park the vehicle in a cool, dry location so the surface of the vehicle and the front bumper fascia emblem can both cool to at least 70-degrees Fahrenheit. The vehicle will need to remain at 70-degrees Fahrenheit for at least one hour after the assembly process is complete to ensure proper adhesion.
Pro Tip
Do not begin the installation process until the vehicle and front bumper fascia emblem have both reached the desired temperature.
Step 2 – Remove emblem(s)
Using the heat gun/blow dryer, heat up the emblem(s) to loosen the adhesive that's currently securing it. Then, apply light pressure to the emblem(s) using a plastic, flat-bladed tool and push down to remove. Alternatively, you can use 10 to 15 pound fishing line. Simply run the fishing line over the top of the emblem(s) and push down toward the ground. Ease the emblem(s) off the vehicle as you apply pressure.
Wash away any remaining residue left behind using a mixture of one part isopropyl alcohol and one part water. Dry with a clean microfiber towel, if you have one. If not, a clean, lint-free towel will suffice.

Figure 1. This is the fishing line method on the front emblem. Be careful not to apply too much pressure. 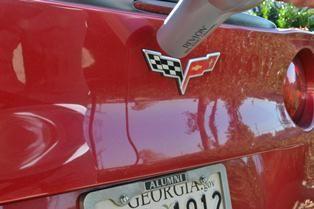
Figure 2. Heating up the back emblem. 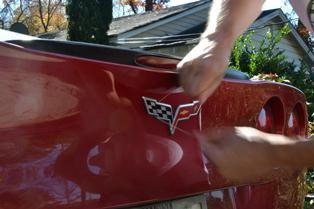
Figure 3. Line method on back emblem.
Pro Tips
- If you are concerned about scratching your paint, adhere painter's tape to the outline of the emblem(s) before removing.
- If you aren't using the fishing line method, stick with a plastic, bladed tool when removing the emblem(s). Metal tools could cause significant surface damage.
Step 3 - Fender emblems (optional)
If your Corvette is adorned with the "GM" quality badge on it's fenders, removal is the same process as it would be for removing the racing flags, heat and dental floss will see them removed.
If you have a later model Grand Sport Corvette, and you wish to remove or install aftermarket GS fender grille emblems, here is the quick and dirty break down of what needs to be done.
- Loosen front wheel lug nuts.
- Jack front end up and secure on stands.
- Remove wheel for better access of fender liner.
- Use your 8mm socket and remove the fender line fasteners, and then pull back the fender liner.
- There are 3-10mm nuts securing the fender trim - remove those and pop the trim piece out.

Figure 4. Pull back fender liner. 
Figure 5. Remove the 3 fasteners here. 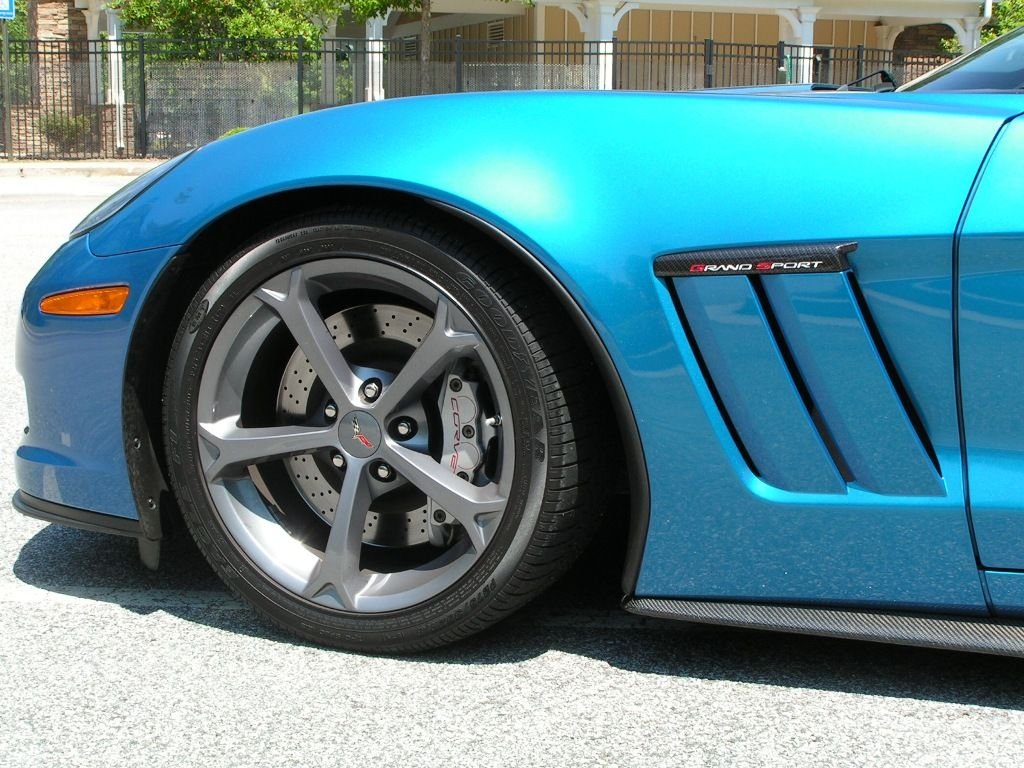
Figure 6. Carbon fiber trim installed.
Step 4 – Replace emblem(s)
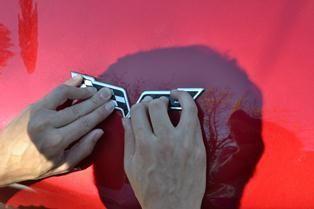
Remove the protective liners from the adhesive tape, taking special care not to allow the sticky side to come into contact with your hands or clothes. Press gently over the emblem(s), applying firm, even pressure, which will allow for proper adhesion.
Related Discussions
- Front Fender and Liftgate Emblem Removal - CorvetteForum.com
- Removal Process - CorvetteForum.com
- GS Fender Emblem Install - CorvetteForum.com
- Carbon Fiber GS Badge Install - CorvetteForum.com