Corvette C6 C7: How to Replace Parking Brake Shoe and Electronic Parking Brake Module
If you're frustrated with your car rolling when it's parked, then you might have a problem with your parking brake shoes. You don't have to leave it to a mechanic if you're patient and willing to do the work. This guide will surely help.
This article applies to the Corvette C6 (2005-2013) and the C7 (2014-2015).
The parking brake shoes prevent your car from rolling when it's parked. If your car is rolling when in park, or the parking brake light is flashing, then it may mean that your parking brake shoes or electronic parking brake module needs to be replaced. Here's how to replace them.

Materials Needed
- Replacement parking brake shoe
- Replacement electronic parking brake module
- High temperature silicone brake lubricant
- Floor jack
- Jack stands
- Flathead screwdriver
- Torque wrench
- Socket wrench kit (metric)
- Scan tool (optional)
Step 1 – Disable the parking brake cable adjuster
Turn the ignition switch on without turning the engine on. Put the transmission into park/neutral. Apply the brakes, then hold down the electronic park brake (EPB) button and wait for the park brake light on your instrument panel to flash before releasing it. Then, immediately push and release the EPB button (the button that releases the emergency brakes).

Pro Tip
Another way to disable the parking brake adjuster is to use a scan tool. If you have one, install it to the vehicle then follow the on screen prompts.
Step 2 – Raise the vehicle and remove the rear wheels, calipers, and rotors
Lift the vehicle using a jack and secure it on jack stands. Be sure the jack stands are aligned correctly. Unscrew the lug nuts from your wheels and remove the wheel from the car. Loosen and lift the caliper from its bracket and set it aside. Unscrew and remove the bracket and then pull the rotor out.

Figure 2. Preferred/optional jacking locations on a C6. 
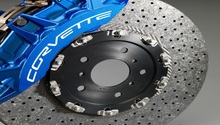
Figure 3. Removing the brake rotor/disc.
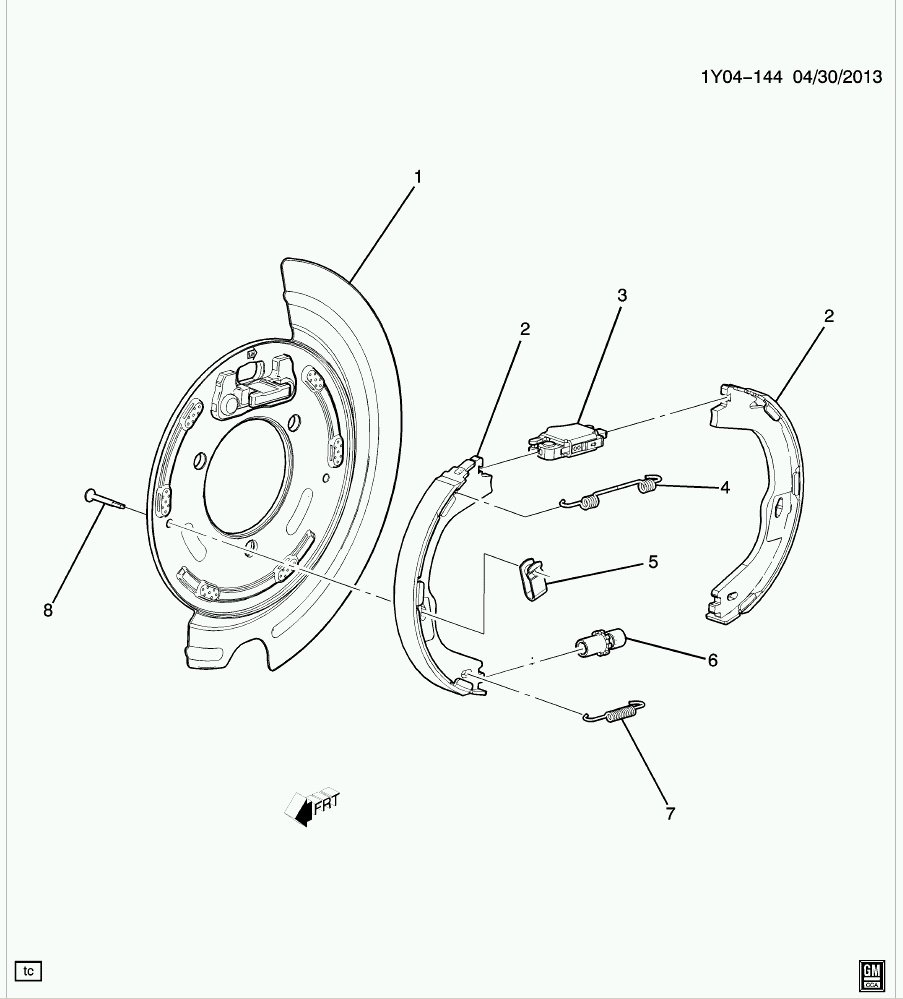
Step 3 – Remove the parking brake shoes
Pull out the return springs, then remove the adjuster which holds the shoes in place. Now, by holding down the springs and twisting the pins, you should be able to pull out the parking brake shoes.

Step 4 – Install new parking brake shoes
Apply silicone lubricant to any surfaces the new shoes will come in contact with. Then, install the new parking brake shoes. Be sure you get everything back to the way it was before.
Next, let's look at the electronic parking brake module. Before starting, make sure that the parking brake cable adjuster has been disabled and that the vehicle is securely sitting on jack stands.
Step 5 – Remove the left rear wheel and fender liner
Remove the fasteners in the liner and pull it out. This will reveal the electronic parking brake module.

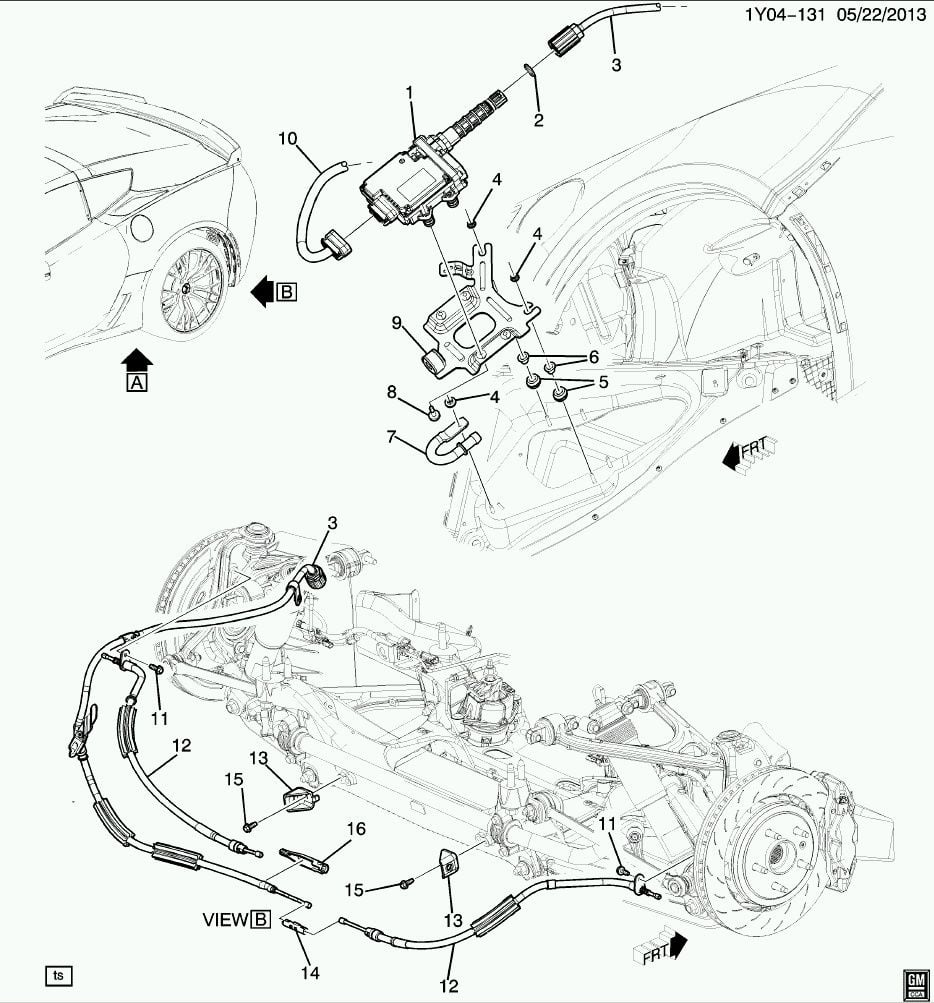
Step 6 – Remove the electronic parking brake module
Disconnect the module from the parking brake cable. Unscrew the nuts and bolts. Then, remove the module from the bracket.
Pro Tip
If you are having difficulty removing the module from the bracket, use denatured alcohol as a lubricant.
Step 7 – Install the new electronic parking brake module
Fasten the new control module to the bracket. Reconnect the module to the parking brake cable, and then replace the fender lining and wheel.
Featured Video: How to Replace Drum Brake Shoes
Related Discussions
- How-To: Replace Parking Brake Shoe, Electronic Emergency Brake Module + Schematics - Corvetteforum.com
- Park Brake Shoe Replacement Question - Corvetteforum.com