Corvette: How to Plasti Dip Your Wheels
This article covers the steps on how to Plasti dip your wheels for a unique finish. The best part is that you can remove the paint if you choose to try a different look.
This article applies to the C5, C6 and C7 Corvette (1997-current).
If you are looking to change the look of your Corvette without breaking the bank, this DIY is for you. Plasti dip is a great way to alter the look of your car. It is also extremely easy to reverse the process if you decide later down the road to change the wheel color or simply go back to stock. If so, all you need to do is peel off the finish. Plasti dip doesn't behave like normal paint in the sense that normal paint is basically permanent. This article outlines the process involved, without needing to remove your wheels.

Materials Needed
- Plasti dip (4 cans to be safe), dip release, PreDip spray and Metalizer (3 cans if you opt to use this)
- Rags or microfiber towels
- Large plastic bag
- Respirator mask (if painting in an enclosed area)
- Blue painters tape (if you decide to tape over tire)
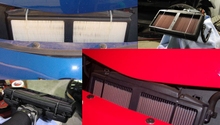
Step 1 – Prepare wheels
The first step to plasti-dipping your wheels is preparation. You want to cover your entire brake and rotor with a large plastic bag. Cover as much area behind the wheel as you can. Take your time. This is to prevent over spray from hitting any of your brake components. After you do that, you want to prepare the tire. The easiest way to do this is to apply dip release to the tire with a piece of cloth. First, put the dip release on the cloth and apply thoroughly to the entire tire, rubbing it in. Again, take your time to do a good job. Be careful not to get the dip release on the actual wheel. If you do get dip release on the wheel, don't panic; simply wipe it off completely. The reason being is that if the release is on the wheel, it will prevent the Plasti dip from adhering to the wheel.
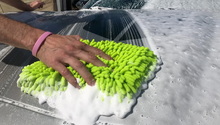
Lastly, you want to clean the wheel and remove all dust, debris and grease. A dirty wheel wont take the Plasti dip easily. The easiest way to do this would be to use the PreDip spray or any other wheel cleaner (from your local auto parts store). You can also use soap and water. Make sure to clean the entire wheel thoroughly, getting every corner and angle. Get the outer edges of the wheel in order to remove any dip release you might have applied accidentally.
Pro Tip
If you don't want to buy the dip release for the tire, you can just cover the tire with blue painters tape. This will work just as well, but requires a little more effort.
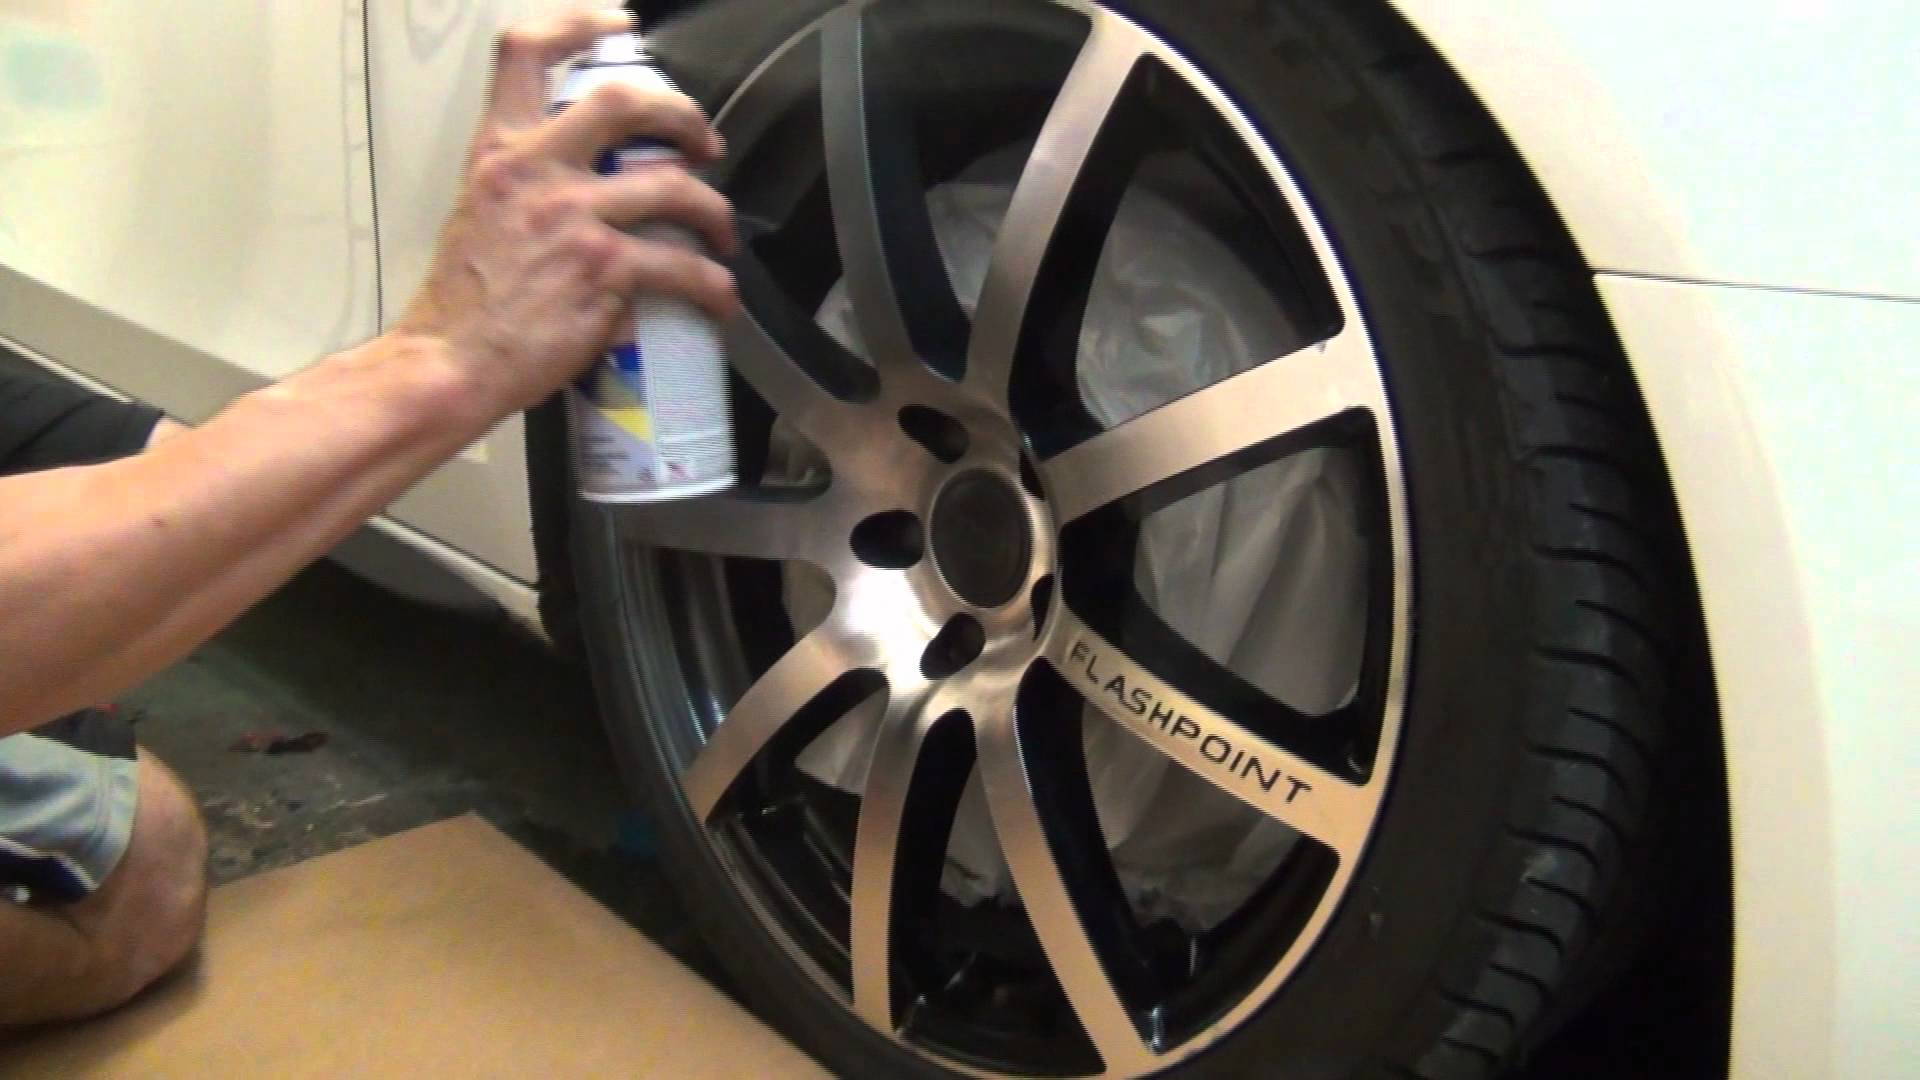
Step 2 – Apply coats of Plasti dip
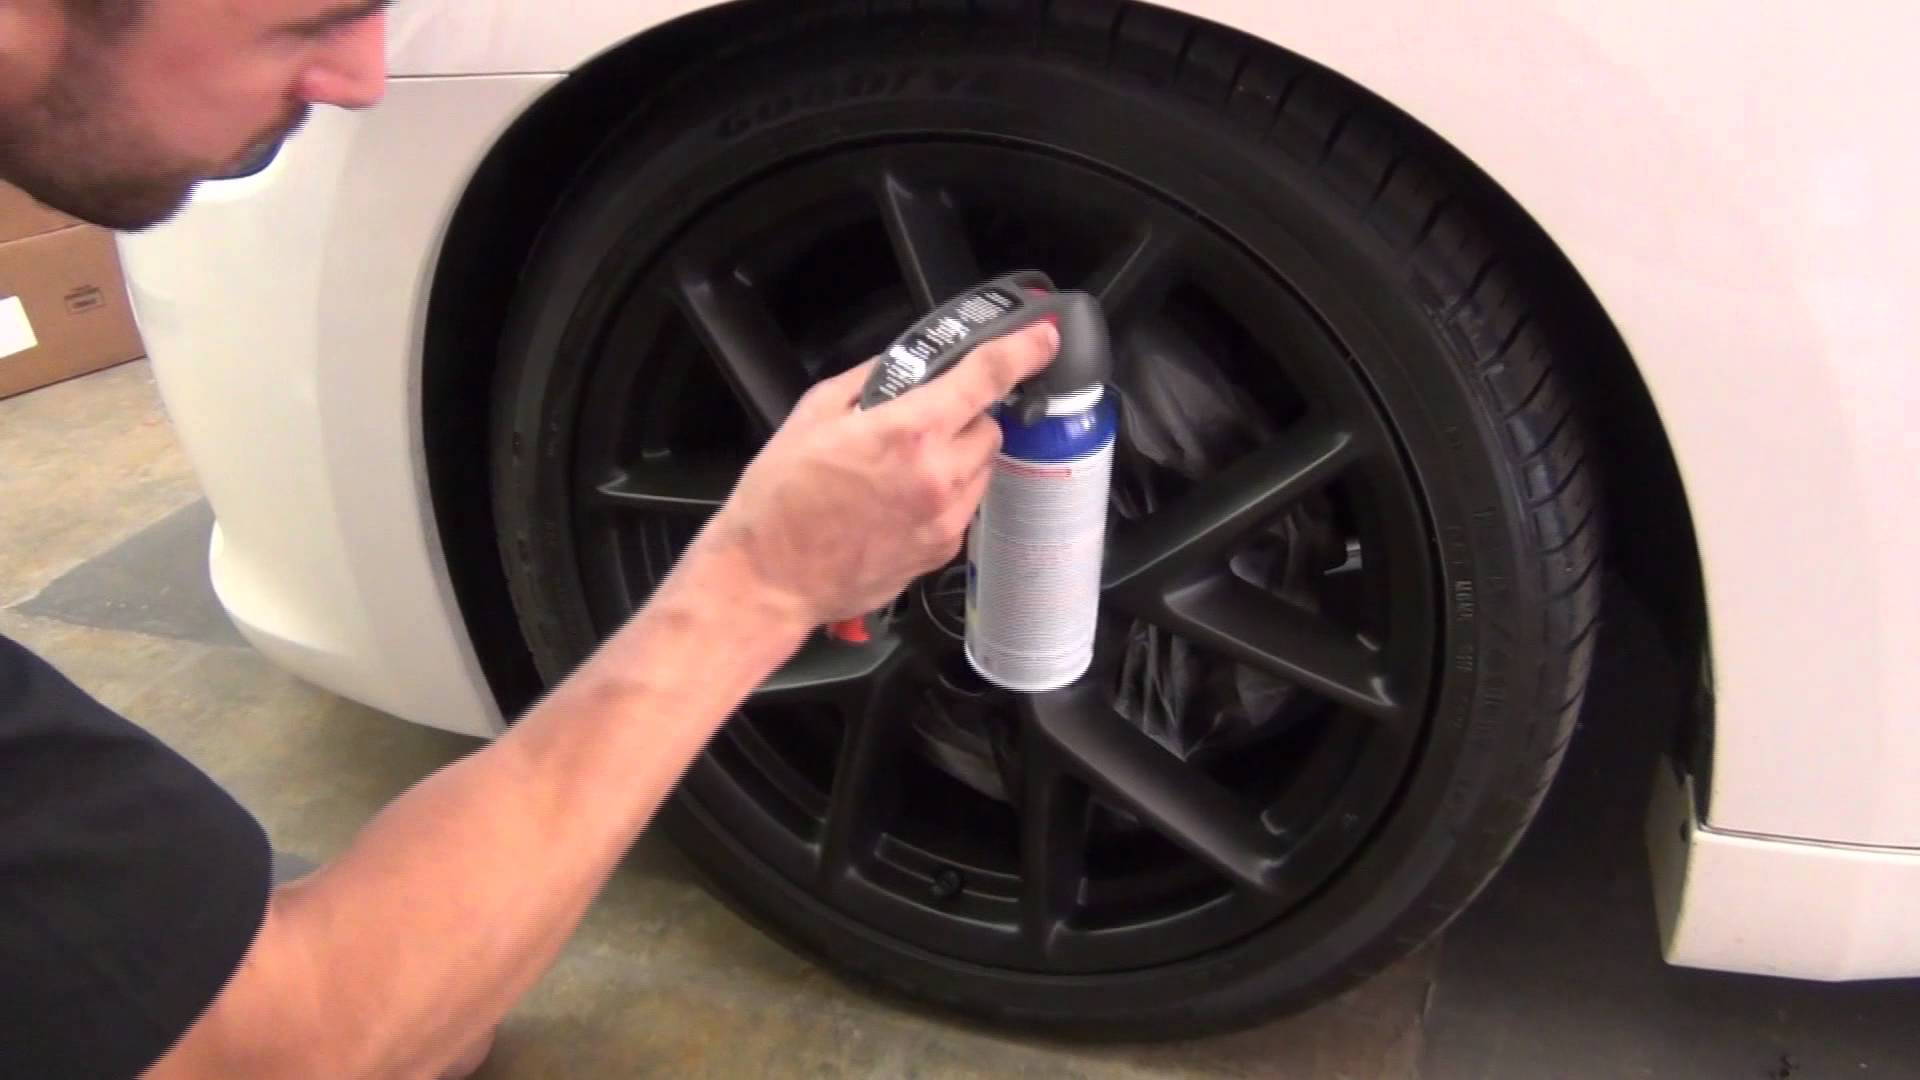
Now you are ready to start applying coats of Plasti dip onto your wheels. Between each coat you want to wait 15 minutes for it to dry. You will end up needing 3 to 4 coats. You can determine this yourself by analyzing the finish. If you feel it needs one more coat, feel free to apply an additional coat. Like when you were cleaning the wheel, be sure to take your time and attack every specific area of your wheel thoroughly. When you spray you should hold the can roughly 3 inches from the surface of the wheel. After the second coat, it is good practice to either move the car forward or backward in order to get better coverage on areas of your wheel that you would have otherwise not noticed.
When you are happy with your wheel finish, you can add 2 or 3 coats of the Plasti dip metalizer if you choose. It adds a metallic/glossy finish to your wheel. If you choose not to use the metalizer, then you should add 1 or 2 extra coats of Plasti dip. It is good to have 5 to 6 coats total on your wheels. After you are done with all the coating, give the wheels 25 minutes to completely dry.
Pro Tip
If you are using the dip release product, pass the spray can around the tire after each coat on the wheel. This will ensure that the Plasti dip will peel off the tire in a nice, thick, even coat.
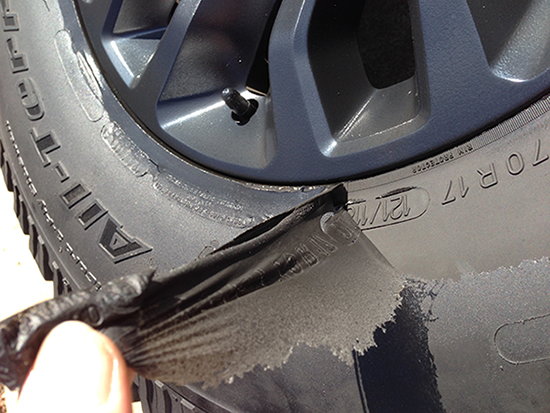
Step 3 – Remove plastic bag and peel off Plasti dip from tire
After all the coats are applied and dried, you can start removing the plastic bag that you initially placed to protect the brake and suspension components. When you remove it, be sure to not rub it too aggressively against the wheel as this can cause some of the Plasti dip to rub off. Be careful and take your time. You can then proceed to peel off the Plasti dip on the tire. Since you applied dip release, it should peel off easily. Just peel a piece off, and the rest will come off as you pull.
Pro Tip
If you used blue painters tape to protect the tire from over spray, you can remove it at this time. Be sure it doesn't get caught on the edge of the wheel and accidentally pull paint off the wheel.
Related Discussion, Site and Video
- Plasti Dip Supplies- Dipyourcar.com
- How-to Video: Plasti Dip - Youtube.com
- Plastidip Showoff Thread - CorvetteForum.com