Corvette: How to Use Touch-Up Paint Pens
From twenty feet away, your Corvette shines like the top of the Chrysler Building. But up close you have to squint to ignore the scratches and rock chips that have your Vette looking like it needs a tube of Clearasil.
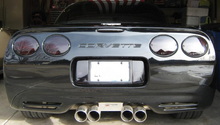
This article applies to the Corvette C5-C7 (1997-2015).
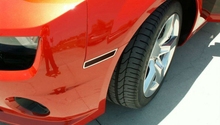
Your Corvette is your pride and joy. A scratch can ruin the day for the most part. Repairing a scratch can ruin many days, financially. Paint chips are also common if you like to take your weekend warrior out practically every weekend. Thankfully, it's not necessary to visit an auto body shop and pay a ridiculous price to have the entire section with the offending scratch or chips sanded, primed, repainted, and buffed. Most scratches are only at the first level of wax and can be easily repaired with a paint pen. Save time and money by using a touch-up paint pen to fix those scratches or paint chips.

Materials Needed
- Cotton swabs
- Toothpicks
- Buffing pads or microfiber cloths
- 1500-3000 grit wet/dry sandpaper
- Sanding block
Step 1 – Clean affected area
Because you are going to repair a paint chip or scratch, you must first clean the area thoroughly in order for the touch-up paint to adhere to the scratch or chip. Using turpentine, you will remove the wax around the affected area without harming the wax around the unaffected areas.
- Lightly dip the cotton swab into the turpentine.
- Cleaning the area thoroughly, apply light and even pressure to the scratch or chip.

Pro Tip
A cotton cloth works well here. It is also a good idea to clean the area with soap and water first.
Step 2 – Apply touch-up paint
Because the scratch or chip is going to be small in size and obscure in shape, it will be useful to apply the paint in a minuscule amount using the a toothpick.
- Shake well the touch-up paint.
- Remove the cap and paint brush.
- Place a small amount of paint on the tip of your toothpick.
- Apply paint to the affected area.
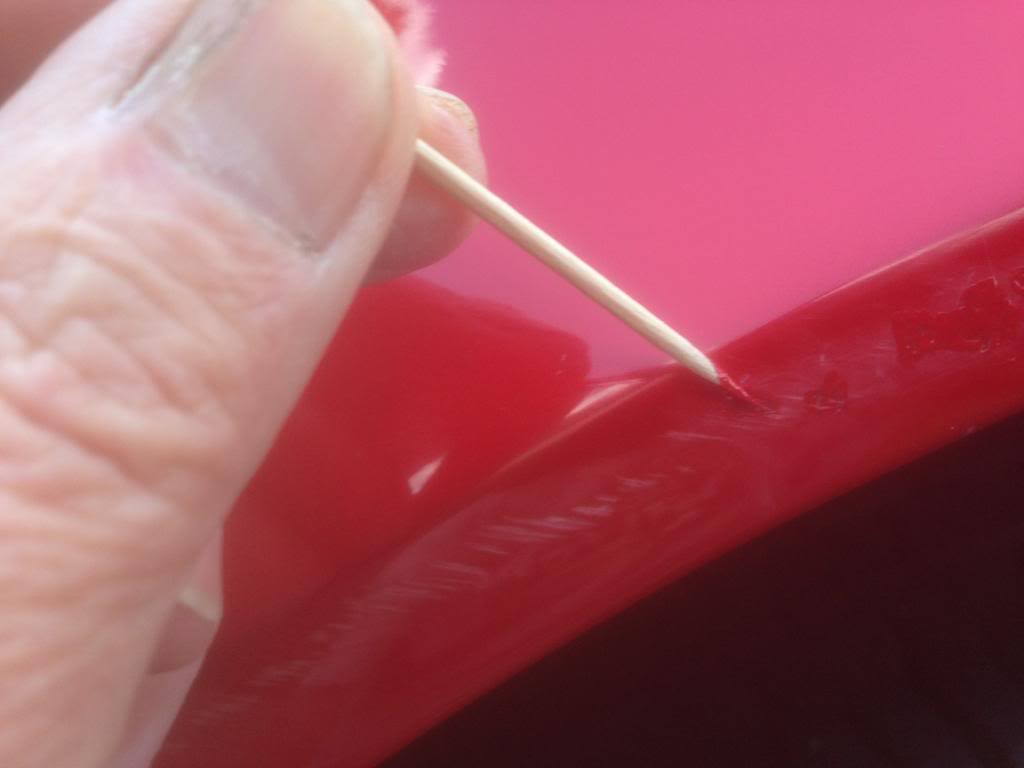
Pro Tip
Be very careful not to fill paint on the outside of the chip or scratch. Use the edge of your finger nail to ensure it has dried before moving on.
Step 3 – Sand the repaired area
When touch-up paint has been applied, it will not dry and form to the body's paint in an even form. It will be necessary to sand it smoothly to adhere to the shape of the panel.
- Cut sandpaper into thin strips.
- Wrap sandpaper around sanding block.
- Wet the sanding block.
- Sand the painted area in a circular motion using light and even pressure.
- Repeat sanding until the area is smooth.

Pro Tip
You can use as low as 1500 grit or up to 3000 grit. Keep the sand paper wet in order to avoid creating more scratches.
Step 4 – Apply rubbing compound/wax
Now that the repainted area has been sanded and the area is smooth to the touch, you will need to wax the area back to a shiny finish.
- Apply small amount of compound to the buffing pad or microfiber towel.
- Rub the repainted area with light and even pressure in a circular motion.
- Remove excess using a dry, clean microfiber towel.

Related Discussions
- Paint Chip Repair - CorvetteForum.com
- Touching Up Paint Chips - CorvetteForum.com